

As part of the fall series, Creative Team Member, Fiona, shares a FotoInspired Template tutorial conducted in Adobe Photoshop.
FotoInspired Template Tutorial
Not that this tutorial can also be completed in Adobe Photoshop Elements.
FotoInspired Template Tutorial
Do you ever have those moments when you really want to scrap a memory and just don’t know where to start, or time is short and the old mojo is missing?
This is where the FotoInspired Templates and ArtPlay Palettes in the aA store are a lifesaver.
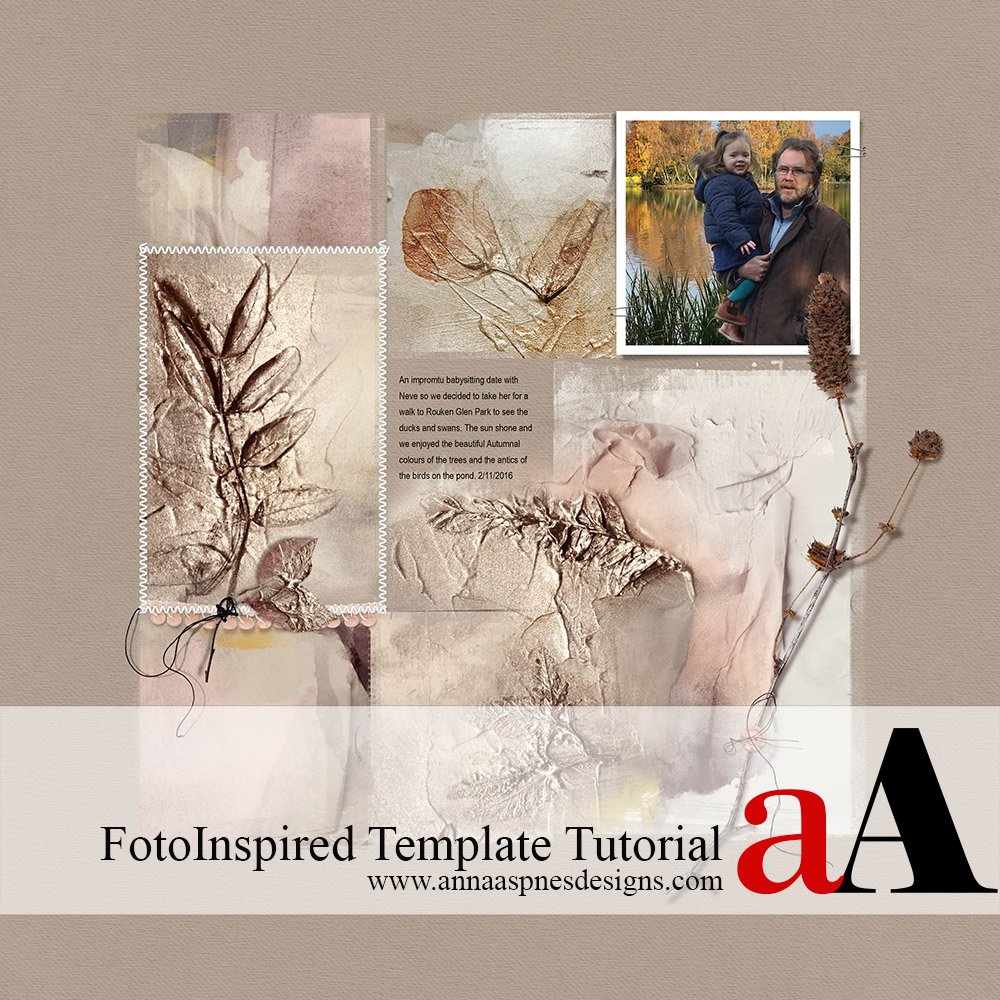
This tutorial will show you how to create a quick artsy digital scrapbooking layout using a FotoInspired Template and a simple approach you can use time and time again to create a different effect depending on the number of photographs and choice of papers used.
For my page I have used 1 photograph, 4 papers and 5 elements.


1. Select a Template. I have selected FotoInspired Double Template 39A. These templates are incredibly versatile, each page can be used to showcase a large selection of photographs or as I have done here, to create texture and feature only one photograph.

2. Choose a Selection of Papers. The choice of papers should ideally reflect the mood of the page, in this case I kept it simple and chose a plain paper from ArtPlay Palette Hinterland as my background. I also used an Artsy Paper from ArtPlay Palette Hinterland and a 2 Artsy Papers from ArtPlay Palette Autumn Romance.

3. Create the Page. Place the template on the background paper, select and reduce the size of all template layers to leave more of a border. It’s a matter of preference and there is no right or wrong but I find I tend to play about with the size of templates and nine times out of ten will reduce the size.
Clip the artsy papers to the masks using the clipping mask function in Adobe Photoshop and Elements as outlined in this clipping masks video tutorial, moving them around to get the best effect before merging. Note I have used different parts of the same paper for different masks.

Add Texture and Elements. Add extra transfers to increase texture or highlight specific colors. I felt that I wanted to lead the eye back in towards the journaling so placed a transfer on top of the paper, erasing with a soft brush the parts I didn’t want. Lastly, I added a small selection of elements to complement the Autumnal vibe.


Recent Comments