


Creative Team Member, Linda shares how she enhances her photos with Bokeh.
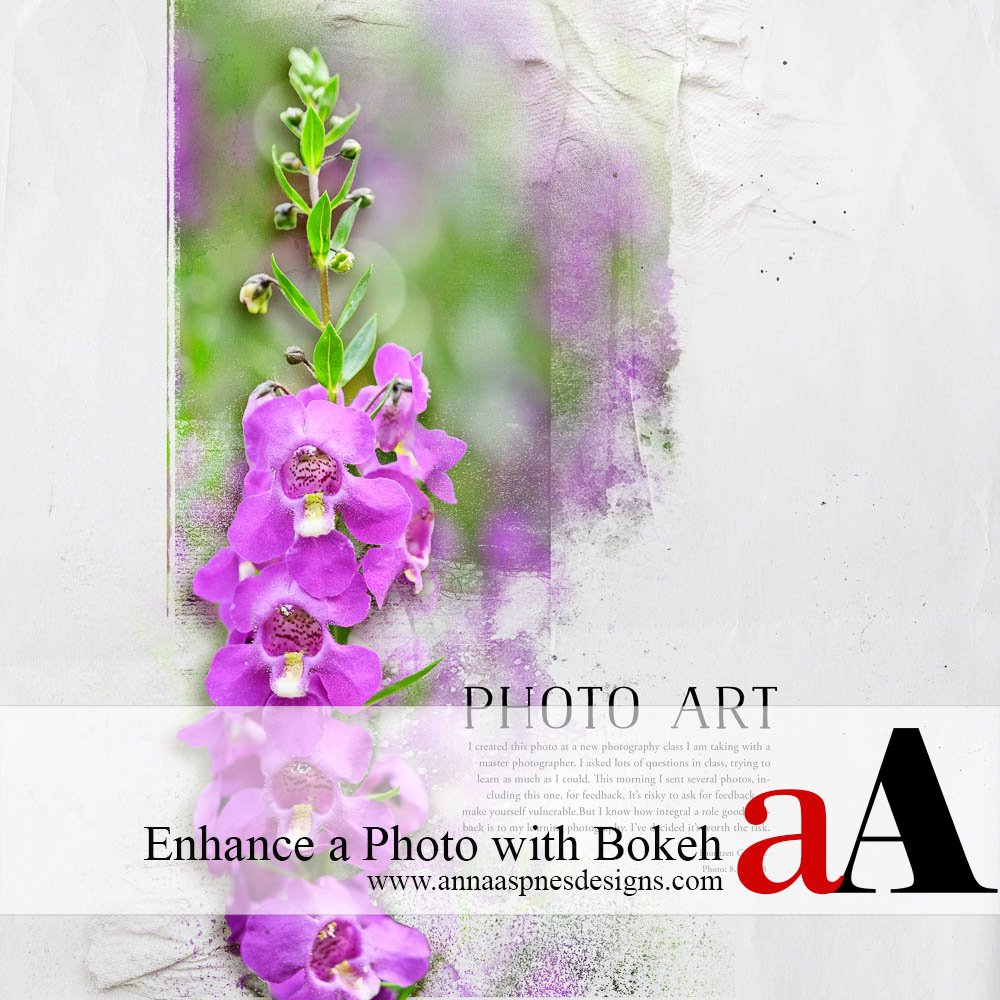
I love the bokeh that I can capture with my macro lens if the light is just right when I am using a wide aperture on my camera. But if my bokeh isn’t consistent or strong enough over my entire image when I’m creating a scrapbook page, then I use the glows in Bokeh No. 2 to enhance my photo as I did for this layout.
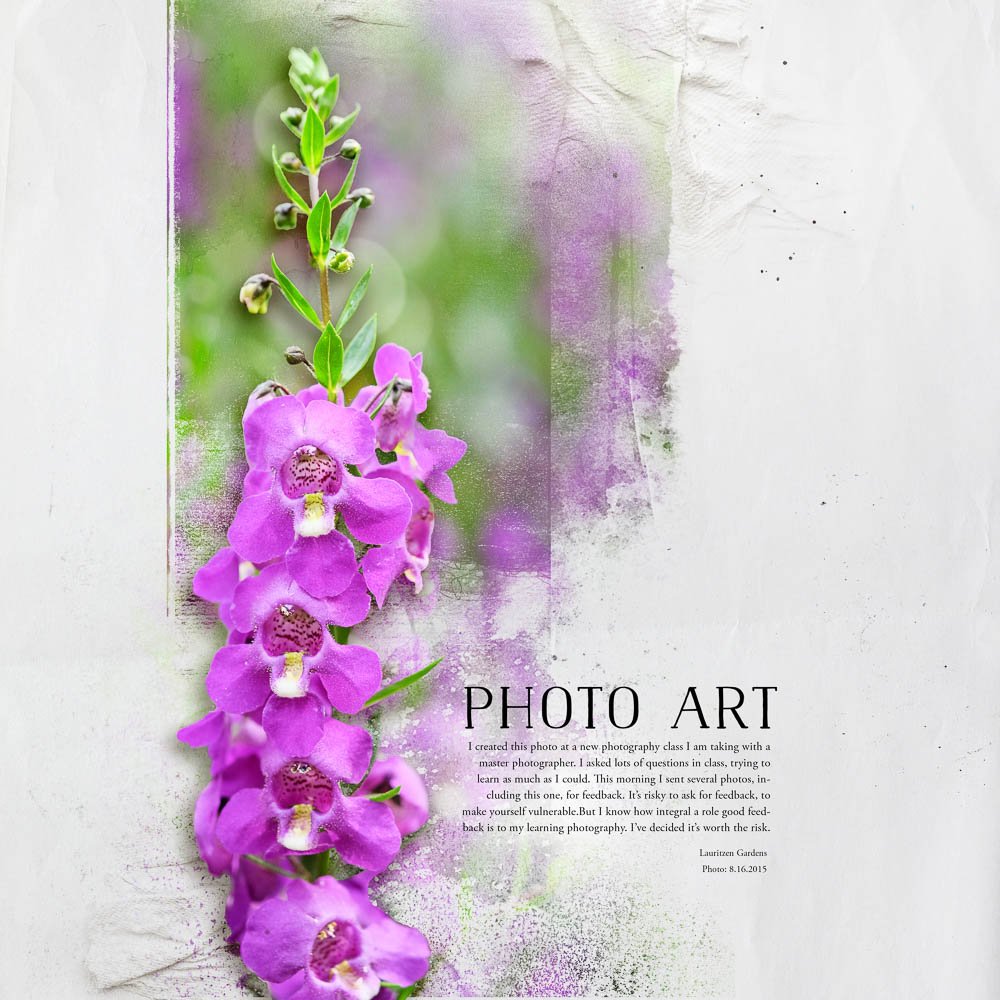
1. Attach Photo to a Mask. After dragging Mask 6 from FotoBlendz Overlays No. 3 onto my new document I used the Transform Tool, accessed by pressing command(control)+T, to widen the mask a little to better accommodate my vertical photo. Then I clipped my photo to the mask.
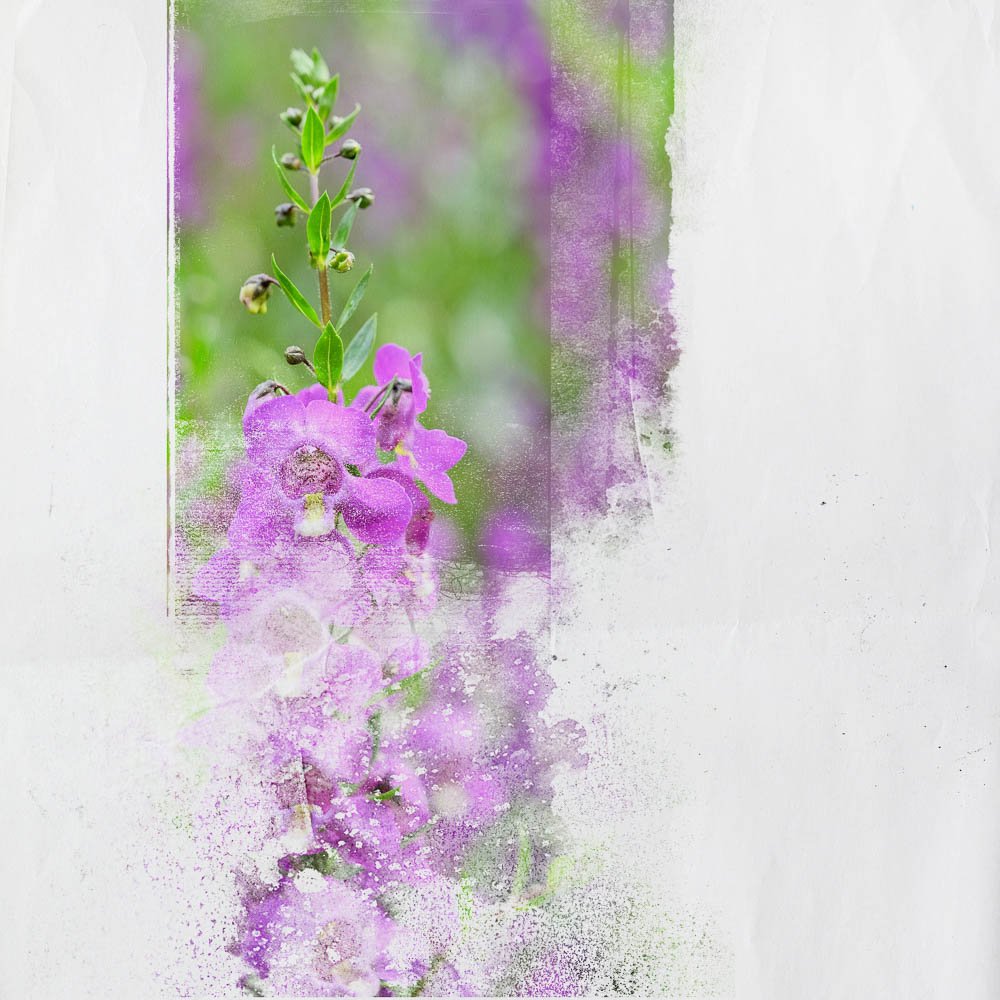
2. Add Bokeh. To enhance the bokeh in my image, I dragged all the glow layers of bokeh 1, a psd file, from Bokeh No. 2 and placed them above my photo and mask. I resized the glows as a group by pressing command (control)+T again to get the Transform Tool. I recolored three glows and changed the Blending Mode on two to coordinate the individual glows with my flowers. I adjusted the position of several glows above my flower. If you look closely you can see the effect of the glows on the small flower buds and stems at the top of my photo.
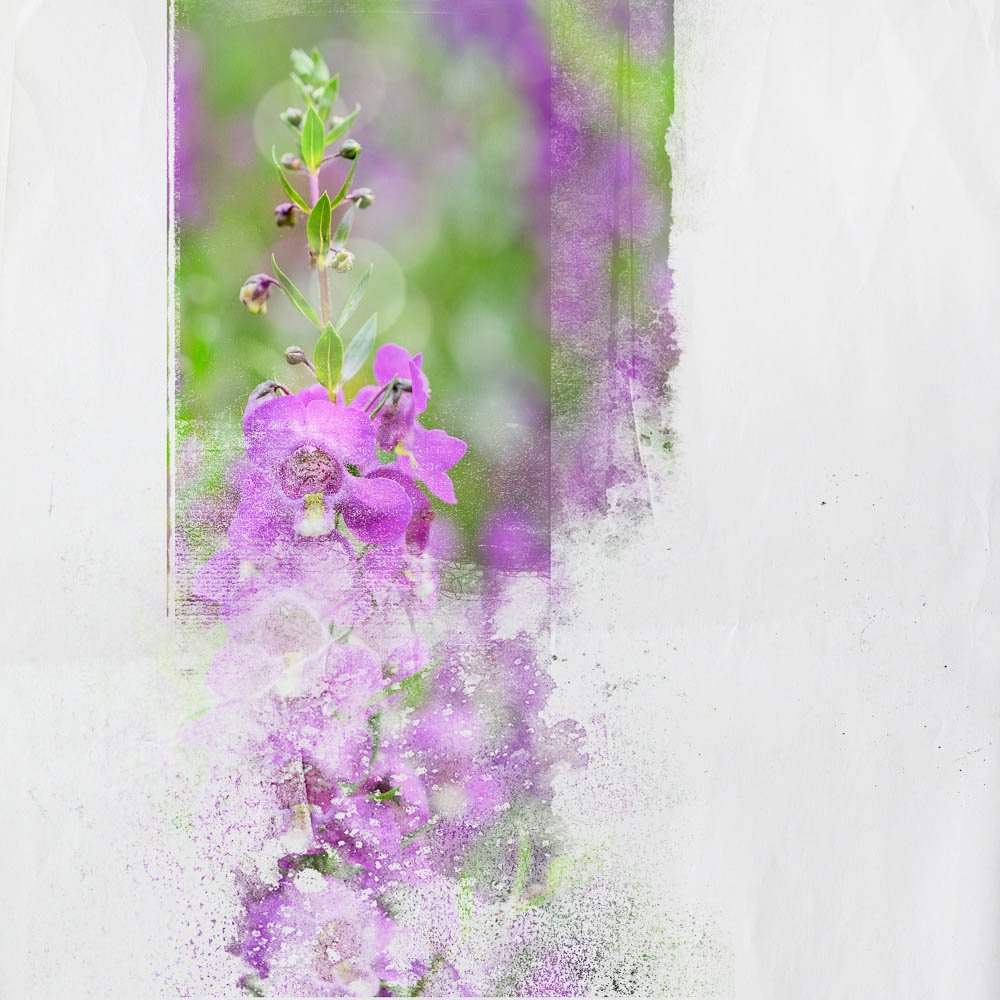
3. Extract Flowers. I duplicated my photo and moved it above the bokeh glow layers. I extracted the focal flowers with the pen tool before clicking the layer mask icon to place my extraction on a mask attached to the photo. Then I used a soft round brush to make adjustments to the mask. I duplicated the extraction and changed the Blending Mode of that layer to Soft Light. Now the bokeh behind my extraction looks like part of the photo’s background.
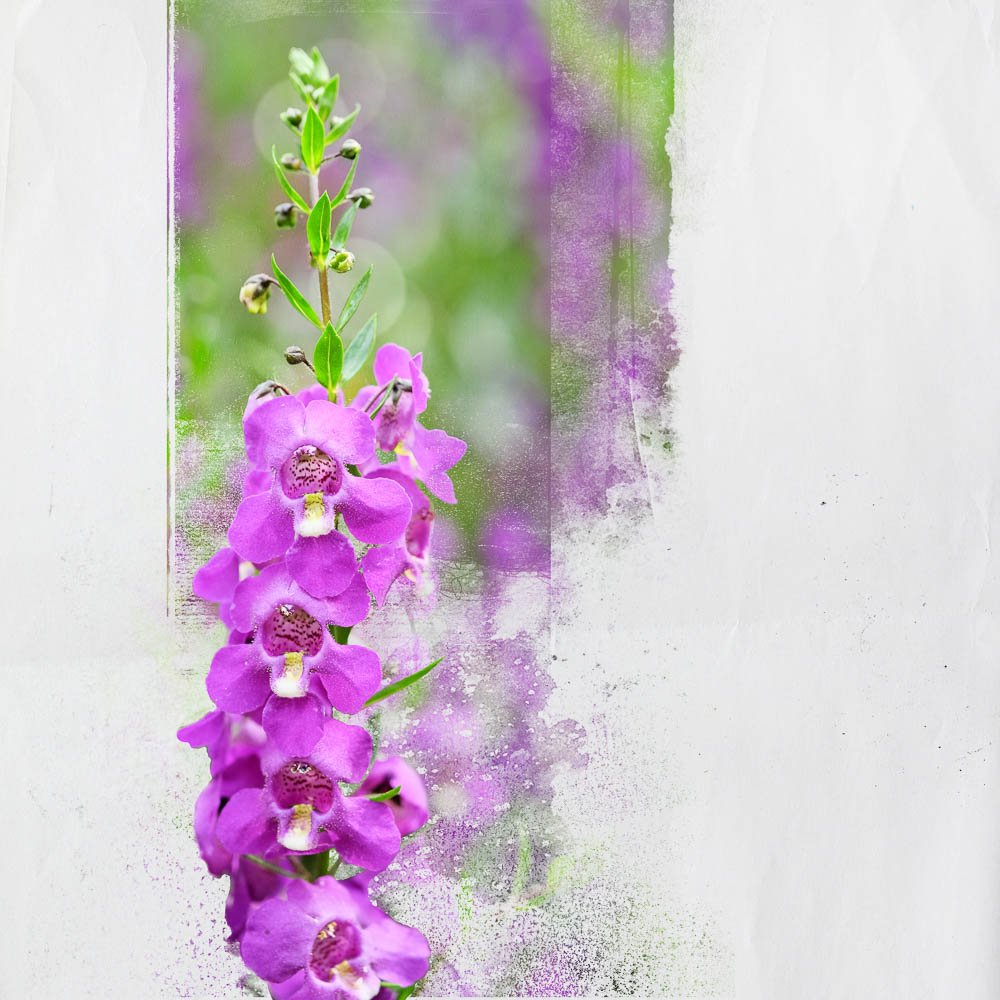
4. Add Texture, Journaling and a Title. I like to use texture with transfers or brushes to add interest and depth to my pages. Below the extraction copies, I placed four layers from ArtsyTransfers Airy on the top right of the mask: a stain, two transfers and a splatter. On the bottom left, I place a tape from ArtPlay Palette Airy. I gave my flowers a custom shadow and finished my page with a title, journaling and the date.
Click on the above photo for additional process notes and supplies used.


Gosh! Linda can take a snapshot of any ol’ flower and make it look like a masterpiece! Amazing! Thank you!
Su
Wonderful tutorial!