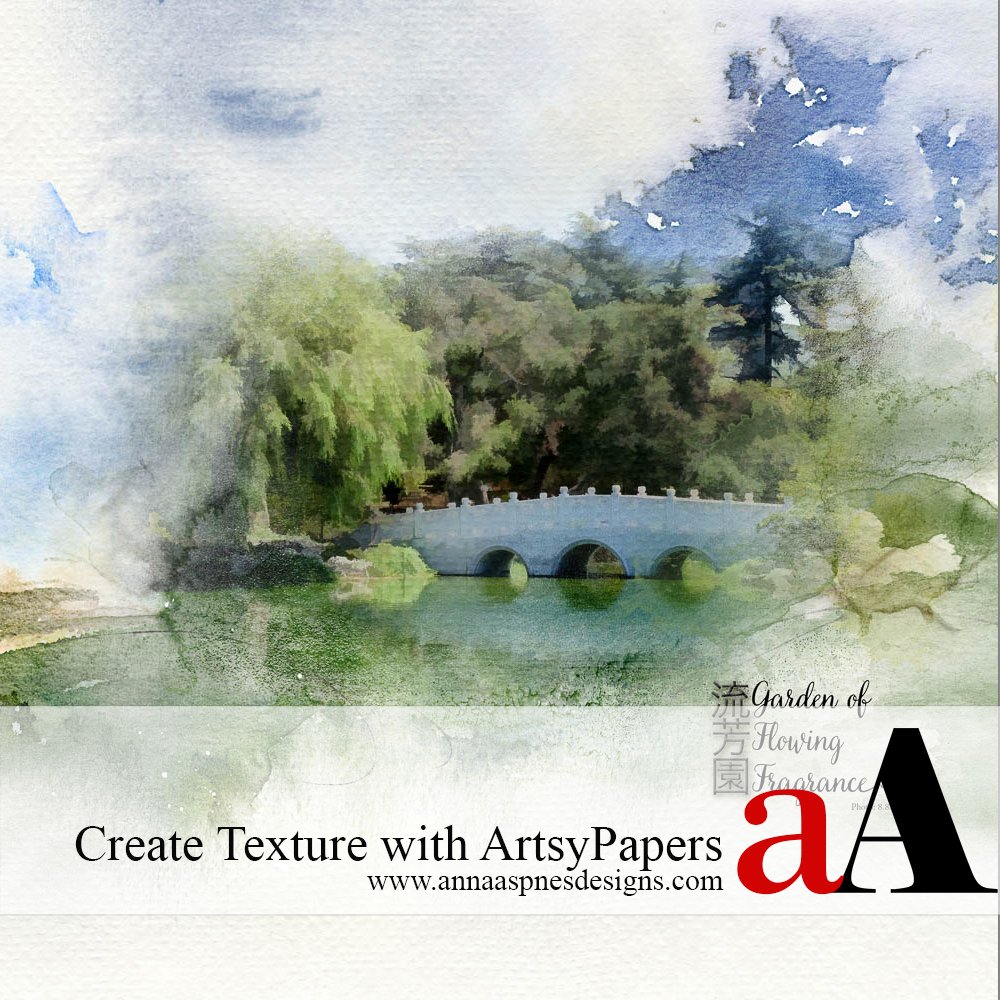
Creative Team Member, Linda Davis, shares a quick tip for adding texture to a piece of photo art using a paper from ArtPlay Palette Mountain High.
One of the first strategies I learned for adding texture to a piece of photo art was to change the blend mode of the photo layer or mask from Normal to Multiply or Linear Burn. But sometimes a darken blend mode, i.e. Multiply, darkens a photo too much. Then I would have to add another adjustment layer to the photo art to lighten it.
With a little experimenting, I have found that I can get the texture I want without changing the blend mode of my photo art so that my painting’s exposure remains the same.
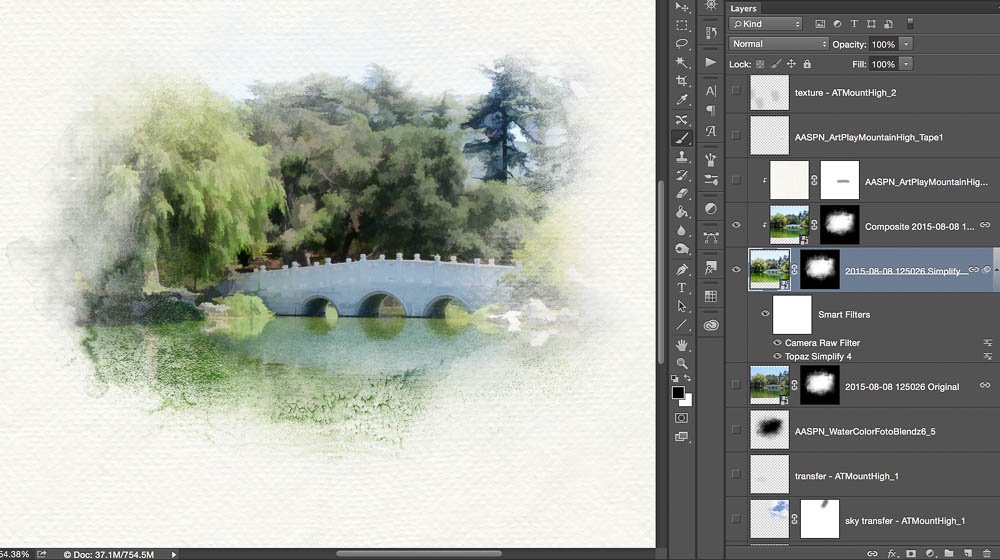
1. Create Painting. First, I created a custom watercolor look for my photo using a Photoshop/Photoshop Elements plug-in, Topaz Simplify.
2. Add Layer Mask. Once I had my photo looking like a painting, I placed WaterColor FotoBlendz No 6 (mask 5) on a layer mask. The edges of the image have texture showing through the FotoBlendz on the layer mask, but if you look closely, the center of my “watercolor painted” photo is still smooth.
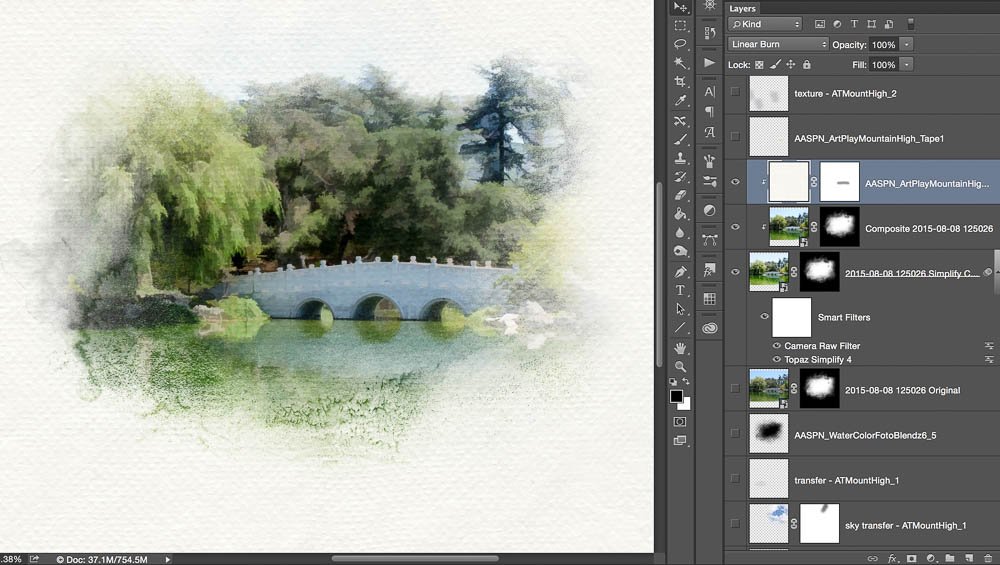
3. Clip Paper to Photo Layer. To give my entire photo the same texture, I placed ArtPlay Palette Mountain High Solid Paper 3 above my photo and then clipped it to my photo by pressing the keys Opt (ALT) + Command (Control) + G (Photoshop) or Command (Control) + G (Elements). I changed the Blending Mode of the paper to Linear Burn at 100% opacity.
4. Add Layer Mask to Paper. With the paper highlighted, I added a Layer Mask then used a brush to mask out places where I wanted to lighten the texture over the bridge. By placing the paper above my photo and changing it’s Blending Mode, I could make adjustments on the paper texture with a layer mask. Had I changed the Blending Mode of the photo layer itself, I would not have been able to make that adjustment.
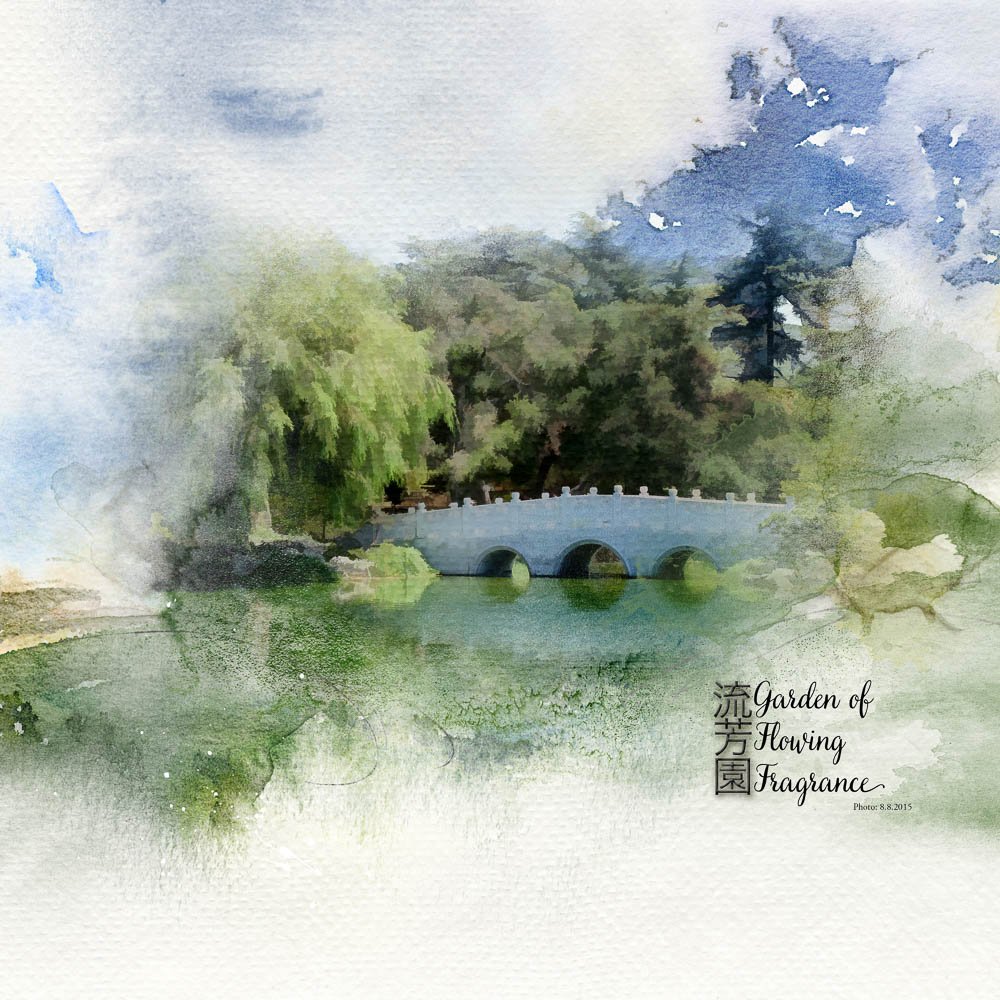
Now my photo looks much more like a painting.
Click on the above image for additional process notes and a list of supplies used.
For more information on using Layer Masks and brushes to create DigitalART, please see the AnnaBlendz LIVE classes page.

3 Responses
Thanks Linda for a wonderful tutorial!
Thank you Ulla-May! I’ve used you color fill idea on my latest layout, great idea:)
How clever Linda. I’ll give this a try for sure and credit you for the tutorial. I love using Anna’s fotoblendz but rarely do more with them than fill with colour. I really need to start stretching myself. Many thanks!