

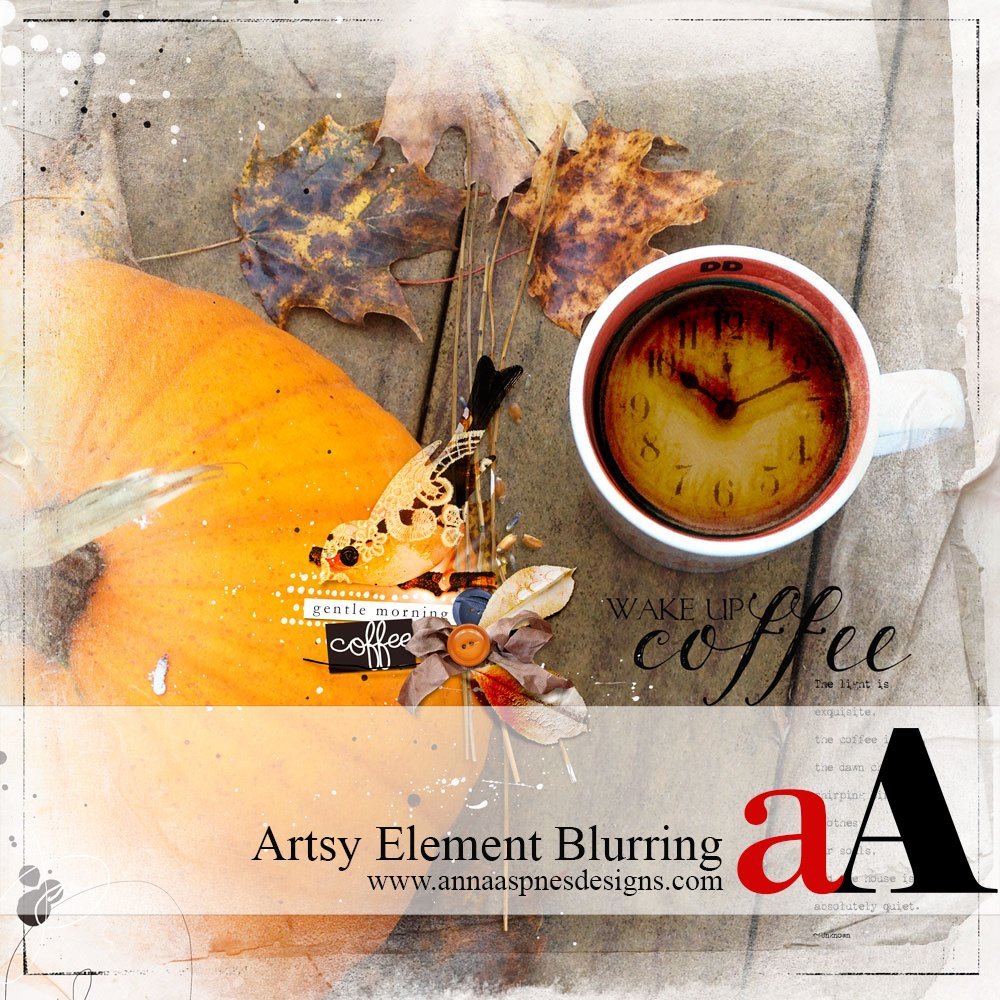
Creative Team Member Miki shares Blurred Digital Scrapbook Elements Tutorial for Adobe Photoshop.
Blurred Digital Scrapbook Elements Tutorial

1. Create a Foundation
Establish the foundation for your digital scrapbooking or photo artistry layout design.
- Create a New File at 12 x 12 inches and 300 PPI resolution.
- Open and drag your digital paper onto the layout using the Move Tool from the Tools Panel.
- I used Artsy Paper #1 from ArtPlay Palette Gentle Morning.
- Select a FotoBlendz clipping mask in the size and shape of preference.
- I chose a clipping mask from 12 x 12 Page FotoBlendz No. 9.
- Place the mask layer on the page and resize as needed.
- Clip your photo to the mask using the Clipping Mask Function in Adobe Photoshop (CTRL + ALT(OPT) + G).
- Duplicate the photo as preferred, apply a Hard Light Blending Mode and make Opacity adjustments to brighten your image.
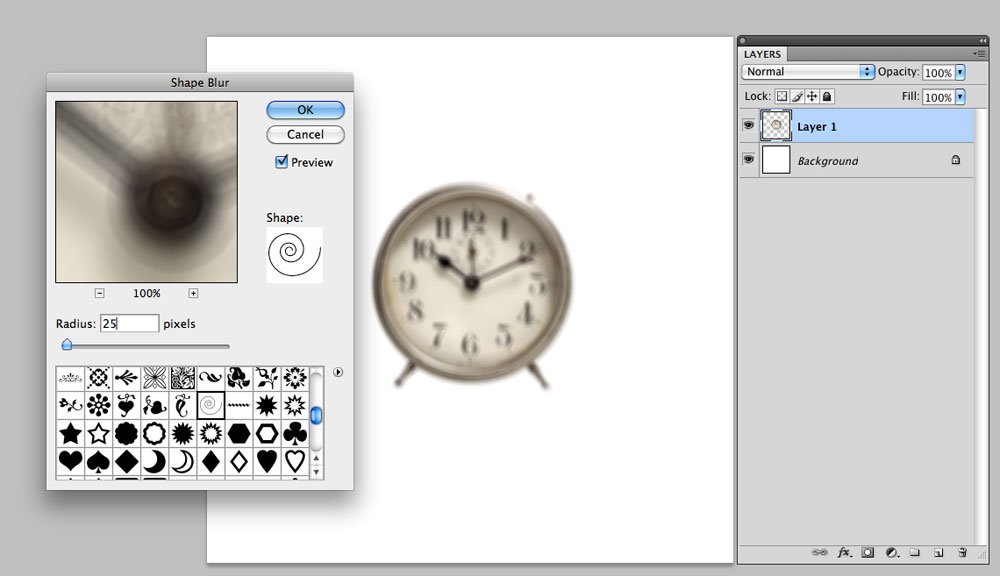
2. Apply The Blur
Add a blur to an element to yield the artsy effect.
- Apply a Shape Blur located in the Filters menu (Filters >Blur>Shape Blur).
- Select the spiral shape and experiment the amount of blur by sliding the Radius slider.
- Note that different shapes give a different Type of Blur on the image.
- I wanted the numbers still Readable, but slightly off, and so moved the radius slide to 25.
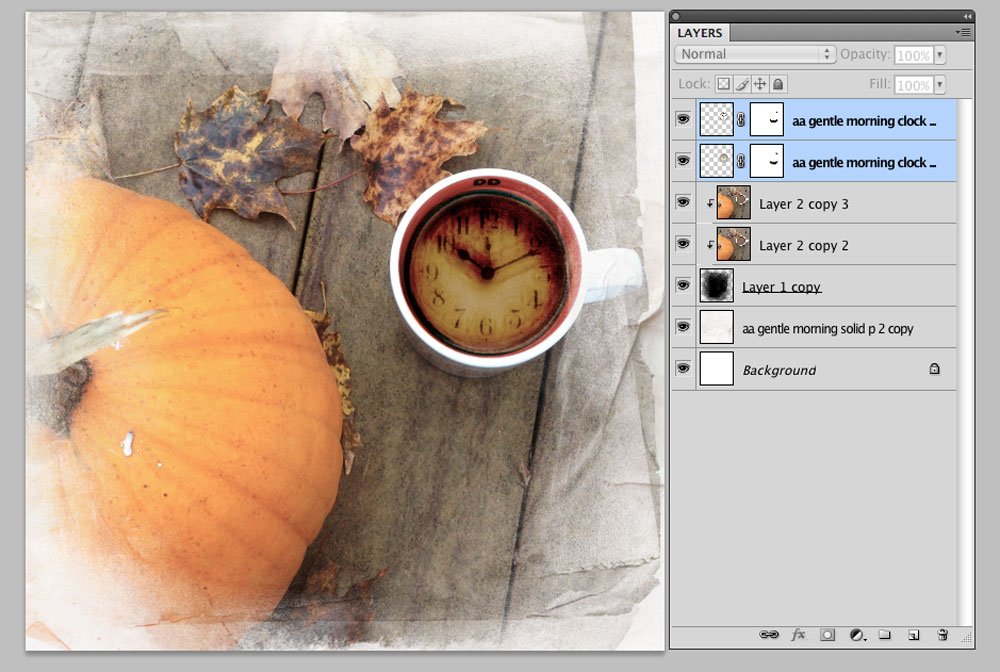
- Apply a Layer Mask as need to make edits to the image using the Paint Brush tool.
- I applied a Layer Mask and brushed out the legs of the clock using a small round brush (Layer Menu >Layer Mask >Reveal All).
- The clock was layered over the coffee cup with the Blending Mode in the Layers panel changed to Color Burn.

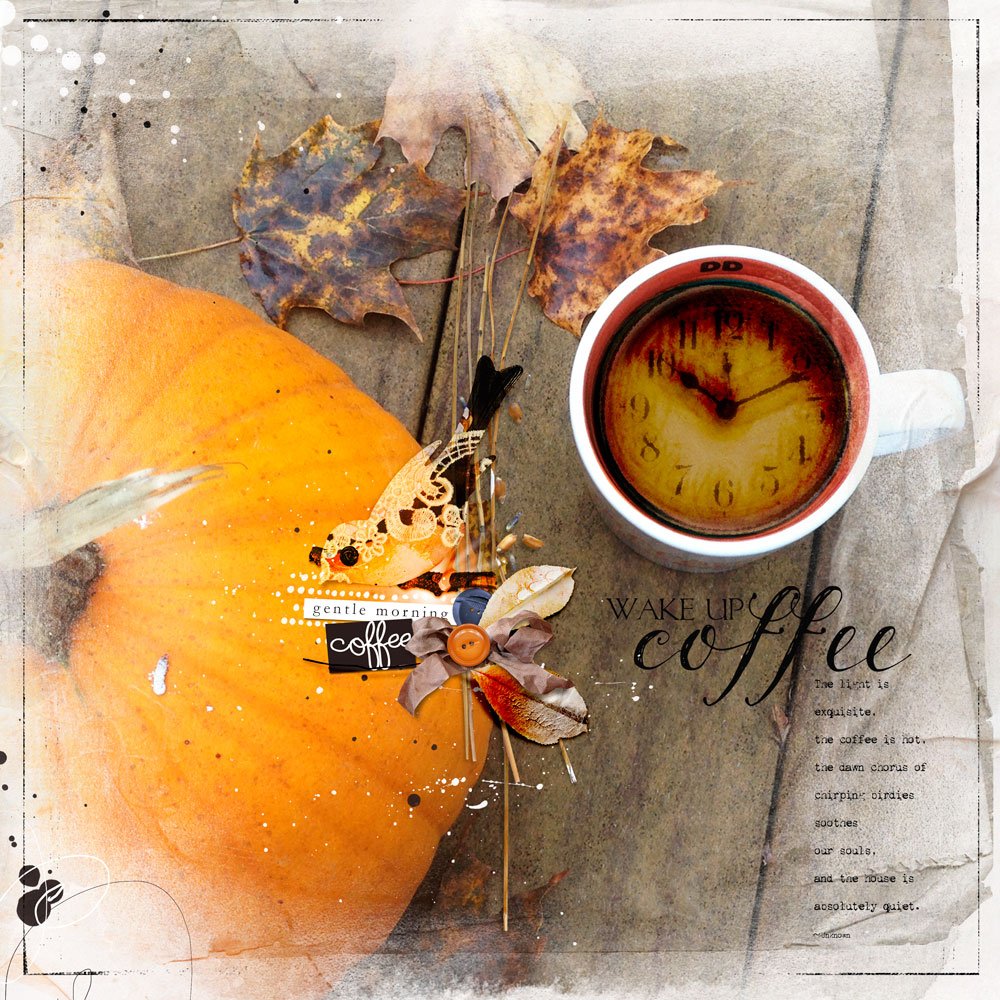
3. Create Element Cluster
Build your own element cluster using digital art elements.
- The cluster was created by Layering and Overlapping embellishments.
- You can use Embellishments such as buttons, a ribbon, foliage and label words, from ArtPlay Palette Gentle Morning.
- Place and reposition them using the Move tool from the Tools Panel.
See also:
Want More Digital Scrapbooking and Photo Artistry Inspiration?
- Check out the Gallery here.
- See LOTS more Tutorials.
- Watch a Video.
- Take a Class.
Post your questions about Blurred Digital Scrapbook Elements Tutorial in the comments.


It is such a pity that my English is not good enough to understand everything, I use no PhotoShop but PhotoShop Elements 8 and Corel PSP X8. I find it very very handsome to explain all this like Miki do. I LOVE the colors of Fall, thanks a lot Miki for this great tutorial!
Thanks for the great offering Anna, unfortunately I have Genle Morning already, it’s a so beautiful APP! 😉
Marleen
Your English is fabulous – Better than my Dutch 🙂 Appreciate your feedback in this space.
I forgot to say: have also a Happy Fall Anna and Miki!
Thank you Marleen. You too!
Thank you and Happy Fall, Marleen!
That is such a beautiful piece of art! Captures a Fall morning cuppa-joe perfectly … even feels a bit like that here in Florida this morning!
Unfortunately, I’m not getting the coupon to work for me. Anyone else have a problem?
Try it again Diane. Should work correctly now.
Just tried it again and it worked. Thanks so much.
Excellent. Happy to help. Thanks for letting me know.
Thank you, Diane!