Creative Team Member, Adyrane, shows us how to create an aged effect using Brushes and Blending Modes in Adobe Photoshop and Elements.
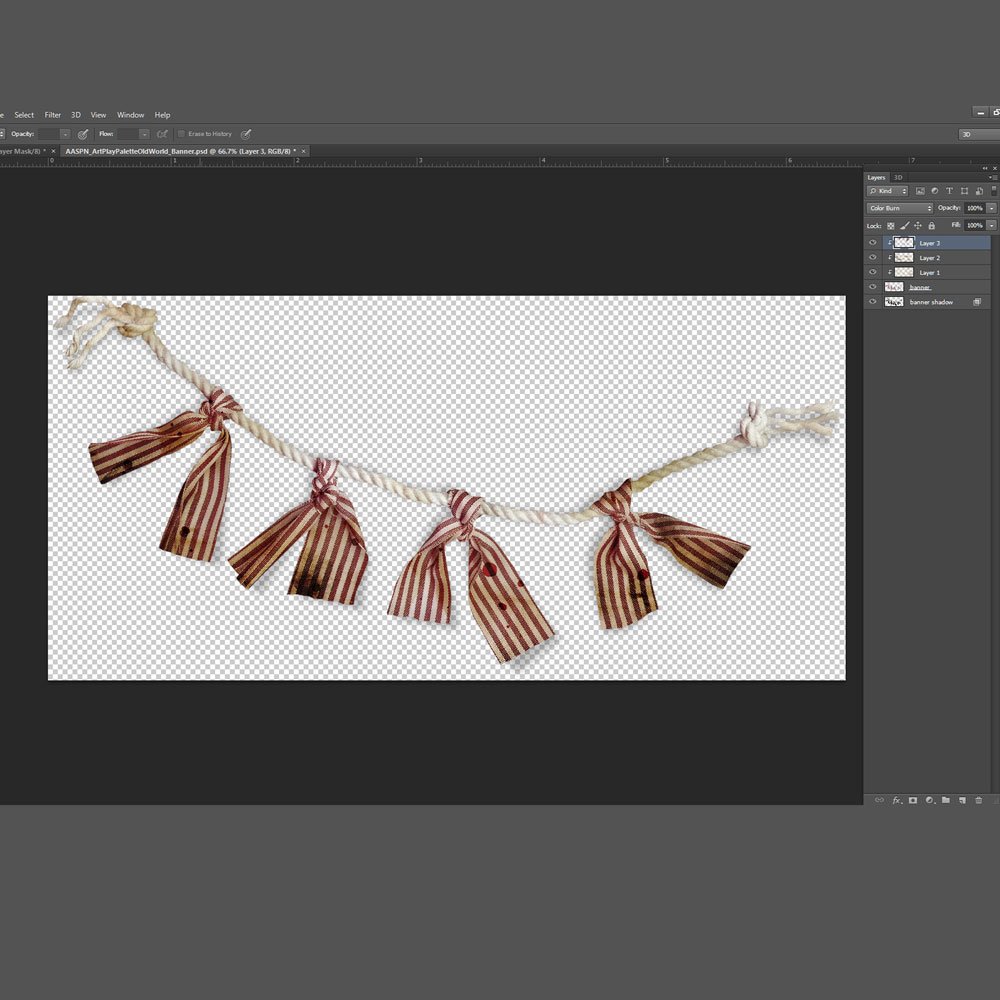
1. Select Element. Open the digital element and place it on your layout using the Move tool from the Tools panel. Note that, I usually work on the element while it is in place on my page. For demonstration purposes, I have added a separate screen shot of the element below. The banner element is from ArtPlay Palette Old World.
2. Create a Clipping Mask. Click on the New Layer icon in the Layers panel and clip the New Layer to the element layer. Press Ctrl + ALT + G (Photoshop) or Ctrl + G (Elements) buttons on your keyboard. Note that you may create more than one New Layer. I will usually use more than one color and each color is on a different layer.
3. Using Brushes. Load a selection of [aalogo] BrushSets into the Brushes panel. Watch Brushes Basics | A Guide to Loading and Using Brushes in Adobe Photoshop Elements. Choose your brush type, size and select preferred color, then stamp the brush on the new layer. Repeat as needed. I like to use the ArtsyPaint BrushSets and DrippedStains No. 3 and DrippedStains No.5.
4. Select Color(s) and Blending Modes. Consider what color(s) you want to use to distress the element. I used a tan color on the first two layers set to Linear Burn Blending Mode and a maroon color close to the color in the ribbon strip on the third layer set to Color Burn Blending Mode.
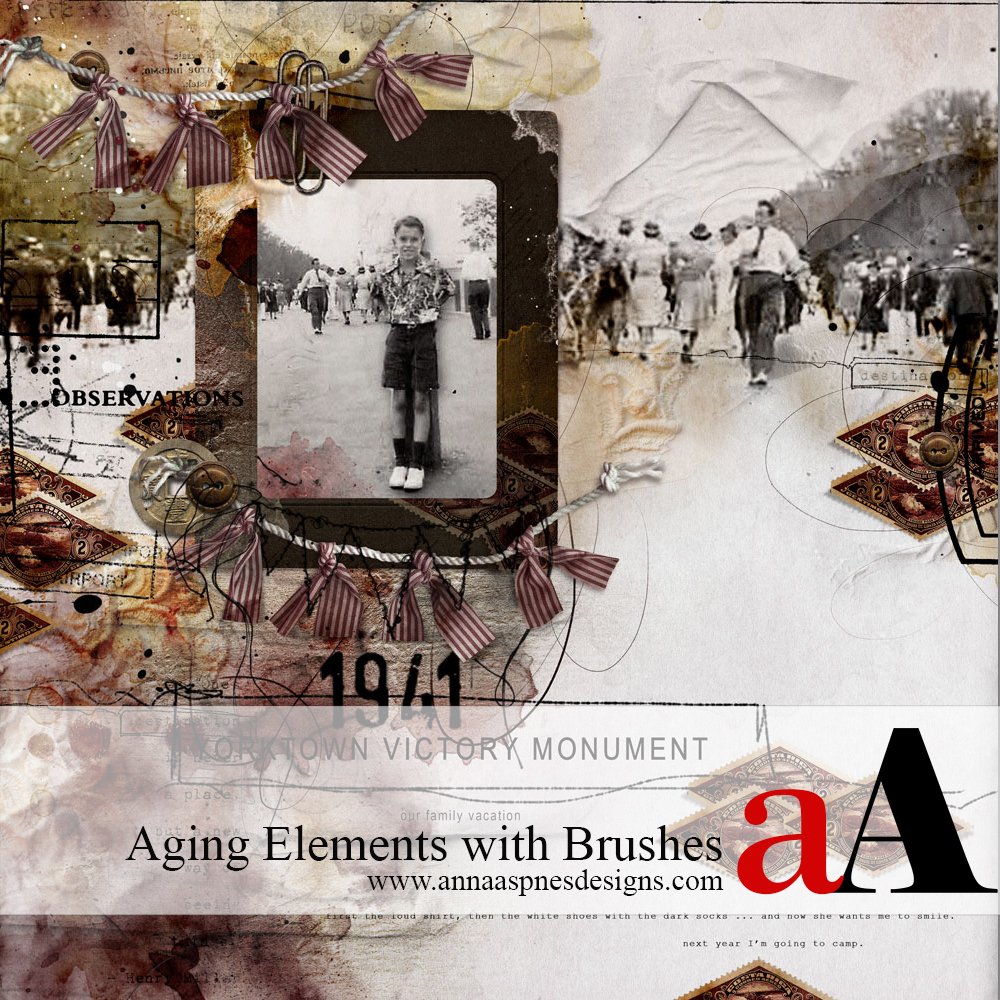
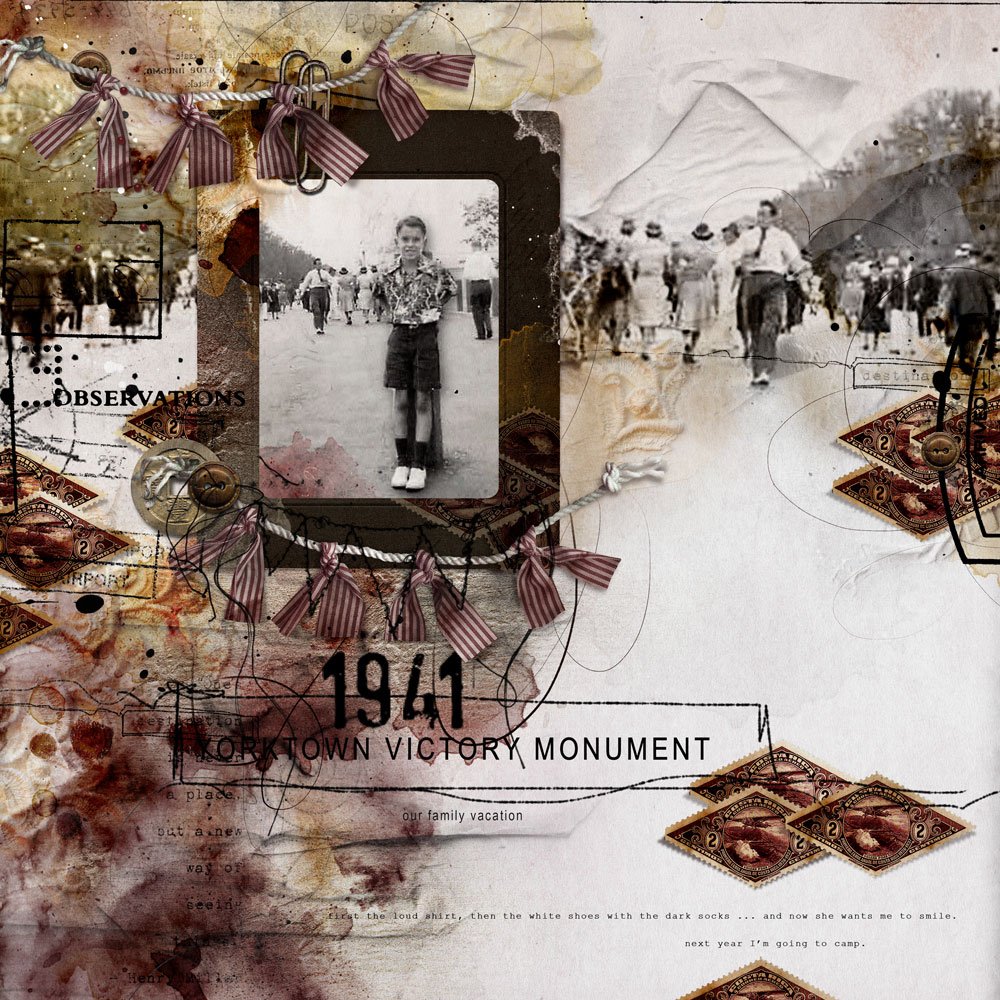
The finished DigitalART page.


5 Responses
Love this technique! It’s really perfect to “damage” and “age” elements that look too vivid or too new.
Thanks for the tip 🙂
Great tip Adryane. Love the aged look it gives. Thanks for sharing!
Monique 🙂
Adryane ROCKS! No doubt.
Another great tip. Thanks Adryane.
Sometimes, aging the elements can help so much, giving character to the overall layout! Wonderful tips! Thank you!