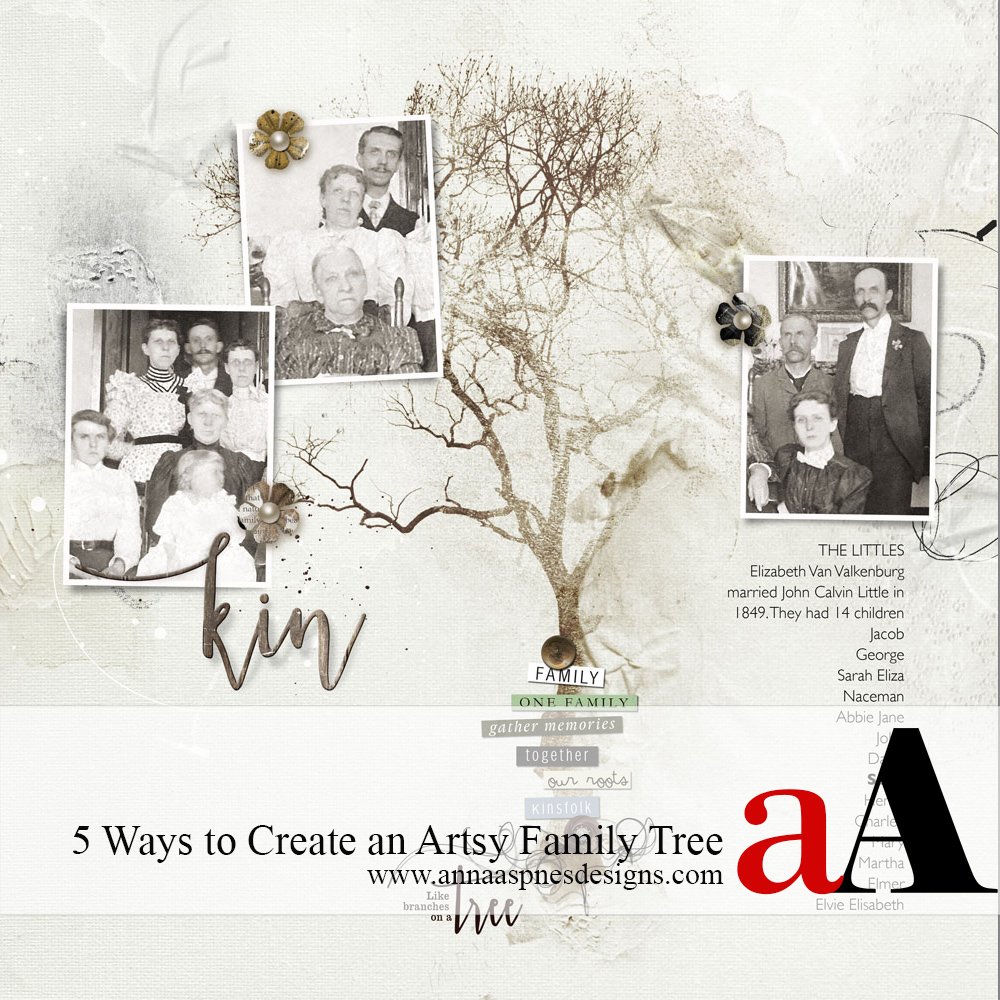
Today, Creative Team Member, Miki is sharing 6 Ways to Artsy Family Tree Digital Scrapbook Pages.
6 Ways to Artsy Family Tree Digital Scrapbook Pages
I first became interested in family history in my early teens. My paternal grandmother and maternal grandfather both emigrated to the United States in 1913 and passed through Ellis Island. I remember studying the pictures of immigrants in my history books looking for my grandparents. I asked questions, and they talked to me, but I was too young to retain or record their responses. But lucky for us, Uncle Sam likes to keep records of our ancestors.
I had the fortune of discovering a box of photos, letters and newspaper clippings when cleaning out my mother’s house. There were photos of people that I recognized and knew and then there were the old photos of people who I didn’t know. But “Family faces are like magic mirrors looking at people who belong to us, we see the past, present, and future.” Gail Lumet Buckley . There were family resemblances, eyes, lips, noses. With some research on line, the puzzle pieces came together. My family history is incomplete, but it’s a place to start from for the future generations.
I began with a traditional family heritage scrapbook, adding a photo with the name and date. When I discovered digital scrapbooking, my ideas grew and so did my book. Anna has so many different kits and products to use to help in creating beautiful artsy heritage pages. I have no order in which I scrap the heritage pages. I print them and keep them loose, rearranging pages as I do them.
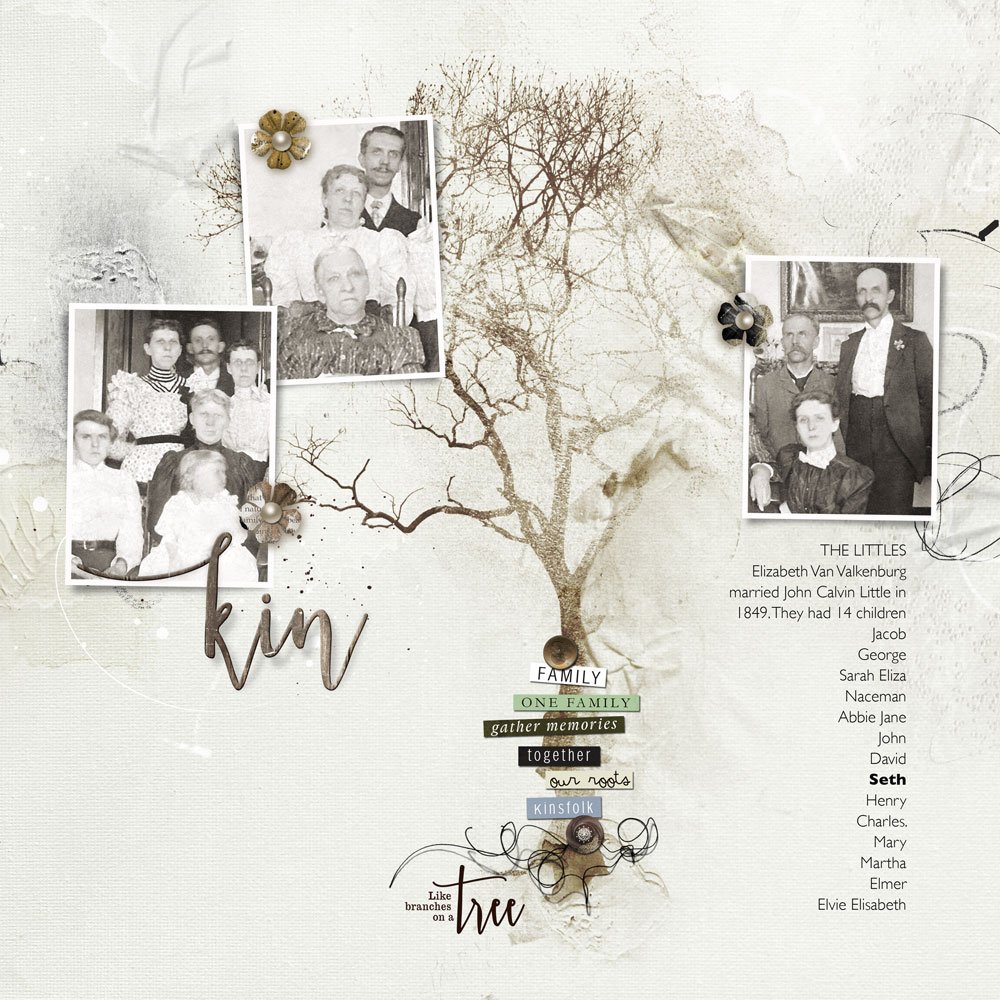
1. Photos. If you only have one photo, duplicate it several times and place portions of the photo in frames. By using several frames placed around, the page is filled with family. Repetition creates unity on the page. Duplicate your photos. Change the size or flip it to a different direction. Change the Blending Mode. I like using the Color Burn mode a lot. It often adds that nice sepia tone. I also like to repeat colors, embellishments and word art.
2. Color. I tend to gravitate to the neutral tones when creating pages. Most of my old photos are sepia or black and white. Adding pops of color enhances the page and helps to tell the story. Vintage photos are often faded and a bit hazy. Color adds energy and can create a focus, and an unexpected element to the page. Again, when working with a sepia toned page, I choose muted colors as to not overwhelm the page. When working with time period photos think about the colors of the era, 50s, 60s, 70s, etc. This can also set the stage for the story behind the photo.
3. Templates. My sister was going to throw out an old album of photos dating back to the early 1900s. I’m glad that she asked me if I wanted it before she threw it out. As I looked at the photos I realized that they were photos of my grandmother as a young girl (inherited facial features helped us to determine this). There were a couple of pages of the family enjoying an outing. Using Anna’s double page templates were perfect for this. Clipping the photos in the frames. Using some of the frames for brushes, memorabilia, wordart, etc. breaks up the photos and adds more interest.
4. Ephemera and Brushes. In the box of goodies my mother had saved I found receipts from her first solo flight and a newspaper article about it. Also in the box were letters that she wrote when she was 10 years old to her mother. I like to scan these items and then create a brush, adding them to the page. This creates an authenticity to an important event and gives insight to a time period. Handwriting samples can be added. Anna has a wonderful selection of image brushes that also can add interest and details to heritage pages.
5. FotoBlendz Masks and Extractions. Some photos have a distracting background, by extracting the focal image from the photo the busy background is eliminated. Adding customized shadows gives depth to the image. I like to use several FotoBlendz masks and clip the images to them and then change the Blending Mode of the FotoBlendz to Darken to allow the paper to show through. It makes overlapping photos easier and often gives a transparent look to the page.
6. ArtsyTransfers and ArtsyKardz. The layers that are provided in the ArtsyTransfers and ArtsyKardz allow you to embed the photo in them. The ability to move, resize or recolor the layers allows for more flexibility in the design. Playing with the Blending Modes can also add an interesting dimension. Placing layers of colors over the photos with a Color Burn or Hard Light Blending Mode can change a badly exposed heritage photo to an interesting colorful one. There are no limits to the possibilities and so fun to play with. You never know what will happen.
I’m sure that my ancestors didn’t live a “sepia tone” life. Looking at some of the old photos of my relatives, I bet that they were very “colorful” people!” Adding some tibits of gossip and comments to the heritage page is priceless for future generations. I’m not sure where this quote comes from, but, “To know where you are heading, you need to know where you came from.”
More Artsy Family Tree Inspiration from the aA Creative Team
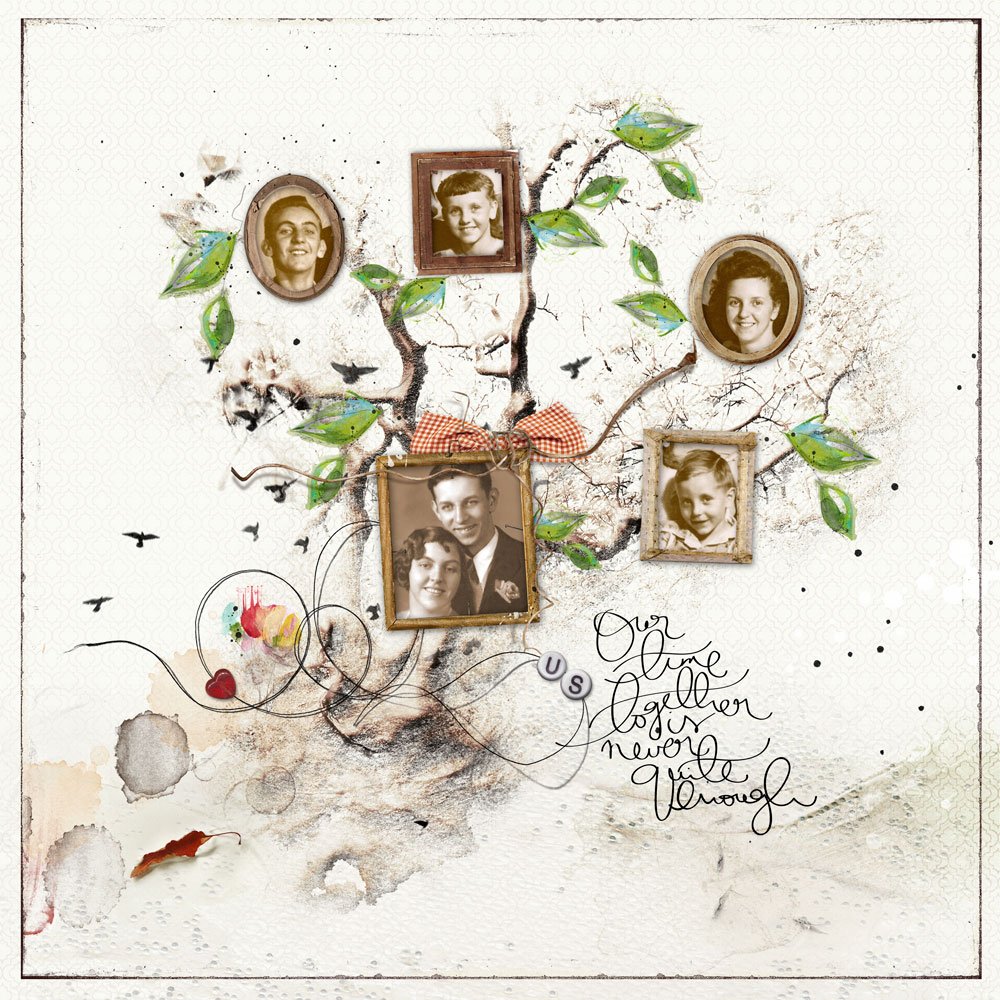
Miki
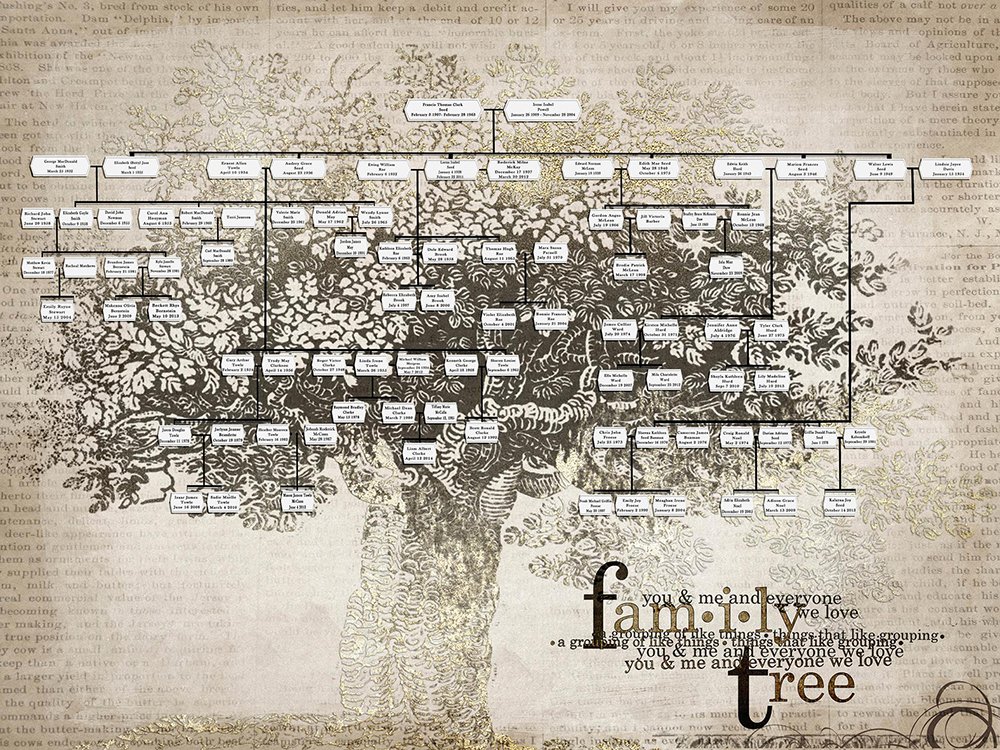
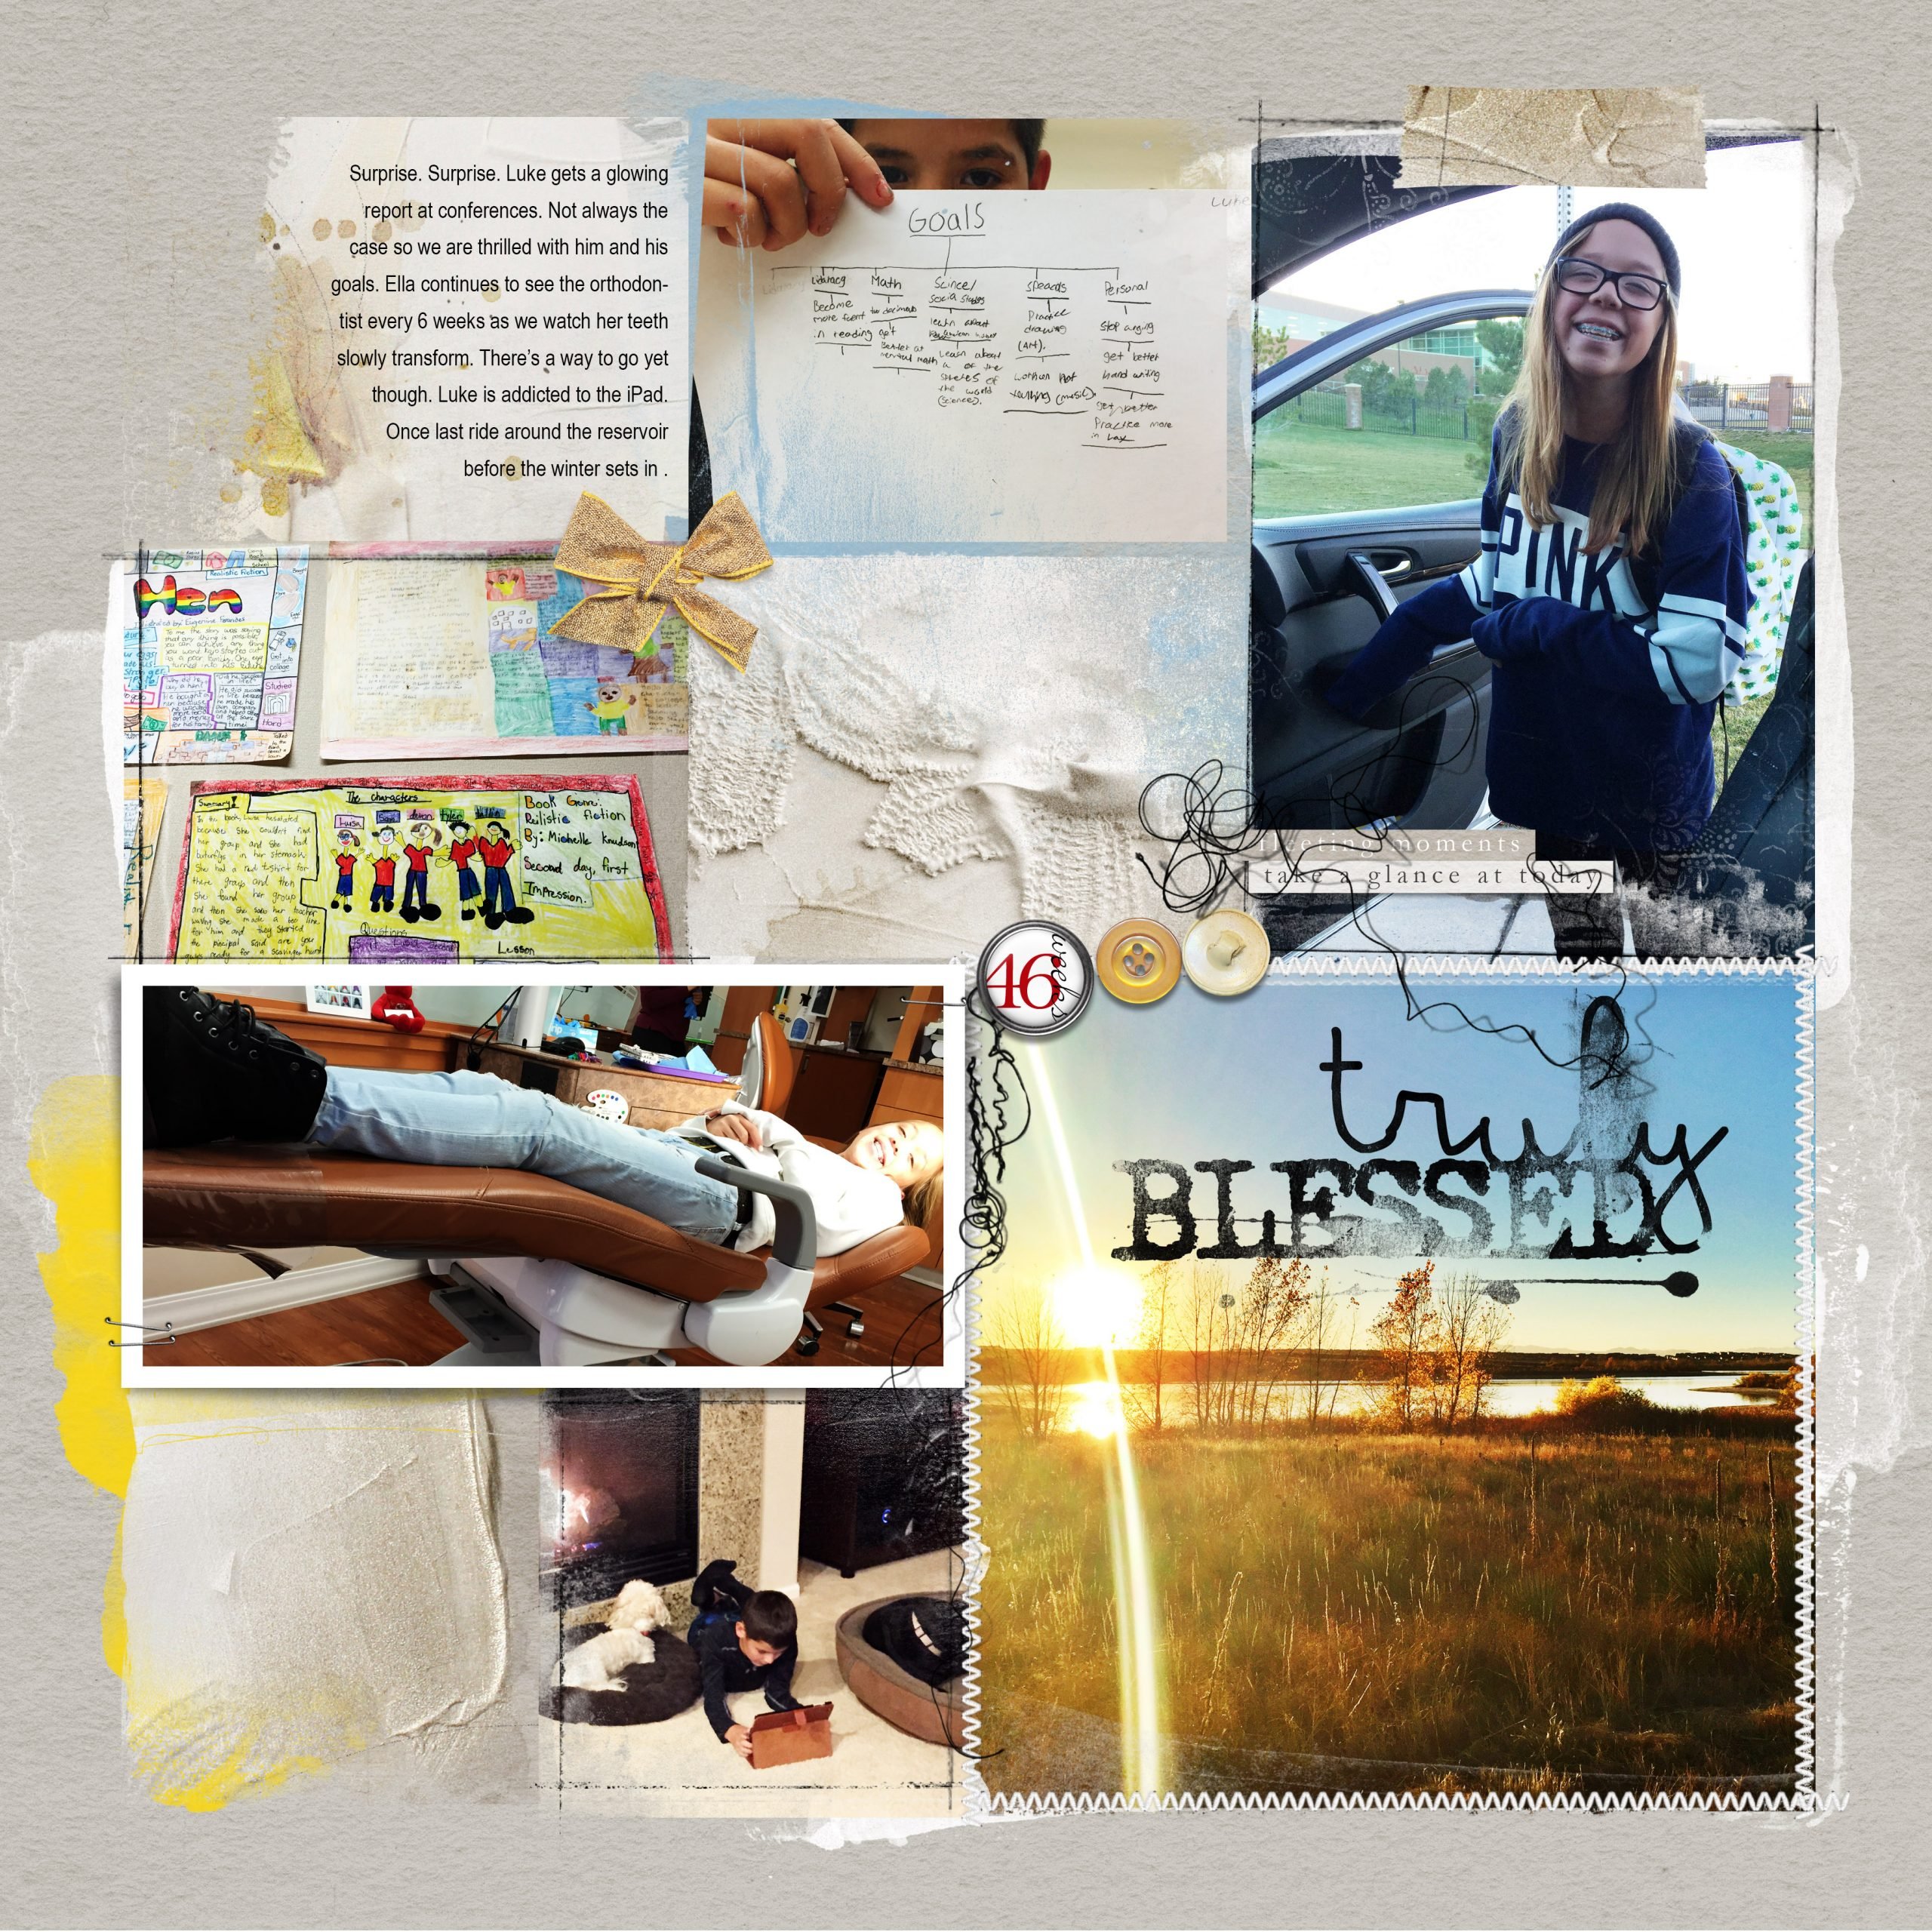
Trudy
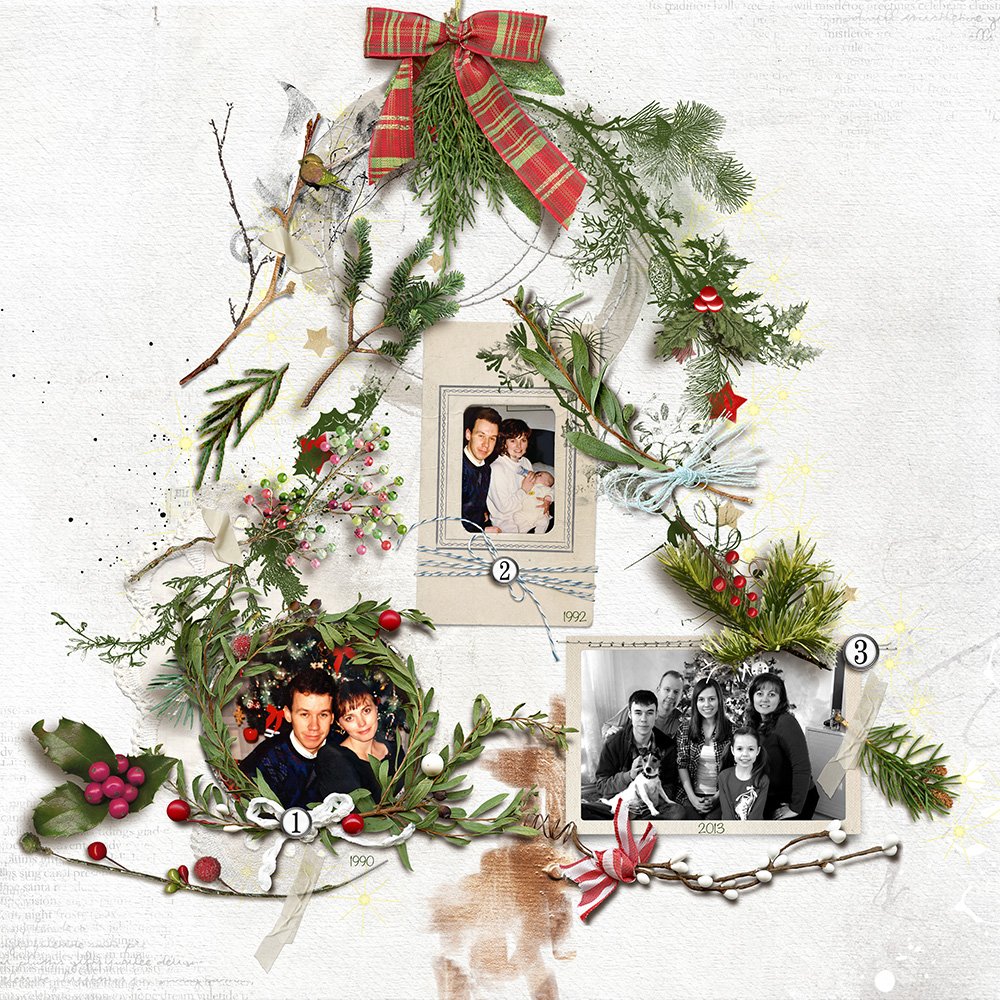
Heather
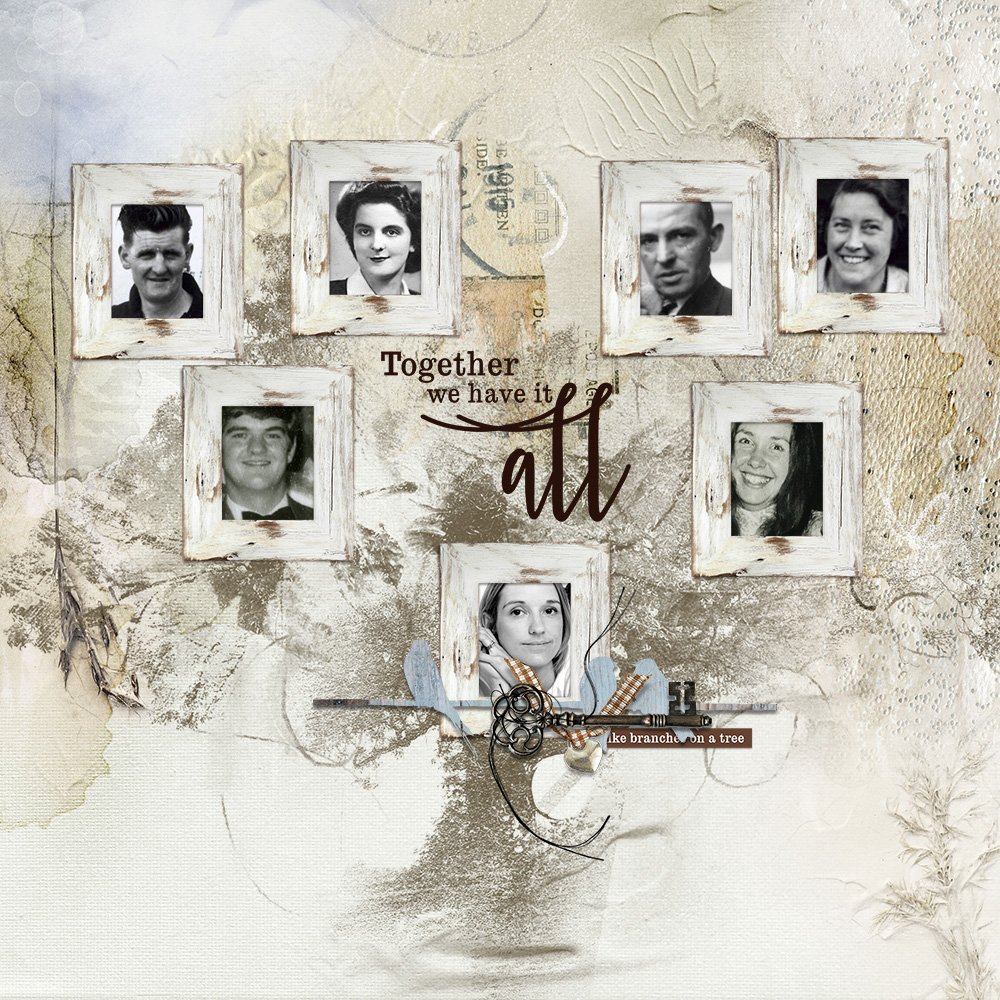
Anna
Post your questions about 6 Ways to Artsy Family Tree Digital Scrapbook Pages in the comments.




Thanks for the great tips and techniques, Miki. All the trees are family treasures filled with family history. Especially love Heather’s Christmas family tree. Since I don’t have any family photos, I may have to do a tree filled with the family I would choose, my imaginary kin. Famous authors, artists, infamous women—hey, that could be fun!
Great idea!
I am working on a family history book both for digital and print. Thank you for the great inspirations. I fell in love with Trudy’s family tree. If she would be kind enough to point me in the right direction, I would really appreciate it. Thanks for focusing on my current project.