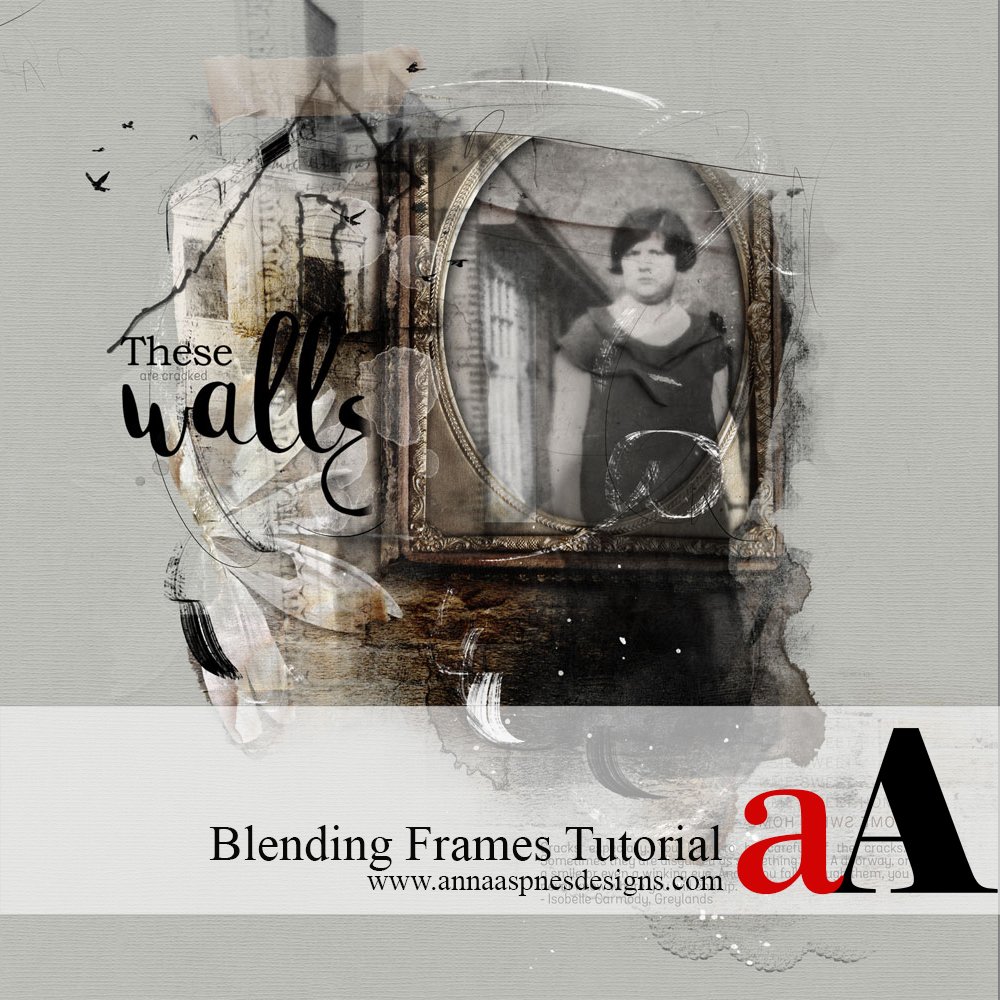
Creative Team Member, Adryane, shares a Blended Frames Digital Scrapbook Tutorial in Adobe Photoshop.
Frames are an easy and natural way of highlighting the subjects on our pages. With the variety of frames available—traditional, artsy, ornate, vintage, acrylic, wood—the most difficult decision may be which one (or ones because combining frames adds visual interest) to use. I usually start with the theme of my page and work from there.
Blended Frames Digital Scrapbook Tutorial
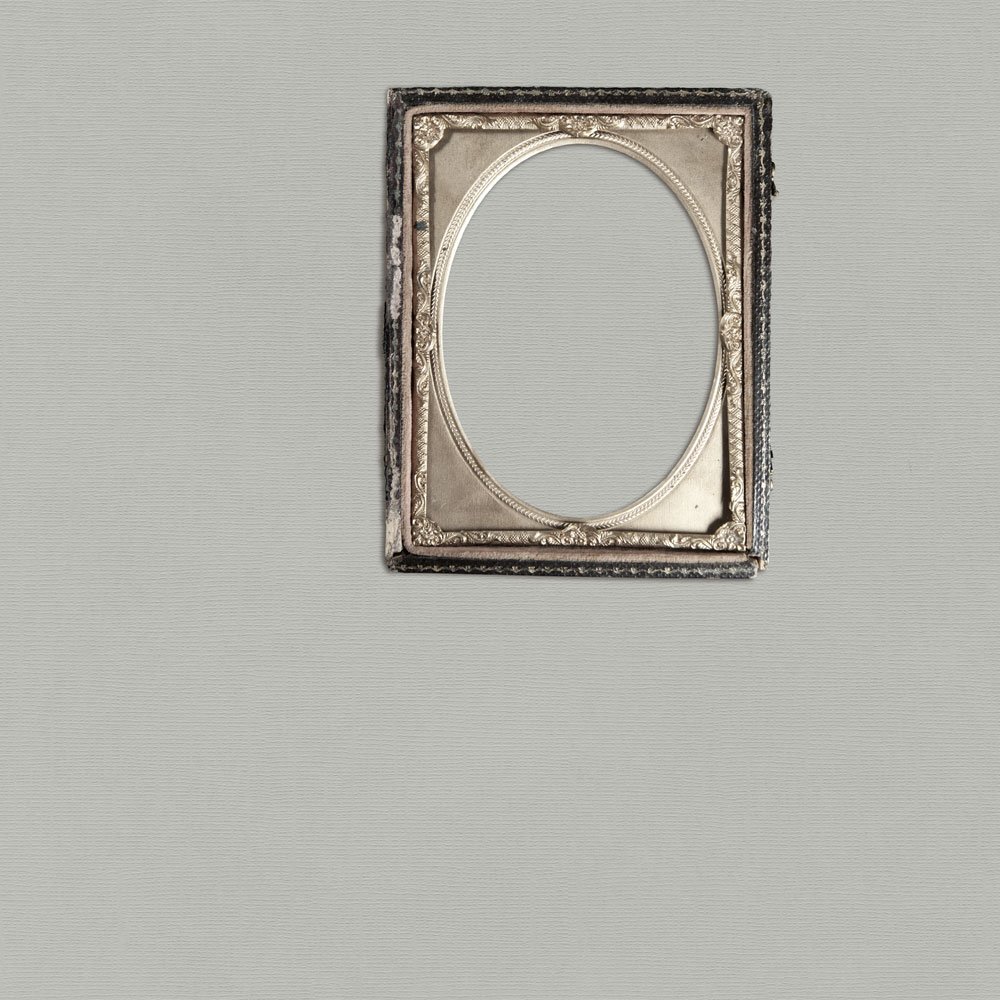
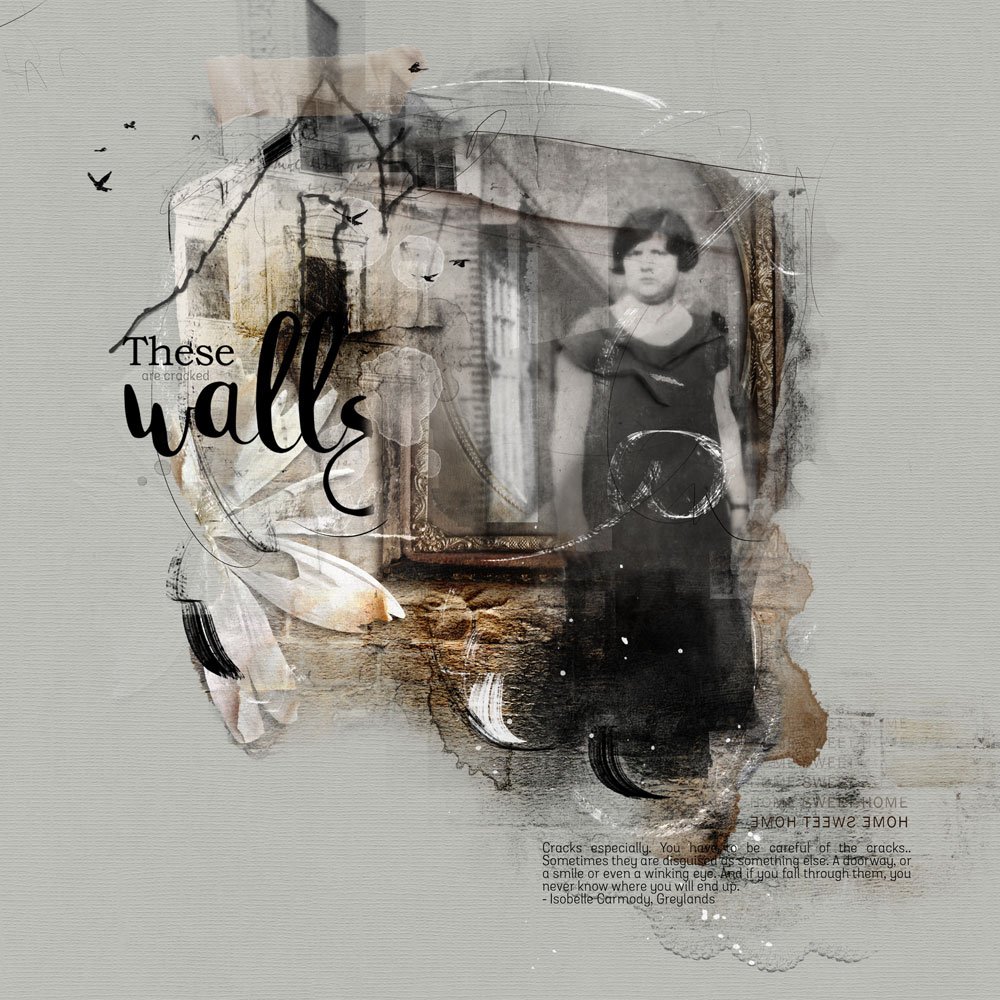
1. Choose a Frame. In These Walls, I wanted a heavy, ornate frame so I chose the frame included in ArtPlay Palette Hearth. The frame comes in both a .psd and a .png format. Using the .psd format allows more flexibility in working with the Drop Shadow. You will want to use the .png version of the frame because it will go behind the image and you do not need the Layer Mask that comes with the .psd file.
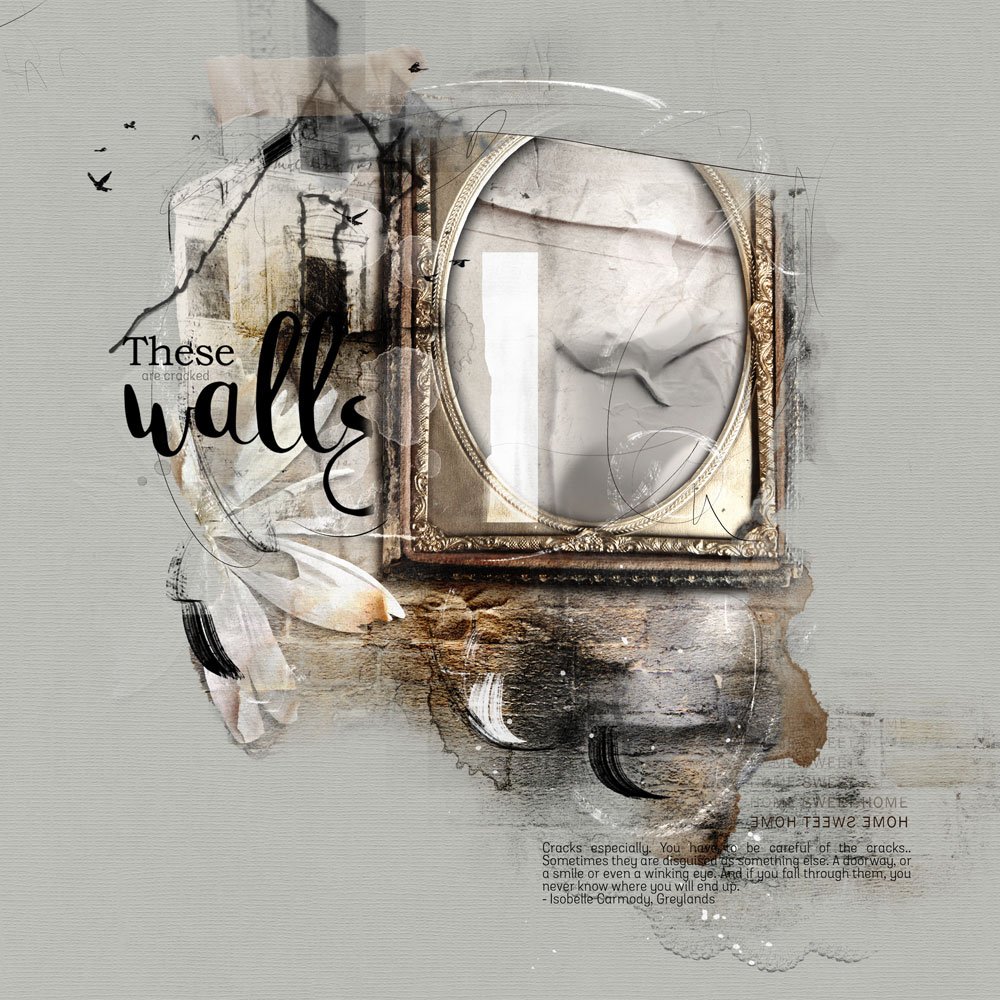
2. Create a Foundation for the Frame. Especially for the heavier looking frames, I suggest you have a solid foundation under the frame so that the frame does not look like it’s floating on the page. Here, the main part of the foundation was created with transfer 2 from ArtsyTransfers Hearth.
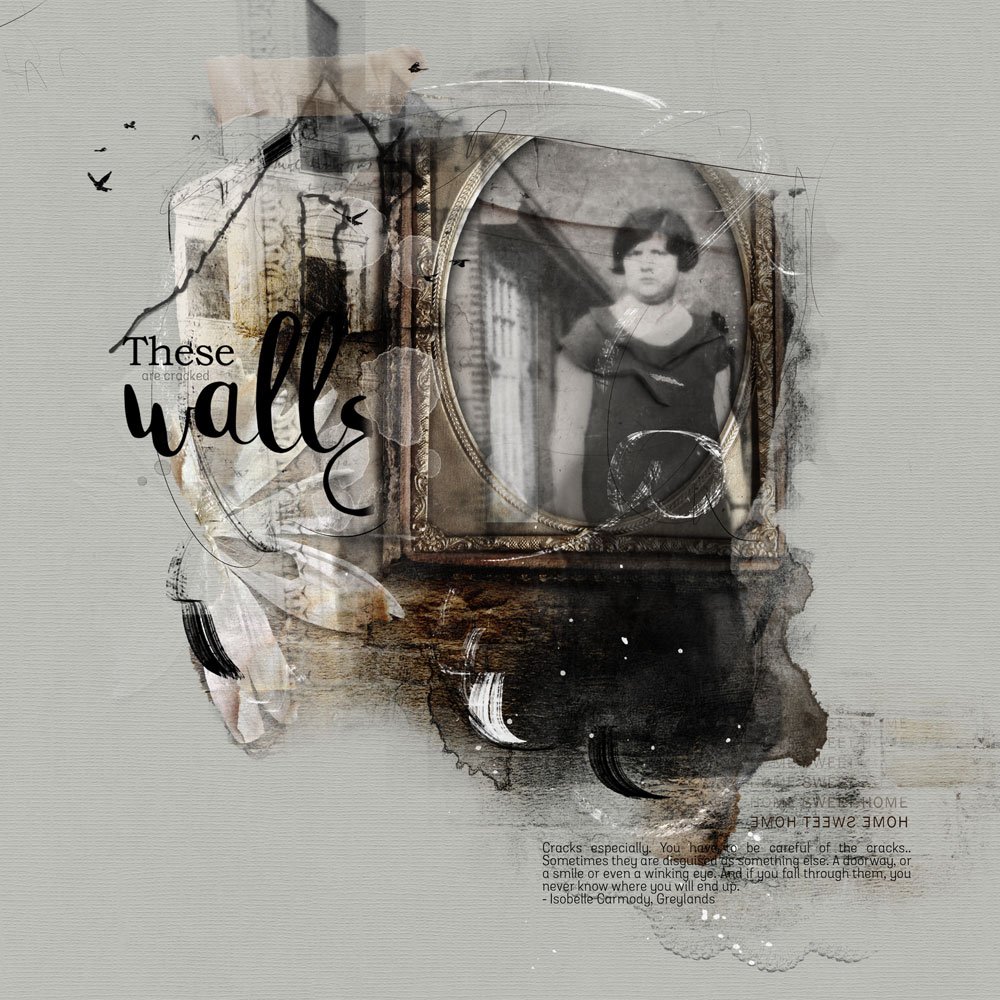
3. Place Image. Once the foundation and frame are in place, add your image on a layer over the frame. The image in These Walls is set to the Multiply Blending Mode. Depending on your choice of frame and image, you may find that a different blending mode provides a better result.
4. Blend Frame. I didn’t want the entire frame visible, so I needed to find ways to blend it into the foundation. Clip the frame to one of the paint layers that comes with the .psd file for the ArtsyTransfer. This will hide or mask the top portion of the frame. Add a Layer Mask to the frame layer. Go to Layer> Layer Mask> Reveal All, or click on Layer Mask icon in Layers panel.
Erase areas of the frame to the right of the image using a soft round brush at reduced opacity. You can also soften the frame in areas to the left of the image, using the same brush, until the frame has a somewhat translucent appearance.
5. Customize. Once the frame and image are in place, you can customize your framing. Here, I added parts of several ArtStroke Frames No.1.
Post your questions about this Blended Frames Digital Scrapbook Tutorial in the comments.
Click on the above photos for additional process notes and supplies used




Recent Comments