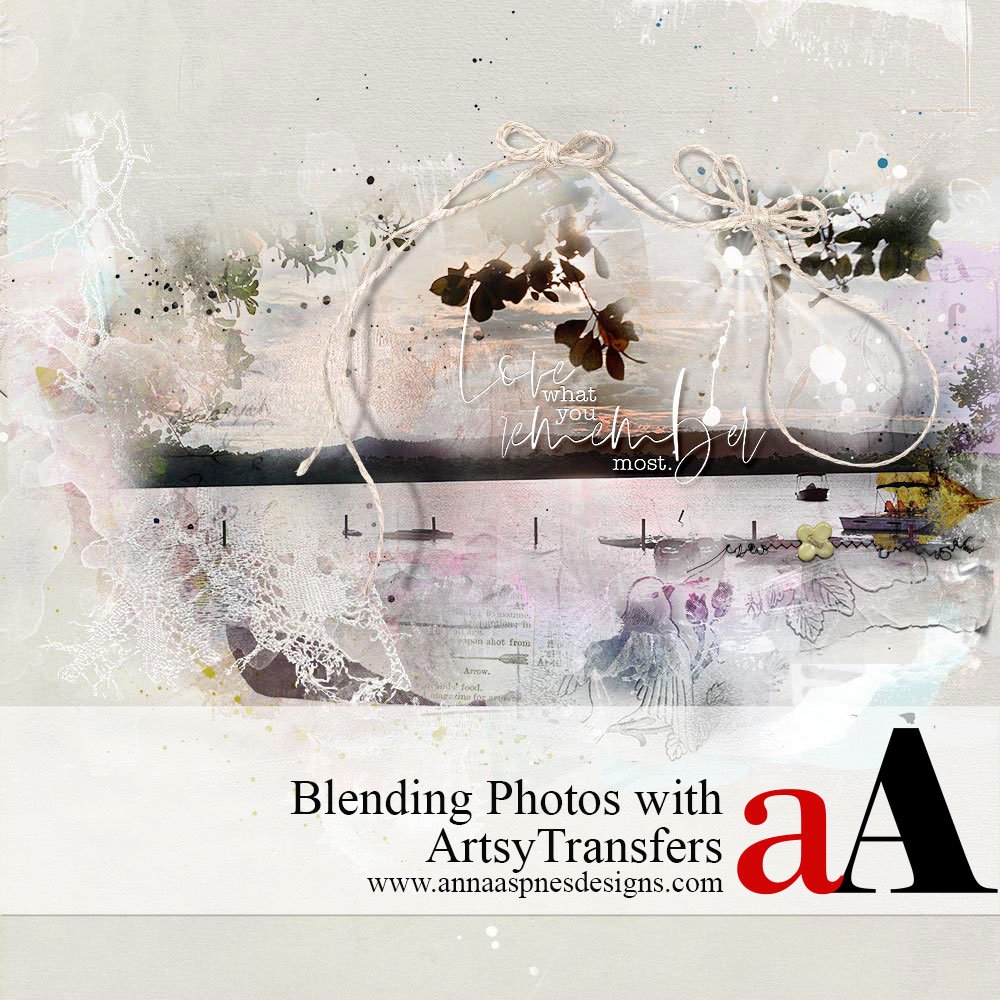
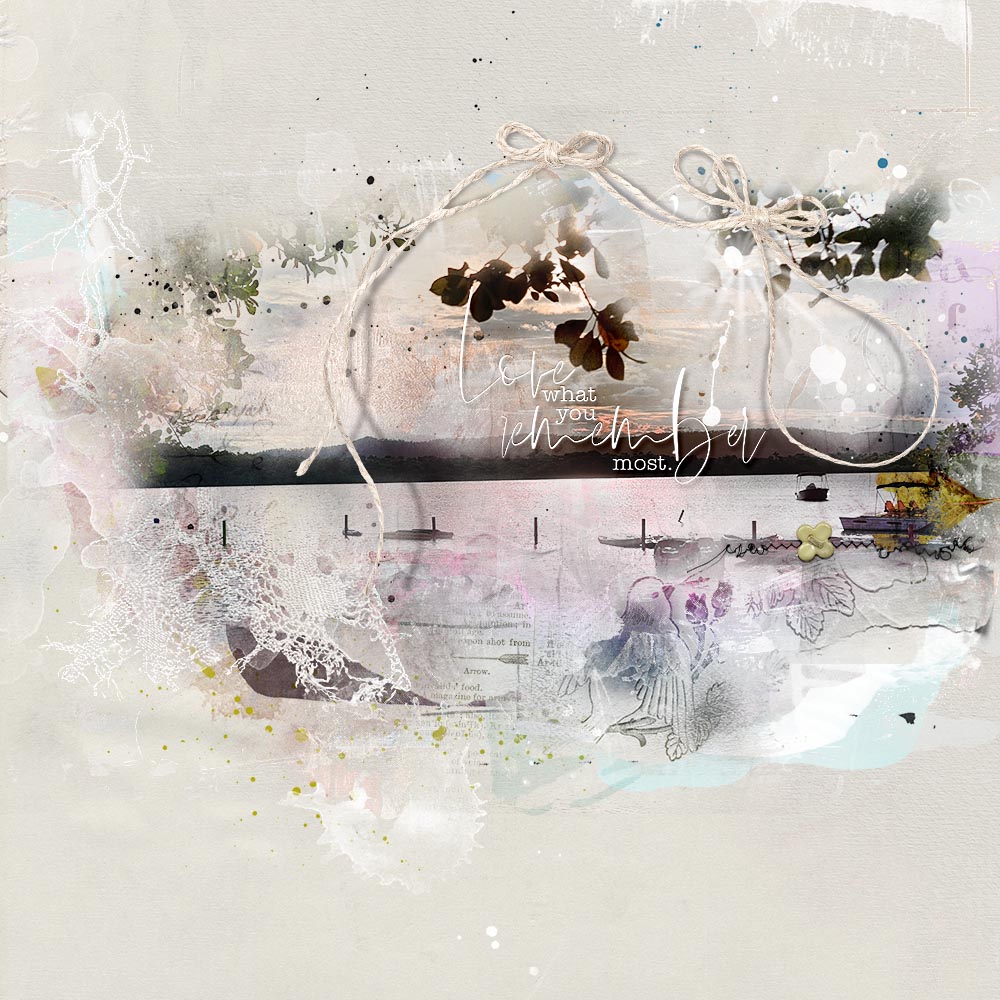
Michelle James shares techniques for Blended Digital Scrapbook Pages with Photos and ArtsyTransfers.
Follow this tutorial in Adobe Photoshop or Elements.
Blended Digital Scrapbook Pages with Photos and ArtsyTransfers
Introduction
LEARN HOW TO BLEND AN IMAGE WITH AN ARTSY TRANSFER.
- Easy approach to Blending the edges of your photos with ready-made digital assets.
- Enhances your photos’ Visual Interest through color and texture.
- Use Blending Modes and the Custom Blending approaches.
ArtsyTransfers provide maximum flexibility in easily adding a little artsy flair to your pages.
- ArtsyTransfers are delivered in .psd format.
- This retains all the Blending Modes and Layer Styles applied to each layer in the element.
- They provide maximum Flexibility due to their multi-layer format.
1. Choose Digital Assets
SELECT A BACKGROUND SOLID PAPER AND AN ARTSYTRANSFER TO COORINATE WITH THE COLORS IN YOUR CHOSEN IMAGE.
- Select a photo to become your Focal Image.
- Choose a Solid Paper from ArtPlay Palette as your Background.
- For this layout, a background was selected from Artplay MiniPalette Ariose.
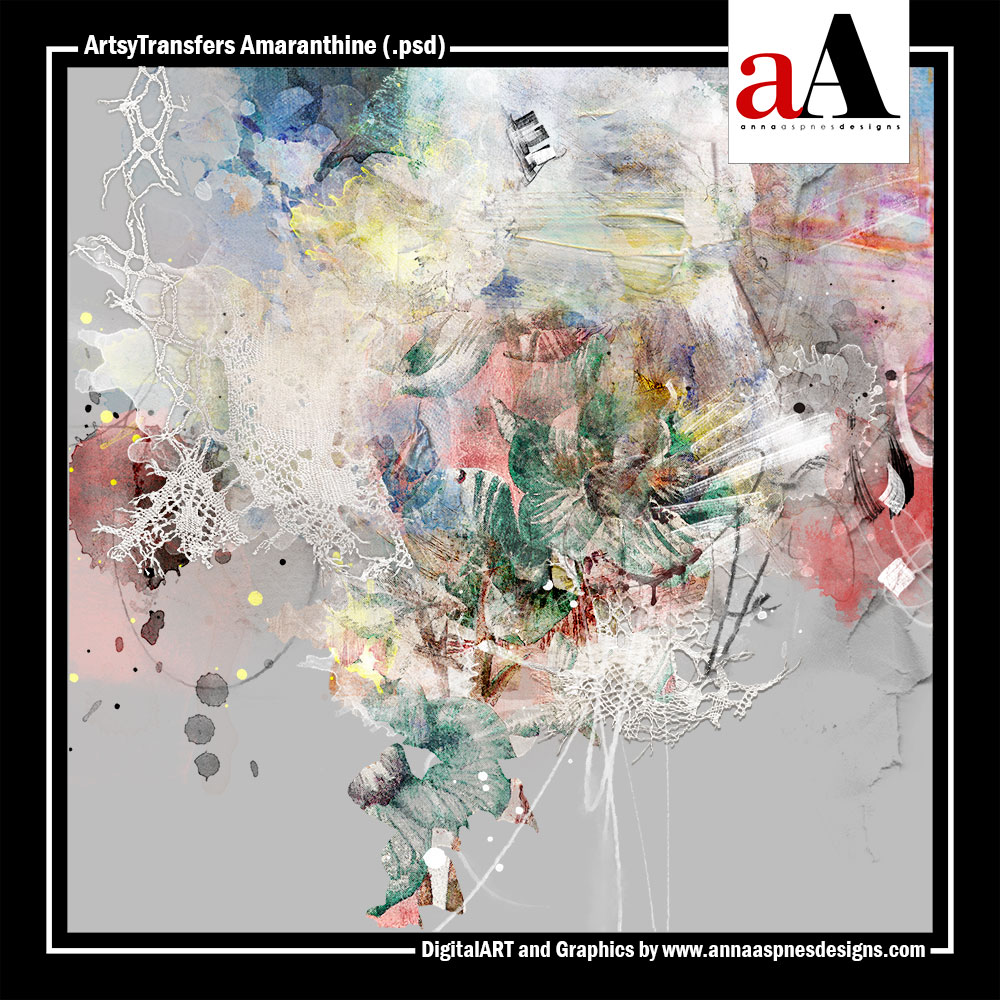
- Select an ArtsyTransfer to coordinate with the Colors and perhaps the Theme of your image.
- File 1 .psd was coordinated from ArtsyTransfers Amaranthine.
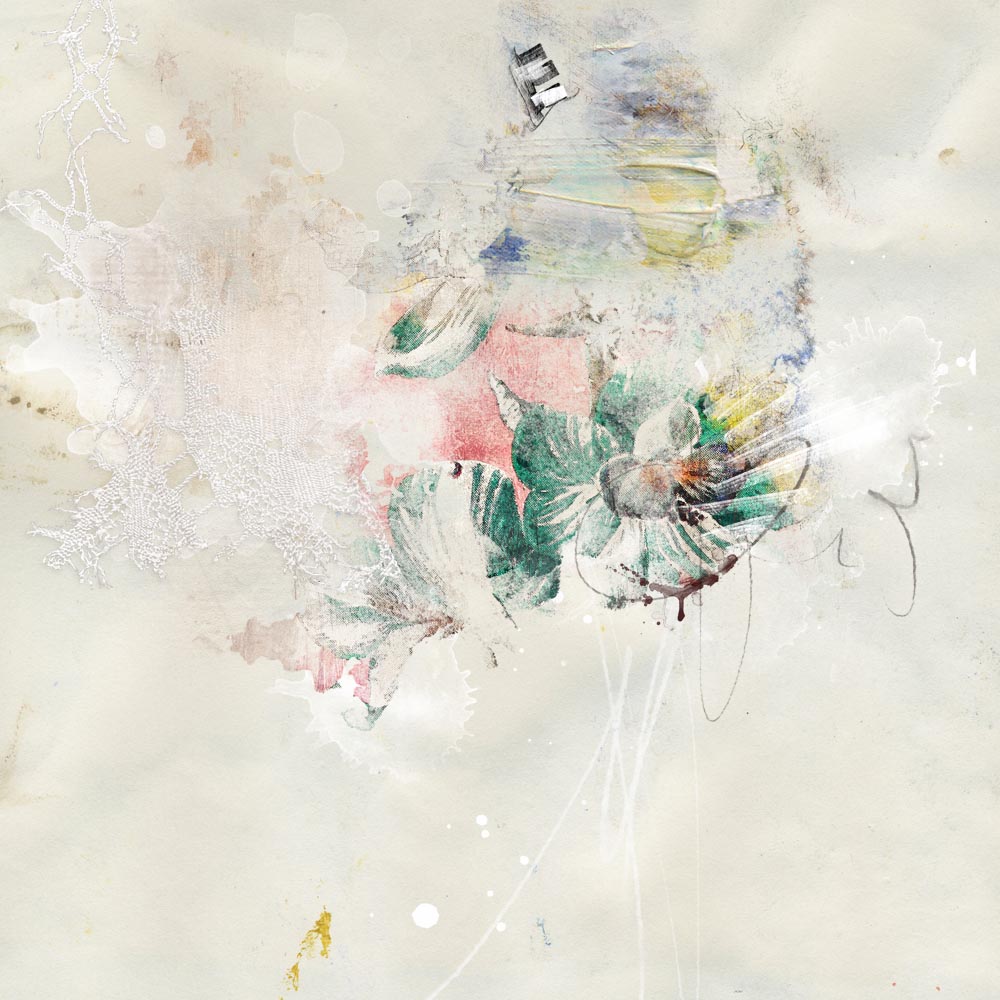
2. Establish Layout Foundation
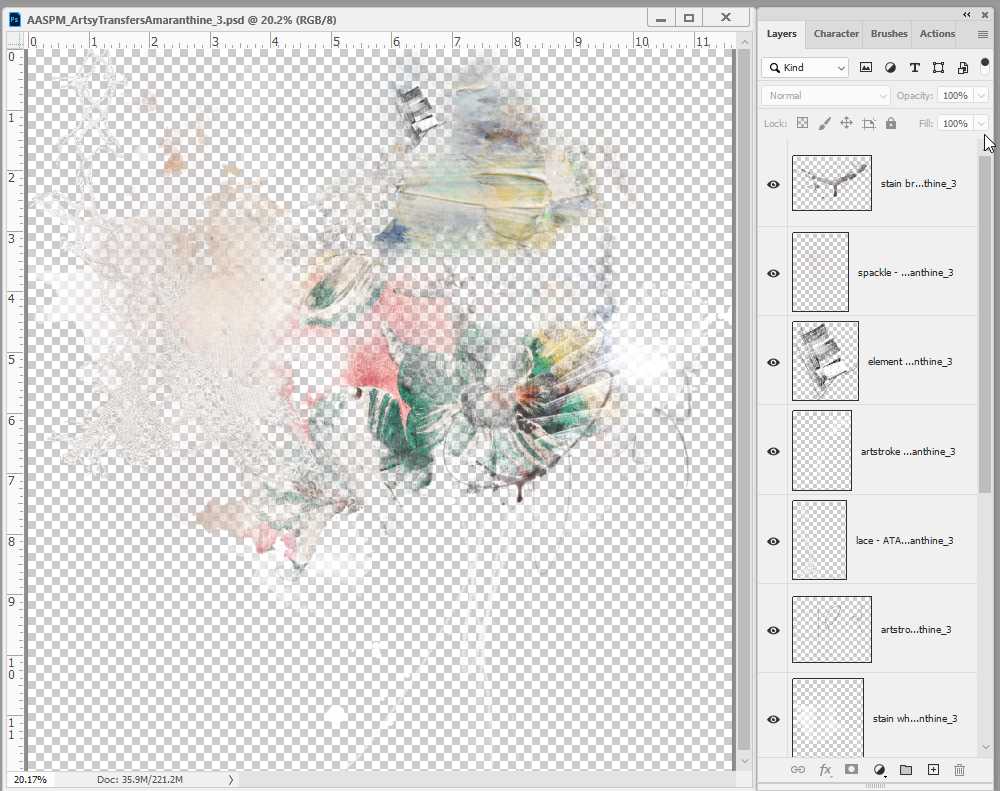
PLACE YOUR CHOSEN SOLID PAPER, ARTSYTRANSFER AND IMAGE ONTO YOUR LAYOUT.
- Go to File> New and create a 12 X 12 layout at 300 PPI.
- Position the Solid Paper onto the New Layout using the Move Tool from the Tools Panel.
- Go to File> Open to import the ArtsyTransfer .psd file into your workspace.
- Reselect the Move Tool and click on the first ArtsyTransfer layer in the Layers Panel.
- Hold down the SHIFT button on the keyboard and click on the last layer to select ALL layers.
- Move or ‘drag’ all the layers to your Layout Foundation.
Tip.
- Group the ArtsyTransfer layers together in a ‘folder’ to keep them organized in the Layers Panel.
- You can also use the keyboard shortcut Control + G.
3. Add Your Image
Incorporate your photo with Blending Modes.
- Use the Move Tool to add your photo to the Layout Foundation.
- Place the image as desired onto the background paper.
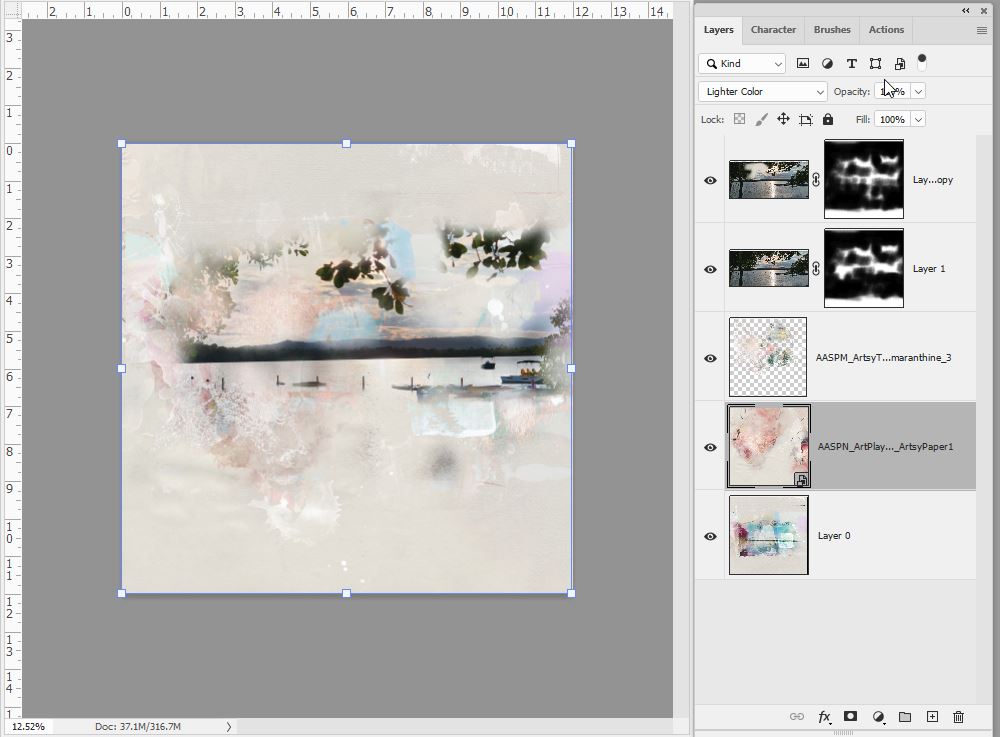
- Drag the photo layer to the New Layer icon in the Layers Panel to Duplicate the image.
- Apply different Blending Modes to the image layers.
- Click on the ‘Normal’ tab at the top of the Layers Panel to activate a drop-down menu of Blending Mode options.
- Select an option or scroll through each one using the up/down Arrow buttons on your keyboard.
- Hard Light and Darker Color, both at 100% Opacity were applied to the photo layers in this layout.
- Edit and improve the contrast of your image using Image> Adjustments> Levels or Image> Adjustments> Curves.
Tip.
- Experiment with different Blending Modes at varying levels of Opacity.
- A shift in Opacity can enhance the application of a Blending Mode.
- The opacity slider is at the top of your Layers Panel.

4. Blend with ArtsyTransfer
COMBINE YOUR IMAGE WITH THE ARTSYTRANSFER LAYERS.
- Mask the photo layers by adding a Layer Mask from the Layers Panel to each photo layer.
- Set the Foreground and Background Colors in the Tools Panel to black and white, respectively.
- Select the Paint Brush Tool from the Tools Panel with a Photoshop default soft round or AnnaBlendz Artsy brush.
- Paint onto the Layer Mask to conceal the edges of the image, allowing the texture and artistry in the Background Paper and ArtsyTransfer to show through your photo.
Note.
- Ensure you actively click on the Layer Mask to select so that you do not paint on the photo layers.
- You can also clip your photo to a FotoBlendz Clipping Mask.
5. Embellish Your Layout
COMPLETE YOUR LAYOUT WITH YOUR CHOICE OF WORDS AND ELEMENTS.
- Place elements behind your photo, such as Splatters and Transfers/Overlays, to coordinate with my design.
- Add light by placing a Light Leak and applying a Hue Blending Mode.
- Embellish with dimensional elements, such TapedTextures, Wordart and WordTransfers.
Note.
- Choose elements with Colors that coordinate with your design and add Texture to your layout.
Digital Scrapbook Supplies
Find a complete list of aA Digital Scrapbook supplies used to create this photo artistry layout design here.
Summary
Use an ArtsyTransfer to help you blend or ‘contain’ the edges of your masked photos.
- Choose aA Digital Scrapbook supplies that coordinate with the Colors and Theme of your image.
- Blend your photo using a Layer Mask + Brushes or a FotoBlendz Clipping Mask.
- Apply Blending Modes and adjust Opacity to perfect the effect.
If you like this Blended Digital Scrapbook Pages with Photos and ArtsyTransfers tutorial post, try this technique in your next photo artistry/digital scrapbooking layout design, and share your pages in the AnnaGallery.






Recent Comments