Creative Team Member, Barbara, shares her process for Custom Patterns Using Embellishments tutorial.
Custom Patterns Using Embellishments
Use digital elements to create your own custom patterns.
- This great tutorial by Nemanja Sekulic provides guidance on how to create a custom pattern.
- You will find this tutorial easy to follow.
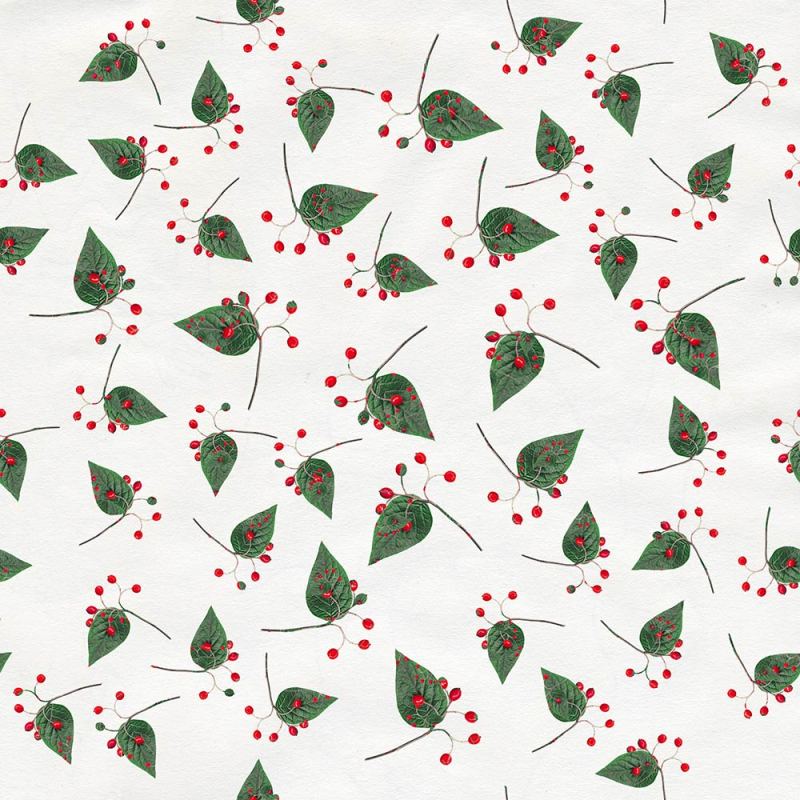
- Experiment with different types of digital elements and adjust the Scale slider in the Pattern Overlay window to yield differentiation.


This is the pattern was created using the Berries Foliage Element from ArtPlay Palette Silver Bells following the instructions in the video.
- Ensure you have an appropriate background paper in place for the selected element, in this case white.
- Select a brush of your choice and stamp over the page.
- In Shape Dynamics of the Brushes Panel change the Size and Angle Jitter sliders to change the orientation of the elements.
- Choose Pattern Overlay by clicking on the ‘fx’ icon at the bottom of the Layers Panel.
- Select the pattern you have created from the drop-down menu – It will be the last one in the list.

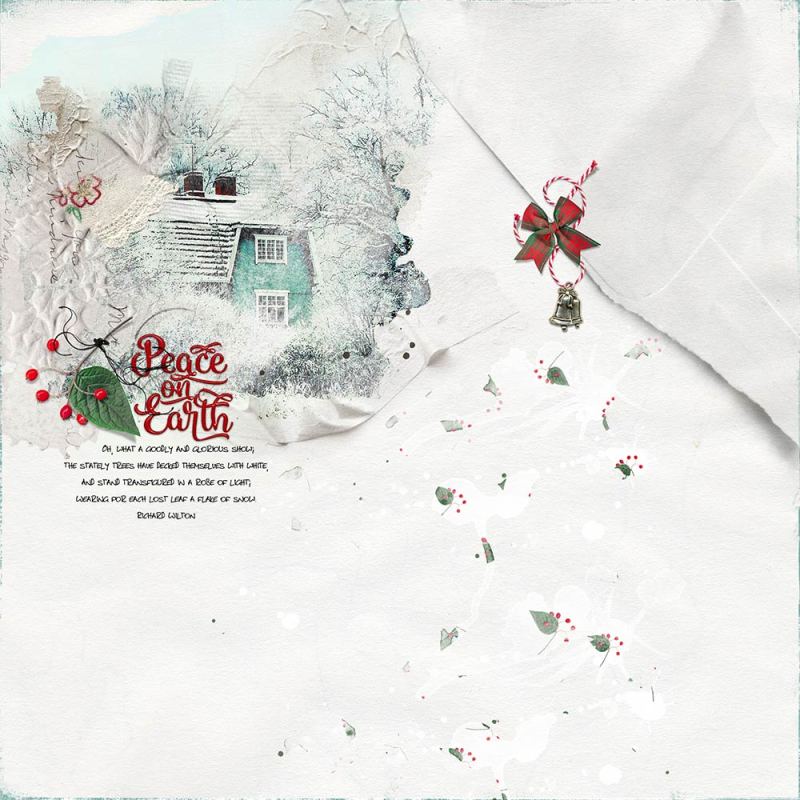
In this layout, I stamped partially over the page using the Paint Brush Tool with ArtsyStains No. 6.
Conclusion
You can use this technique to add patterns to your solid background papers.
- Use different brushes yo create different effects.
- Aim to play to and see what happens without worrying too much about the outcome.
- ‘Light bulb’ moments happen during these play periods.
I hope you give it a go yourself – Use your imagination to make it your own.
Post your digital artistry and artsy digital scrapbooking pages in The Gallery. If you liked this Custom Patterns Using Embellishments Tutorial, please consider sharing it using the social media buttons below.


2 Responses
What a nifty idea I must try this thanks for sharing Barbara
Yes! Can’t wait to see your take on it.