


Creative Team Member, Marianne, is sharing how to Extend Digital Scrapbook Compositions with Stitching, such as UrbanStitchez, in Adobe Photoshop.
Note that this tutorial can also be conducted in versions of Adobe Photoshop Elements.
UrbanStitchez can be used in many different ways in your digital art, especially to extend compositions with digital stitching.
In ‘Spring Forward’ layout, I used them to enhance and extend the photo composition using UrbanStitchez Leaves No. 1. The stitching adds dimension and visual interest to the design
Extend Compositions with Digital Stitching
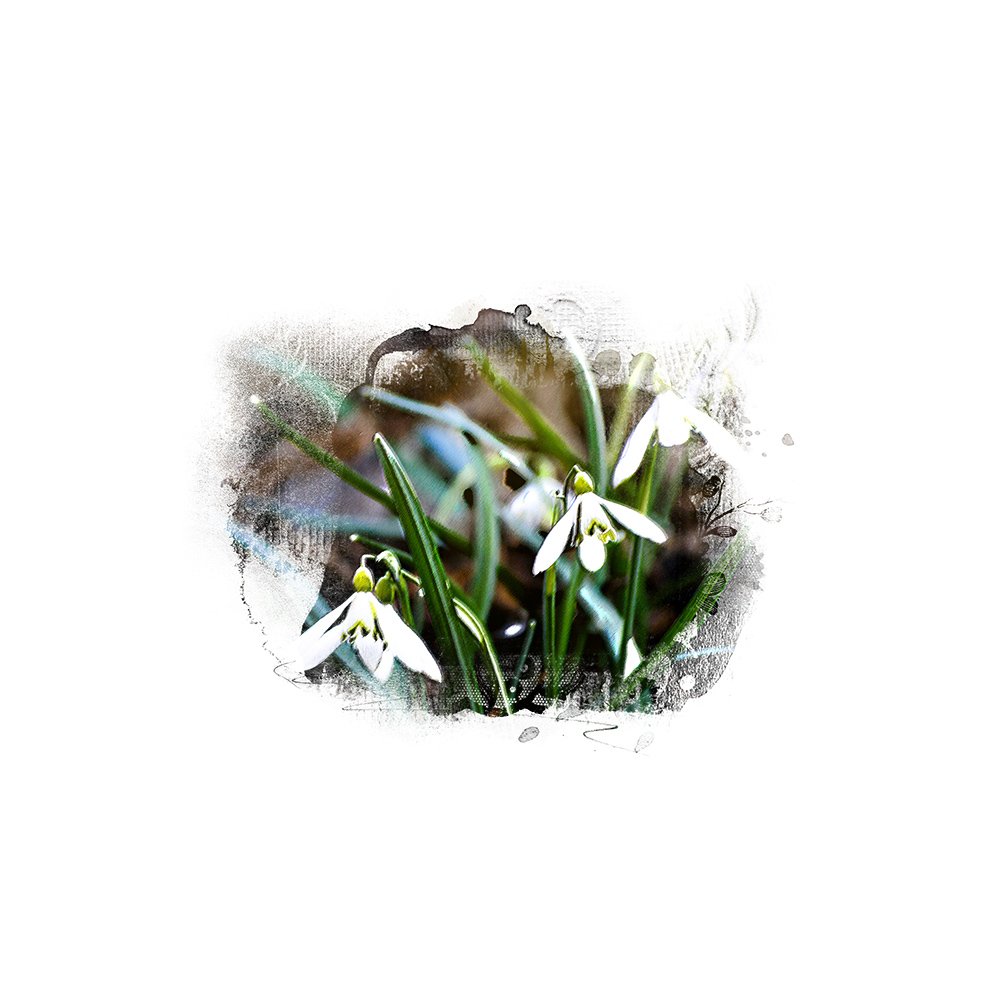
Step 1. Create a new 12 x 12 layout at 300 dpi in Adobe Photoshop or Elements. Go to File> New File, and set specifications in the dialogue box as preferred. Open and move your your photo onto the new layout using the Move tool from the Tools panel. Clip your photo to a FotoBlendz Clipping Mask. Press Ctrl+Alt+G (Adobe Photoshop) or CTRL + G (Adobe Photoshop Elements). Note that I used clipping mask from Melange FotoBlendz No. 1.
Step 2. Open and move your background paper onto the new layout using the Move tool from the Tools panel. I chose a Solid Paper form ArtPlay Palette Wonderful. Move the background paper below the clipped photo layers in the Layers panel.
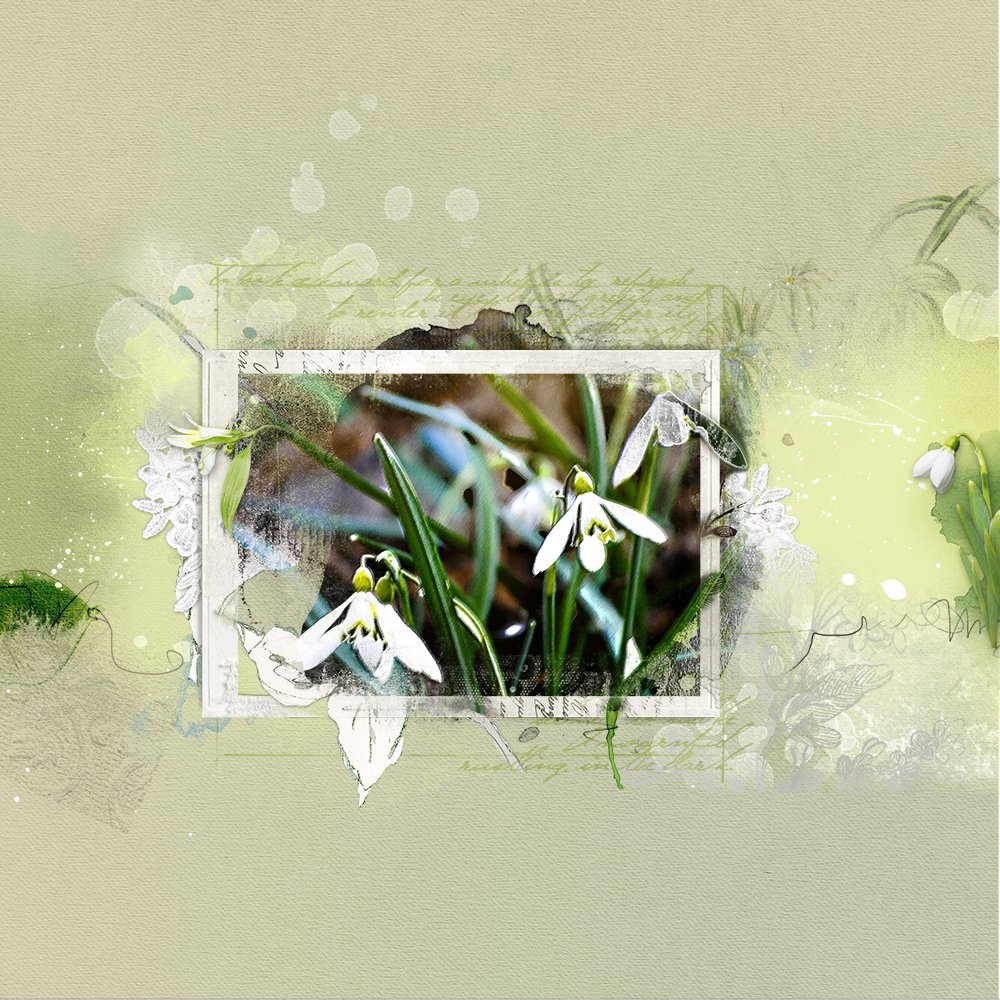
Step 3. Add ArtsyTransfers, brushwork and elements from various ArtPlay Palettes. I placed a frame from ArtPlay Palette Daffodil behind the photo and parts of an extracted flower above the image layer. Try clipping different Transfers to your layers to add a little more artsy into your composition. Experiment with Blending Modes and differ the layering of your extractions. See this Create Extractions and Custom Cast Shadows tutorial for further guidance on extractions.
I also added a ScriptTease Remember Frame and recolored it to green. Go to Layer> Layer Style> Color Overlay (Adobe Photoshop) or Edit> Fill Layer (Adobe Photoshop Elements, and ensure the ‘Preserve Transparency’ box is checked.
Step 4. Open and move UrbanStitchez Leaves No. 1 onto your layout using the Move tool from the Tools panel. You can also load the .abr file into your brushes panel, and stamp on new layers using the Paint Brush tool from the Tools panel. See this Loading and Using Photoshop Brushes video for further guidance.
Place the digital stitching or UrbanStitchez Leaves to follow the flow and the lines of the flowers in your photo, extending the composition of the photo, both behind and on top of the frame.
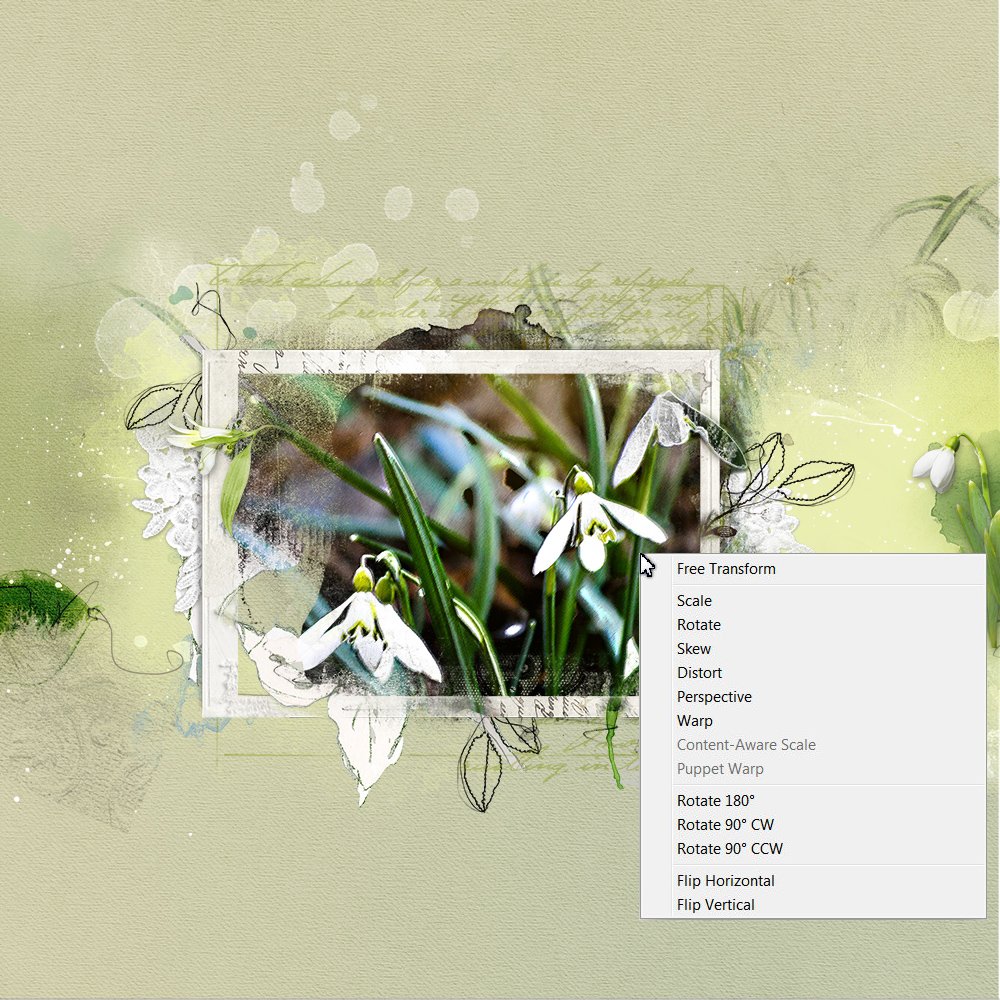
Optional. Rotate the digital stitching as desired use the Free Transform options. Go to Edit> Free Transform (CTRL + T)(Adobe Photoshop). Image> Rotate> Free Rotate Layer (Adobe Photoshop Elements).
In Adobe Photoshop, you also have the option to Warp, Skew, Distort the UrbanStitchez Leaves, Go to Edit> Transform and select preferred options from the fly-out menu.
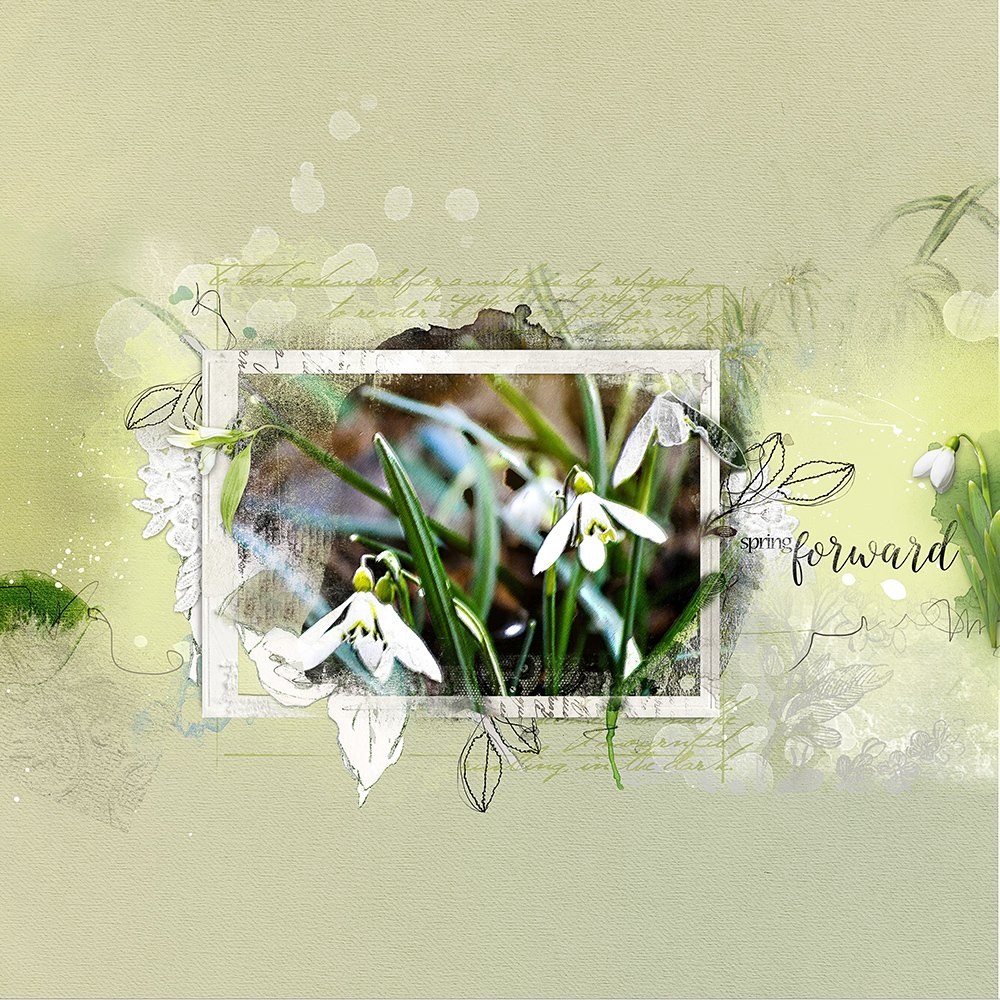
Step 5. Complete your layout by adding a WordART Title and/or journaling as preferred.
Click on the above photo for additional process notes and supplies used.


Recent Comments