

Creative Team Member, Miki, shares Digital Scrapbook Frame Layering Effect in Adobe Photoshop or Elements.
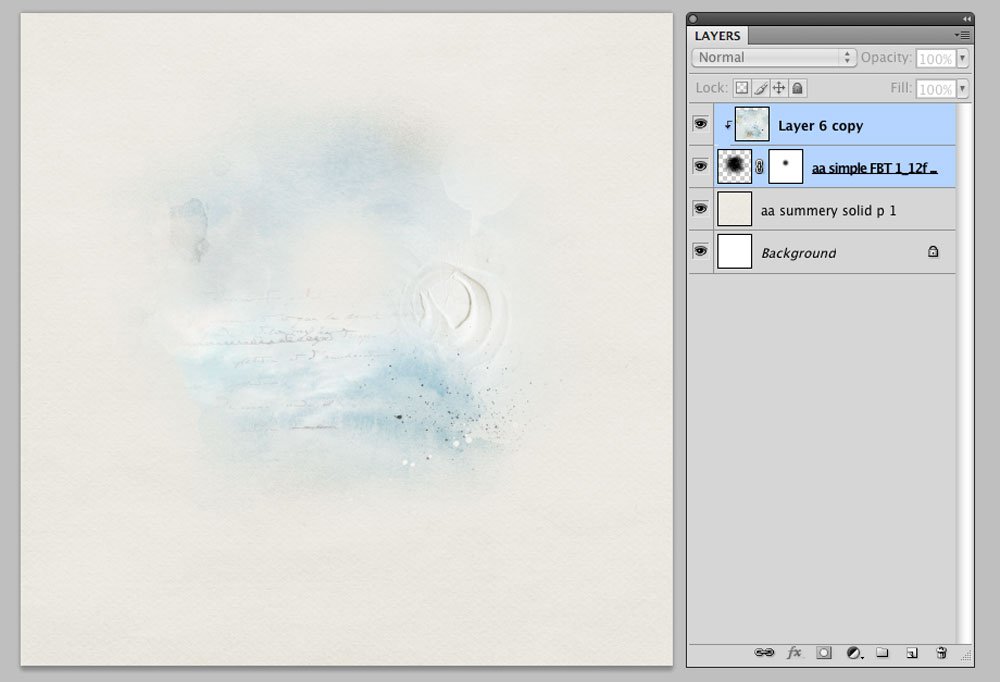
1. Create a Foundation.Create a new 12 x 12 page at 300 dpi. Open and drag your paper onto the layout. Solid paper 1 from Artplay Palette Summery was used for this page. Select the image you want to use and place it on the page. Next select a FotoBlendz/Clipping Mask. (Anna has a plethora of fotoblendz masks and brushes that can be used, depending on what shape or style you want.) I used a FotoBlendz. Resize and rotate the mask as desired. (Cmd T or Ctr T). ArtsyPaper 4 from Artplay Palette Summery was clipped to the FotoBlendz mask.
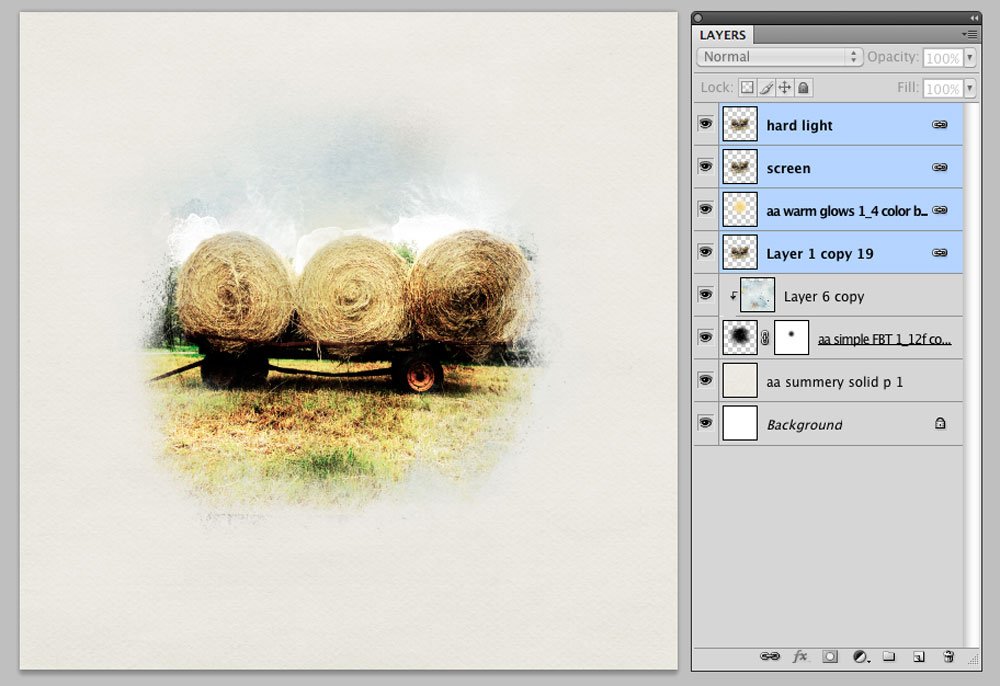
2. Add Your Photo. Import the photo onto the 12 x 12 page. For this page several masks from the AnnaBlendz Artsy 7 were used as a clipping mask. Resize and rotate the mask as desired. (Cmd T or Ctr T) Begin layering the FotoBlendz Masks over the photo. Move and adjust them to fit.
Once you are satisfied with the coverage, duplicate your photo (Cmd J or Ctrl J) to match the number of masks you have used. I like to link the photos together in case I need to move them around or resize the photo. The link icon is found at the bottom of the Layers Panel.

3. Create an Organic Look. Anna has an extensive collection of stitches that can be used to give an organic touch to the page. A 12 x 12 Stitched by Anna Overlay 3 png file was chosen to continue the concept of round haybales and layered over the image. To color it, a new layer (Cmd/Ctr J) was created above the stitches. A color was selected and with a hard brush painted onto the layer.
The painted layer was then clipped to the stitches and duplicated with the blending mode changed to multiply. Also see Recolor Digital Stitching Tutorial by Suzie for another way to recolor the stitches.
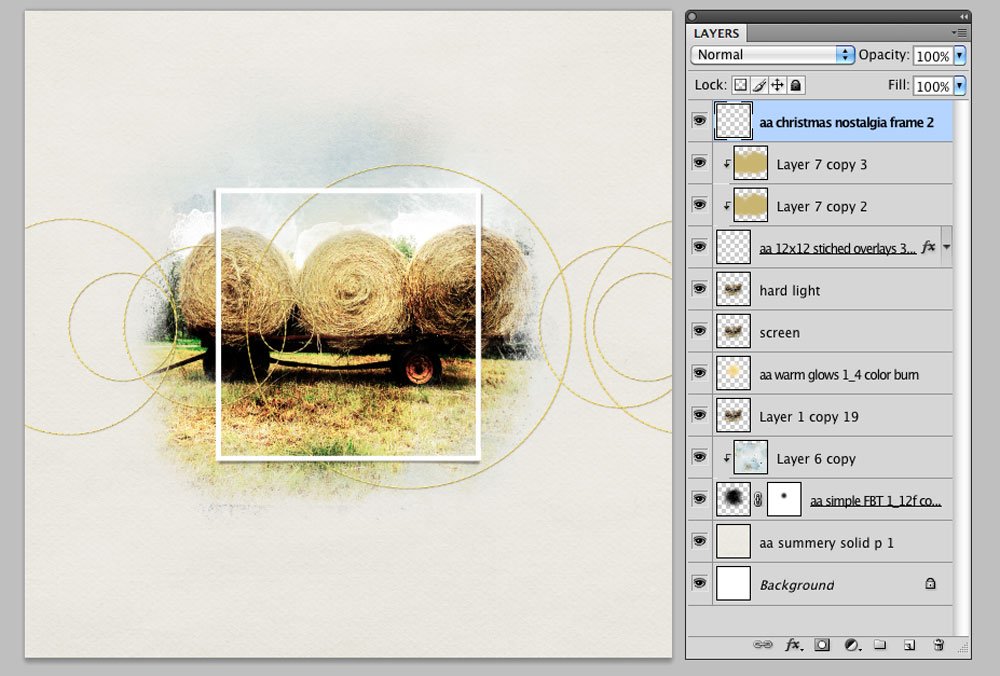
4. Create Interest. To give the page interest and an unexpected element a square frame from Artplay Palette Christmas Nostalgia was layered over the stitches and image.
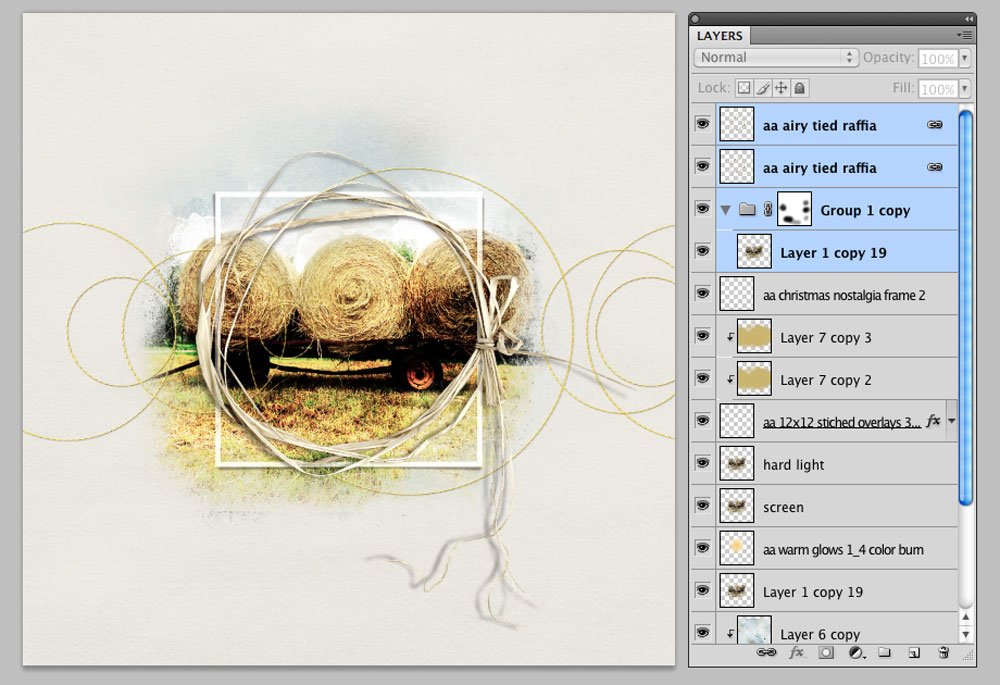
Next add the tied raffia psd fille from Artplay Palette Airy was selected. It was layered over the square frame, resized and rotated.
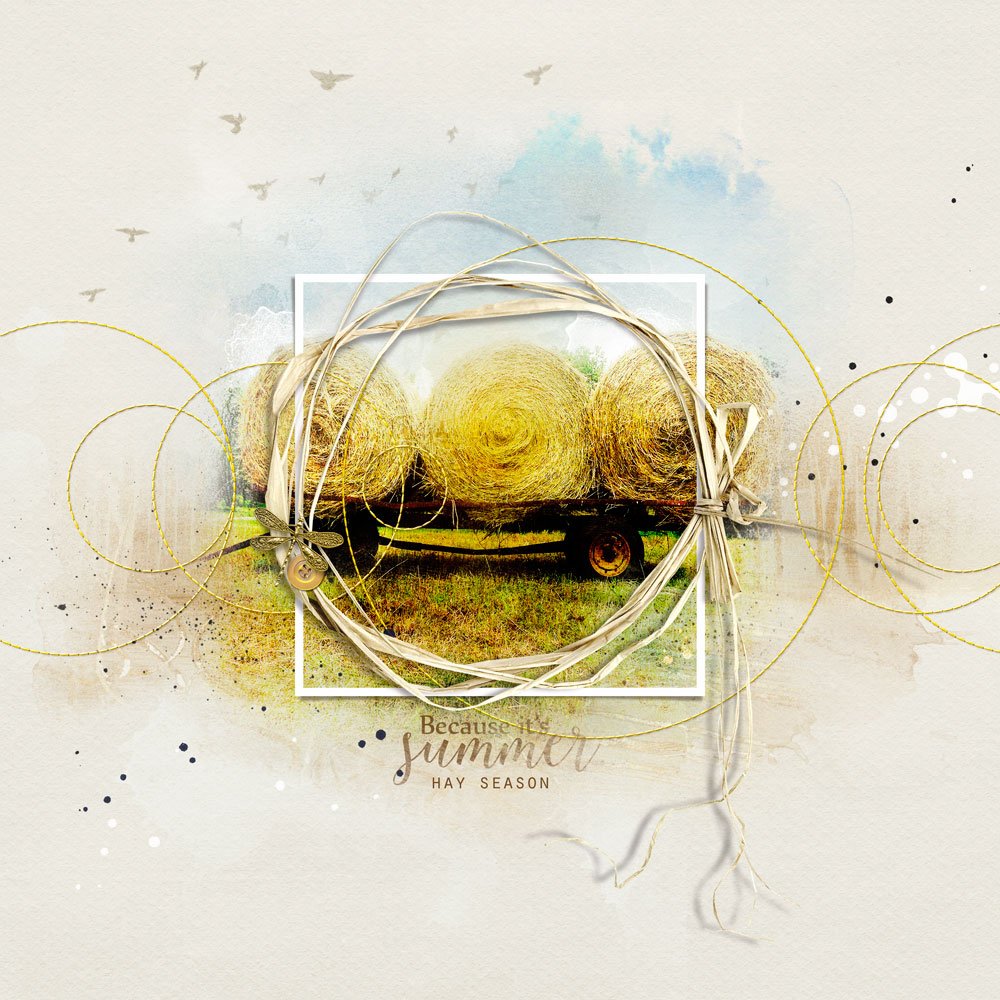
5. Add Brushes, WordArt and Embellishments. Finish the page by adding WordArt, Textures, Stitching, Artsy Transfers and Brushes from the aA store.
Post questions about Digital Scrapbook Frame Layering Effect in the comments.
Click on the above photos for additional process notes and Anna Aspnes Digital Designs supplies used. We would love to see your art using this Organic Frames Tutorial!


Recent Comments