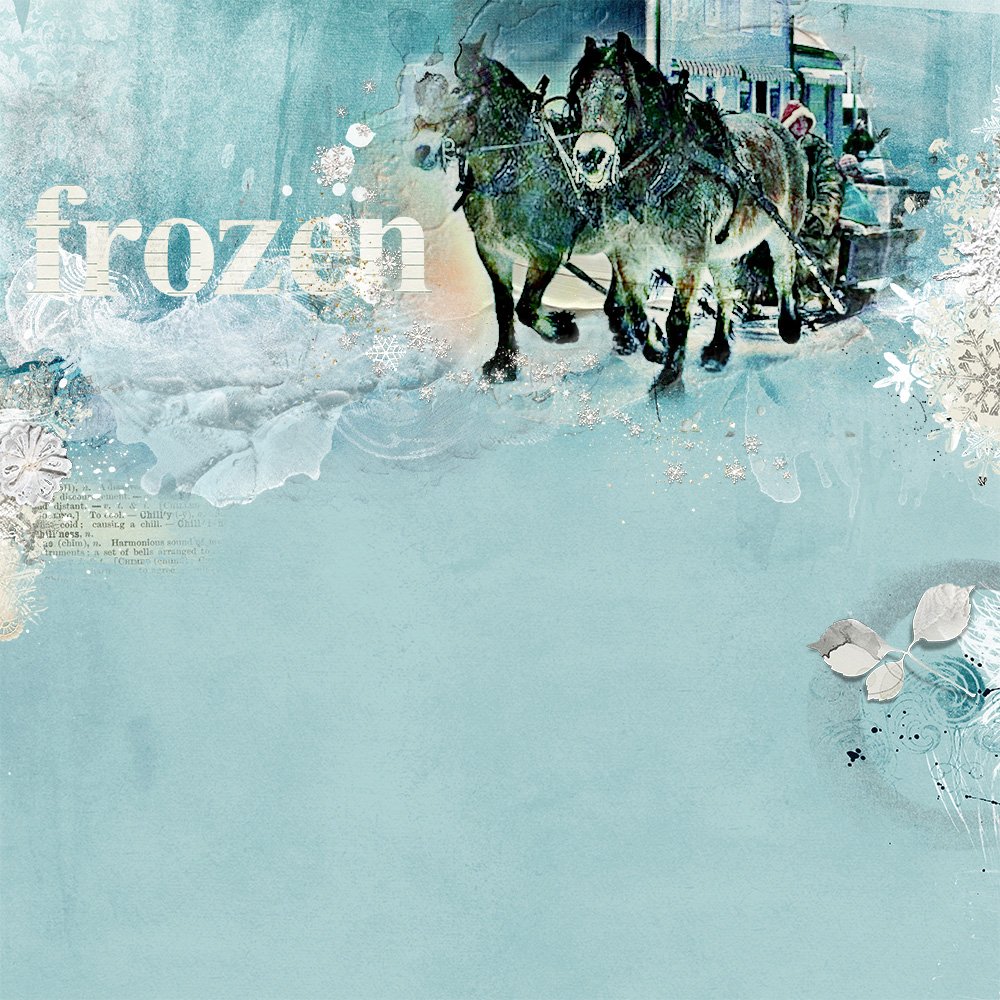
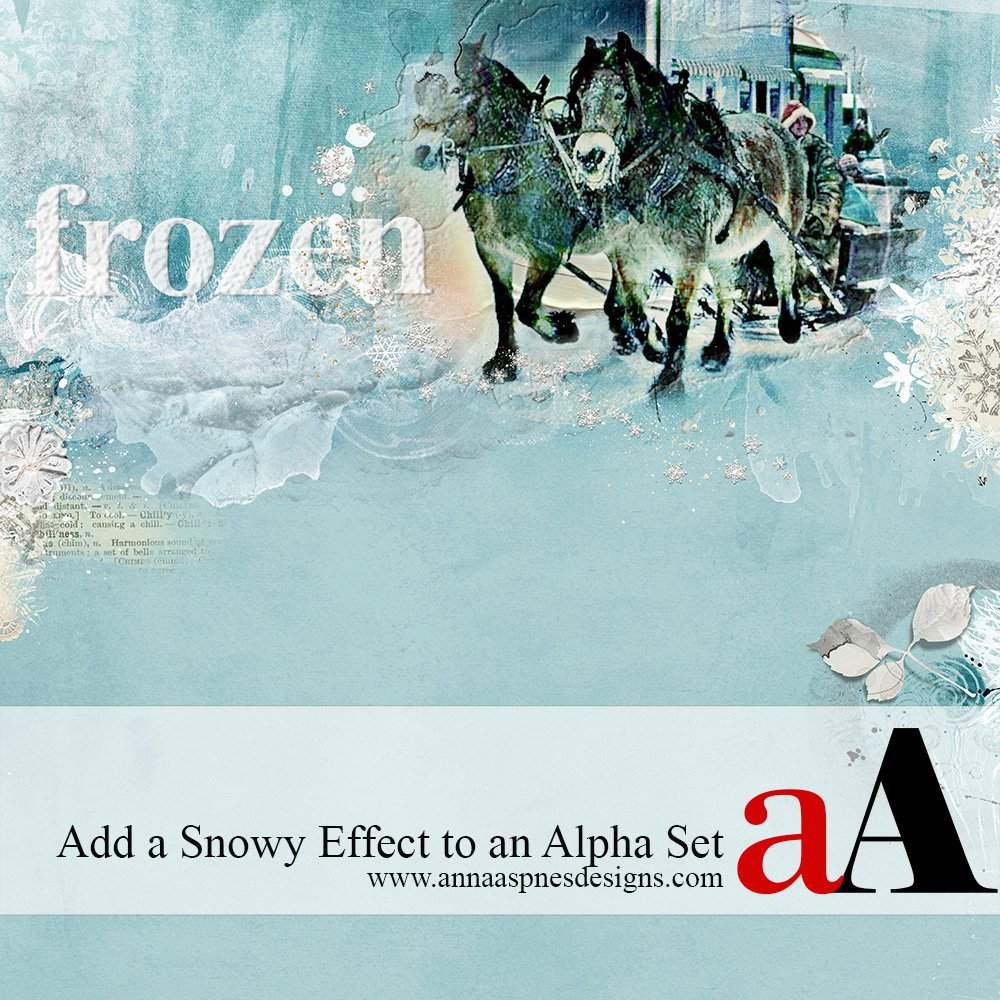
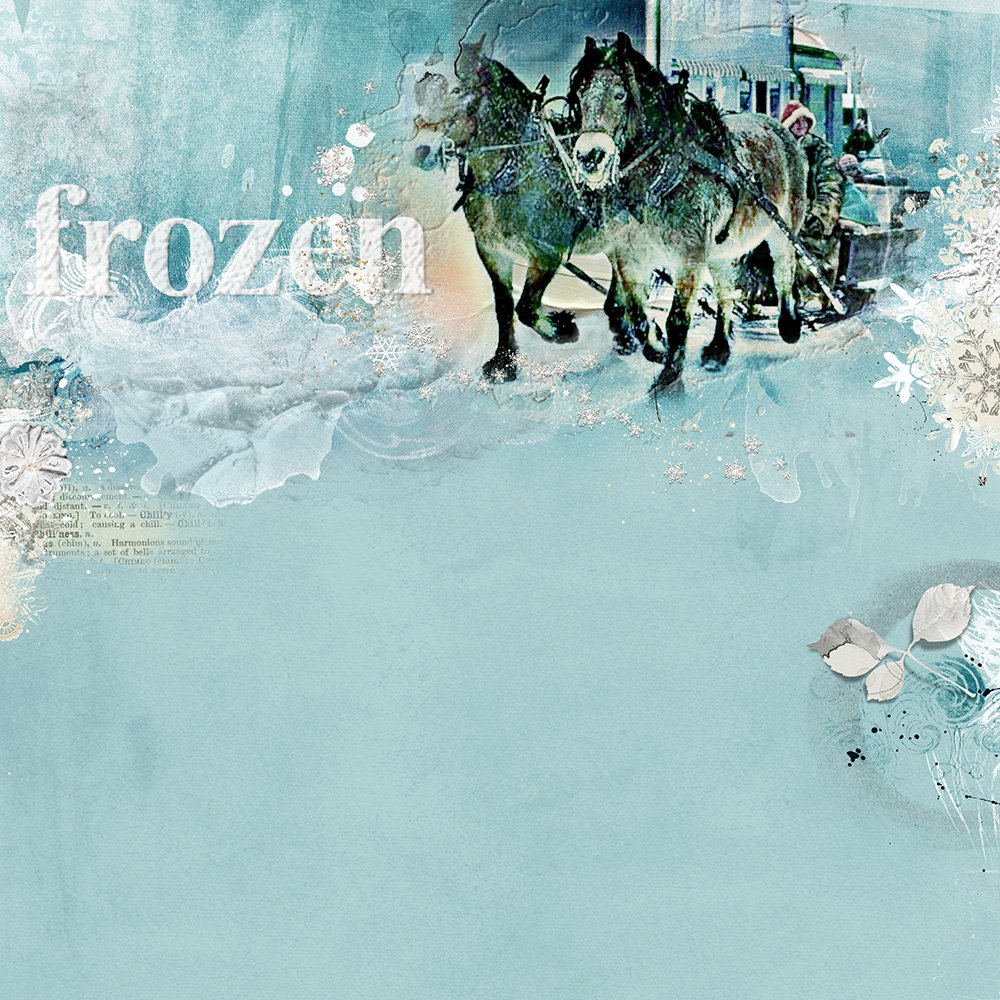
[aalogo] Creative Team Member, Ulla-May, explains how she Add Special Effects to Digital Scrapbooking Titles in Adobe Photoshop.
1. Choose an Alpha. Open and drag the .jpg files of the selected Alpha Set onto your layout to create your title. NoteBook AlphaSet No.3 is used in this layout. When you are happy with the alignment of the letters, select all of the letter layers and merge them to create one layer for your title (Layer> Merge Layers).
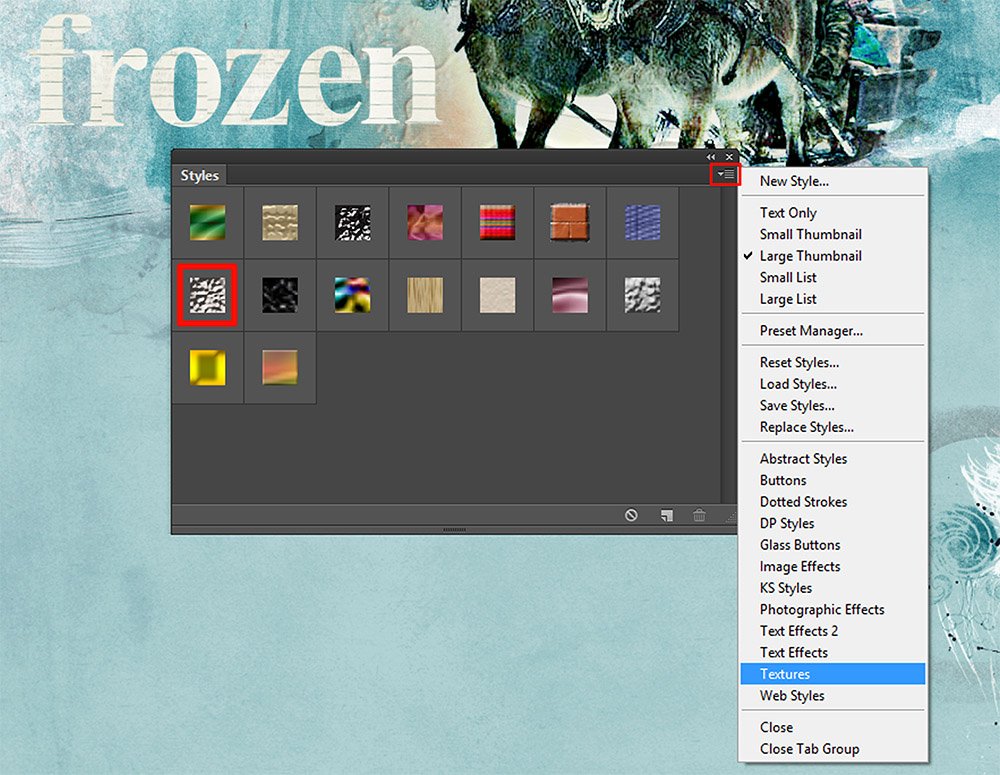
2. Add Texture. Go to the Styles Palette Window> Styles. Go to the dropdown menu and in the dialog box choose Textures. As you hover over the different textures, you will see their names. To give my alpha a snowy look, I chose the Fiberglass Texture. When you click on the texture, it will be applied to your alpha layer. You will also see that both a bevel and emboss and a color overlay effect have been added to your alpha layer. Those are adjusted in the next step.
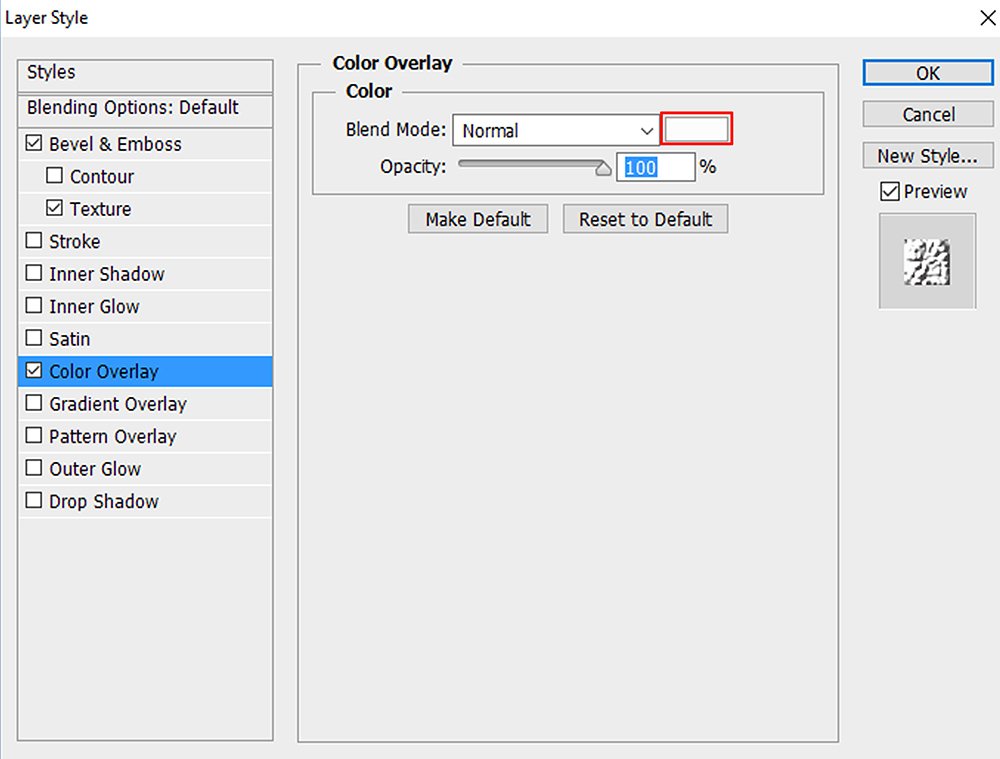
3. Adjust the Color. With your alpha layer selected, you can adjust for the Color Overlay and Bevel effects. click on Color Overlay and choose a color. I chose white for my snowy title.
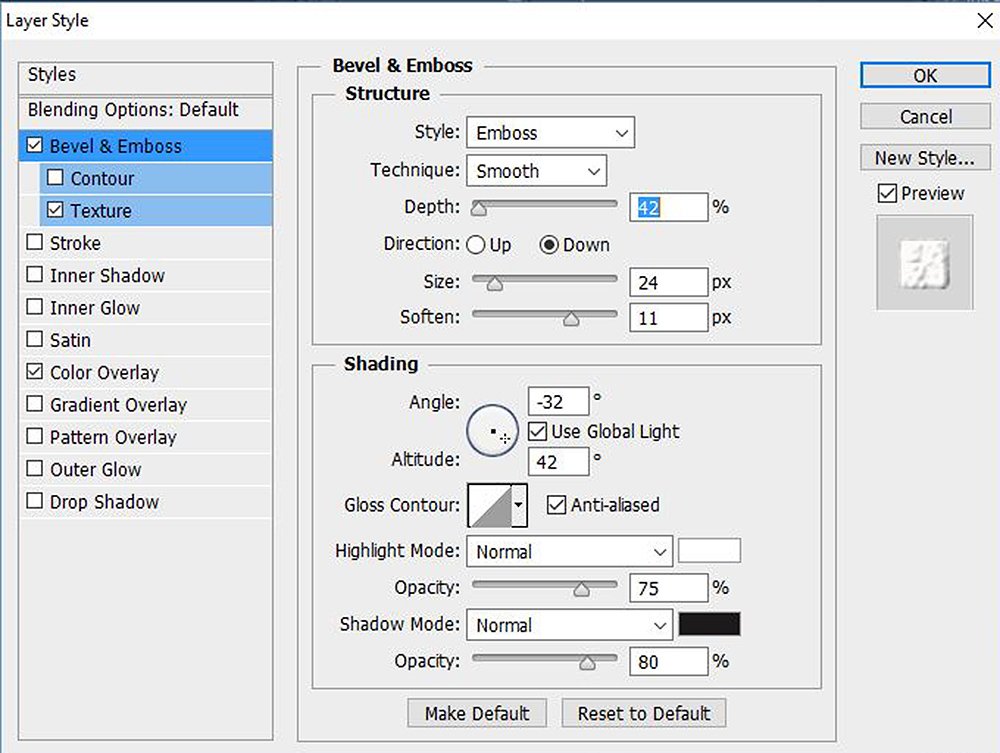
4. Adjust Bevel Effects. With your alpha layer selected, click on Bevel and Emboss and adjust the settings until you have the desired “snowy” look.
Click on the above photo for additional process notes and supplies used.
Learn More about using Layer Styles in this class for Photoshop Elements and Photoshop.

6 Responses
Wonderful tutorial..can’t wait to try it! Thanks!
Thank you! I´m glad you liked it!
Cool !
Thanks! You can achieve a lot of great effects by using the styles.
Who knew! Ulla-May! This is a cool technique! I probably would try something with noise or something else time-consuming or lame. I don’t know! LOL
This is most excellent! Thank you so much!
Su
Thanks, Su!