
Guest Creative Team Member, Marie-Claire, shows us how she adds magic to her layouts using FotoGlows Tutorial in Adobe Photoshop.
1. Create a Foundation. Open a Template of choice. I chose an ArtsyTemplate from Spring Template Album No. 1. Open and move a paper of choice onto the new layout using the Move Tool from the Tools Panel. Open and drag your photos onto the layout, clipping them to the Clipping Mask provided in the Template (Ctrl+Alt+G). I used Black & White photos for a Monochrome feel, adding touches of color with Transfers and Splatters.
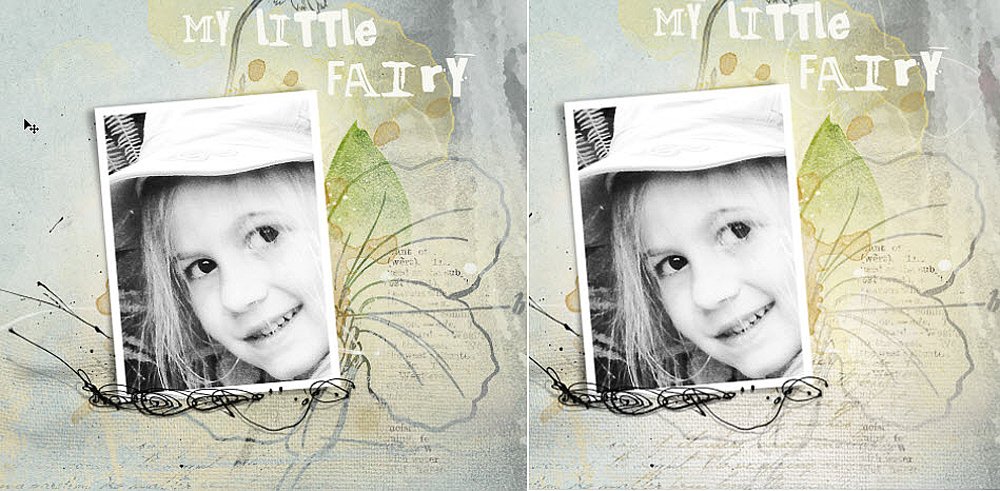
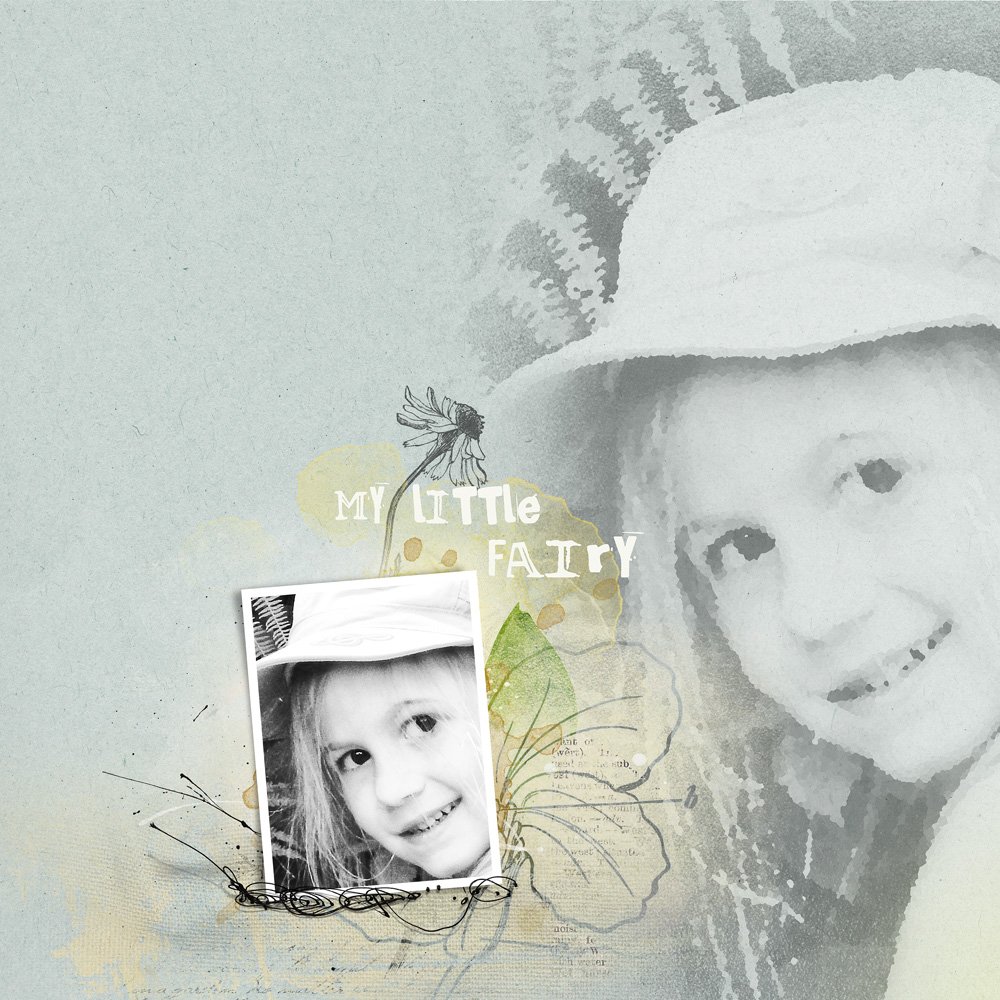 2. Create Interest with Light. Open and drag FotoGlows of choice onto the layout to create light and interest. I also added some LeafGlows to illustrate the soft smile and sparkling eyes of the little girl. I placed a WarmGlows on the bottom, behind the Clipping Mask and Frame and applied the Vivid Light Blending Mode to help emphasize the texture and the ScriptTease Transfer.
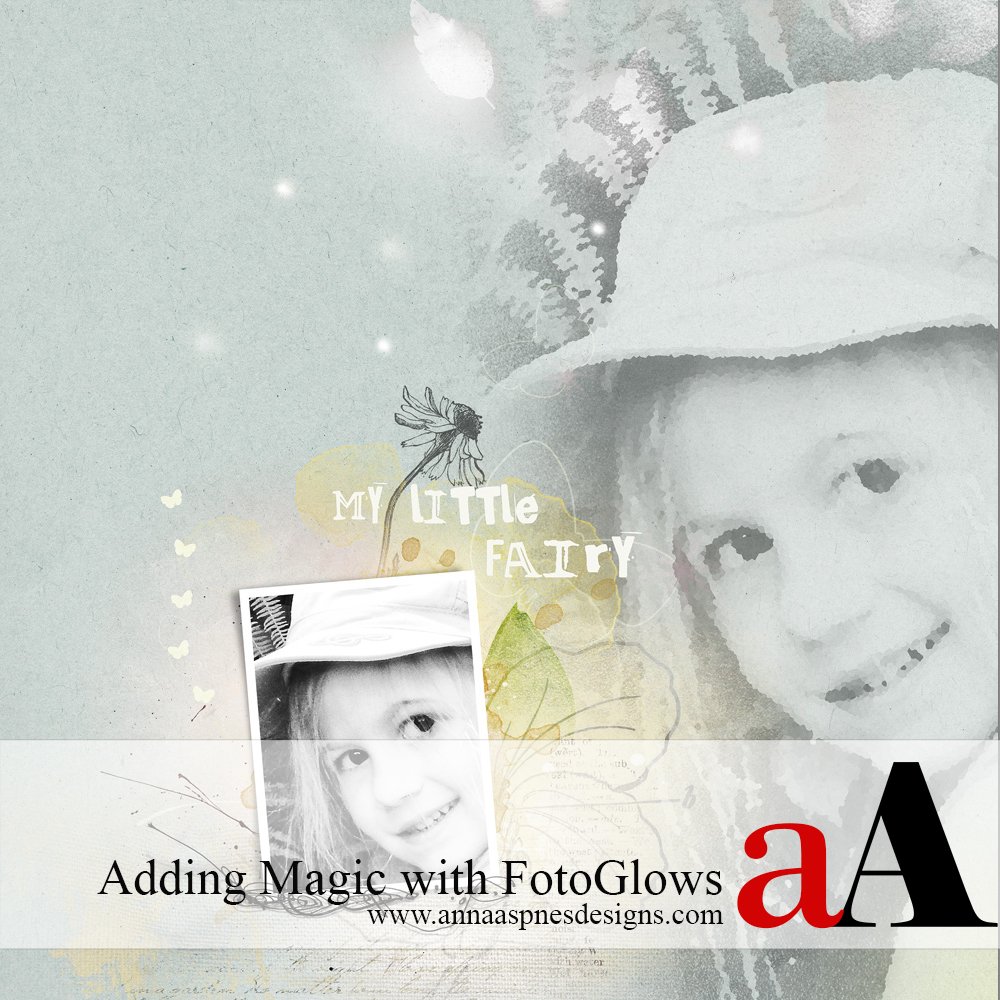
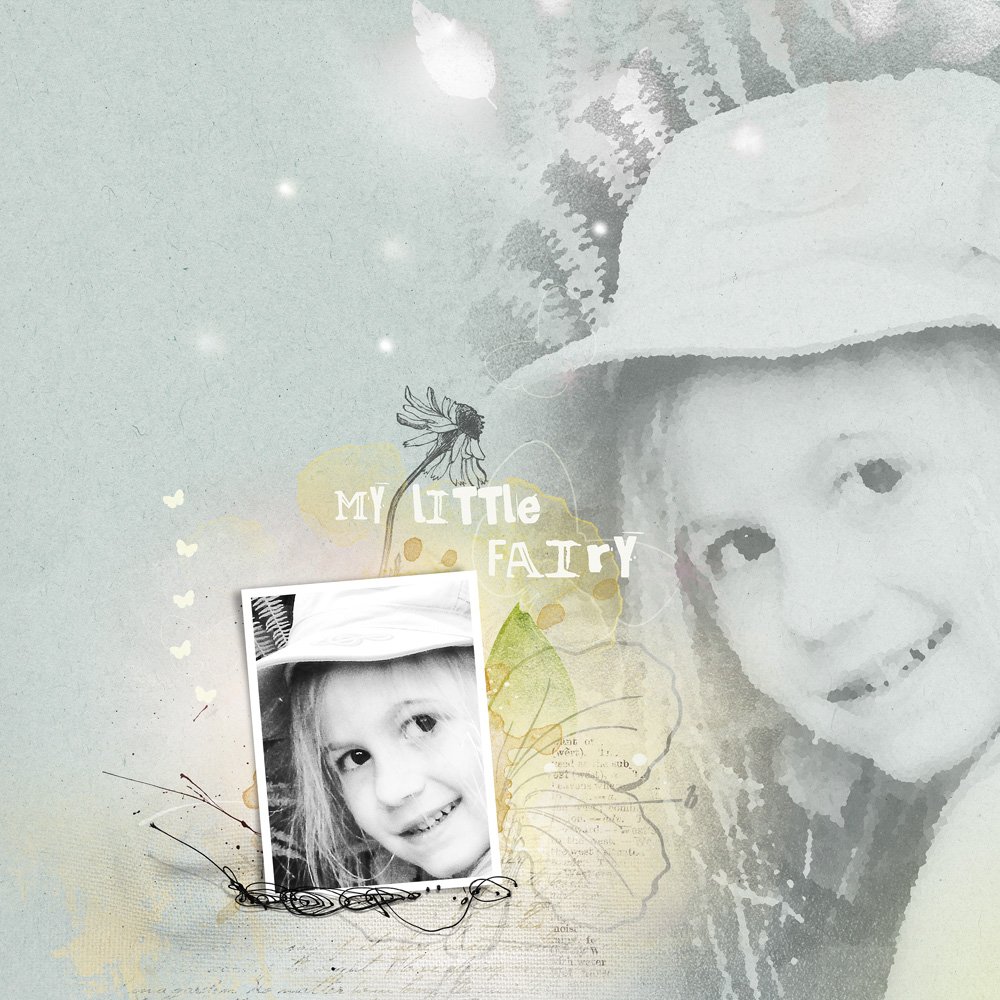
Add Magic with FotoGlows. Open and drag ButterflyGlows onto the layout and apply the Vivid Light Blending Mode. Experiment with Blending Modes until you get the desired look. I added several small ButterflyGlows and applied Vivid Light and Soft Light Blending Modes to give the feel of scattered fireflies, bringing the final magic touch to my layout.
Click on the above photo for additional process notes and supplies used.






Recent Comments