


Creative Team Member, Eva, shows us how she applies a Watercolor Effect to Digital Scrapbooking Photos in Adobe Photoshop.
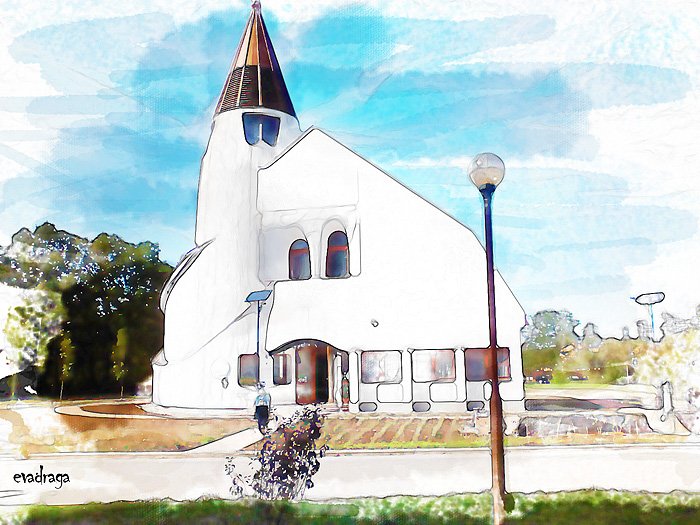
1. Create a Water Color Effect. Open your photo and follow the steps in this tutorial by Marty at Blue Lighting to give a Hand-painted Watercolor Effect to the photo. Below is the before and after photo.

2. Blend the Photo. Create new 12×12 300DPI layout. Open and drag an ArtsyPaper and Transfers of choice onto your layout. Blend the edges of your photo then apply different Blending Modes until you have the desired look.
3. Embellish. Complete the layout by adding ArtStrokes, Elements and WordART.

Click on the above photo for additional process notes and supplies used.


it looks amazing, Anna!
Enjoy Anke!
I want to thank you Anna and the Creative Team for sharing so many wonderful tutorials! Each and every one teaches us how to use your wonderful products more effectively!
Thanks Cheryl for stopping by and reading when you do 🙂
Hi Cheryl! I learn a lot, too from the Anna’s and CT-girls tutorials!
Thank you for your feedback!
Great tutorial Eva, thanks for the video link too!
Thank you the feedback Linda! I hope, you enjoyed the tutorial, have a fun!
Eva – question for you in the tutorial video, I only have Photoshop elements and cannot seem to find one of the last steps -Adding an Adjustment – Vibrancy
Can you help????
Hi Peggy! I think, the Vibrancy is not nessesery step. Step it calmly! It is only intensify the colors.
Thank you for your question, and I hope, you enjoy the tutorial!
LOVED the tutorial…
Thank you
Peggy
Hi Peggy, thank you for your words, I hope you enjoy the creativity!
Eva