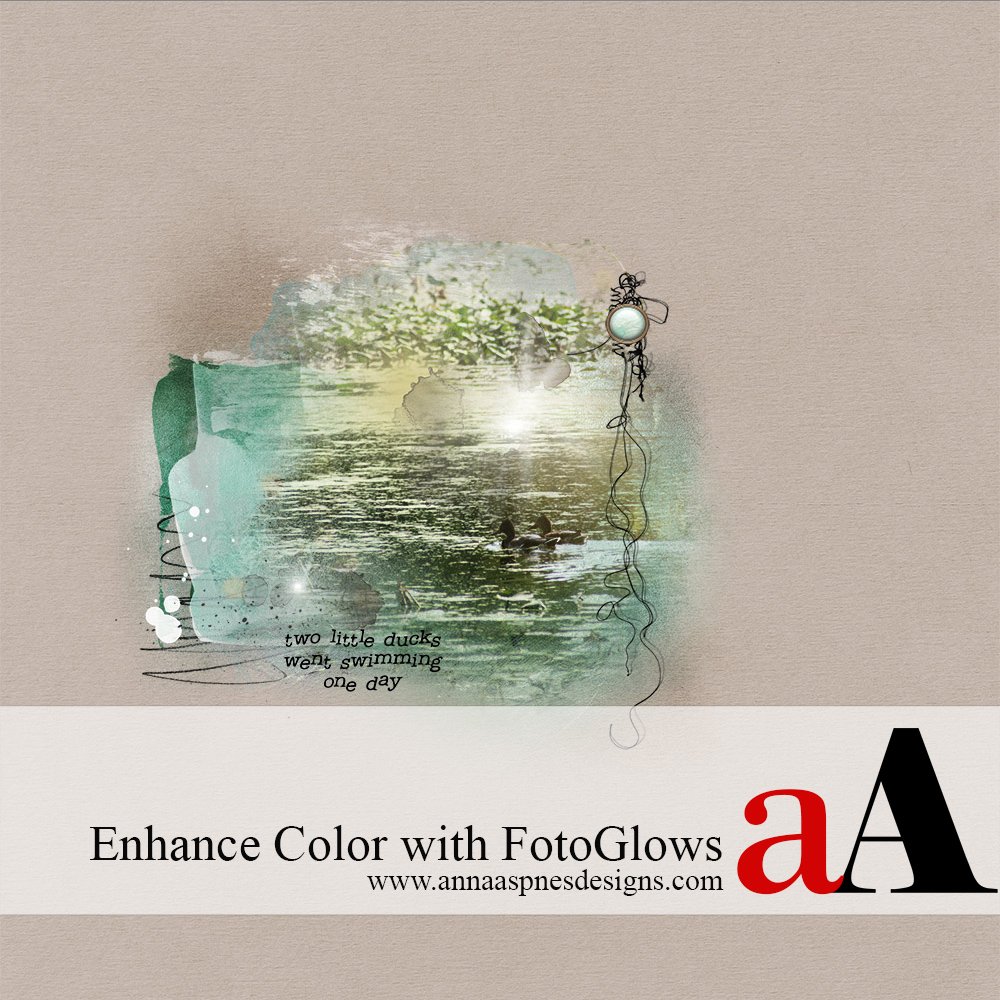
Guest Creative Team Member, Pam, shows us how she enhances color using FotoGlows Tutorial in Adobe Photoshop.
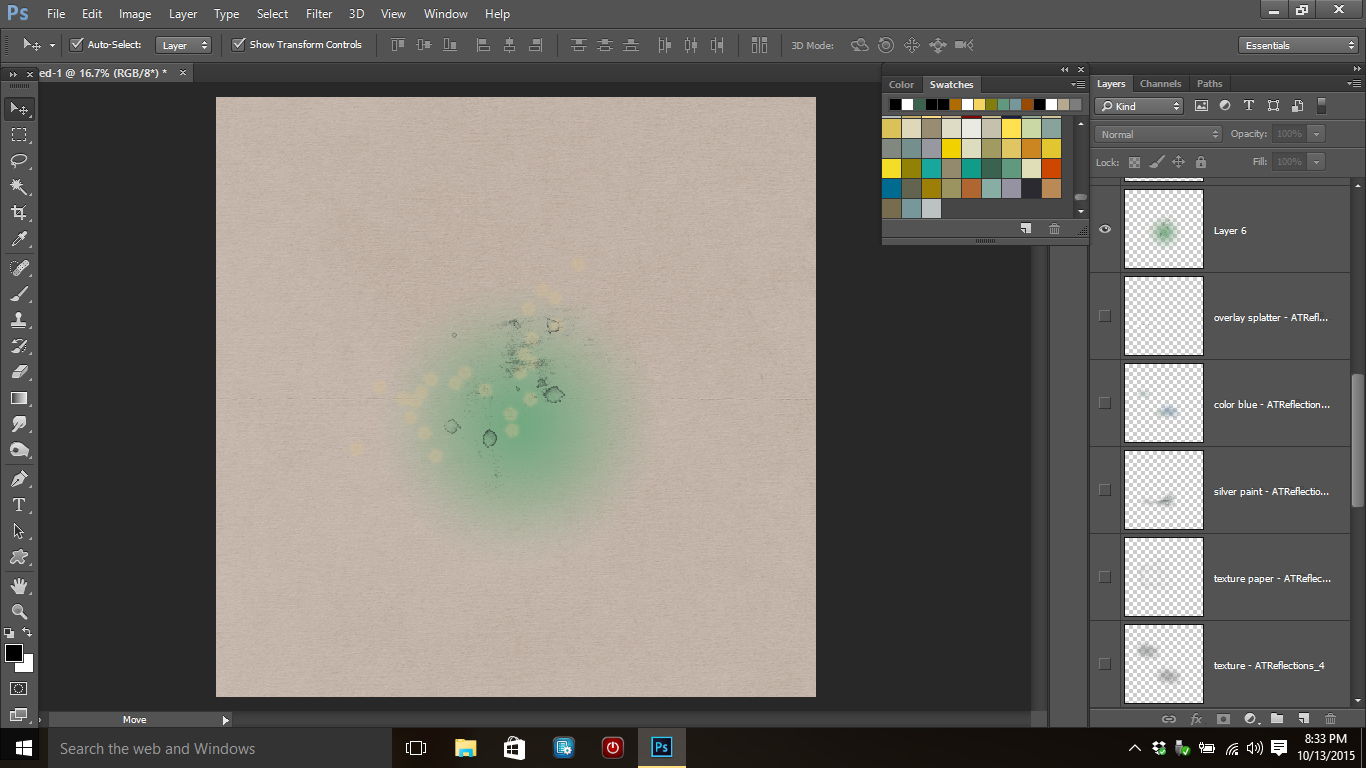
 Create a Foundation. Create a new 12 X 12 layout at 300DPI and select a paper of choice as your background. Move the paper onto the new layout using the Move Tool from the Tools Panel. Open and drag a FotoGlow of choice onto the layout.
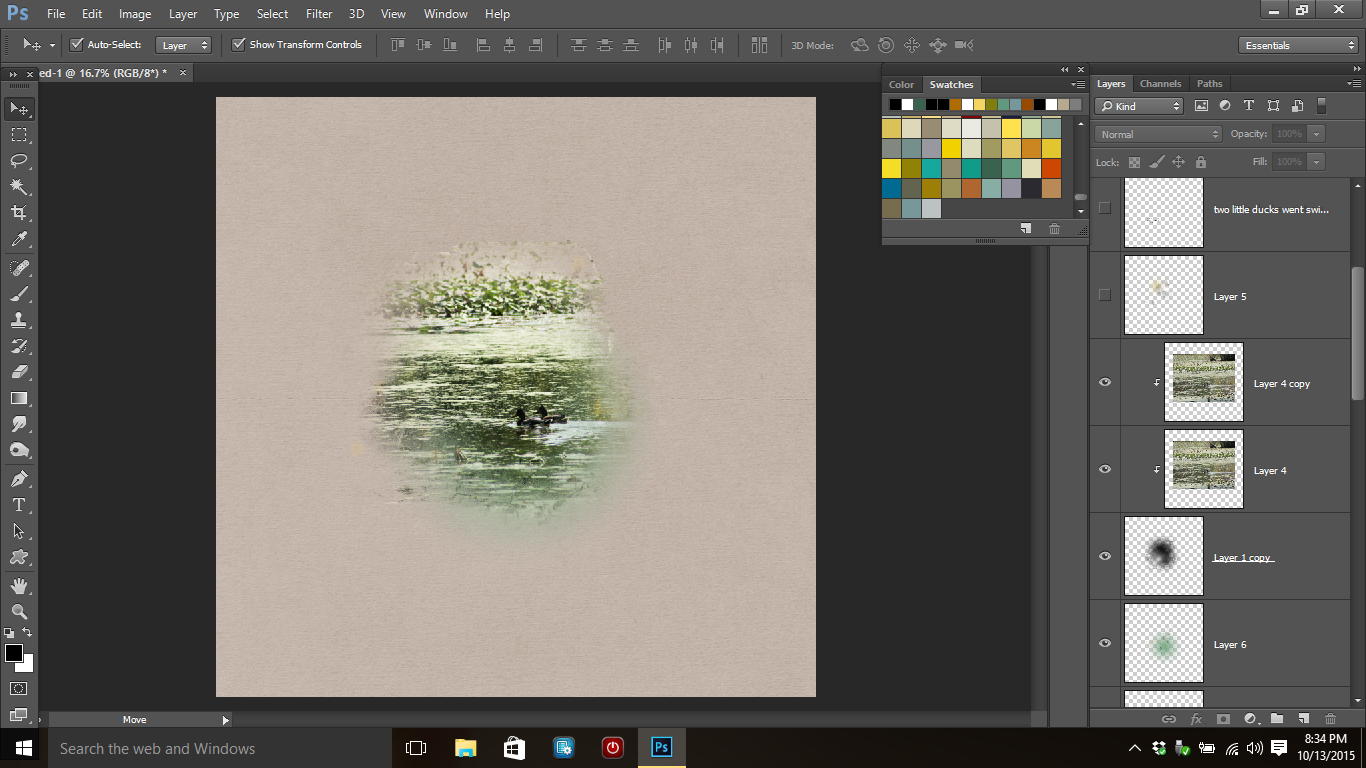
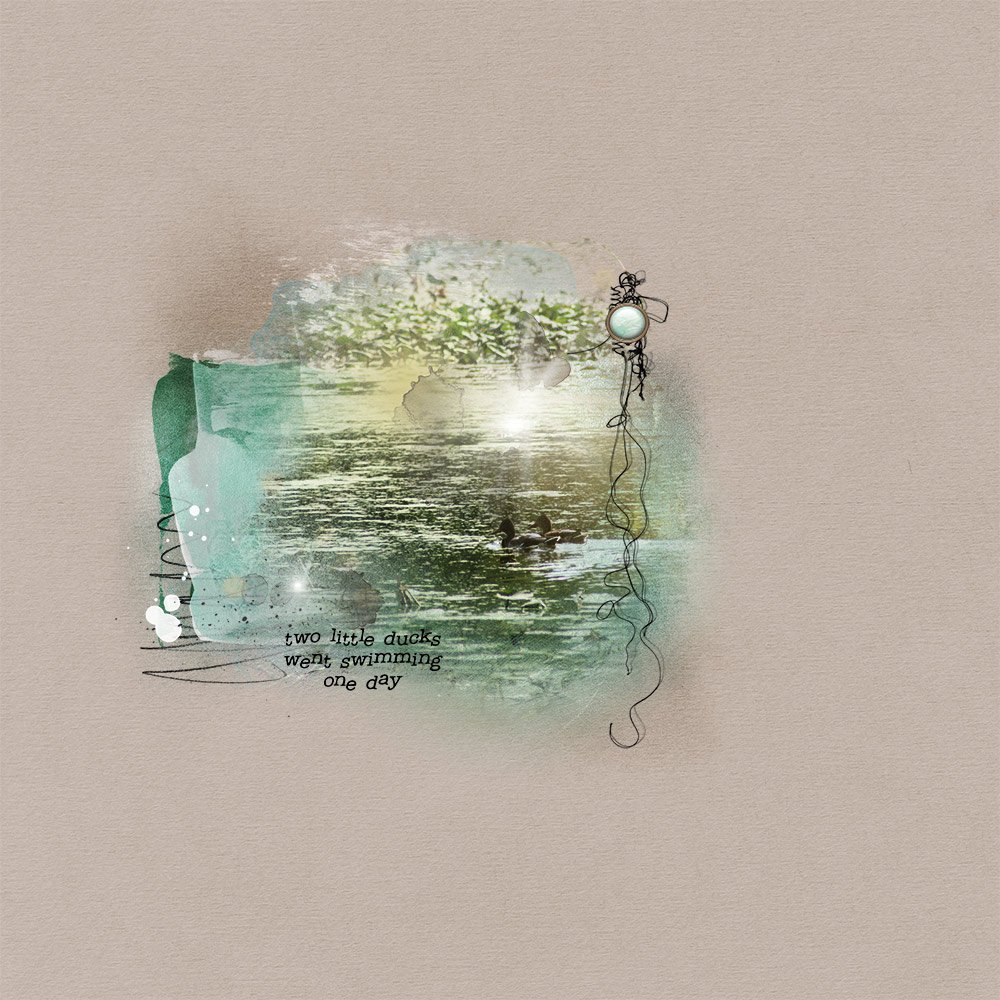
2. Enhance Color. Open and drag your photo onto the layout. My image was rather bland, I wanted the two ducks in my image to be more defined. Clip your photo to a FotoBlendz of choice (Ctrl+Alt+G). Resize as needed. To enhance the color of your image, move the FotoGlow beneath the blended photo layer.
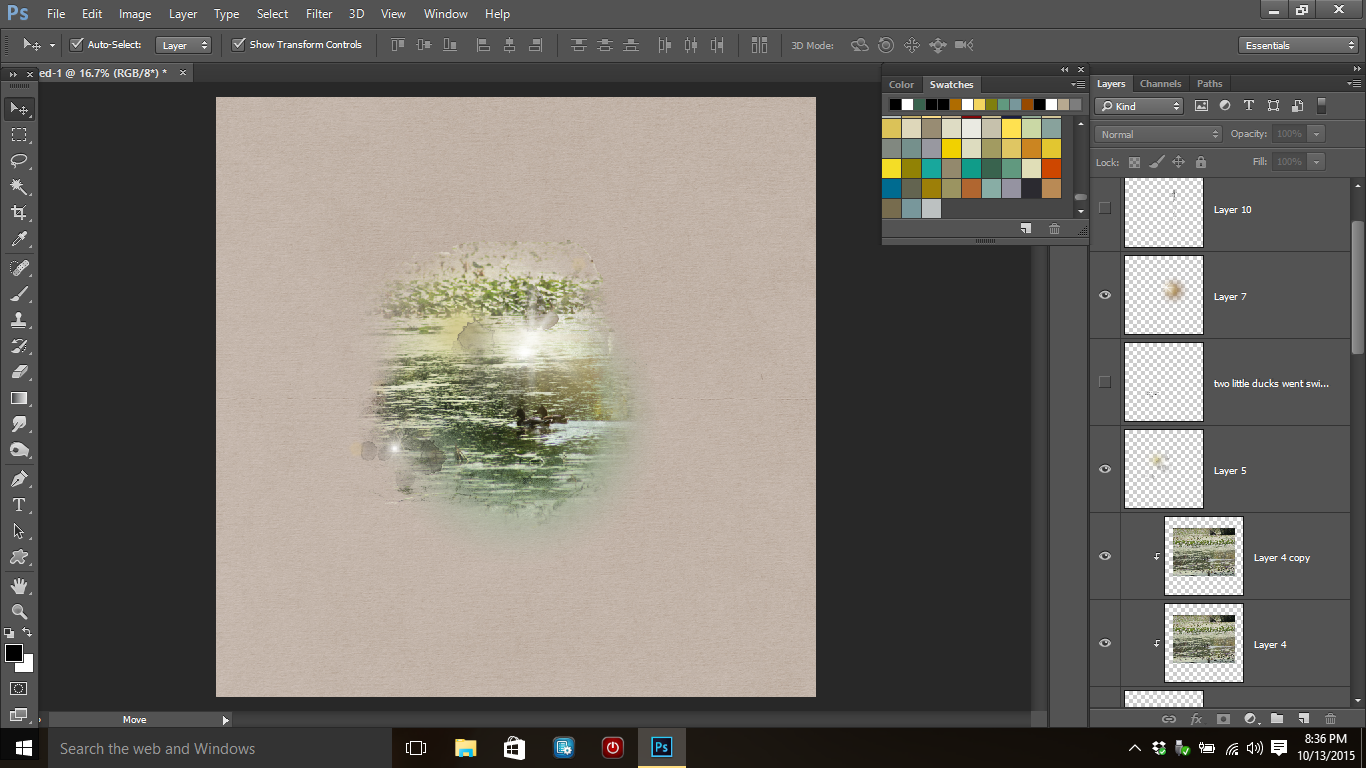
3. Create Light. To create a Sun Flare effect, open and drag an additional FotoGlow above your image. Apply the Lighten Blending Mode and decrease the opacity to 62%.
4. Embellish. Complete the layout by adding ArtsyTransfers, UrbanStitchez, WordART and elements.
Click on the above photo for additional process notes and supplies used.






Recent Comments