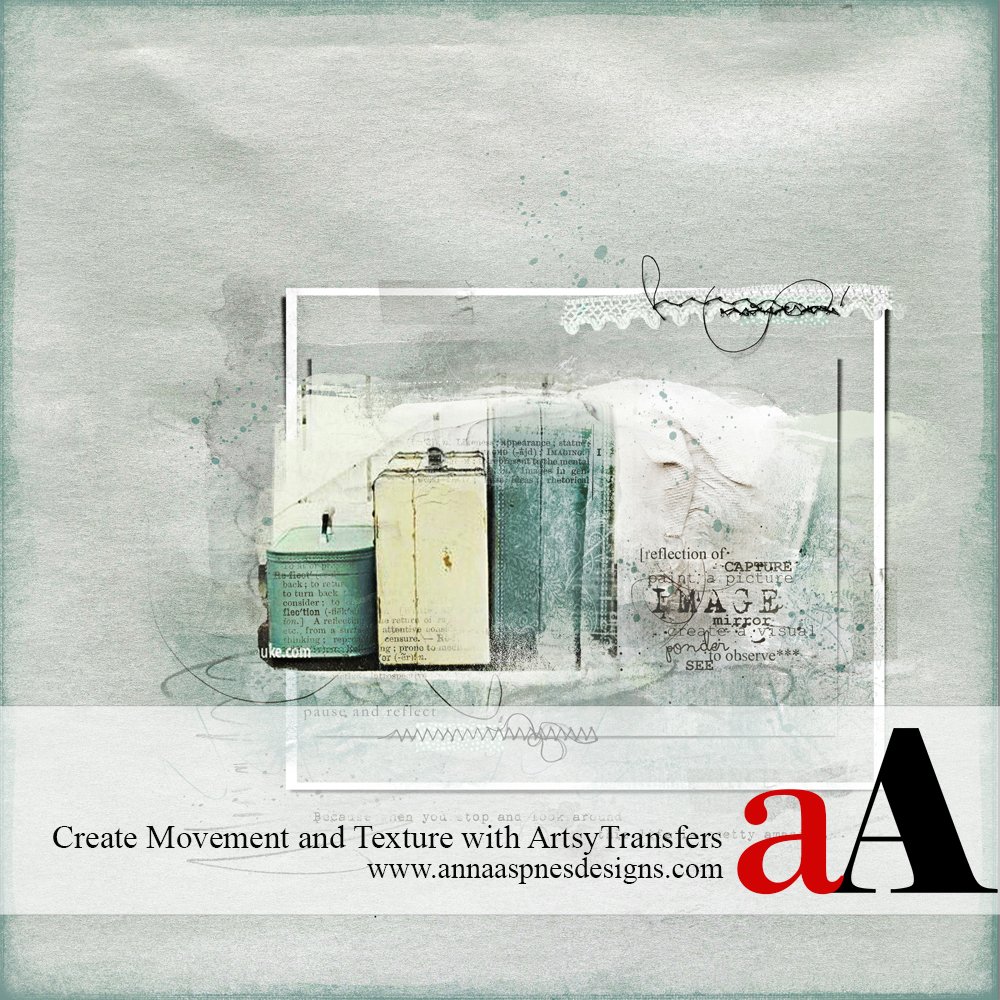
Creative Team Member, Donna, shares her ArtsyTransfer flow to dimension tricks in Adobe Photoshop.
Note that this tutorial can also be conducted in versions of Adobe Photoshop Elements.

ArtsyTransfer Flow to Dimension
My artist eye is always drawn into the textures of DigitalART designs, making my tactile senses want to reach out and touch their beauty. But at the same time my mind’s eye is following the flow of the loops and swirls as they spill across the canvas. Enter ArtsyTransfers flow to dimension.
ArtsyTransfers are an amazing mix of textures and colors, perfectly layered and blended to include a variety of brushes, paints, stains and ArtStrokes. The versatile .psd file format makes their possibilities endless.
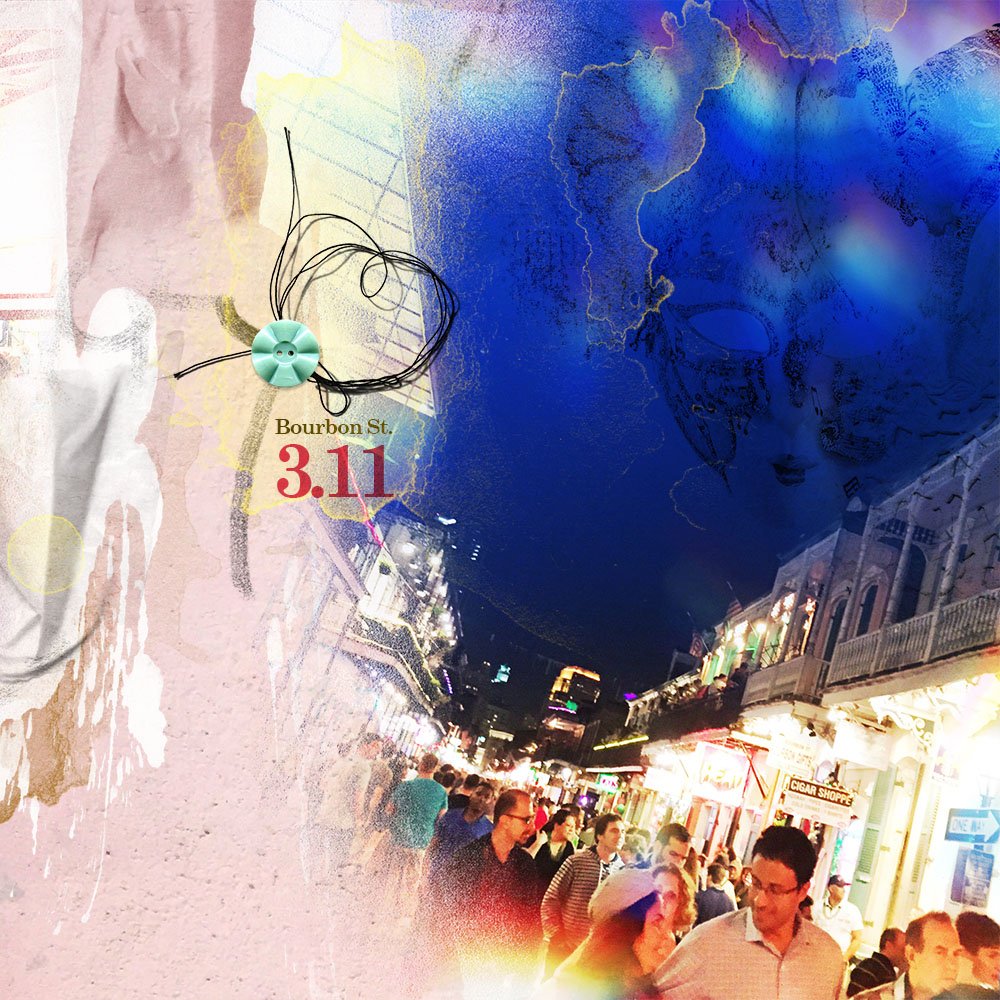
1. Create a new 12 x 12 layout at 300 dpi in Adobe Photoshop or Elements. Go to File> New File, and set specifications in the dialogue box as preferred. Open and move your photo and a FotoBlendz of choice onto the new layout using the Move tool from the Tools panel. Clip your photo to the FotoBlendz. Press Ctrl+Alt+G (Photoshop) or CTRL + G (Elements).
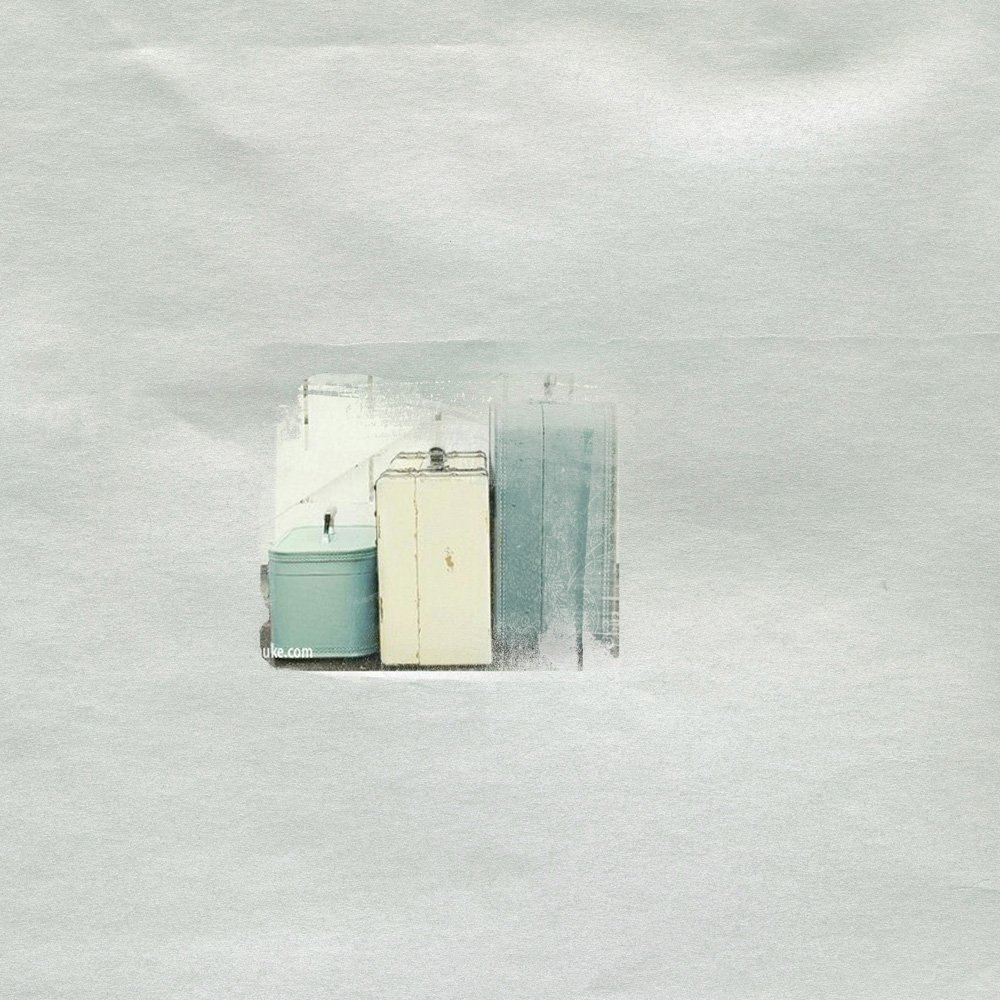
2. Open and move all the layers of an ArtsyTransfer of choice behind your photo. Select all the layers in the Layers panel and use the Move tool from the Tools panel to drag and drop the layers onto your foundation. I chose a Transfer from ArtsyTransfers Airy.
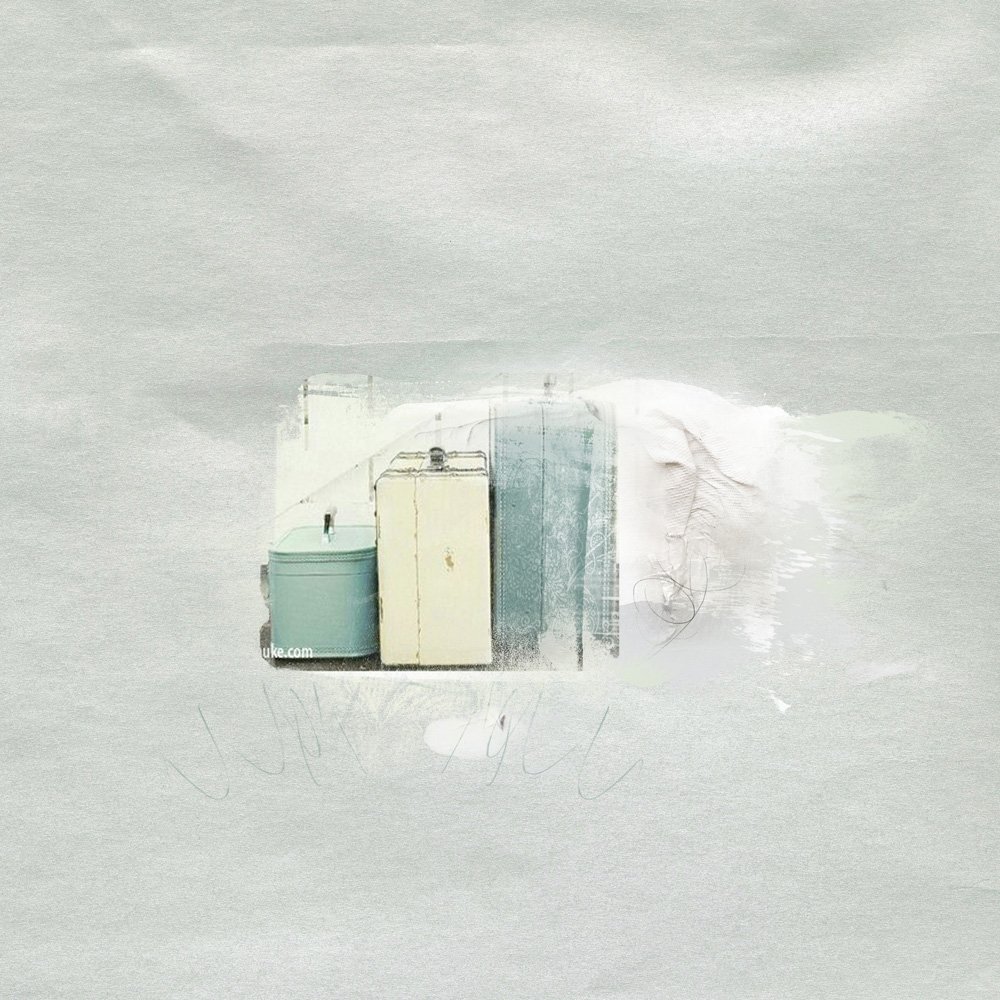
Note that you can use one or multiple ArtsyTransfer layers. Manipulate the layers by duplicating, recoloring, re-sizing, re-positioning, and blending them into your own unique DigitalART design.
See ArtsyTransfers 101 for further guidance on these DigitalART technique.
I used some of these techniques, as well as, adding further brushes from ArtPlay Palette Airy, along with pieces of WordART.
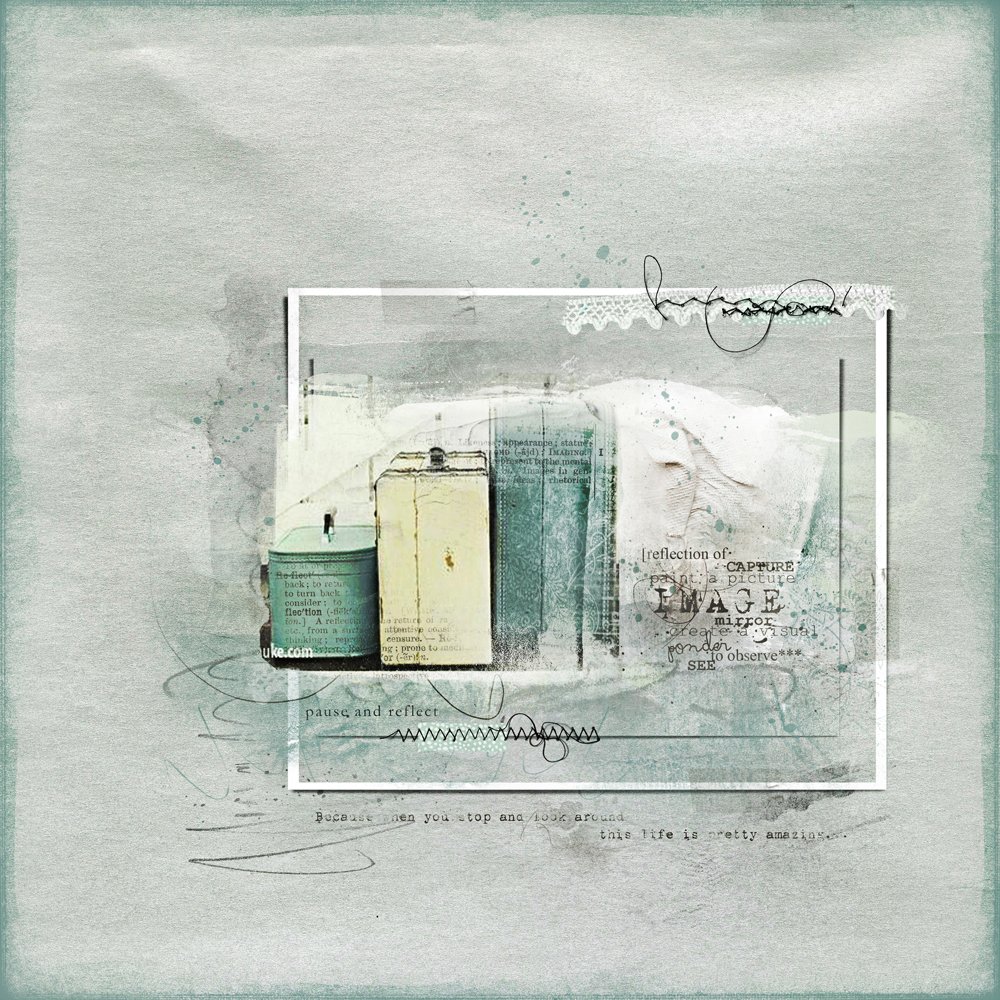
The final ART contains the gorgeous textures that capture my attention, as well as, the beautiful flow and swirl of brushes that move my eyes across the ART design and back again.
ArtsyTransfers enable you to create texture and flow in your digital designs with the ultimate flexibility.
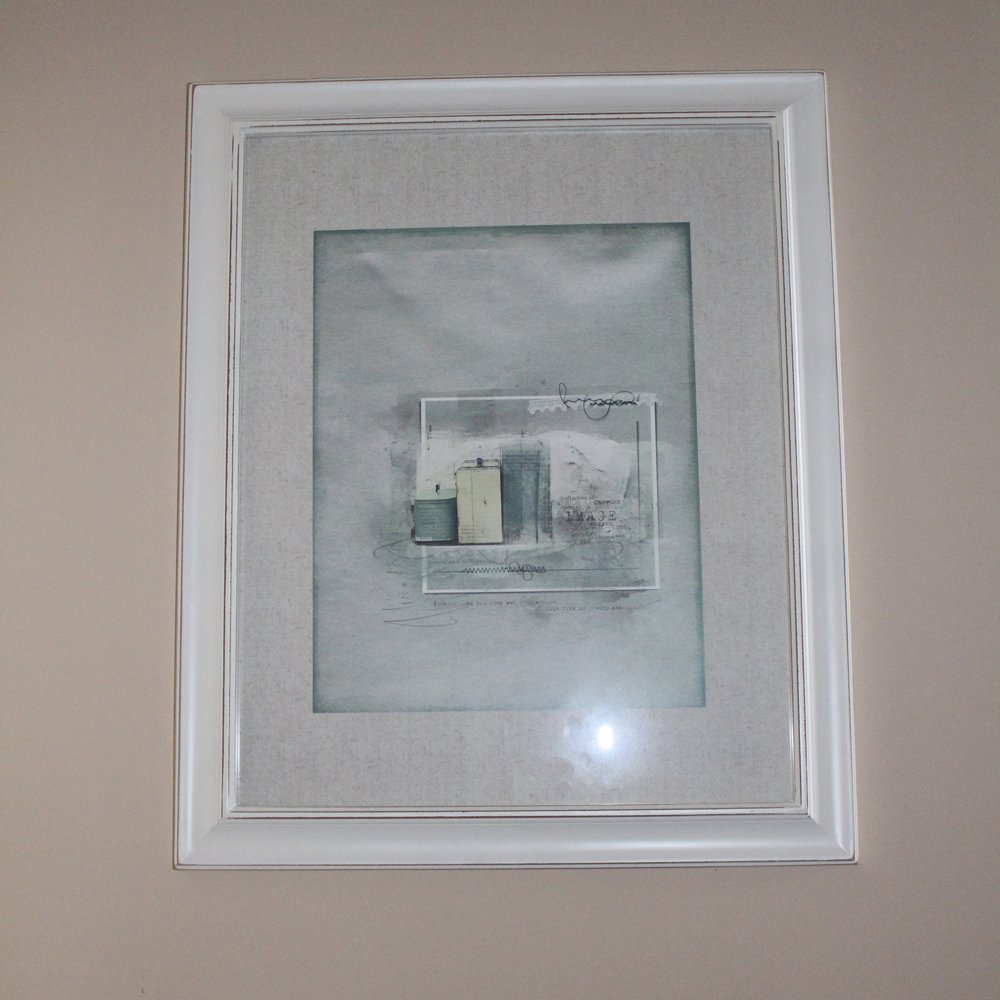
The final DigitalART was framed and it now hangs on a wall in my home.
I hope you are enjoying creating with ArtsyTransfers and displaying your ART as well for others to enjoy.
Click on the above photo for additional process notes and supplies used.
View the videos on the aA Youtube channel for further tutorials, and guidance on everything you need to know about Using ArtsyTransfers in Adobe Photoshop and Elements.






Oh this is so beautiful… love the peek inside your process of creating!! Thanks p