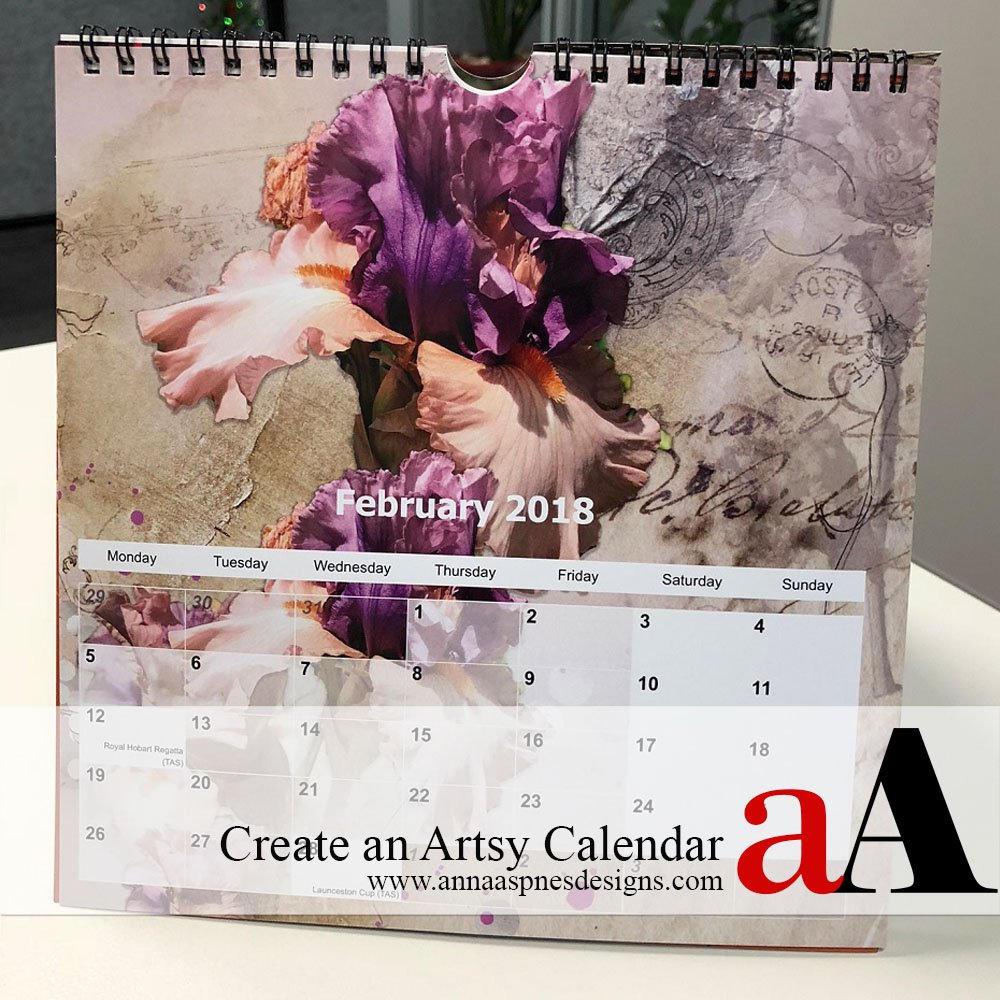
Trish, shares her process to Create a Calendar with Digital Scrapbook Pages.
Create a Calendar with Digital Scrapbook Pages
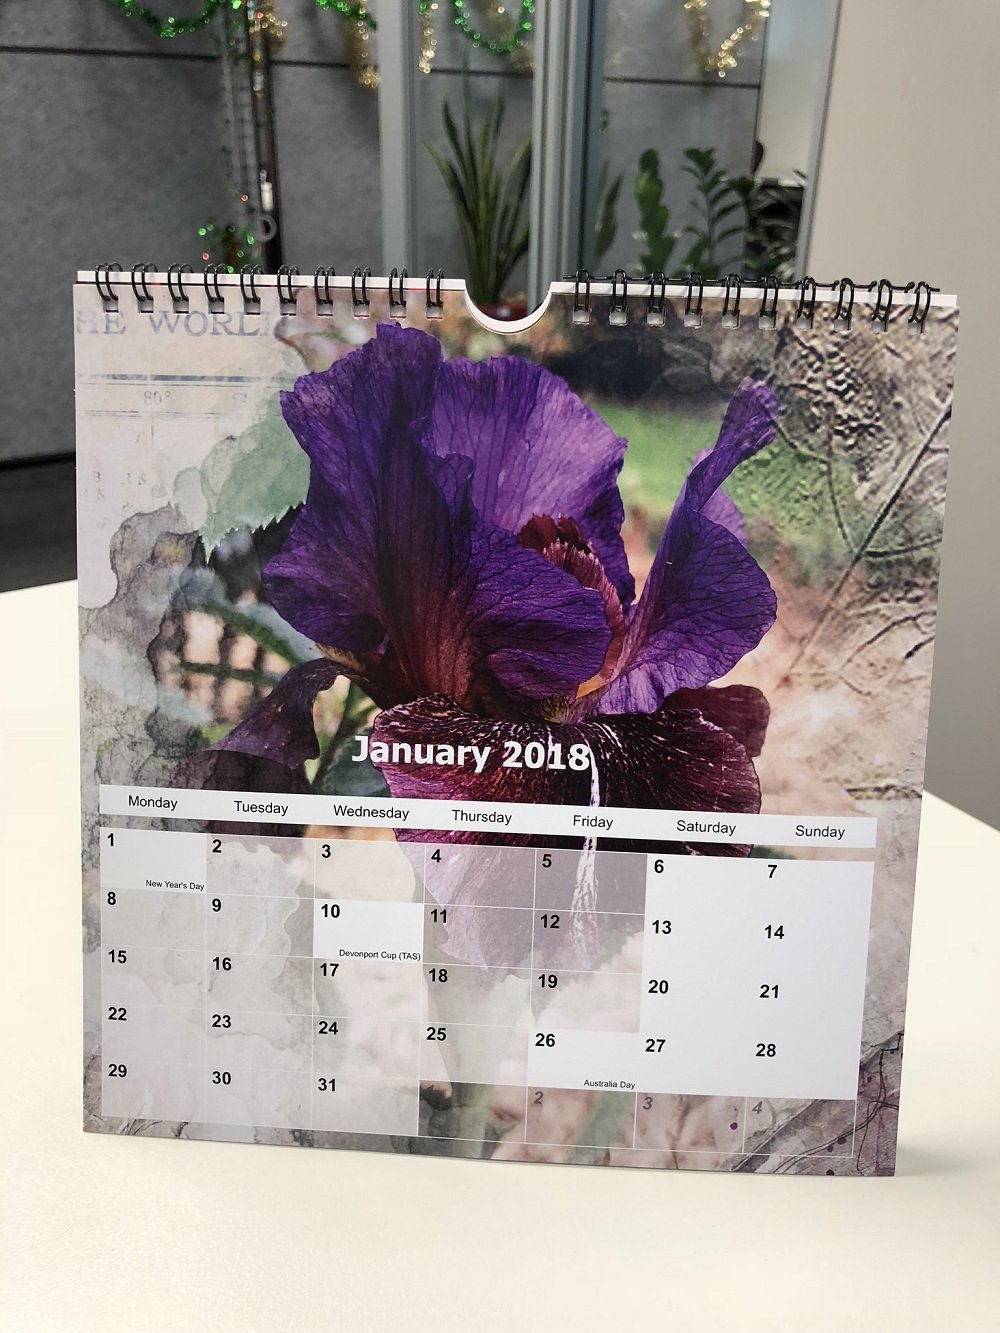
Calendars are a unique way to share your digital scrapbook pages with family and friends.
- Make your digital scrapbook pages more visible on a daily basis.
- Create handmade photo gifts with family and friends.
- Bring your photo artistry to life!
YOU JUST NEED TO:
- Save your digital scrapbook pages in .jpg format.
- Upload to an online calendar printing service.
- Drag and drop the files into the provided templates.
- Review your calendar.
- Submit for printing.
A few things to keep in mind.
- Make sure your layouts are in the correct proportions with the calendar template and adhere to the bleed guideline provided. The bleed area defines the area of your layout that may be cropped during the printing process.
- Create your jpg. files to accommodate the size of the entire calendar page and add them as a background to the calendar templates. I simply highlighted the existing background on each template, removed it, before clicking and dragging my layout in it’s place.
- Use the preview option to view your pages MULTIPLE TIMES before printing to avoid any mistakes.
- You may need to make modifications to the original .psd file, and re-save your .jpg image.
- You might also be able to edit text and elements in the templates provided. I liked the transparent view of the calendar as is, but made modifications to the ‘month’ title as needed.
Print your book only when FULLY satisfied.
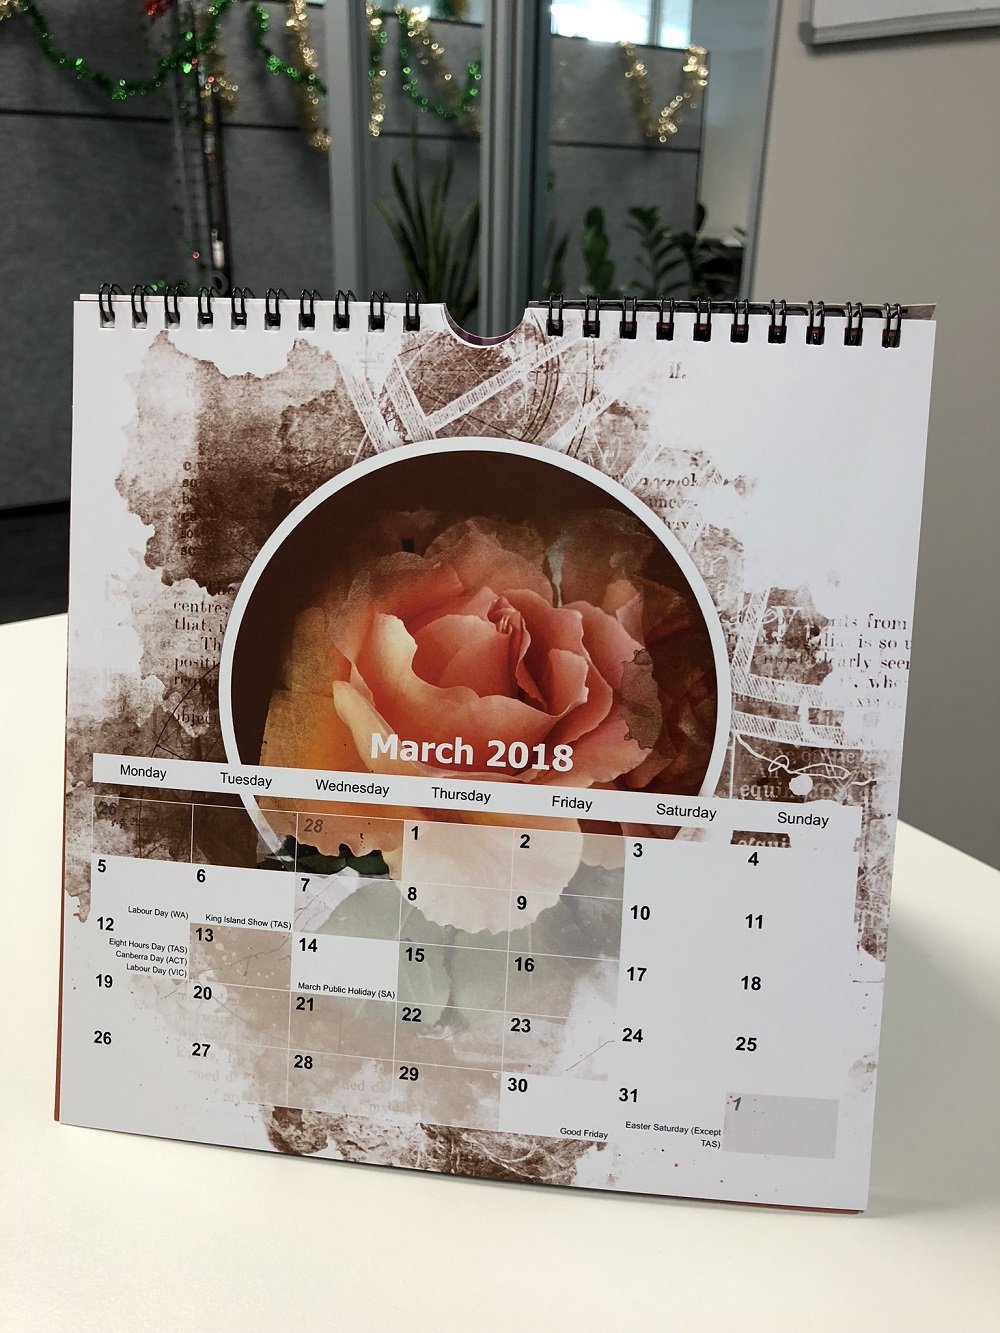
Note that you can usually elect to have logo on the front of the calendar, however omitted for a small fee.
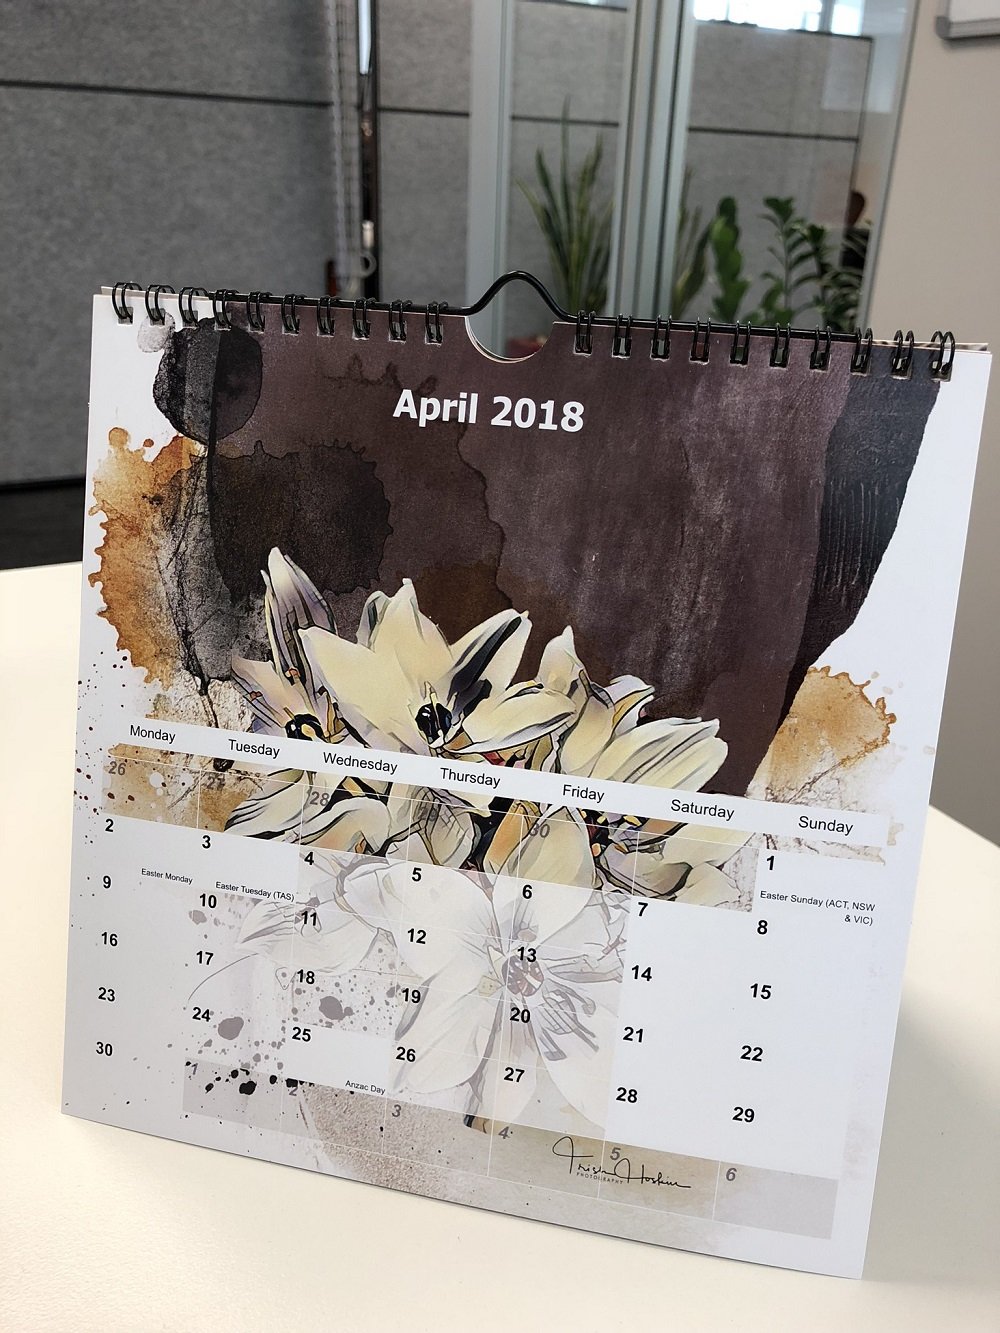
- These calendars are 20 cm x 20 cms with a spiral bind at the top.
- There is a little hook to hang them up and a flap at the back which can be locked into place so they can stand on a flat surface.
Post your questions about this Create a Calendar with Digital Scrapbook Pages post in the comments.




Recent Comments