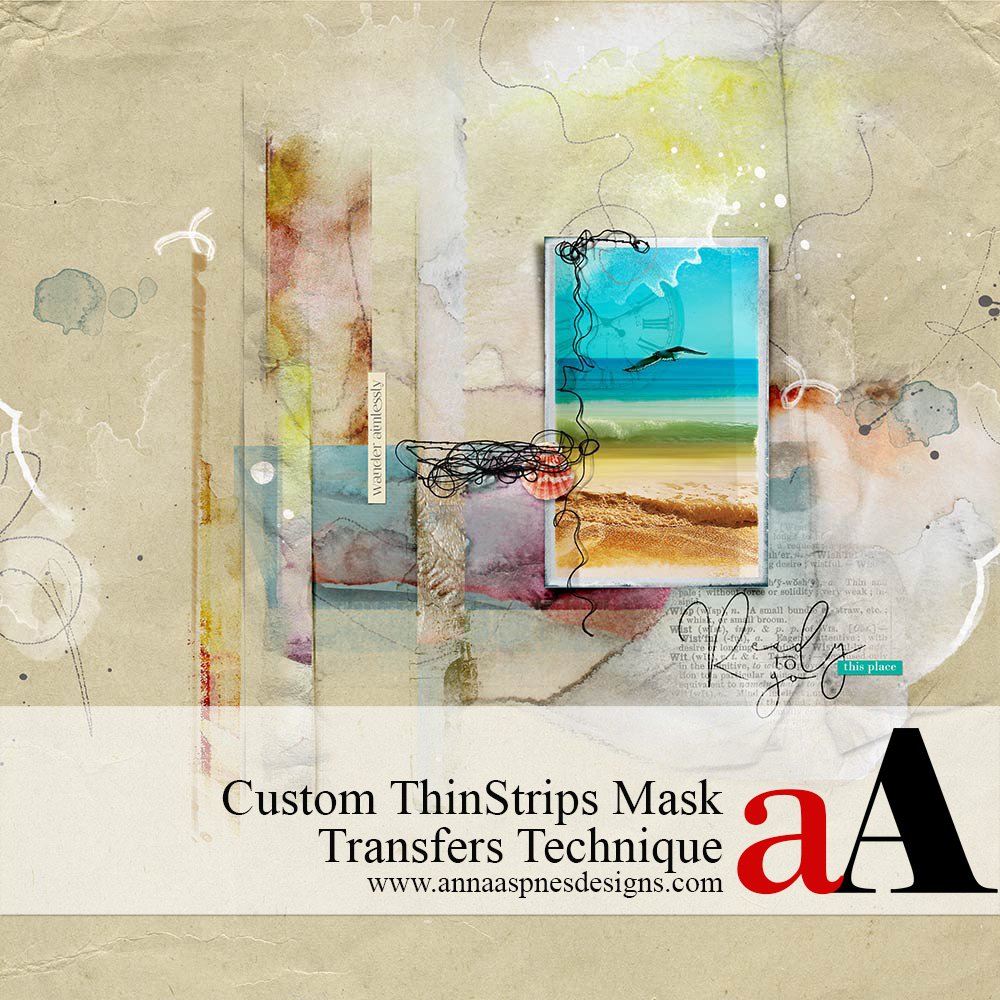
Today Barbara is sharing her Custom ThinStrips Mask Transfers Technique.
Custom ThinStrips Mask Transfers Technique
Introduction
Use the ThinStrips Mask series to create foundations that coordinate with your photos.
- Clip aA digital papers and elements to the ThinStrips Masks to create custom transfer elements.
- Add PaperTextures No. 5 to create depth and dimension to your paper strip designs.
- Use Edges No.1 with the Paint Brush Tool to distress and accentuate hard edges.
Note. ArtPlay Palette Flaneur and ArtsyKardz Flaneur were used in this Custom ThinStrip Mask Transfers Technique.
1. Create Design Foundation
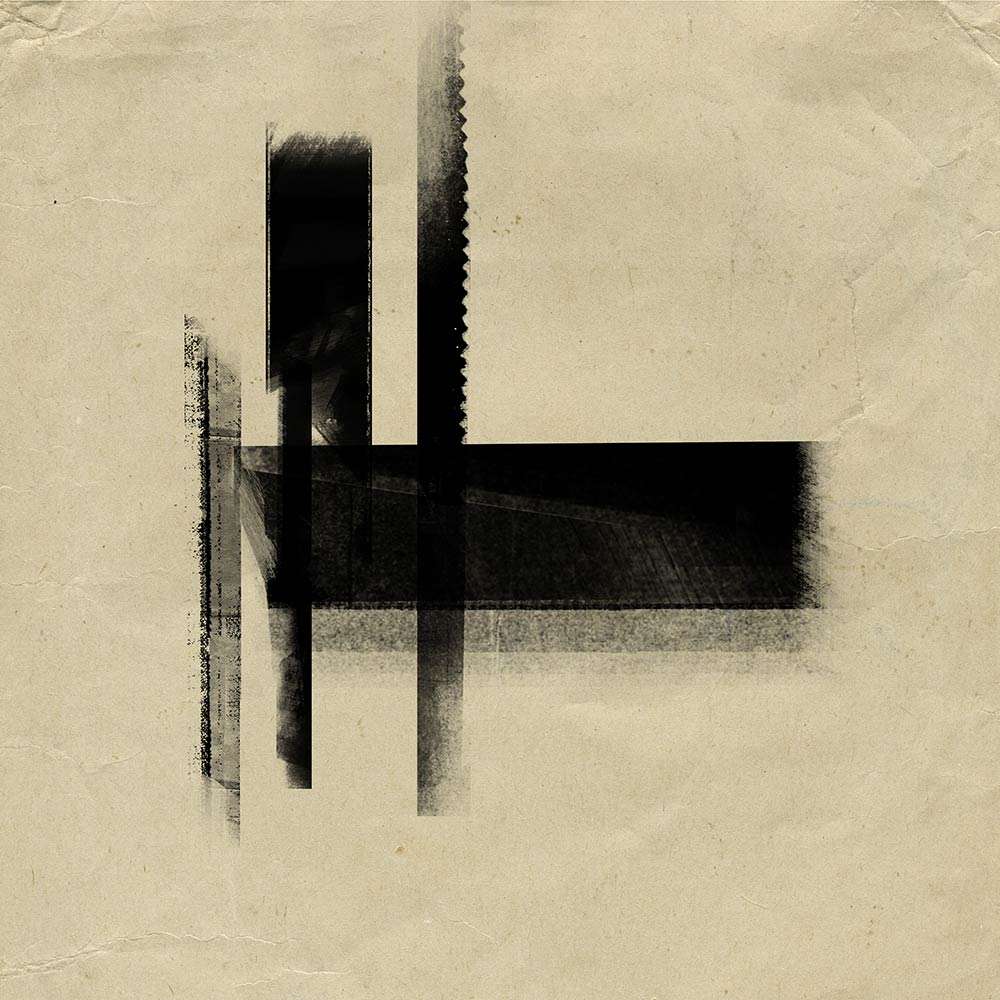
Position the ThinStrips Mask elements as preferred on a solid paper foundation.
- Use the .png files with the Move Tool and arrange on your layout design.
- Load the .abr file, if available, into the Brushes Panel and stamp on New Layers using the Paint Brush Tool.
- Rotate the strips using the Transform Tool in Adobe Photoshop or Elements.
- Overlay the ThinStrips Mask layers as needed
Note. The color of the ThinStrips Masks is NOT important.
2. Embellish ThinStrip Masks
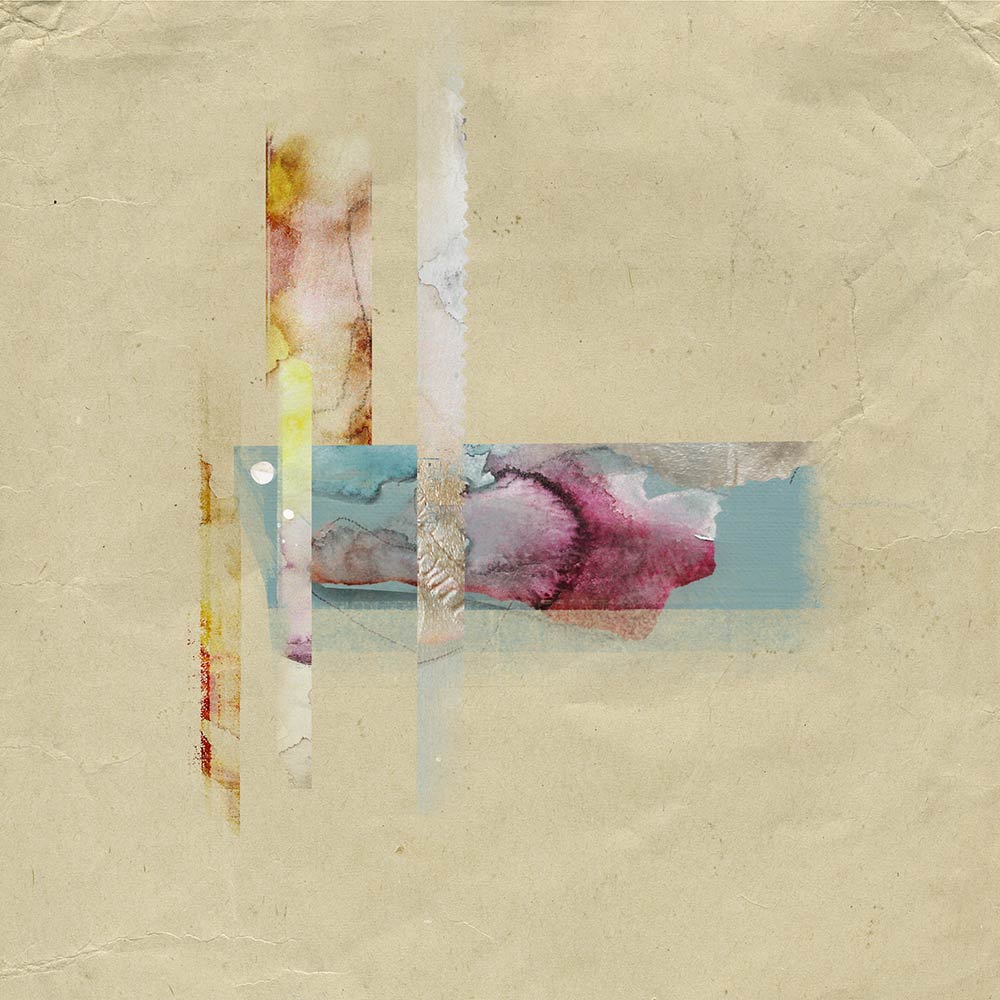
Clip one or more aA DigitalART supplies to each ThinStrips Mask Layer.
- You can use digital papers, Transfers and Overlay, BrushSets, or in this case, ArtsyKardz to embellish your design.
- Place the element layer directly above each ThinStrips Mask layer.
- Make sure the edges of the element layer extend those of the mask layer to yield complete coverage.
- Go to Layer> Create Clipping Mask.
Note. The element layer will conform to the shape of the underlying ThinStrips Mask layer.
3. Add Texture and Dimension
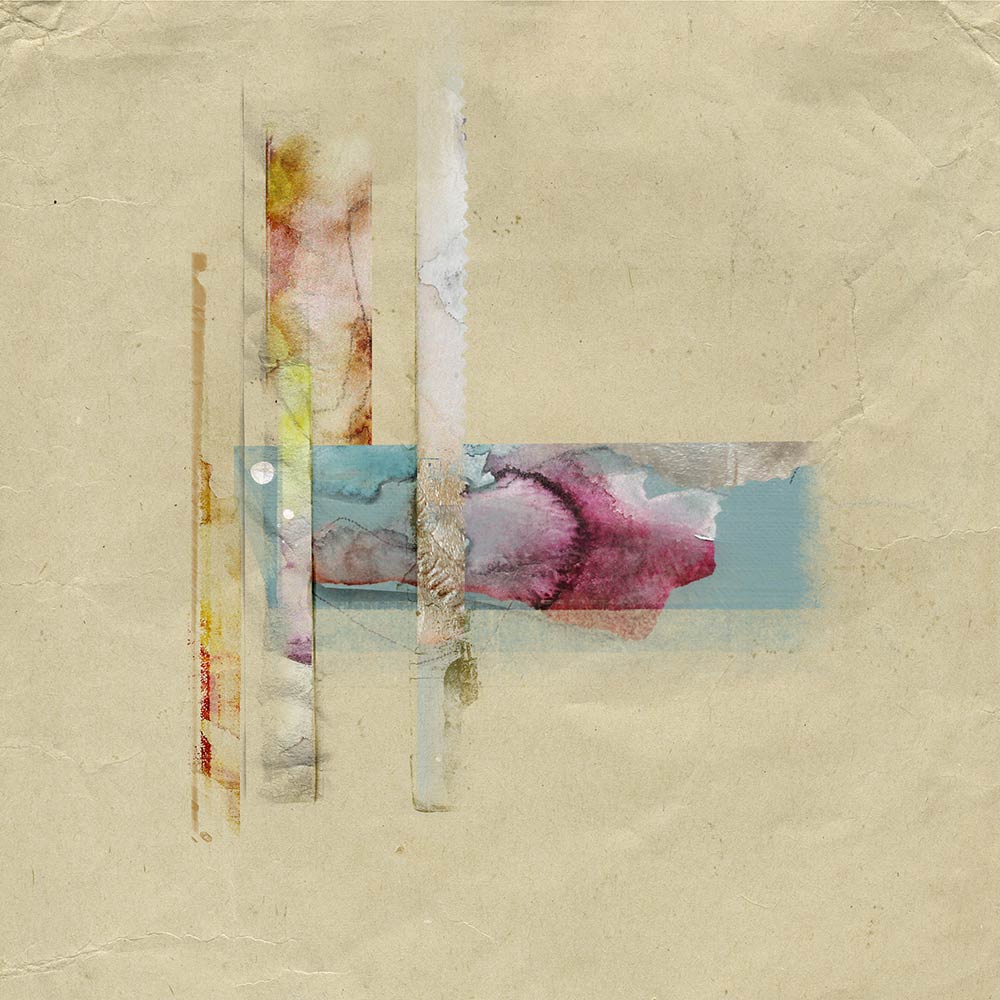
Use BrushSets to add visual interest to your paper strip designs.
- Load the .abr file BrushSets into you Brushes Panel as outlined in this FREE Basic Brushes class.
- Create a New Layer and clip to the underlying ThinStrips Mask layer.
- Use the Edges No.1 brushes to add a colored edge in a contrasting COLOR that aligns with the edge of the ThinStrips Mask layer.
- Stamp PaperTextures No. 5 in mid-gray color and apply Blending Mode such as Multiply, Linear Burn, Overlay or Color Burn.
Summary
Use ThinStrip Masks to create a custom foundation to spark your next layout design.
- Arrange the ThinStrip Masks.
- Embellish with aA DigitalART supplies.
- Add visual interest using BrushSets.
Try this:
- Clip multiple element layers to a mask layer.
- Create a striped journaling block or design on your layout
- Distress hard edges of images and elements a Layer Mask and Brushes.
- Modify the mask layers as preferred in terms of Color, Shape and Size.
See also:




Excellent technique Barbara…easy to follow directions, and enough information to do a quick visual and start my own design. Thank you very much for sharing this exciting inspirational addition to make an artsy page!
Barbara is so good!