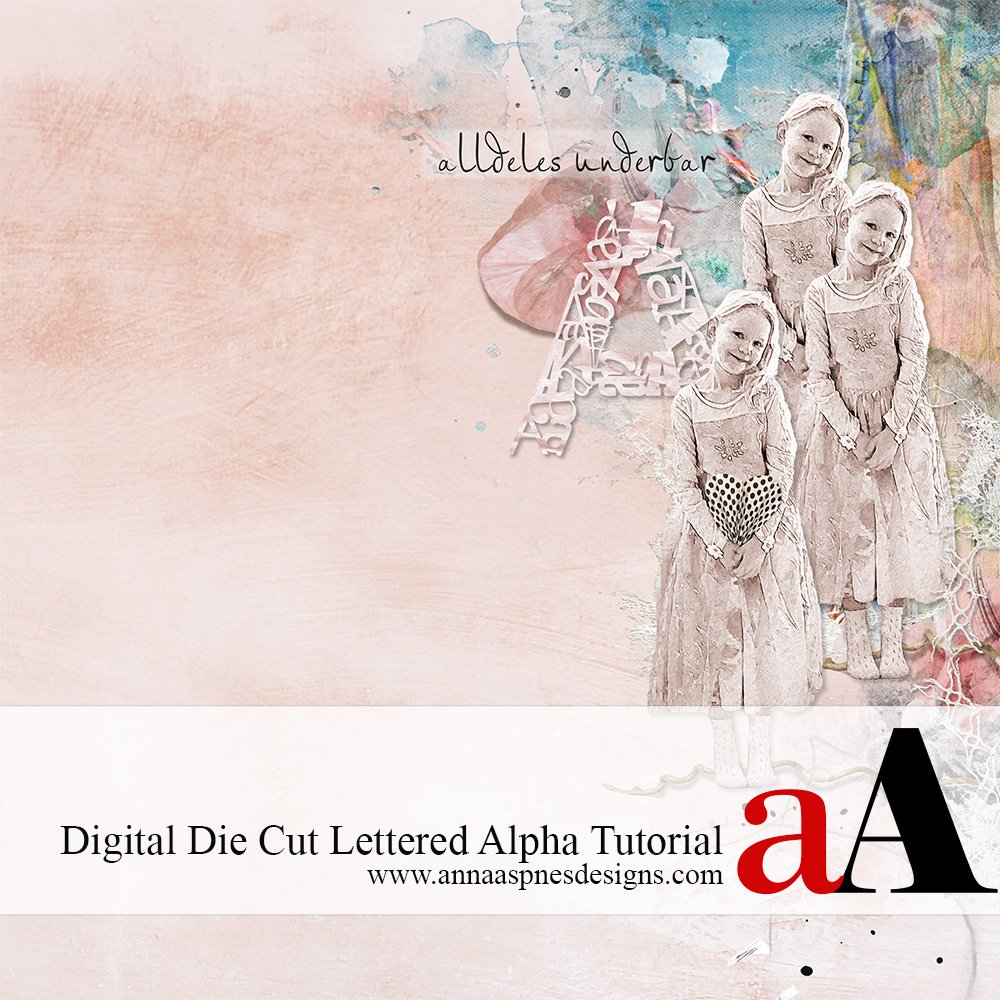
Creative Team Member, Ulla-May, shares her Digital Die Cut Lettered Alpha Tutorial in Adobe Photoshop.
Digital Die Cut Lettered Alpha Tutorial
1. Establish New Layout
Create a new document with a transparent background.
- Go to File> New in Adobe Photoshop or Elements, then enter 12 x 12 as your dimensions and 300 dpi resolution.
- If needed, change your Foreground Color to BLACK in the Tools Panel. ( Press D).
2. Add a Single Letter
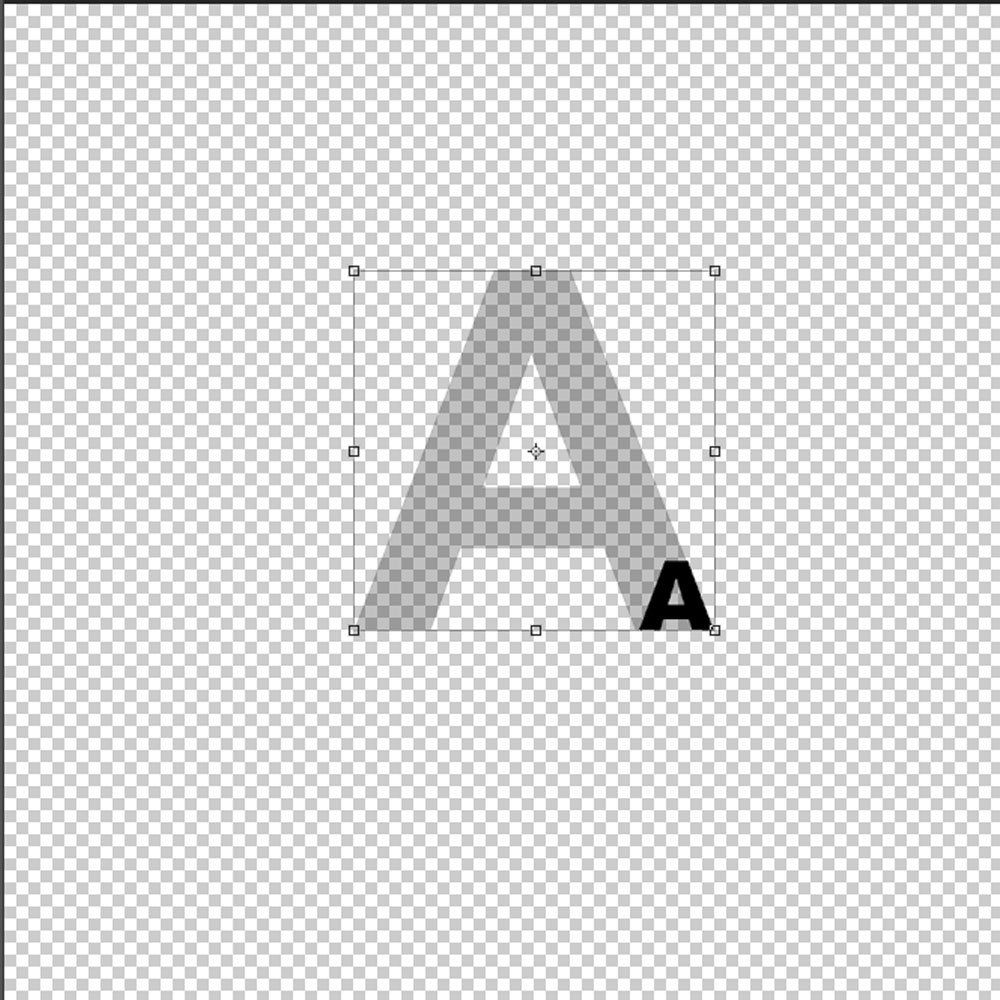
Create a blueprint or guide for you die cut letter.
- Choose the Font Arial Bold with the size 72 pt.
- Type and place an upper case ”A” (or another letter of your choice) in the middle of the document.
- Go to Edit> Transform> Scale and set the Wide and High to 600%.
- Press ENTER to apply the transformation.
- Go to Layer> Rasterize> Type.
- Decrease the Opacity for the letter to 46% in the Layers Panel.
3. Embellish with Multiple Fonts
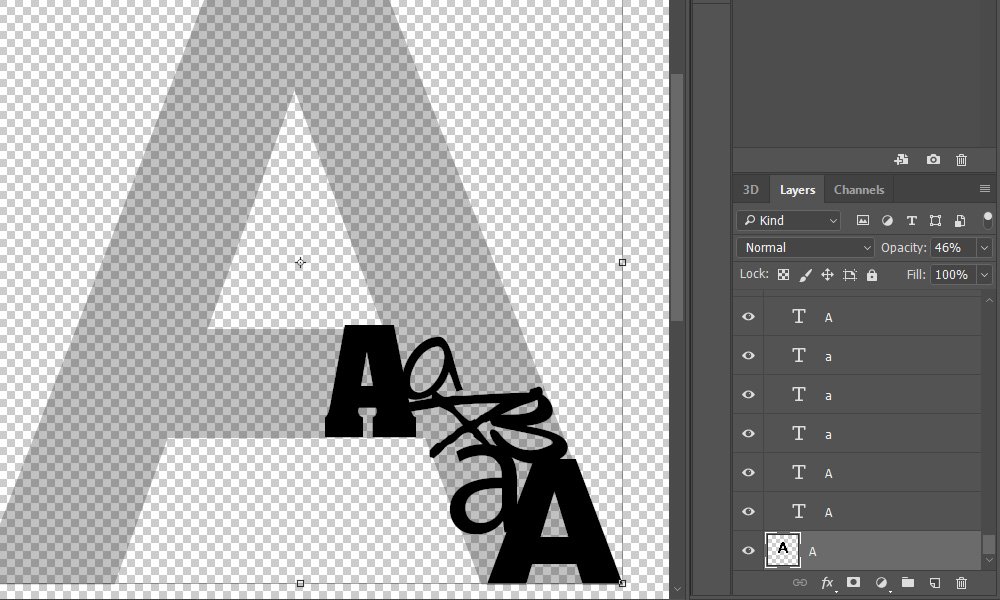
Fill the single letter with a variety of fonts in different sizes.
- Change the Font to Arial Black with the size 84 pt and type another upper case ‘A’ on the document.
- This will make a new layer with this letter in the Layer Panel.
- Use the Move Tool and move the letter to the right bottom of the big ‘A’.
- Continue to fill your letter with a various of fonts by using both upper case and lower case letters.
- Be sure to place each letter on a New Layer.
- Use the Transform Controls to change the sizes so they fit in the big ‘A,’or go to Edit> Free Transform or Edit> Transform> Scale.
4. Unite All Letters
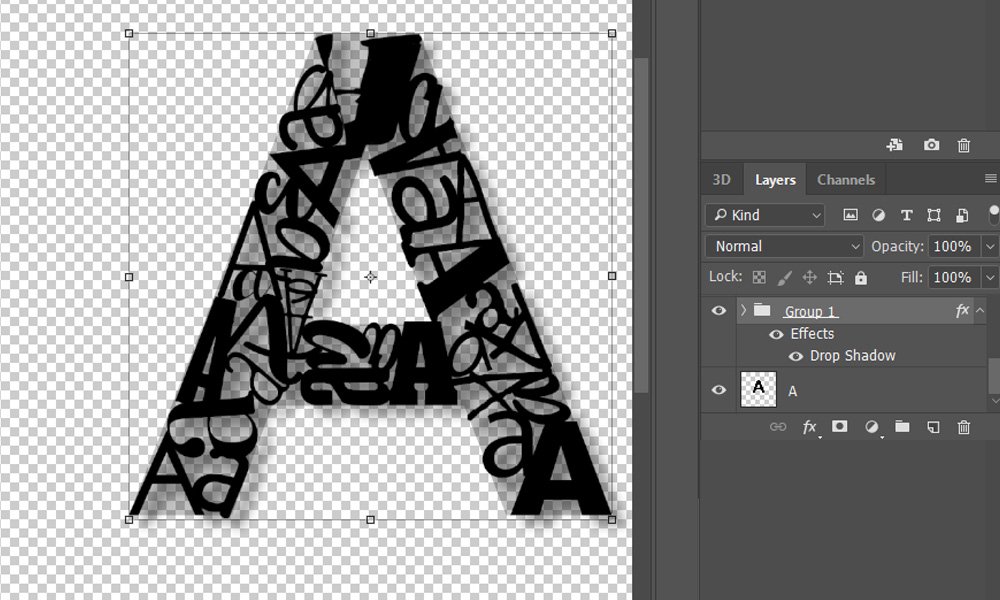
Group the layers and add a Drop Shadow.
- Highlight all layers, excluding the big ‘A,’ in the Layers Panel.
- Go to Layer> Group Layers.
- With Group Layers highlighted, go to Layer> Layer Style > Drop Shadow.
- Begin with the following setting and adjust as needed: Opacity 56%, Distance 42 and Size 32.
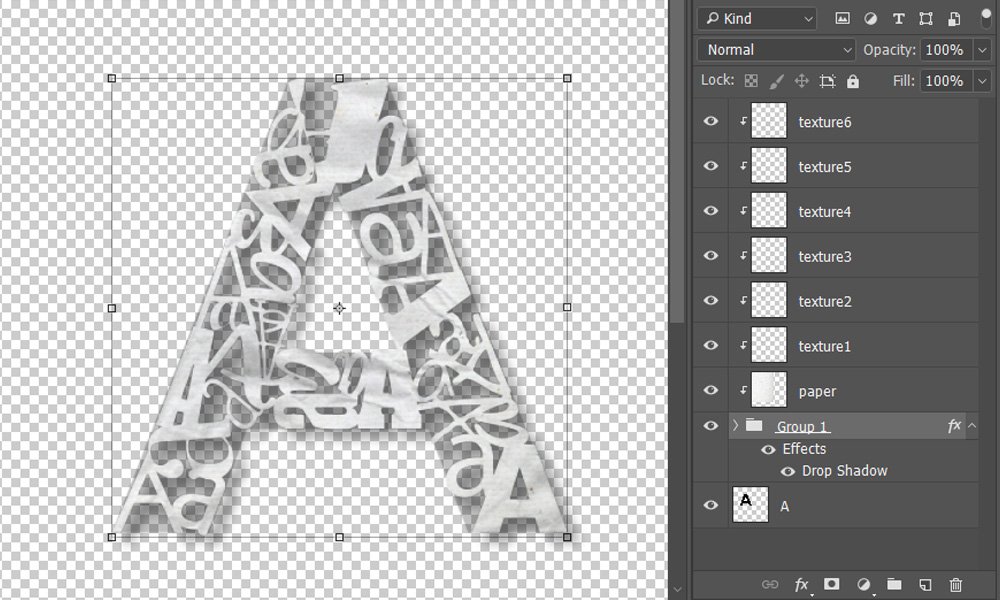
5. Texturize
Add paper and textures to the grouped letters.
- Select a paper textured solid paper from the ArtPlay Palette of your choice.
- I used a paper from ArtPlay Palette Autumn Elegance.
- Place the paper above the Group Layer in the Layers Panel.
- With the layer highlighted , go to Layer> Create Clipping Mask.
- Stamp Texture Brushes on New Layers using the Paint Brush Tool from the Tools Panel.
- Go to Layer> Create Clipping Mask to clip each Texture Brush layer to the Clipping Set.
- You can also adjust the Blending Modes and Opacity of any of the texture layers as preferred.
- I used textures from TissueTextures No. 2, TissueTextures No. 5 and TissueTextures No. 6.
6. Finishing Touches
- Highlight all layers with textures in the Layer Panel and then go to Layer> Group Layers.
- Delete the ‘A’ in the bottom of the Layer Panel.
- Incorporate the two layer Groups and the solid paper layer into your layout.
- You can also merge all layers if no further edits are needed.
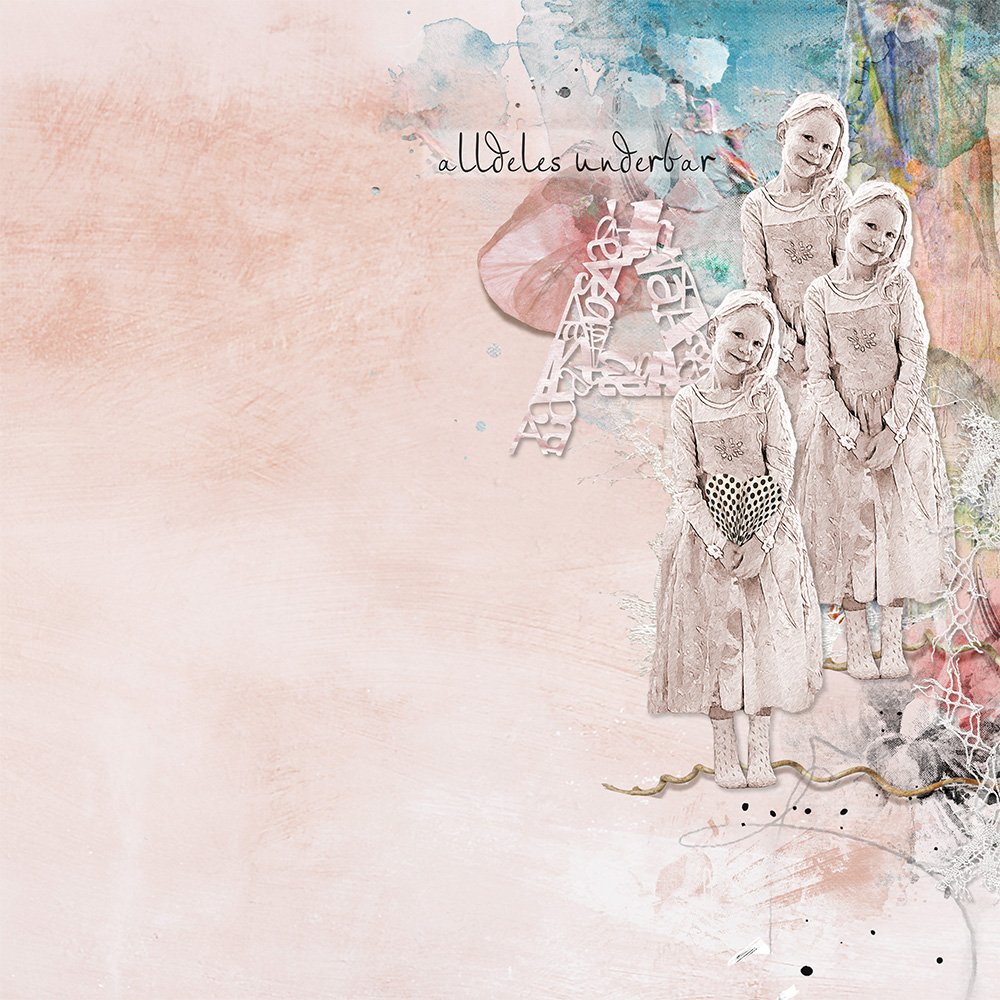
Post your layouts using this Digital Die Cut Lettered Alpha Tutorial and Artsy Digital Scrapbooking Design ideas in the Gallery.
Further guidance on adding titles to your artsy digital scrapbooking and artistry layouts can be found in TitleSmarts.
And if you like this post, please help us help you by sharing it using the social media buttons below




What a fun unique way to adapt lettering. I love the finished letter, and look forward to making a few. Thank you Ulla-May, and Anna!
Wonderful page and excellent tutorial!! Thanks!!