


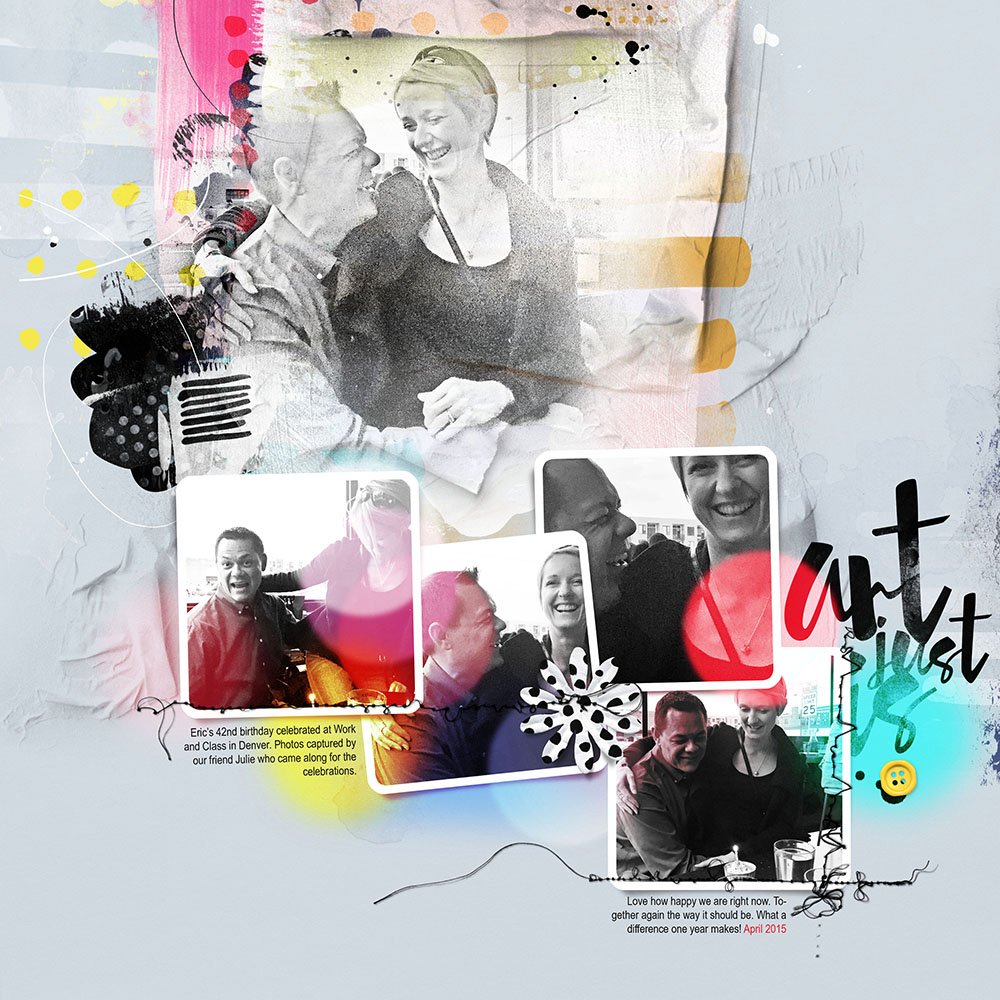
Digital Supplies | ArtPlay Palette ArtLife, Simple FotoBlendz No. 1 (modified with AnnaBlendz Artsy No. 4 brushes using the techniques outlined in AnnaBlendz No. 3), Artsy Layered Template No. 190 (small square frame duplicated), UrbanStitchez No. 10, Bokeh No. 2, Create WordART No. 2, TapedTextures No. 2
These photos were taken last month by a friend while we enjoyed a low-key birthday celebration for Eric. The new ArtPlay Palette ArtLife is bright and colorful mirroring some of the feelings I have in remembering this event.
The layout was created using a simple drag and drop approach and came together in less than 30 minutes. My aim each week is to create easy-to-use DigitalART, designed to facilitate the creation of complex digital projects that make you look like the creative genius.
What I haven’t done so well over the past few years is provide the education to build confidence, and provide the knowledge for many of you, who want to get started in creating digital artistry, also known as artsy digital scrapbooking.
I am often asked where or how to begin? And I want you to know that you have been heard. A new website is in the works to support aA Designs but this takes time of course, and has been as much of a frustration for me as it may have been for you. Patience is not one of my strong suits.
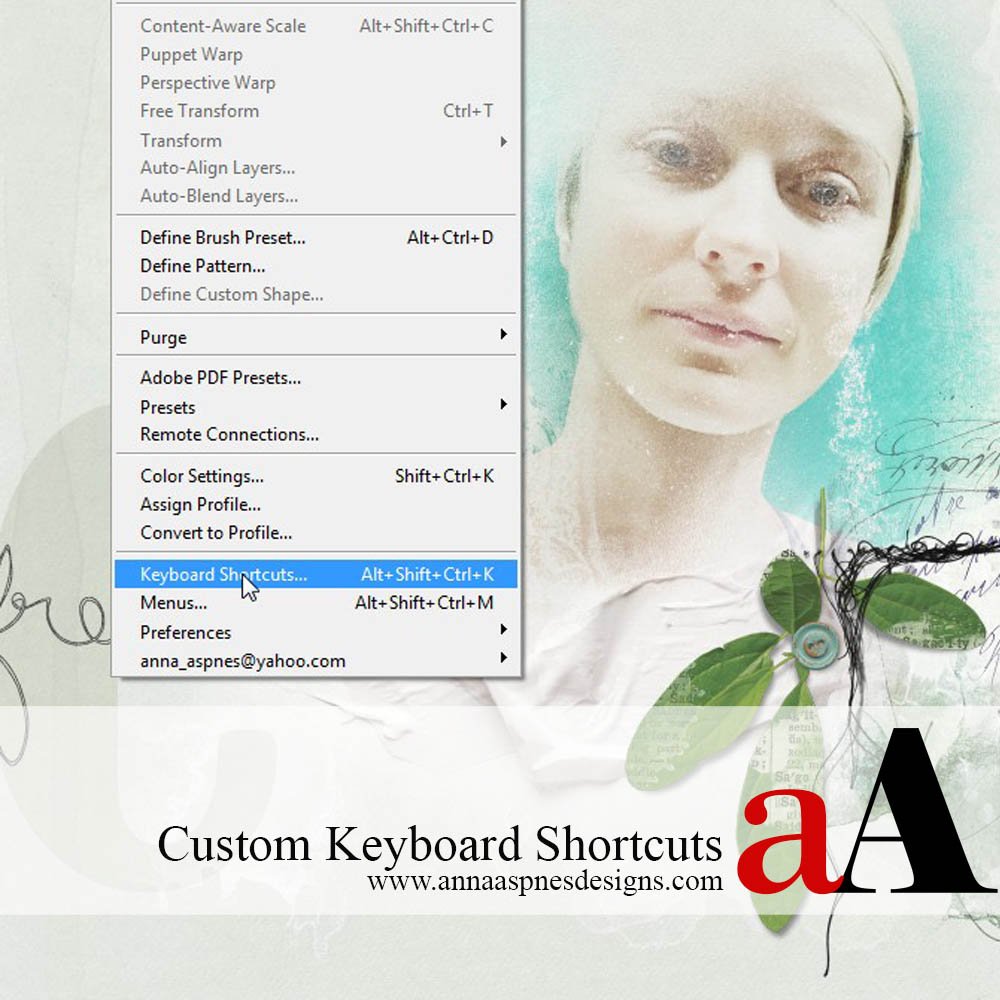
The misconception is that you have to be both creative and an expert Photoshop user in order to use aA Designs. While I am the creative force behind the unique DigitalART I am anything but an expert Photoshop user. I use the same simple techniques over and over to create both my art and digital projects, and plan to share these with you in various classes to be offered soon.
In the meantime, I want to point you to a few resources to help you get started in creating a layout like the one above.
1. Use Artsy Templates. I always recommend that anyone new to digital artistry or artsy digital scrapbooking begin with an Artsy Layered Template. These pre-designed layouts provide a variety of layers delivered in layered .psd format designed for use in Adboe Photoshop and Elements.
You can recolor or replace any of the layers, as well as clip DigitalART supplies and photos to any of the layers to create your own custom page. Clipping an image to layer enables the image to take on the shape and properties of the image on the underlying layer.
- Learn about recoloring and clipping images in this video tutorial.
- See also 5 Steps To Artsy Templates.
When you have become accustomed to creating pages using templates in their delivered format, you can start customizing the templates as desired to create new layout designs. Try one or more of the following techniques:
- Turn off the visibility of any layer by clicking on the eye icon next to layer in the layers panel.
- Add, replace, move or delete elements such text, embellishments and brushwork.
- Create a new 12 X 12 layout and drag select layers onto the new canvas to create a custom design.
See more template tutorials and inspiration here.
2. Create Custom Layouts. ArtPlay Palettes include everything you need to create an artsy page design including artsy and plain paper designs, brushes, transfers, overlays and dimensional embellishments. Use the tools in Adobe Photoshop and Elements to drag and drop the ArtPlay Palette components onto a new layout.
- Go to File> New to create a new 12 X 12 inch layout at 300DPI
- Go to File> Open to open ArtPlay Palette components into your workspace.
- Select the Move Tool from the Tools Panel to drag the components onto your new layout and position them as desired.
- Use the Layers Panel to view the components you’ve added to your project.
- Use the Help menu to learn about the other tools available to you.
For further guidance on creating custom layouts:
- See this series of posts on the various ArtPlay Palette components and how to go about using them.
- Check out these Layout Deconstructed posts.
- Watch how I create a layout using an ArtPlay Palette in this video.
3. Blending. Learn how to seamlessly blend images and photos in your projects through AnnaBlendz. There are 4 modules in this video education series that takes you from the basics to more advanced techniques.
- AnnaBlendz No. 1 Basic Blending
- AnnaBlendz No. 2 Playing With Light
- AnnaBlendz No. 3 Blending With Brushes
- AnnaBlendz No. 4 Inverted Masking
Sign up for our mailing list to be kept informed about the new upcoming classes.


Look at you smile!
Thank you for this piece. It has some great info in it!
Su