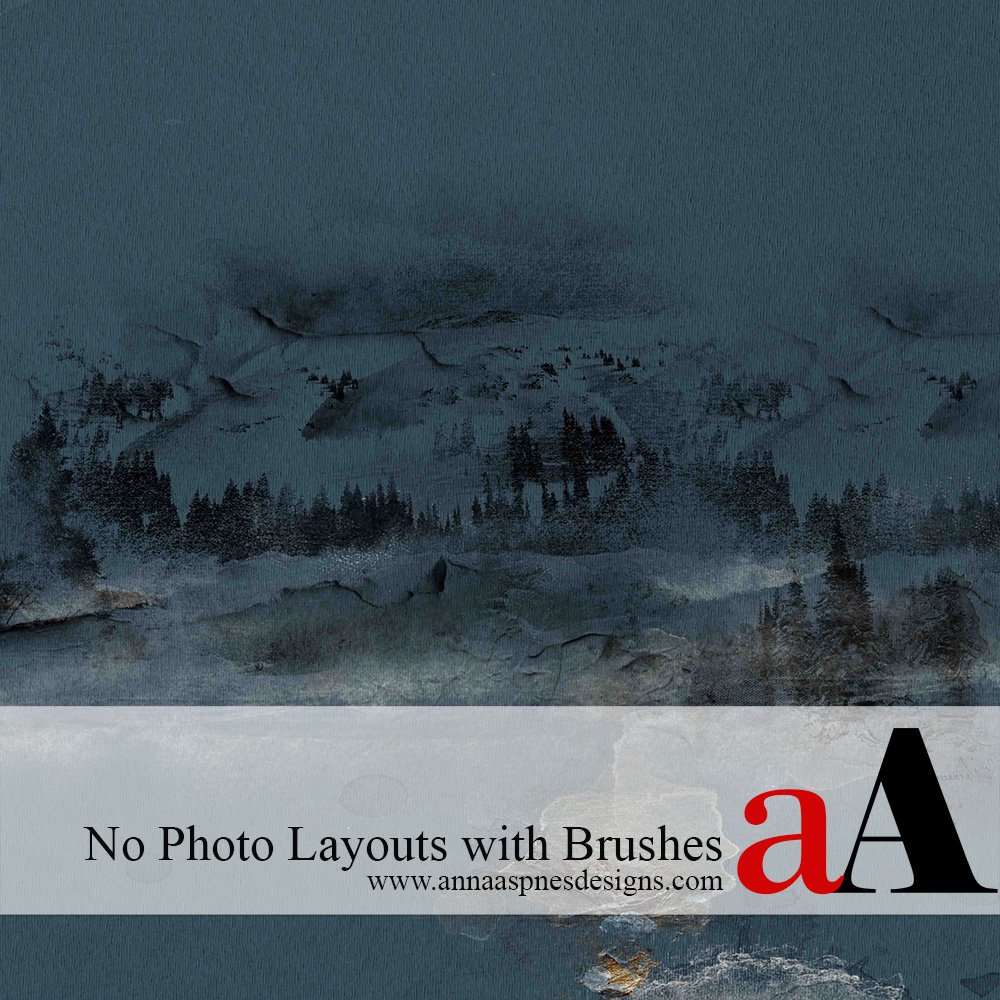
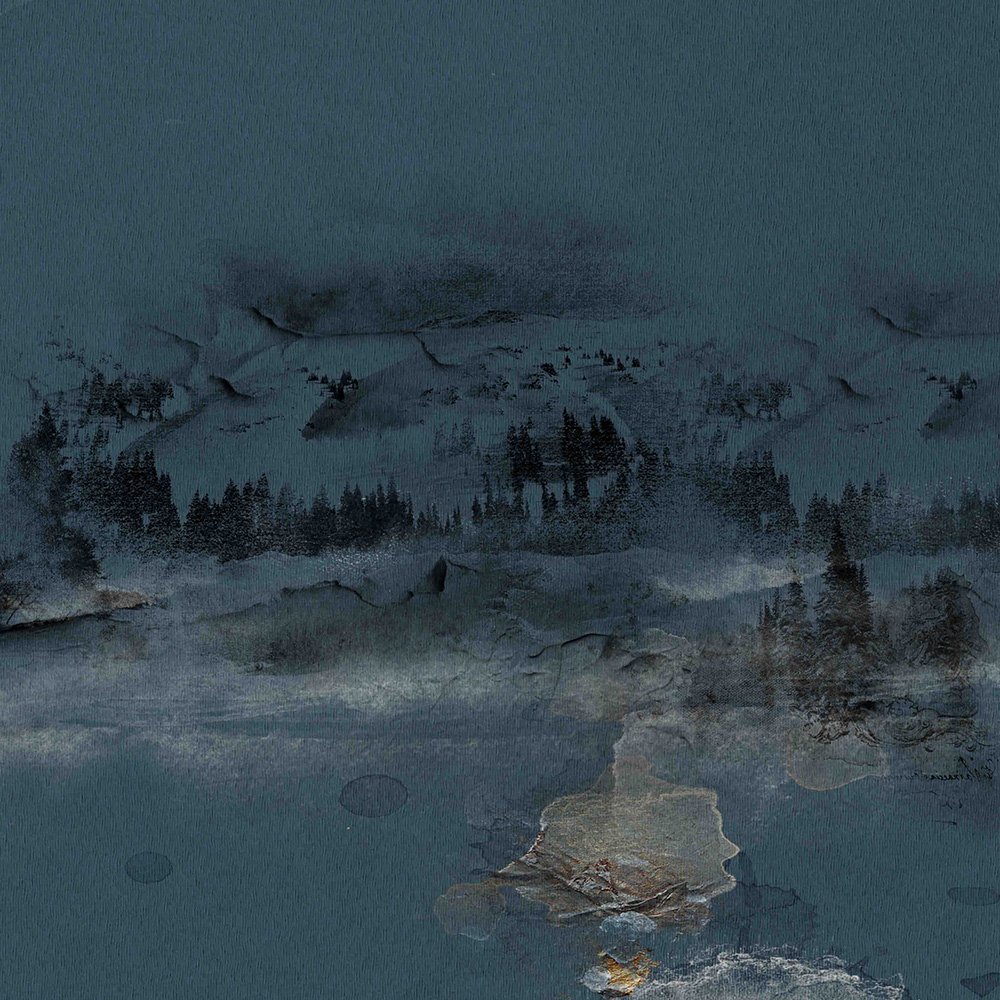
 aA Creative Team member, Trish, shares her No Photo Layout with Brushes tutorial in Adobe Photoshop.
No Photo Layout with Brushes
You can use pictorial or concept brushes in place of photos on a layout.
Stamp the brushes on new layers to build a picture of your own.
See the Masterly Pictorial Class in ArtPlay Unedited LIVE (NSD 2018) for further guidance.
1. Create Foundation
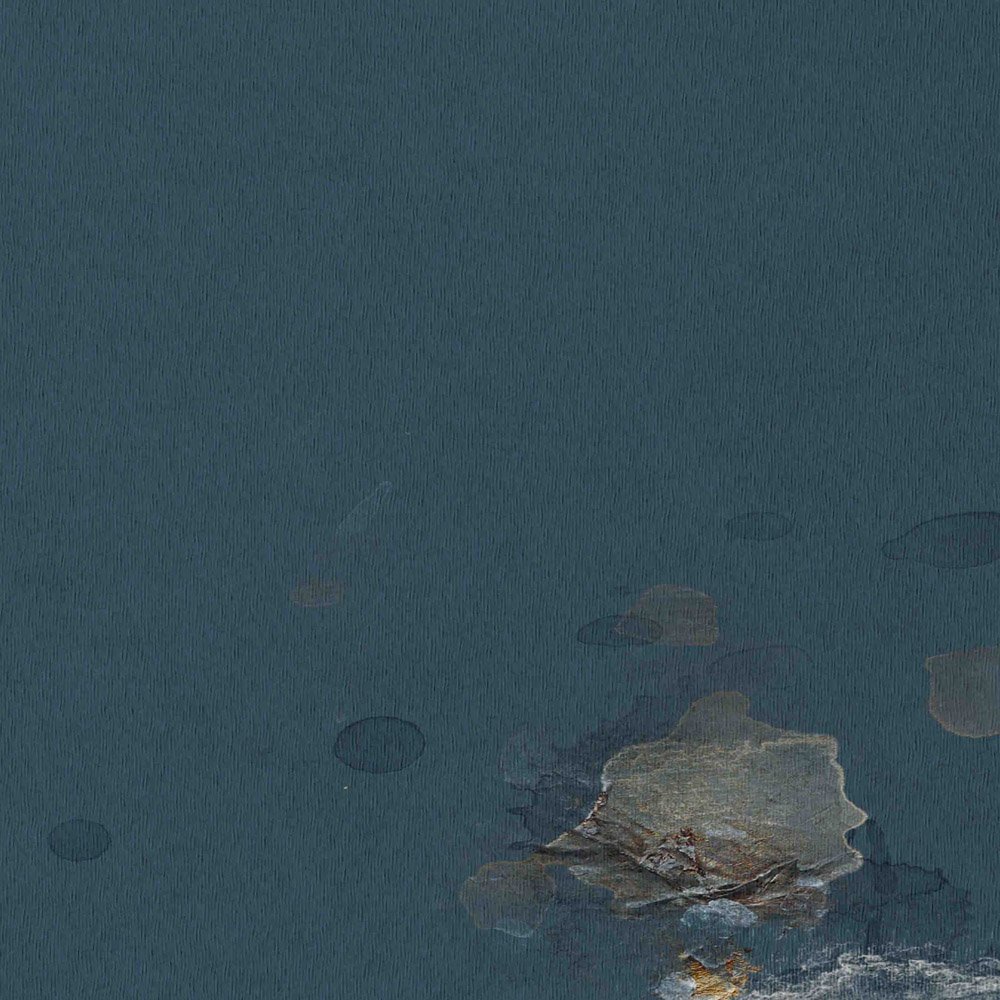
Select an artsy paper to create the foundation for your design.
- An Artsy Paper from ArtPlay Palette Brumal was selected.
- Resize as preferred – I enlarged my paper on the canvas, as I wanted the bottom stain in a specific spot.
2. Select and Add Brushes
Choose a selection of Brushes to build the scene in your design and add them to your layout.
- I added two of the Trees No. 3 brushes to the canvas and duplicated the layers to increase the intensity of the brush on my layout.
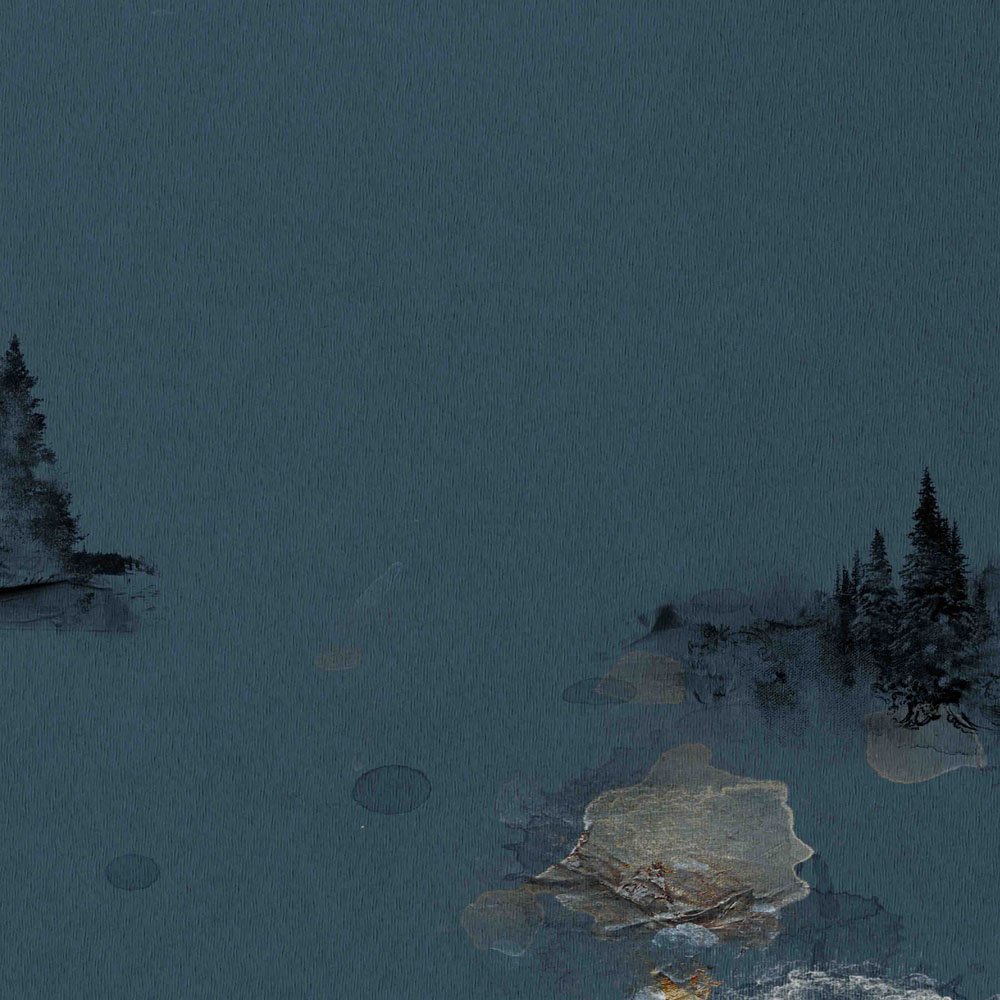
- Transfer2.png from ArtPlay Palette Brumal was placed on the page and duplicated twice to create 3 Transfer layers.
- Mask the Transfer layers as preferred to achieve a snowy look.
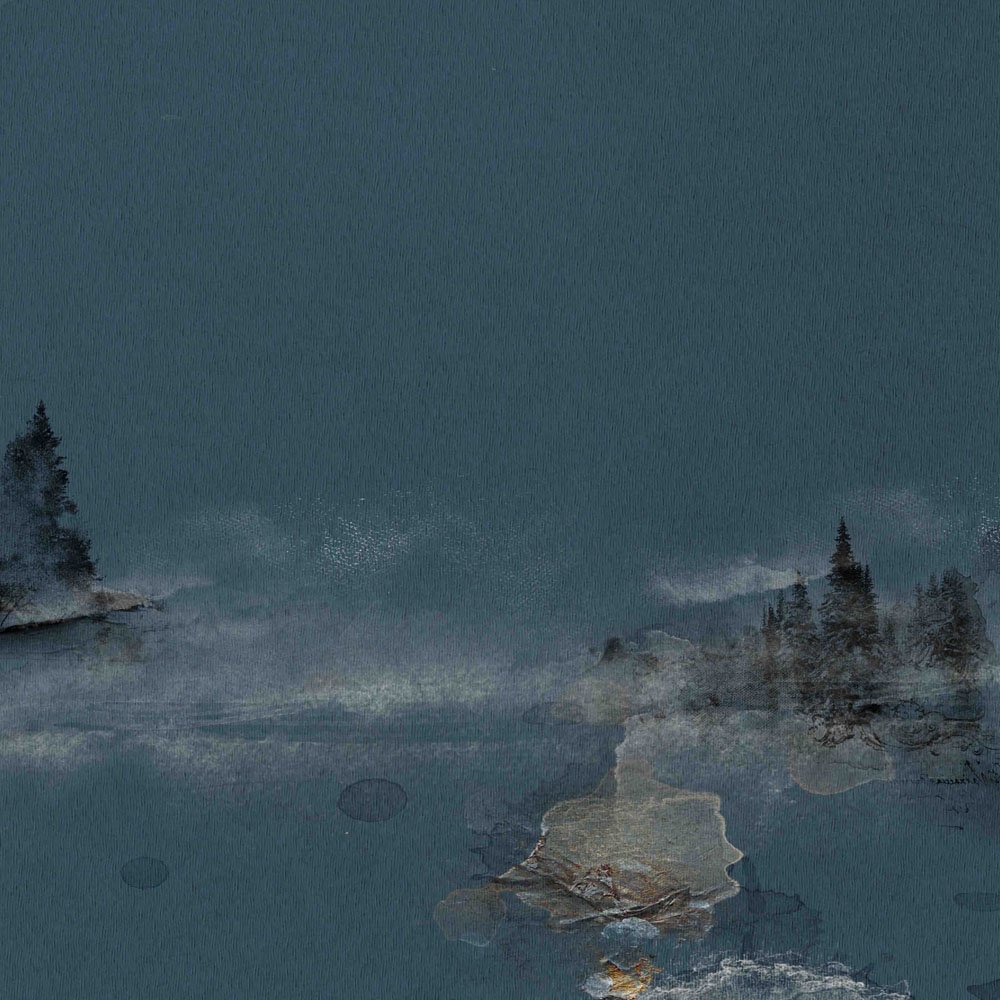
Brush #2 from Mountains No. 1 was stamped on a New Layer and the layer was duplicated.
- The layer were re-positioned and enlarged slightly to fit the page and yield desired result.
- I used a single imprint of the brush on the right-hand side of the page to make it appear as though it is fading in the distance.
3. Position and Manipulate Brushes
Modify your brushwork and re-position to refine your scene.
- Add effects to your brushes and change placement to complete your page.
Click on the above image to find the original Midnight on the Mountain Layout Tutorial page and supply list.






Thanks for posting this. This is fun to do! Beautiful page 🙂
This is a fun way to use brushes, Trish! Thank you for sharing your process and I love your finished layout!