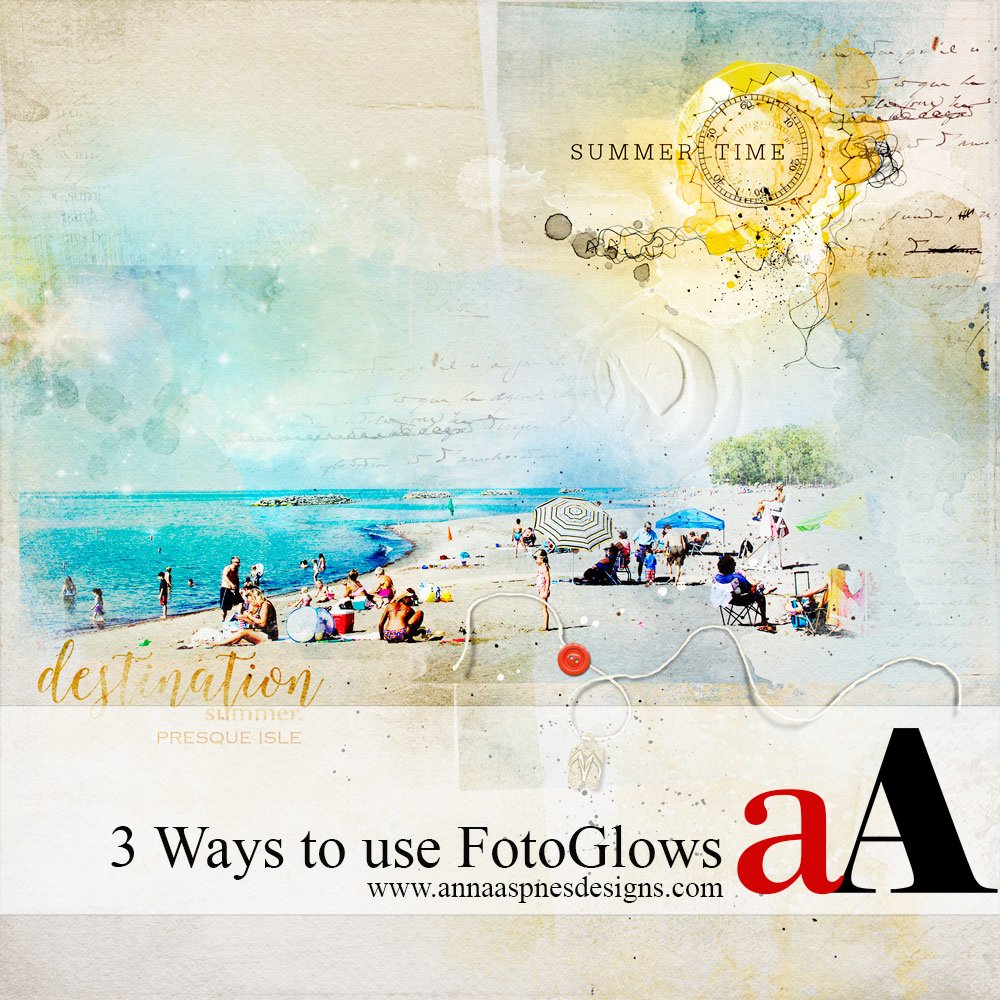
Creative Team Member, Miki, shows 3 Ways to Use FotoGlows in Photo Artistry in this digital scrapbooking tutorial.
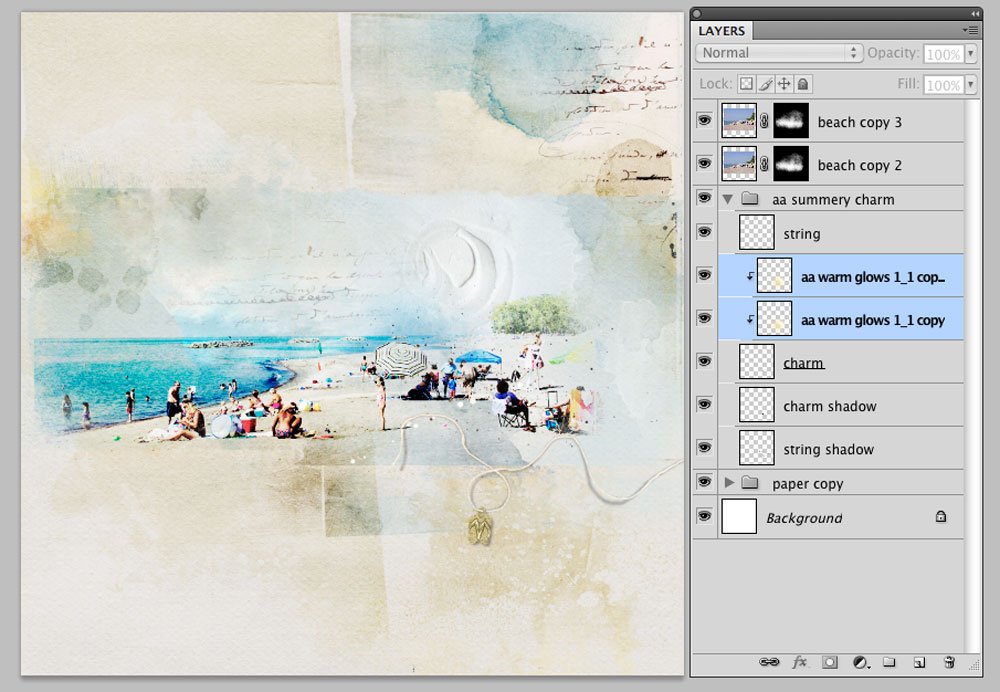
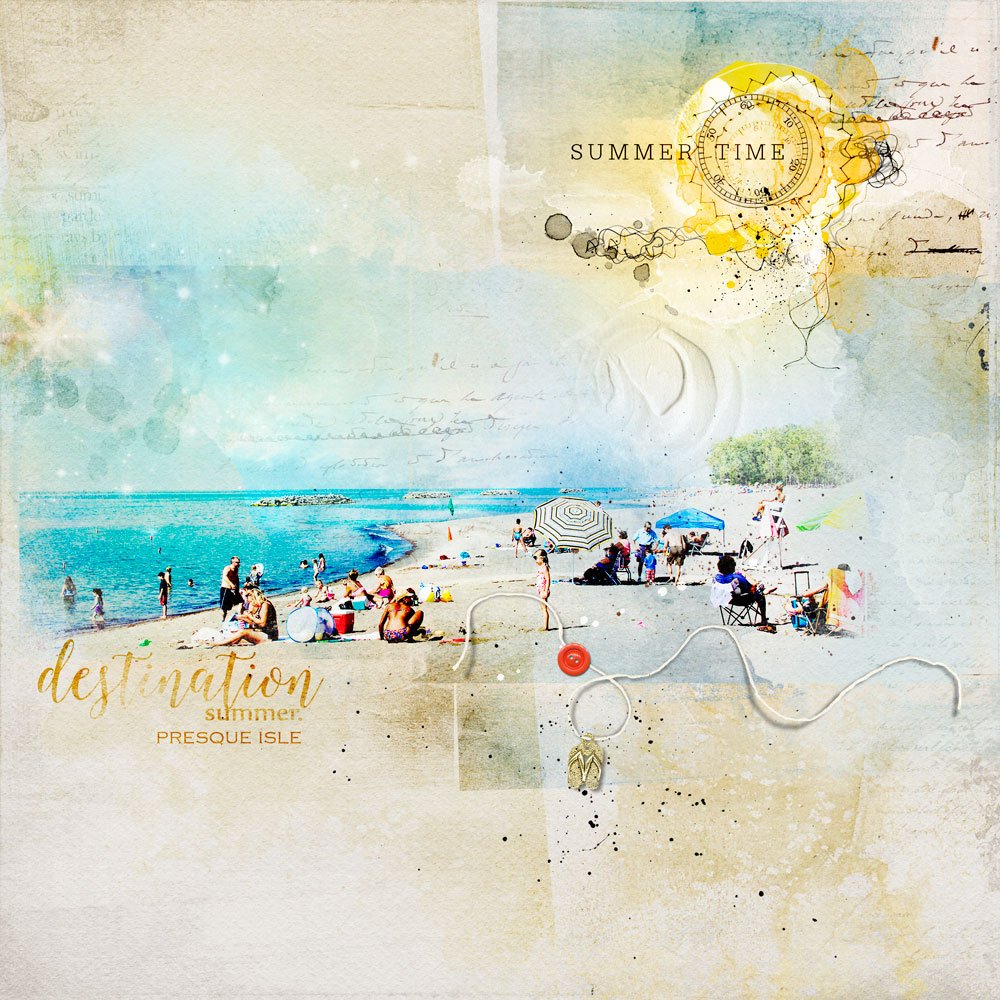
1. FotoGlows Above, Adding Color. Create a new 12×12 300 DPI Layout. Move an ArtsyPaper of choice onto your layout. Open and move an element onto your page. I chose the Flip Flop Charm from Artplay Palette Summery. The flip-flop charm was silver and I wanted it to be gold to go with the warm summer beach page. Import a Warm FotoGlow and clip it to the object (Ctrl/Alt+G). Change the Blending Mode to either Color Burn or Color. Duplicate (Ctrl/Alt + J) the FotoGlow if you want a darker image.
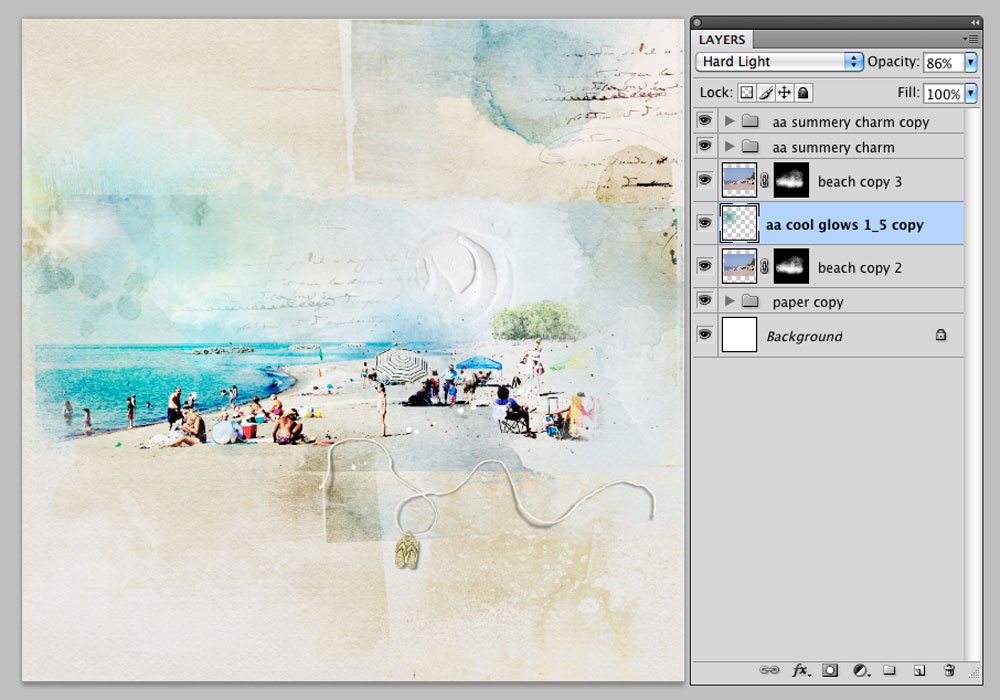
2. FotoGlows Between, Adding Light. Duplicate your image (Ctrl/Alt + J) and place a FotoGlow of choice between the two layers. Change the Blending Mode of the FotoGlow to Hard Light or a Blending Mode of your choice. Play with the opacity until you get the desired look.
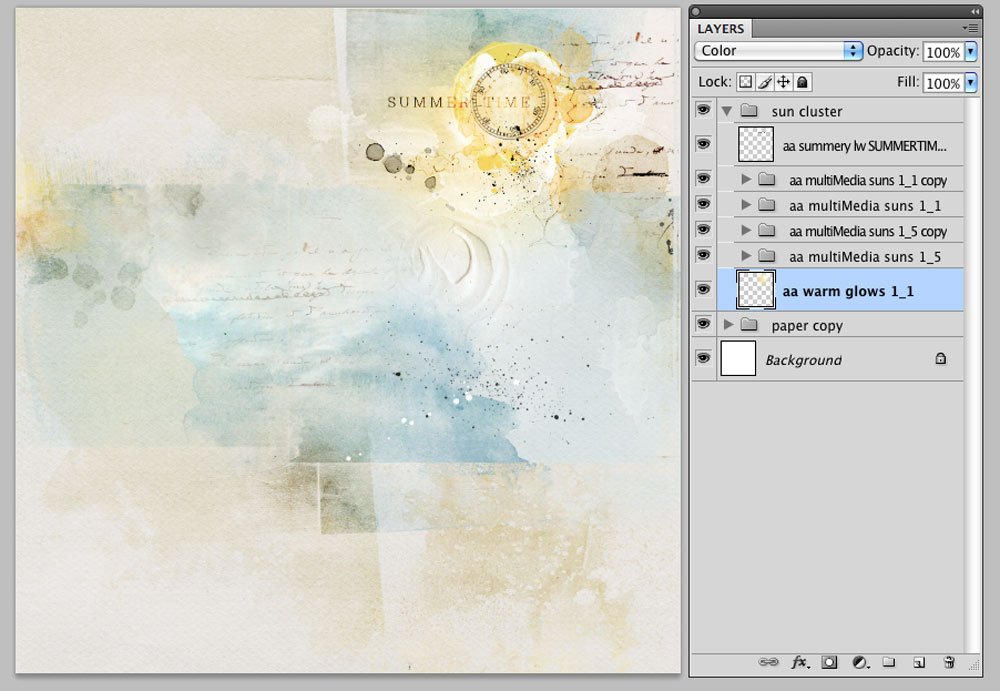
3. FotoGlows Under, Adding Warmth. Place a FotoGlow under an object. In this case, it was placed on the layer below the MultiMedia Sun. The Blending Mode was left at normal for a WarmGlow.
Click on the below photo for additional process notes and the supplies used.
And just in case you missed it, you can watch 5 Techniques for FotoGlows by Anna Aspnes.

