


Creative Team Member, Linda, shares some ideas for Clever FotoGlow Digital Scrapbooking Tips and Techniques.
The layout below doesn’t have any FotoGlows. But as I share some ideas for using them with this page as an example, I think you will see just how effective FotoGlows are for solving color and blending problems as well as for adding light to a layout.

1. Adjust Color. The sand in my photo had a different color cast than the three .png layers of Anna’s sand that I stacked above my photo to hide the photo edge and soften the blending. To solve this color problem, I placed glow 8 from WarmGlows No 3 below two layers of the sand and changed the Blending Mode to Hard Light at 40%.
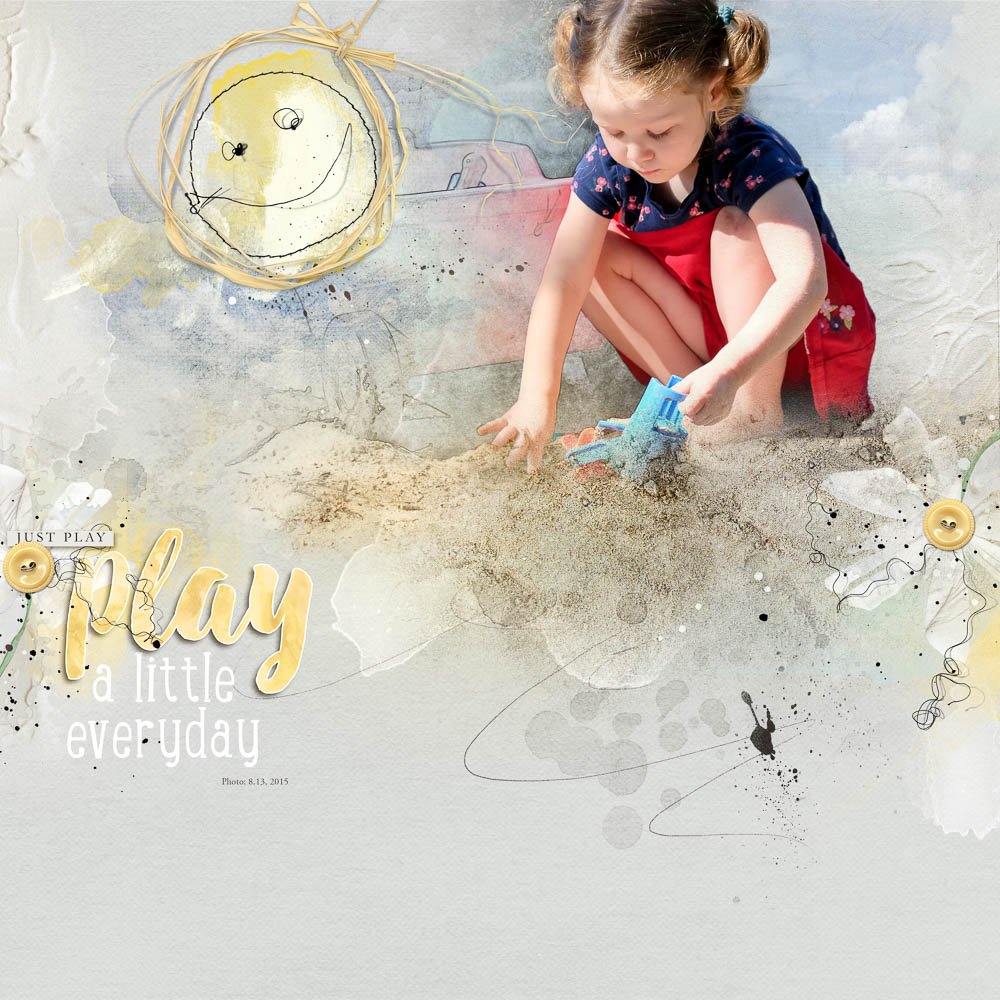
2. Add Light. On the right side of my page, I placed another copy of glow 8 from WarmGlows No. 3 above all the layers of psd file 1 from MultiMedia Daisies No. 1. I changed the Blending Mode of the glow to Hard Light and reduced the opacity to 50%. Adding the light from this WarmGlow warms up the daisy as well as the sand layers.
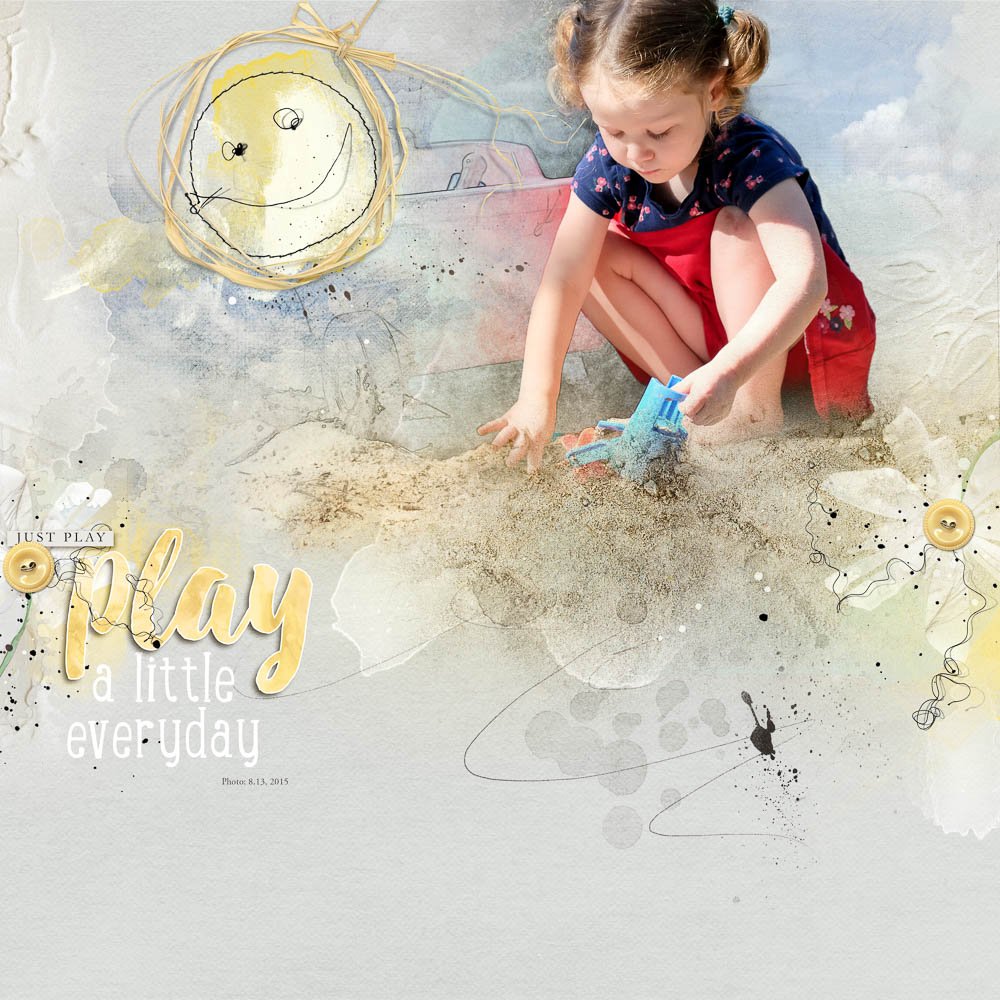
3. Add Light Between Layers. On the left side of my page, I placed another copy of glow 8 from WarmGlows No. 3 between the head and the petals of the daisy in the psd file, in essence warming all the petals below but not the splatters. I reduced the size of the glow by pressing command(control) + T and placed it on the edge of my page. I changed the Blending Mode to Hard Light and reduced the opacity to 50%.

4. Recolor Texture. On the right side of my page below my photo layers, I had placed overlay 1 from ArtPlay Palette Summery. To blend the texture of the overlay better with the daisy and sand, I placed glow 7 from StainedGlows No. 1 above the photo layers. That glow warmed the white texture of the overlay and the edge of the photo. After experimenting, I decided that Darker Color Blending Mode at 75% worked best.
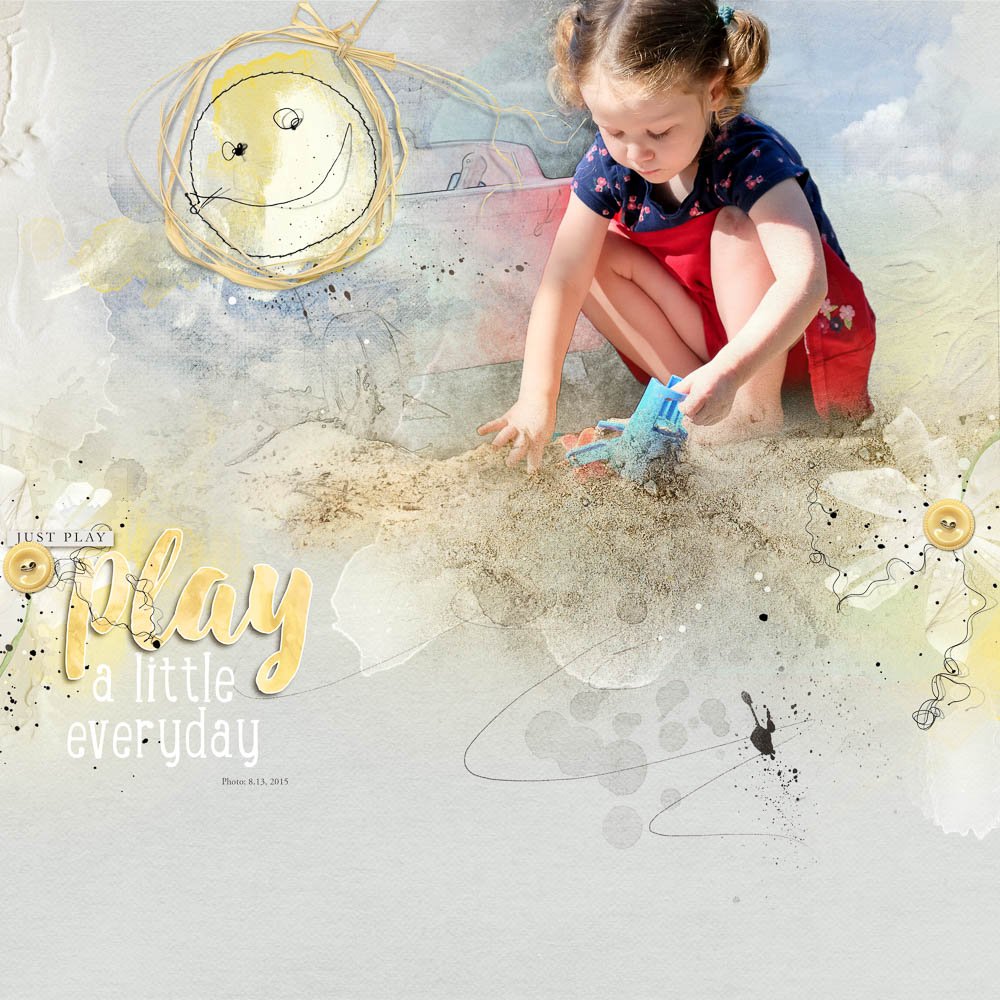
5. Smooth Blending. Finally to smooth the transition between the multimedia sun and the color I had added back to my sketch, I placed glow 1 from FotoGlow Mix No. 1 below the photo layers. I used a normal Blending Mode but reduced the opacity of the glow to 50%. It’s amazing how one glow, bleeding through three photo layers, affects the blending, both lightening and smoothing the transition between the Multimedia Sun layers and photo layers.

As you play with FotoGlows, experiment with the Blending Modes and the placement of the glows to get different effects and to decide what works best for your photos and page.
Click on the above photo for additional process notes and supplies used.


It really does make a difference! I want to try this! Thank you, ladies!
Su
You are very welcome Su! Anna’s glows make a difference in blending!!!
Thank you for sharing so much details~
You are very welcome xiaofano!
Thanks for the extremely helpful tutorial… being a novice with using foto glows,I certainly found some very useful and easy to understand information that I will be able to use on my pages!!
Thank you Pam, I’m so glad this was helpful!!!