

Create a Starry Background for Digital Scrapbooking and Photo Artistry pages by Creative Team Member, Adryane
This tutorial is conducted in Adobe Photoshop
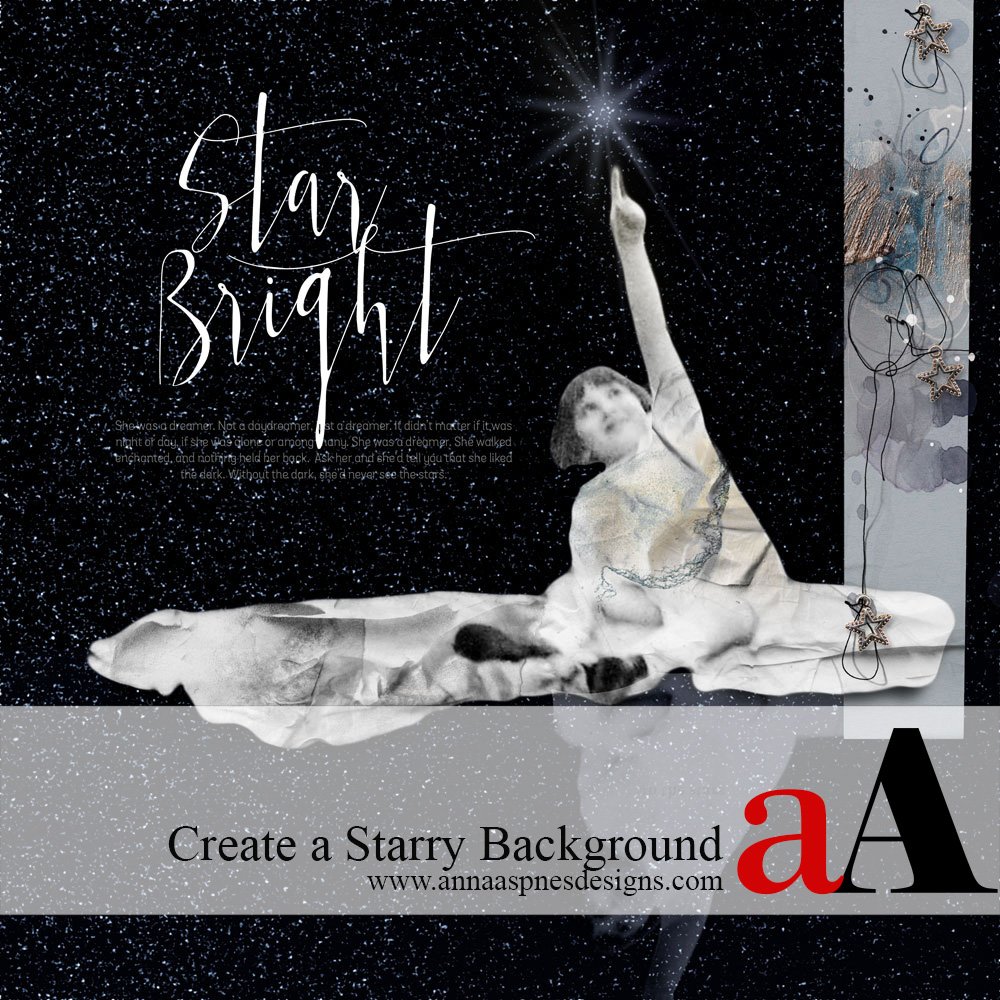
Create a Starry Background for Digital Scrapbooking
1. Create Foundation
Establish a dark colored background.
- Go to File> New to create a new layout for your digital scrapbooking page.
- Set the dimensions to 12 inches Height X 12 inches Width.
- The Resolution should be set to 300 PPI to endure optimum print quality.
- Go to Edit> Fill and choose a dark color or select a Solid Paper from an ArtPlay Palette of choice.
- Create a New Layer by clicking on the ‘Add New Layer’ icon at the bottom of the Layers Panel.
Note. Adryane used Solid Paper #1 from Artplay Palette Aspera.
2. Color The Layer
Fill The new layer with Black.
- Select the New Layer in the Layers Panel.
- Go to Edit> Fill.
- Click on the Contents box to activate the drop-down menu.
- Choose Black from the options.
- Ensure the ‘Preserve Transparency’ box ix Unchecked.
- Click OK to fill.
Note. Your photo will NO LONGER be visible.
3. Create Smart Object
Convert the color fill layer to a Smart Object.
- Click the Right button on your mouse to activate the fly-out menu.
- Choose Convert to Smart Object from the list of options.
- Smart Objects allows for the application of Editable filters.
- This means you can Modify the filters applied to the layer at ANY time.
Note. If smart objects are not available in your version of Photoshop, you can apply the filters, you just may have to play a little longer to achieve desired results.
4. Create Stars
Create the stars over the color fill layer using the noise filter.
- Go to the Filter menu and choose Noise from the options.
- Set the amount to about 30%.
- Check the Gaussian and Monochromatic options.
- Then click OK to close the dialog box.
Note. You should see a black layer with random white dots.
5. Soften The Stars
Blur the dots using the Gaussian Blur Filter.
- Go back to the Filter menu and choose Blur, then Gaussian Blur.
- Enter a Radius of 3.0 Pixels.
Note. This should slightly blur the dots created by the noise filter.
6. Enhance The Stars
Brighten the dots using a Levels Adjustment Layer.
- Go to Layer> New Adjustment Layer to create a new layer above your new ‘star layer.’
- Go to Layer> Create Clipping Mask to clip the Adjustment Layer to the black star layer.
- Now, drag the white slider over to the Far Left until your numbers look something like 24 1.00 40.
Note. All three sliders (black, gray, and white) should be very close together on the left side of the dialog box.
6. Remove Stars
Use a layer mask to remove the stars from your focal point.
- Add a Layer Mask to your black star layer.
- Turn off the layer visibility by clicking on the ‘eye’ icon to the left of the layer in the Layers Panel.
- Click on the photo layer to select in the Layers Panel.
- Use Magic Wand tool, Quick Selection Tool, or Lasso Tool (whichever works best for you and your photo) to create a Selection around the area of your photo were you do NOT want the stars.
- You can use the outline of your Focal Point to create this selection.
- Reselect the star layer, and with the Layer Mask selected, press the DELETE button on your keyboard.
- Reactivate the visibility of the star layer by clicking on the ‘eye’ icon again.
- Modify the Blending Mode by clicking on the ‘Normal’ box at the top or the Layers Panel and choosing Screen from the options.
Try This. You can also colorize your stars using FotoGlows or LightLeaks.
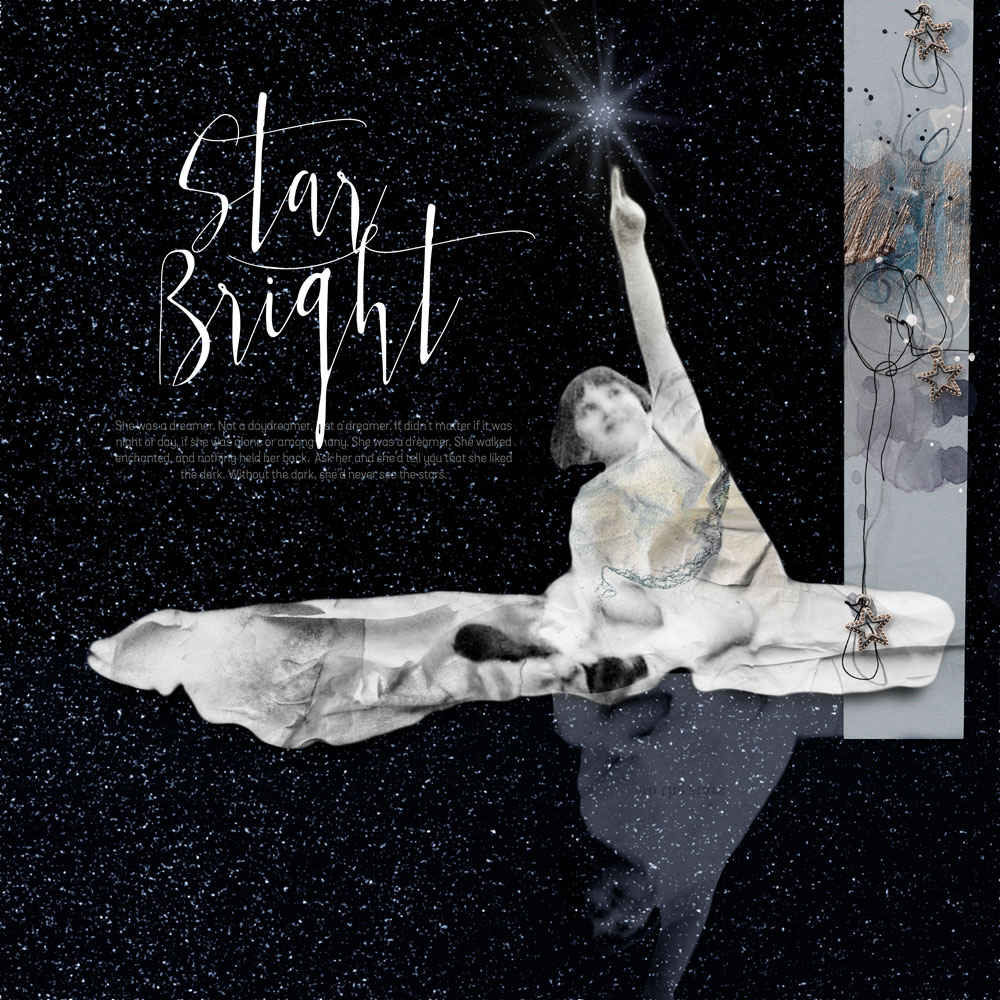
Star Bright | Adryane
Click on the above photo for additional process notes and supplies used.
You may also be interested in:


Thank you for this tutorial! I have seen this done, but, would have had to go in search to find out how. This will make it much easier. I save all these tuts on .PDFs!
So easy! Gosh!
Su
Good idea Su.