Creative Team Member, Ulla-May, shows us how to create cohesion with a Color Fill Layer in Adobe Photoshop.
When you create a layout with multiple colors it can be challenging to achieve a balance in a DigitalART layout. A Hue/Saturation Adjustment layer is one way to correct this problem.
You can also use a Solid Color Fill Adjustment layer especially if you are looking to create a more cohesive color palette. Color Adjustment layers are useful because they easily change the mood of a page or photo.
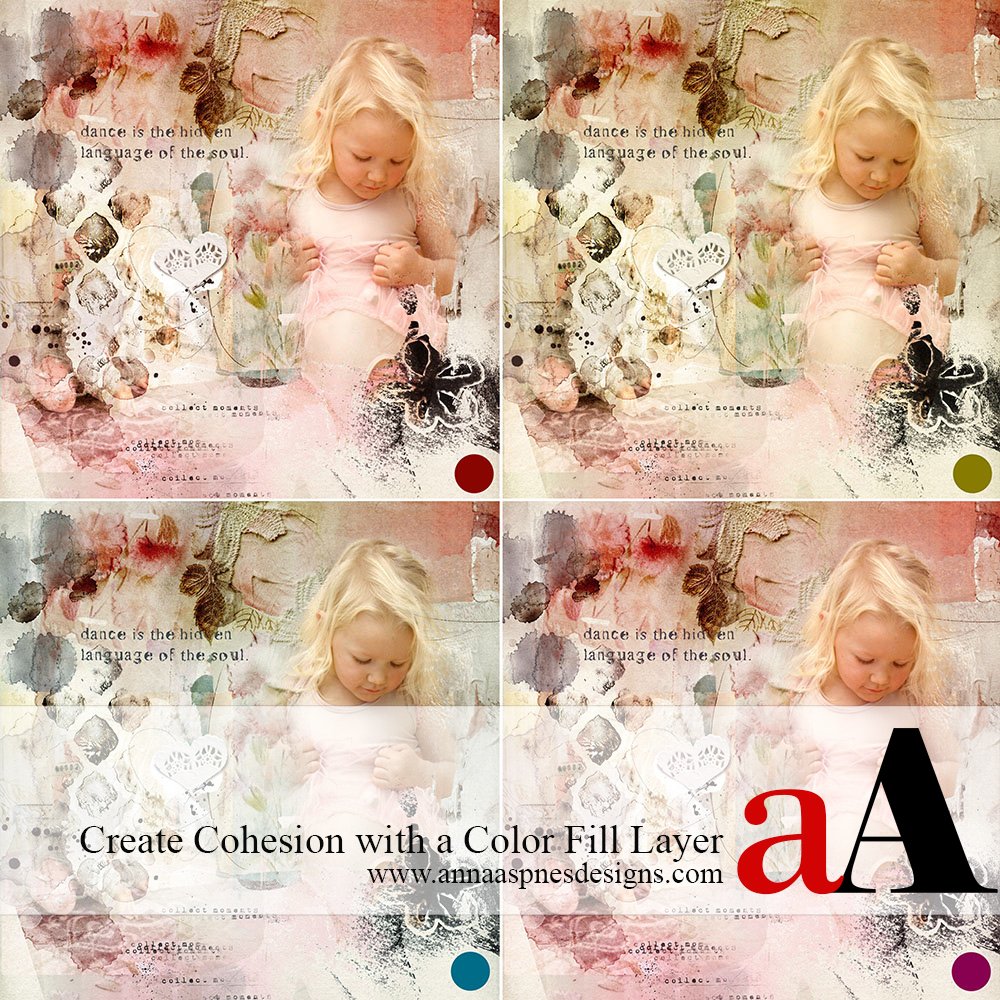
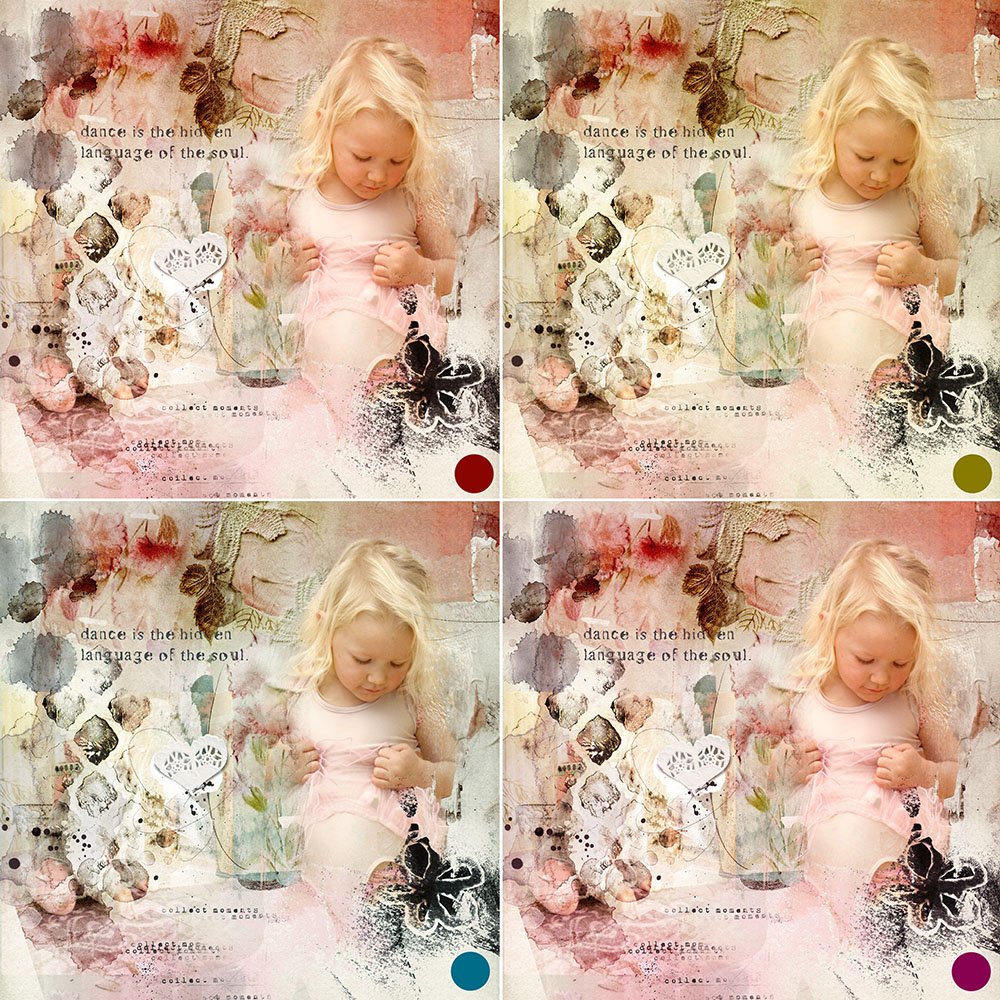
Below is a set of images showing the results of adding a Solid Color Fill Adjustment layer.
Note that the first image is the original layout. The second image shows the application of a Solid Color Fill Adjustment layer to the original layout.
The color of each Color Fill layer is demonstrated by the color dot in the bottom right corner of each page. I sampled the colors from the original image using the Color Picker for the first three examples.
For the final example, I chose a color (purple) that was not present in my original photo.
1. Duplicate your layout. Create a duplicate of your layout by going to Image> Duplicate. Place the original and the copy side by side in your work space. You must either have the Navigator window (Window> Navigator) open or have your images floating in your workspace (Window> Arrange> Float All in Window) to see both images.
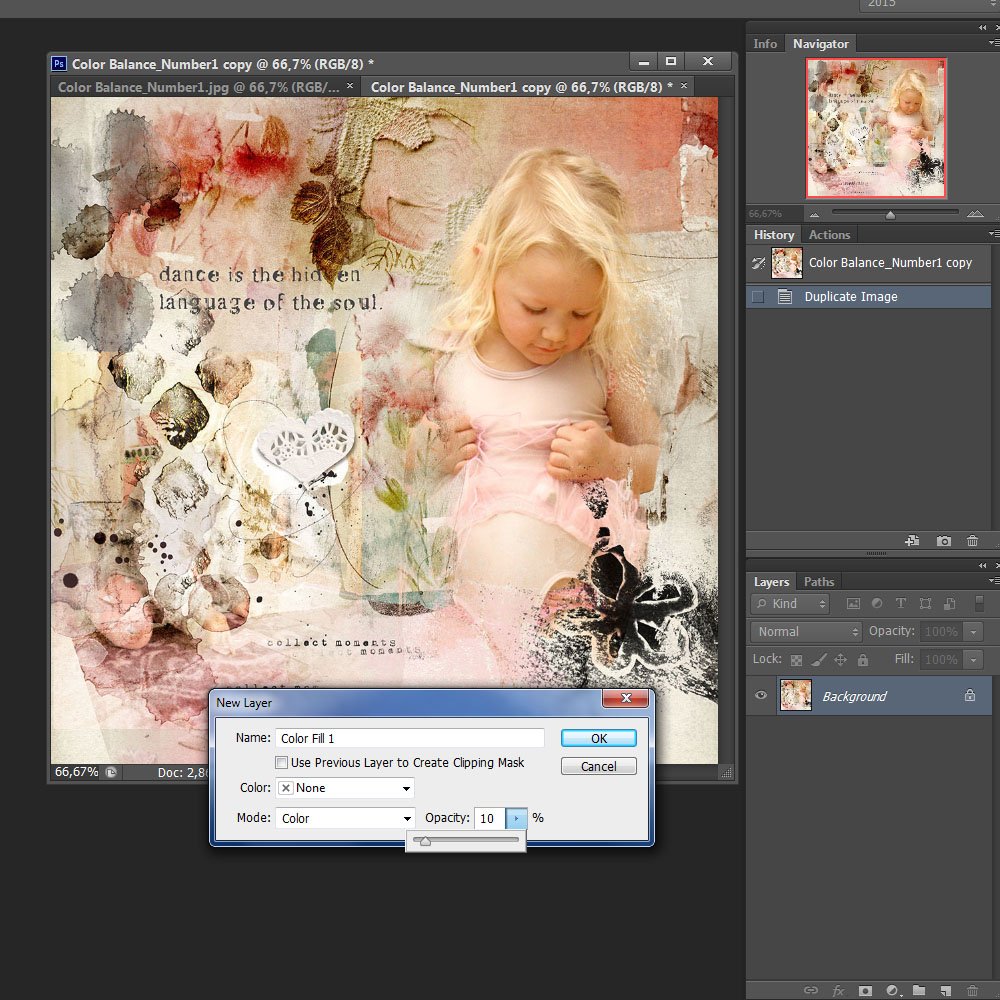
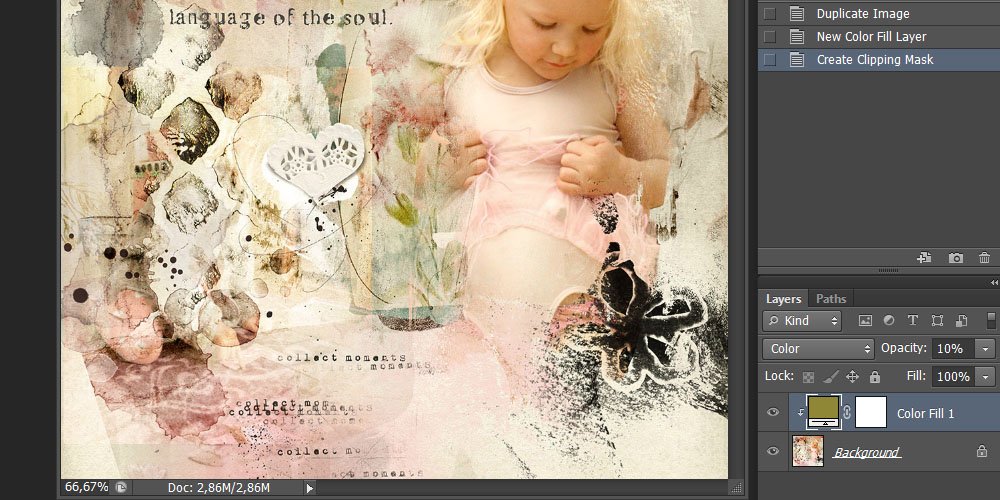
2. Create a Solid Color Layer. With your duplicate image layer selected go to Layer> New Fill Layer> Solid Color. Set the color to None (this is the default setting). Set the Blending Mode to Color and the Opacity to 10%. Click OK. The Color Picker box will appear. Note: If you forget to set the Mode to Color, you will see a solid fill layer and you won´t be able to choose a color from your photo as described in Step 3.
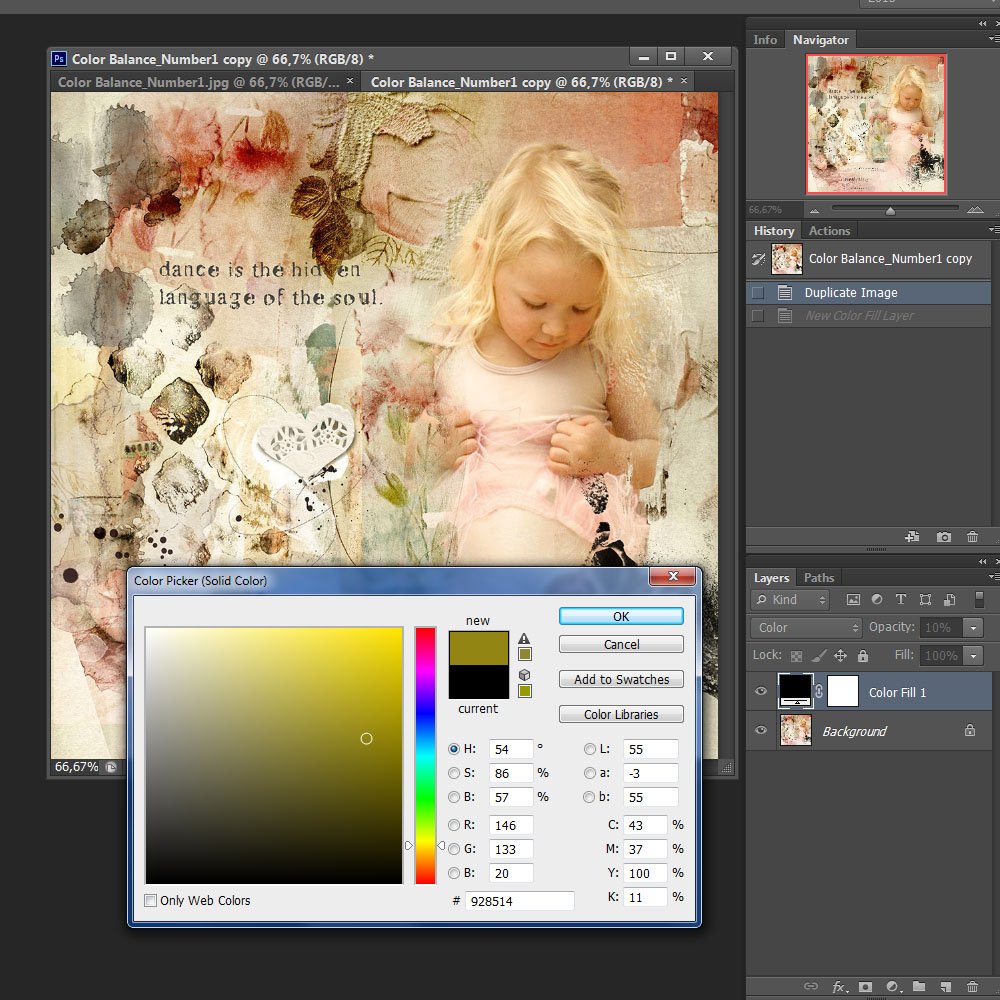
3. Choose a Color for your Fill Layer. Once the Color Picker box opens, select the color you prefer by clicking somewhere in the color spectrum or move your cursor outside the box and pick a color from your original layout (the cursor will change to an Eyedropper tool when you move it outside the box). Click OK.
4. Clip the Fill Layer to your photo. Clip the Color Fill layer to your photo by pressing Ctrl+Alt+G (Photoshop) or Ctrl+G (Elements). If you choose not to clip the Color Fill layer to your photo, every layer under this layer will be affected by the solid color you have chosen.
Additional Note. You can achieve the same result by following Step 1. For Step 2, click on the little circle that is half white and half black located at the bottom (Photoshop) or top (Elements) of your Layers panel. When the menu appears, choose Solid Color. This will bring up the Color Picker spectrum. Sample a color from your image (or make a random selection) and click OK. This will place a Solid Color Fill layer above your photo. Change the blending mode on the Color Fill layer to Color and reduce the layer’s opacity. As you decrease the opacity of this layer, you will see the color appear over your photo. If you want to change the color of the Color Fill layer, simply double click on the Color Fill layer in the layers palette. This will bring up the Color Picker spectrum. When you are happy with your color choice, proceed to Step 4.




Wonderful tutorial…immensely useful!
Excellent! Thanks for the feedback.
Thank you, Pam! I´m glad you find it useful.
I’ve done something like this on occasion when I’ve needed the overall look to be warmer or cooler or when I can’t find the exact colour tone I need for my background. Love all these ideas. Thanks Ulla-May. You’ve given me a few more clues I know I’ll use. Appreciate it.
Thanks! This color fill layer is perfect when creating a photo book or if you want to set photos together in a frame.
It is unbelievable the difference adding a color layer can make! Love it! Thank you!