
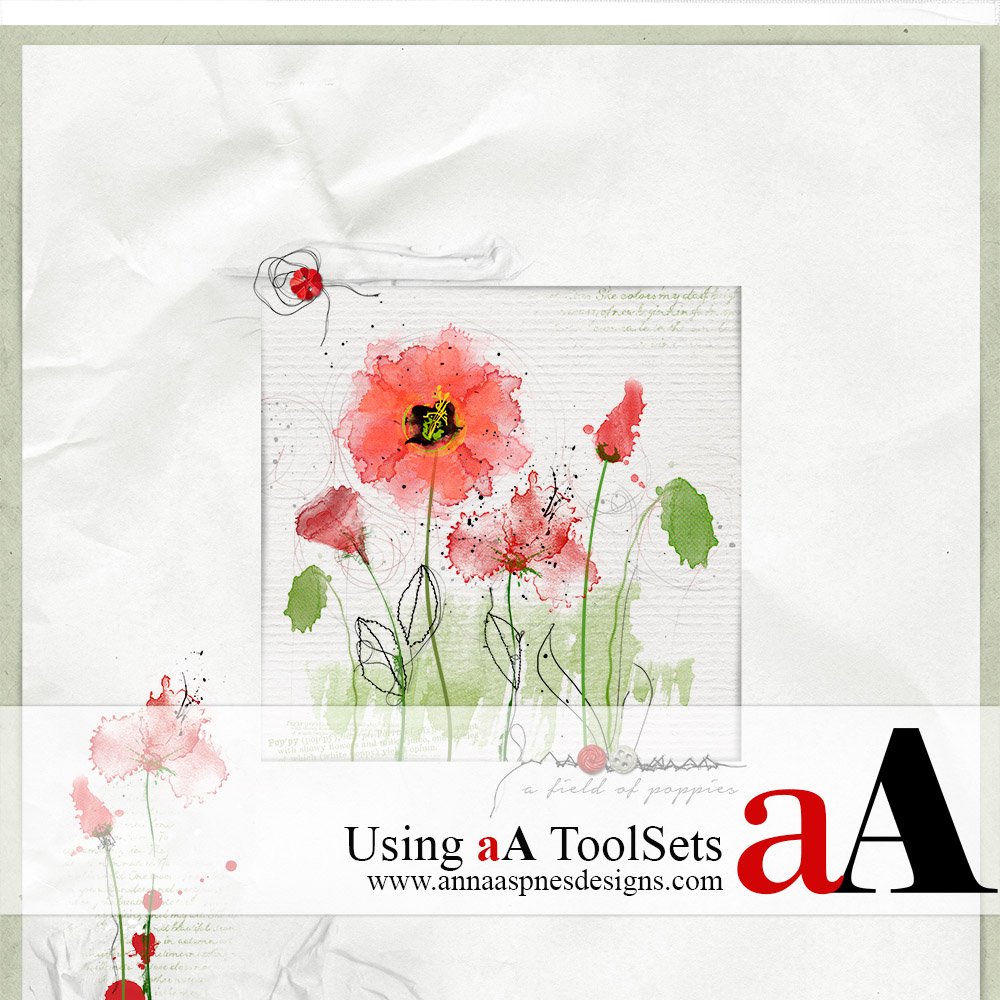
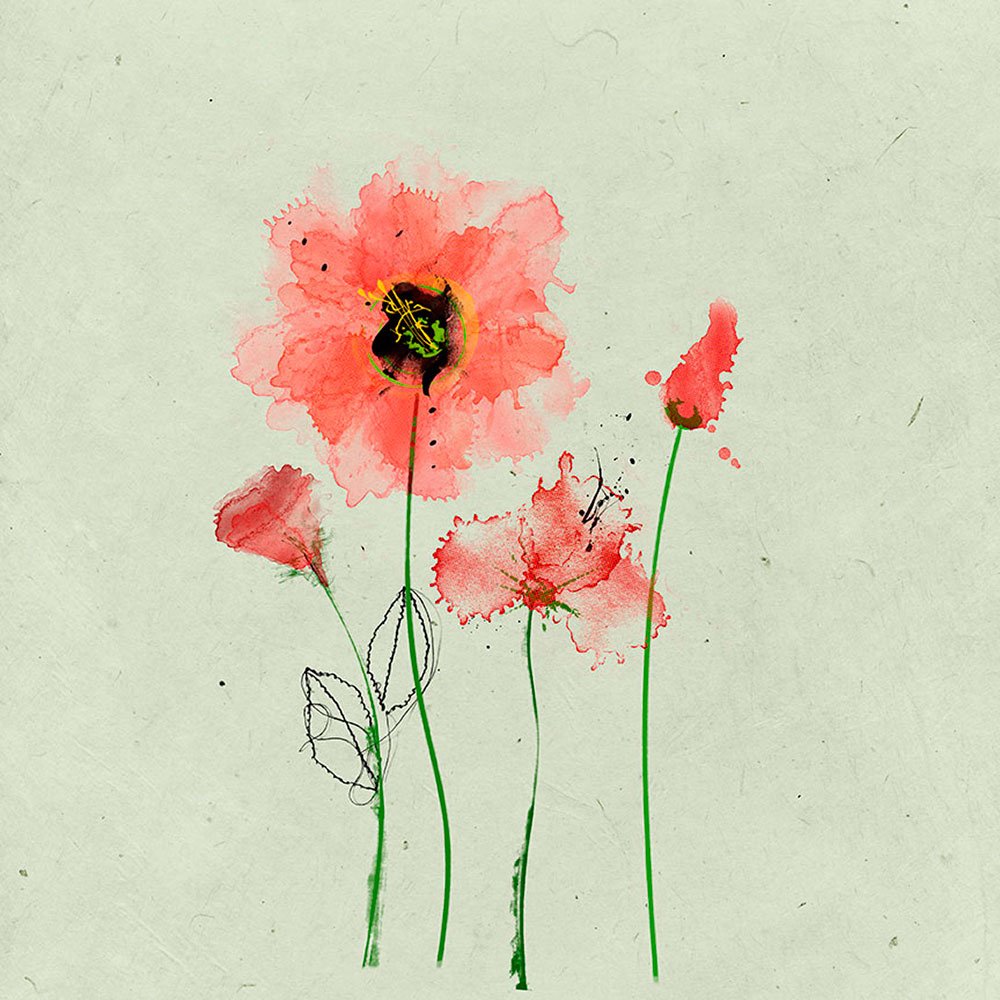
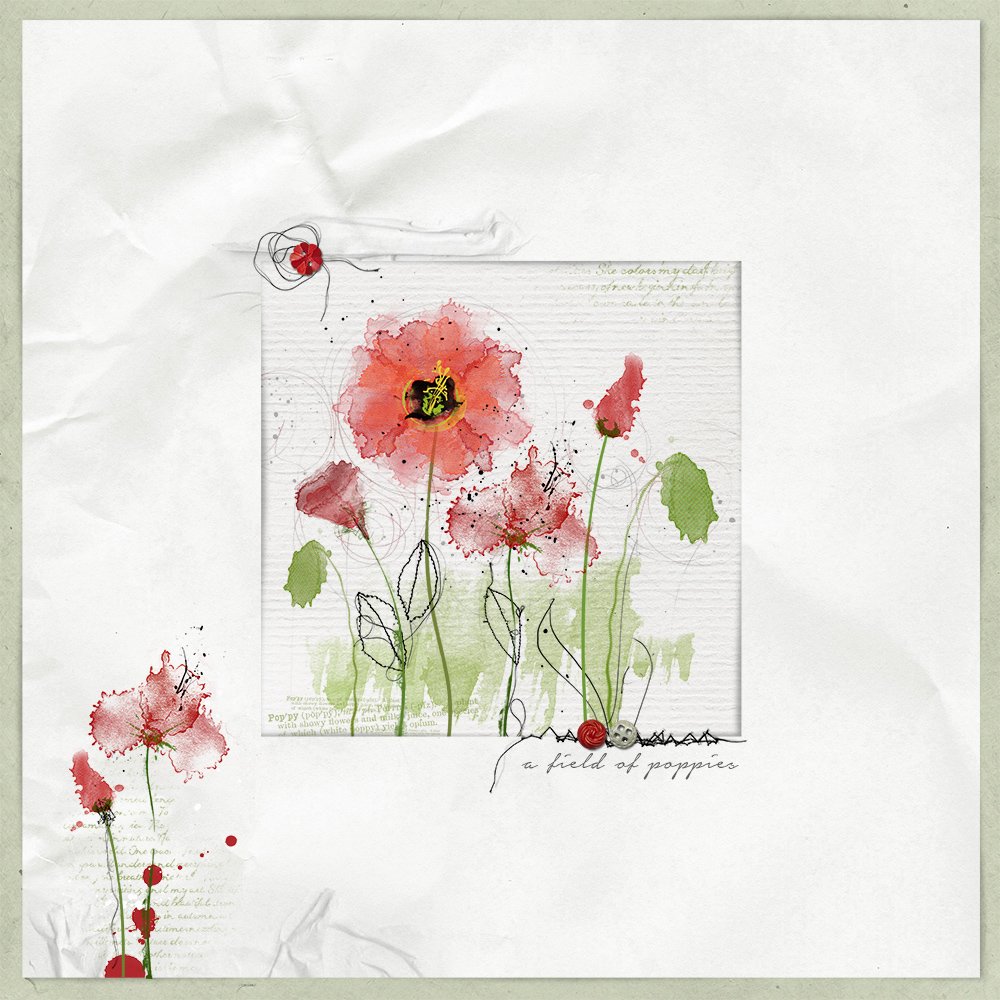
Creative Team Member, Miki, demonstrates how to create a custom poppy flowers using aA ToolSets and Filters in Adobe Photoshop.
ToolSets are located in the Tools category of the aA store and include a variety of paint, distressing and texture BrushSets designed to assist you in creating DigitalART and add visual interest to your photos and projects.
See this video for more information on loading and using brushes in Adobe Photoshop and Elements.
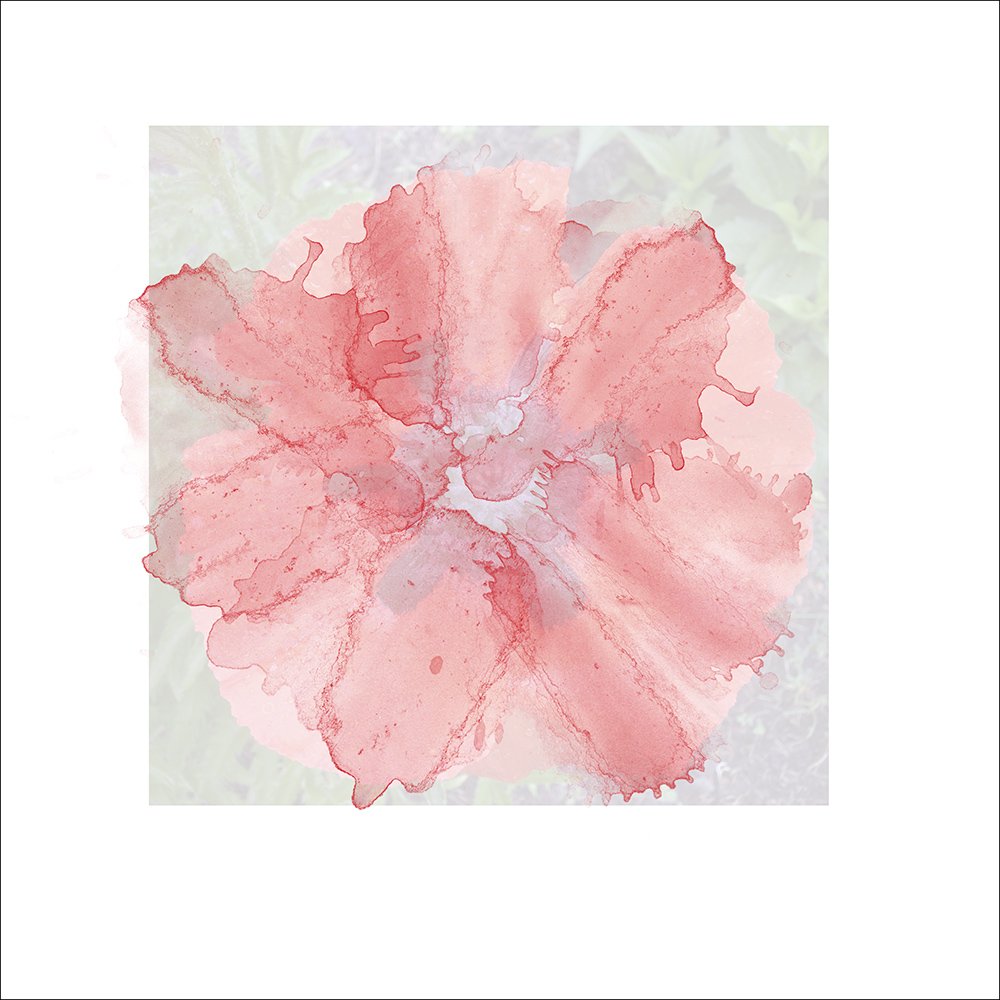
1. Create Flower Foundation using ArtsyStains. Create a new 12 X 12 300 DPI layout. Open and drag a paper of choice onto your the new canvas to create a foundation. Select one or more photos to be used as inspiration for your artsy flowers. Open and move the images onto the foundation
Layer brushes from ArtsyStains No. 1 over a photo. You can open and drag the files onto your foundation then fill the stains with color. Select the stain layer in the Layers panel and go to Edit> Fill. Select the color of you choice by clicking on the downward facing arrow from the Contents options to activate the menu. Select the Color option and use the Color Picker to make a color selection.
Tip: Reduce the opacity of the photo layer from the Layers panel if desired.
Use the Transform Tool (Command/Ctr T) or (Edit > Transform), place the cursor near the double ended arced arrow on the corner of the bounding box and rotate the stain to the desired angle using the click-drag-release left mouse button action.
Click the check mark box on the Menu Bar to commit the change.
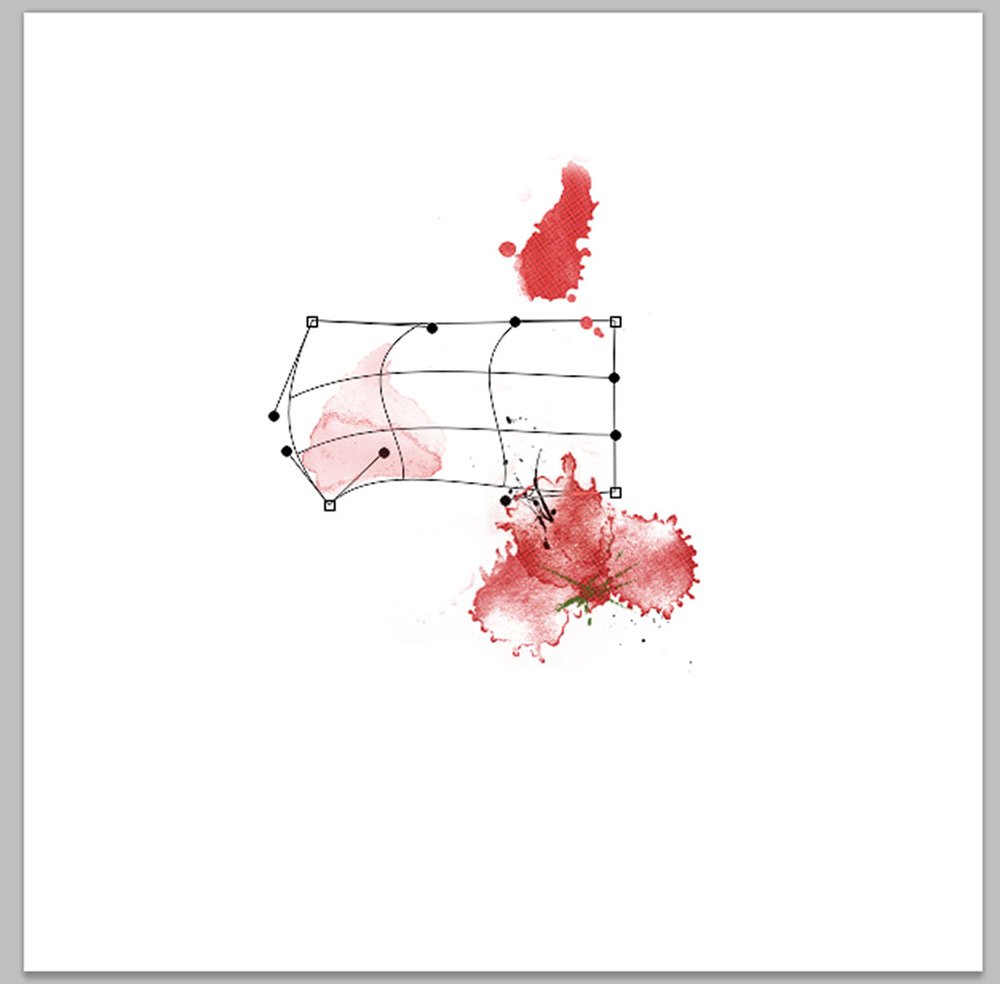
2. Reshape Stains using Warp Tool. Reshape each of the ArtsyStain layers using the Warp tool. (Command/Ctr T) or (Edit > Transform > Warp). A grid will appear over the object you want to manipulare. Using the cursor, grab an intersection of the grid to reshape the object. Click on the check mark box on the Menu Bar to commit the change.
Tip: Once you have the desired shape of the flower, merge the stain layers together. If you think you might want to go back and readjust a layer, before merging, place all the stains in a group folder (Command/Ctr G) and duplicate the folder.
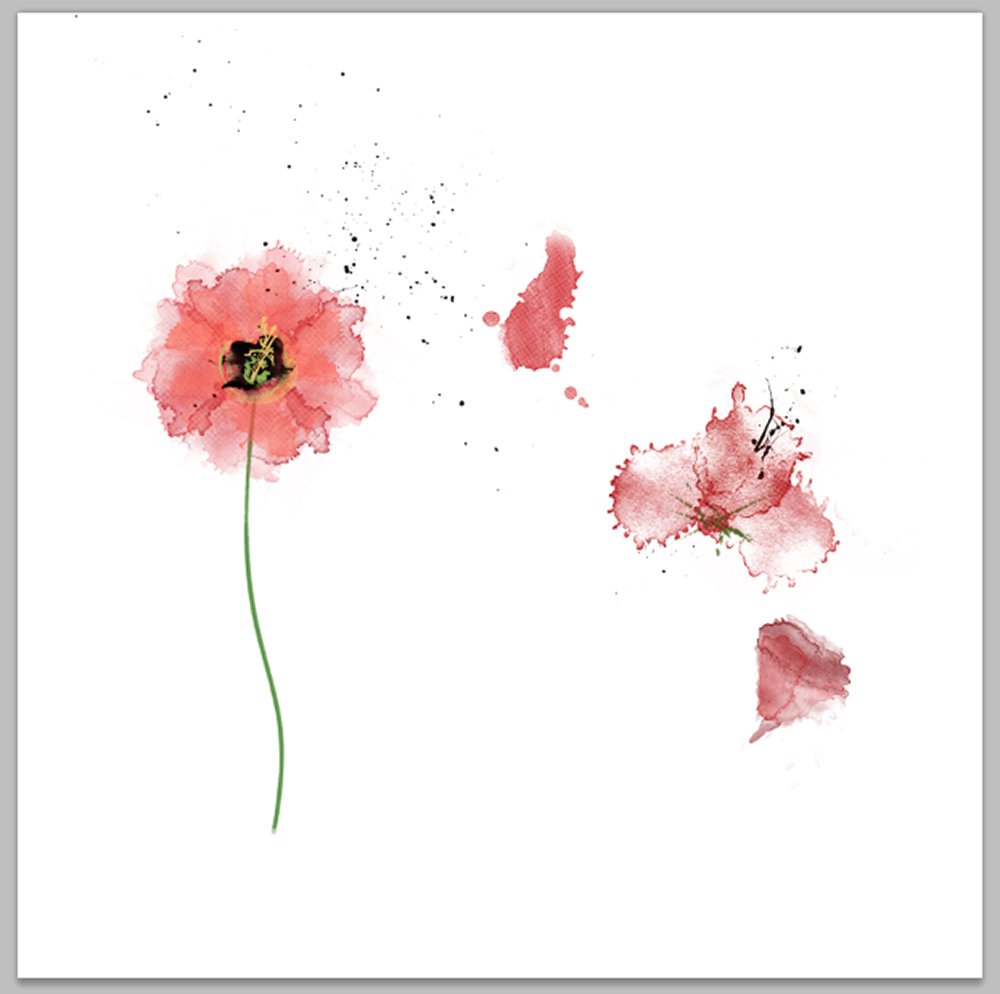
3. Add Detail. Use additional ToolSets and Brushes to add details to the flower images as desired.
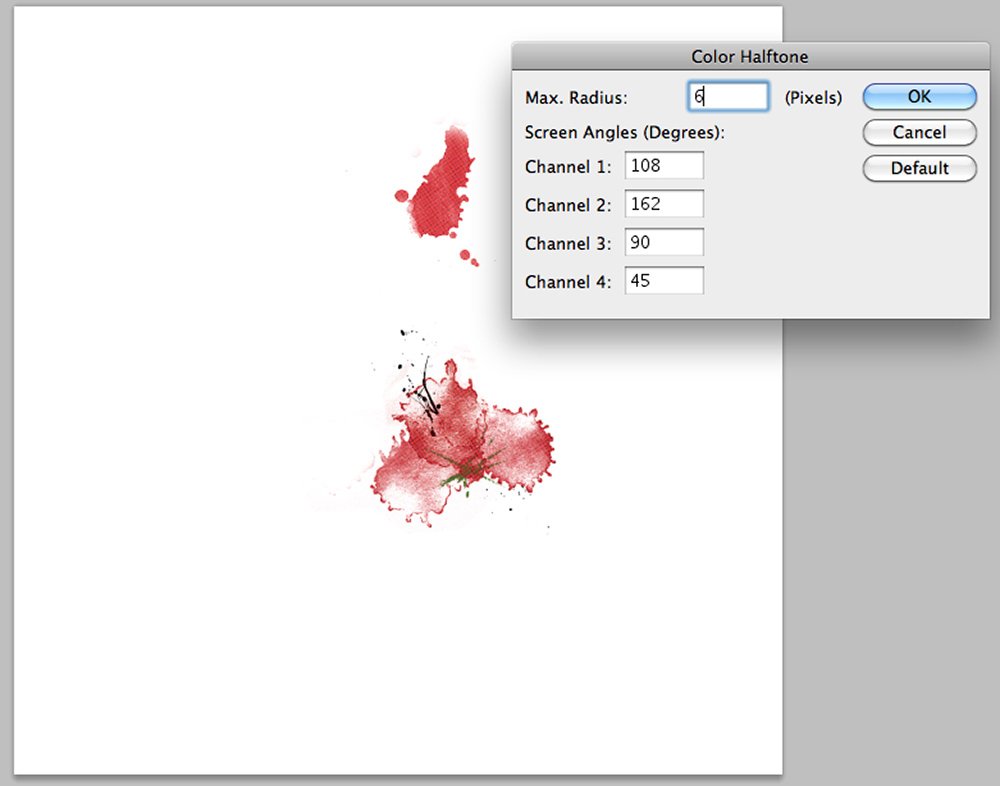
4. Create Texture and Depth with a Color Halftone Filter. Duplicate the merged image. Rotate, resize or change the Blending Mode as desired to add depth to the image. To add more texture, use the Color Halftone Filter. Filter > Pixelate > Color Halftone (settings: Maxium Radius – 6, Channel 1 – 108, Channel 2 – 162, Channel 3 – 90, Channel 4 – 45).
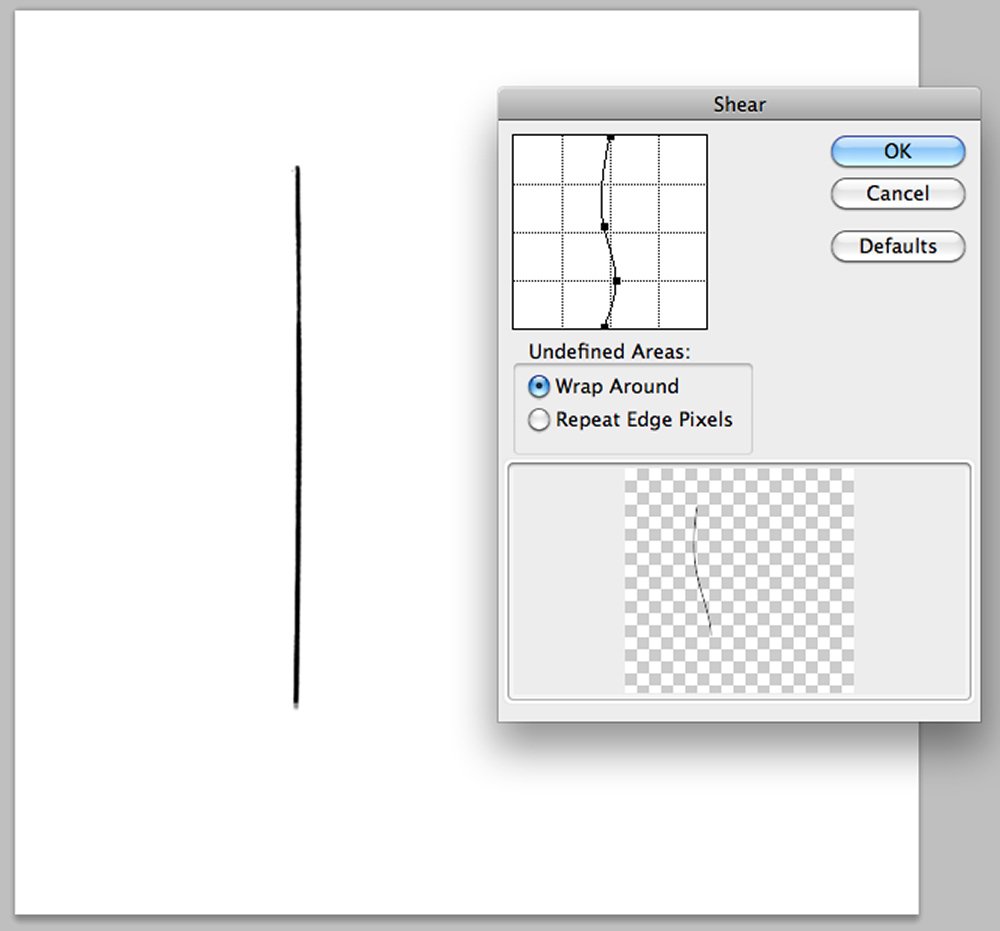
5. Create Stems with Brushes and the Distort Filter. To make a flower stem, select a brush from Roughly Edged ToolSet No. 1. Choose and stamp a Brush onto layout. Go to Filter > Distort > Shear. Make sure Wrap Around is selected. Reshape the straight line to add curves. Click on ok when you have the desired curve. Repeat to create additional stems.
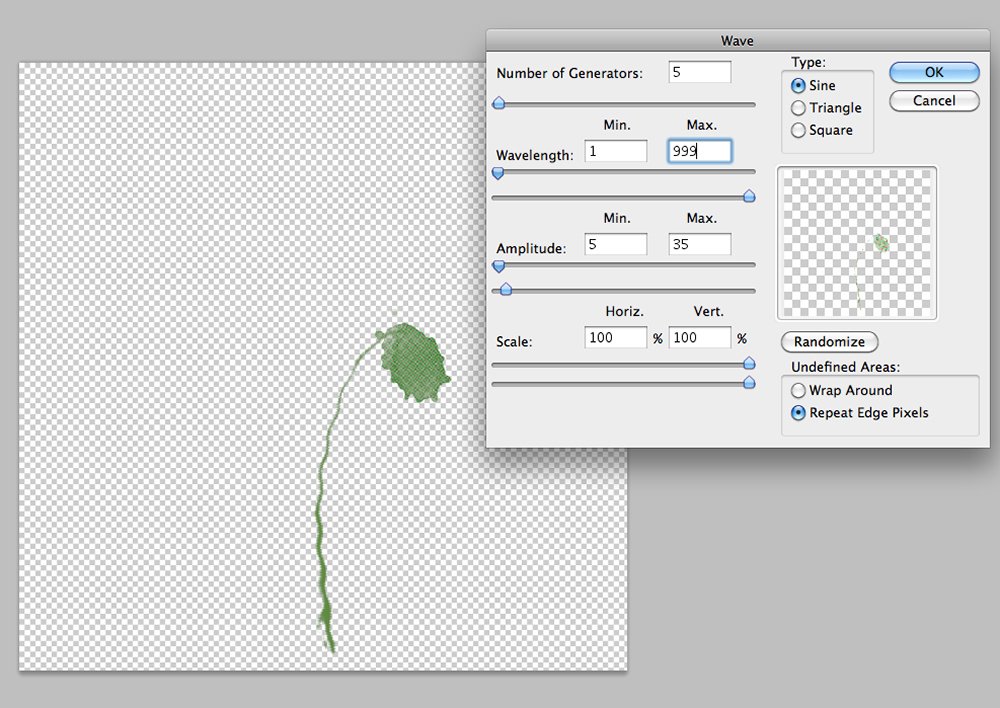
6. Create Wavy Stems. To create a wavy stem select Filter > Distort > Wave. Set the Number of Generators to 5; Wavelength: Min. 1 and Max. 999; Amplitude: Min. 1 and Max 6; Type: Sine; Randomize: Repeat Edge Pixels.
7. Add the Final Details. Arrange the Flowers as desired. Use Brushes, UrbanStitchez and Elements to add final details to your flowers. Frame your flowers and add a label.
You can view a complete list of supplies used here.
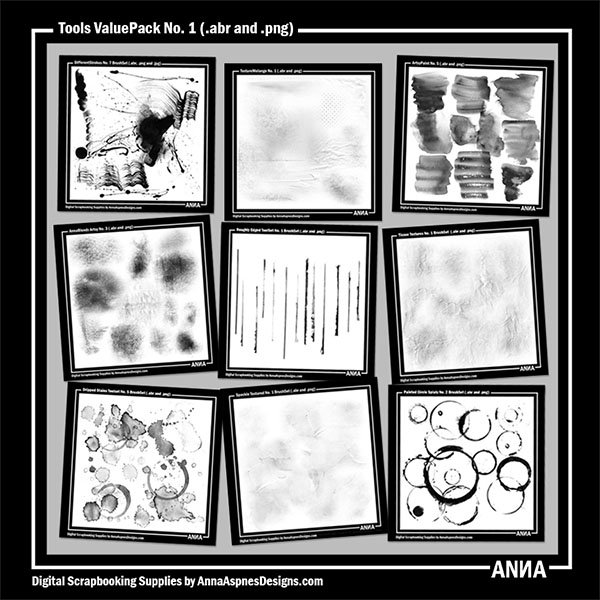
You may also be interested in the new ToolSet ValuePack providing 9 sets of Tools discounted by 58%.
Want to create more DigitalART using aA ToolSets? Check out Adyrane’s tutorial here.




Recent Comments