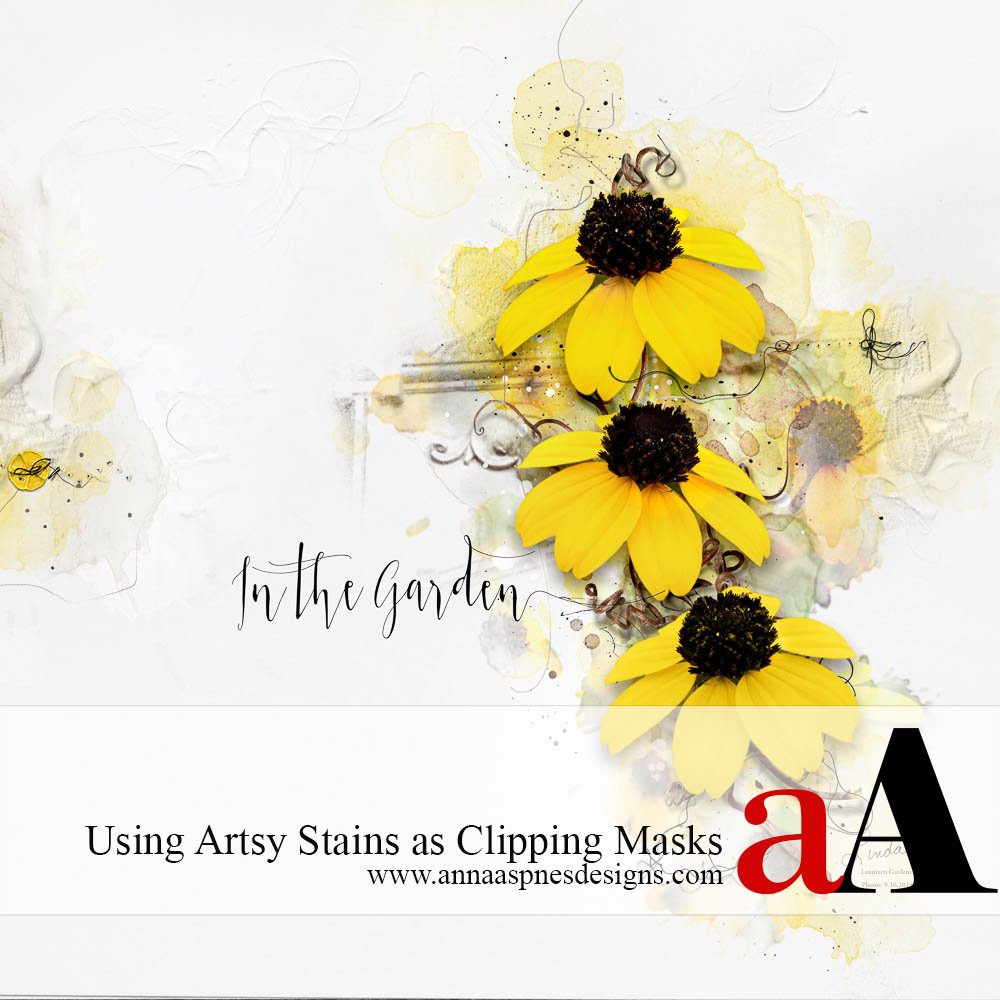
In answer to a question during Anna’s Live Event for Digital Scrapbooking Day 2015, Creative Team Member, Linda Davis, shares how she used ArtsyStains and a photo to fill in the space between the flowers and background on her scrapbook page.
Note that the 2 hour event replay will be available in for sale in mp4 format in the aA store for the Black Friday/Thanksgiving weekend.
Watch for new ArtsyStains coming to the aA store tomorrow.


Thanks for the great tutorial… this is something that I will use often . Perfect explanation of the process!!
Thanks Pam!!
Linda, when you say you recovered the stain yellow before adding the photo with a clipping mask, what method did you use to rector the stain?
Oh oh the spelling monsters were out on that post. It should say:
Linda, when you say you recoloured the stain yellow before adding the photo with a clipping mask, what method did you use to recolour the stain?
Lois, if I’m using a stain from one of Anna’s artsy transfers for example, I select a color and then use the keyboard shortcuts, command+delete or option(alt)+delete depending which is the foreground or the background color. There is another video on Anna’s YouTube channel, https://www.youtube.com/watch?v=bHi-Jra9VrE, which goes into more detail on recoloring png brush layers. Otherwise, I stamp brushes on new layers in the color that I want. Hope this helps!
Linda, Thanks so much for the informative video of your process. I love your presentation, very clear and easy to understand. Thank you.
Thank you Karen! Glad you liked it:)