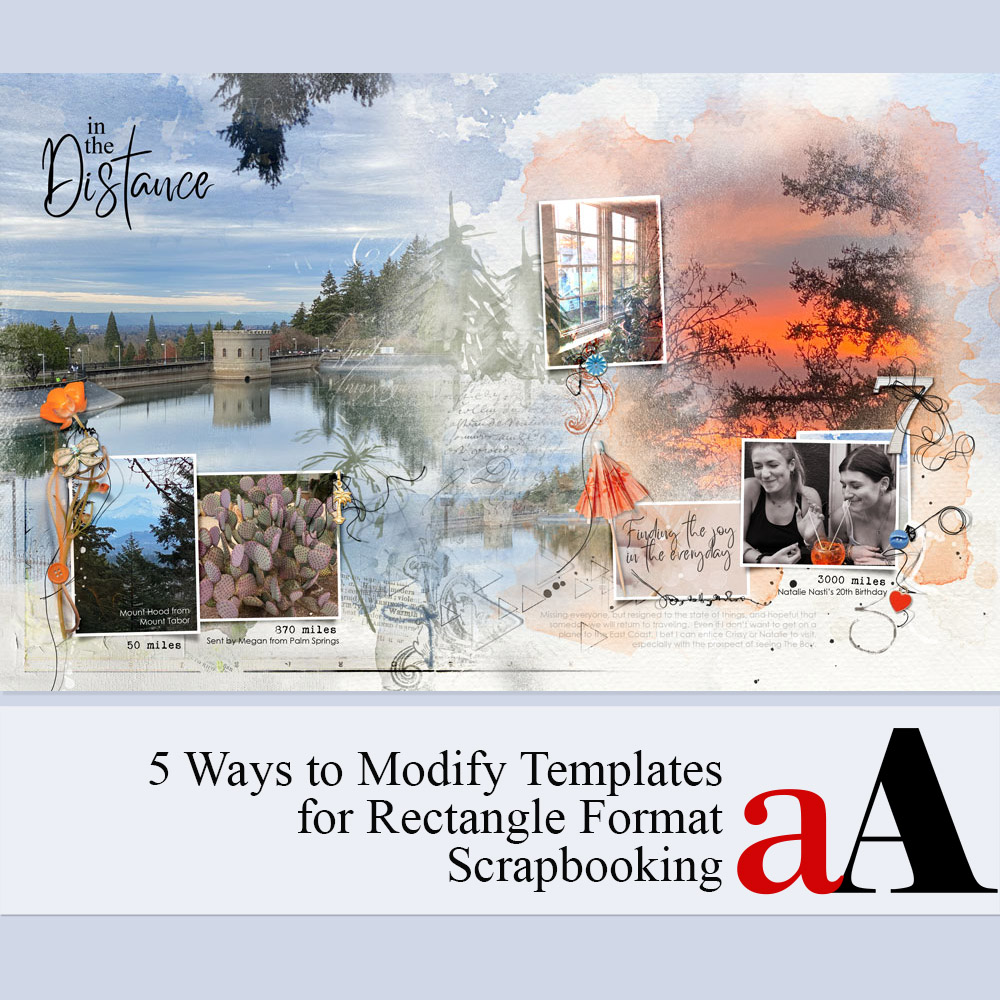
Today, Creative Team Member, Diane Weber, is sharing 5 Ways to Modify Templates for Rectangle Format Scrapbooking.
Complete these techniques in Adobe Photoshop or Elements.
5 Ways to Modify Templates for Rectangle Format
Introduction
Modify 12 X 12 format DigitalART supplies for rectangle format scrapbooking.
- This is a series of posts by Diane Weber sharing her approach to aA DigitalART adaptation
- See previous Modify Square Papers post as the precursor to these approaches.
- This post focus is on modifying a variety of templates.
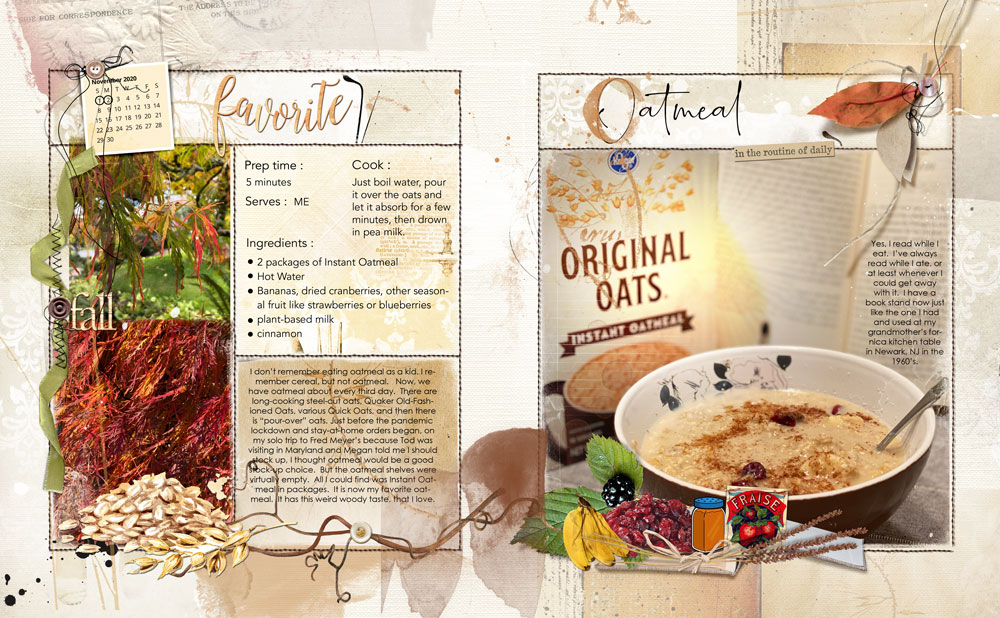
1. Use Coordinating Templates
Modify 2 Templates from the same Album or Collection to create your digital scrapbooking layout design.
- Create a 16 X 10 inch New Layout at 300 DPI to establish your’rectangle’ double-page foundation (2-8 X 10 pages side-by-side).
- Open Template #2 (left) and Template #5 (right) from Recipe Template Pack No. 1.
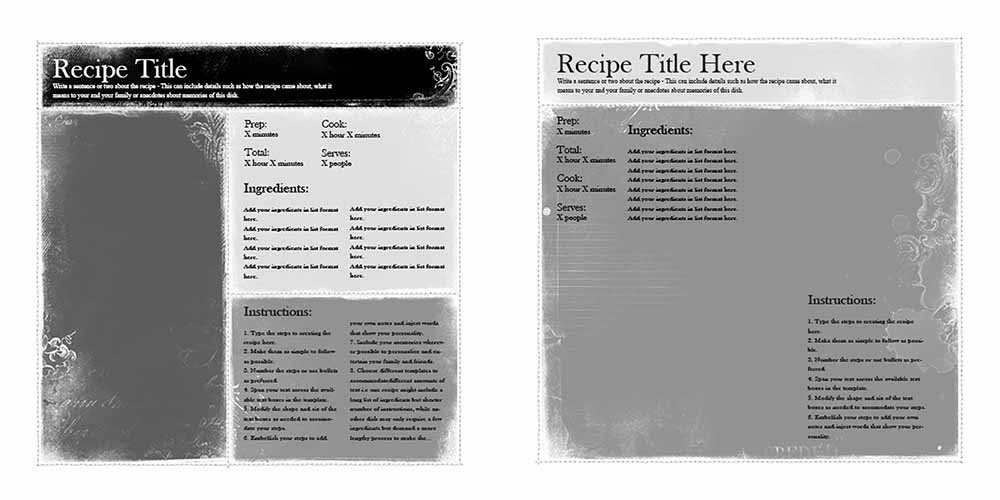
- Select all the layers of each template in the Layers Panel and move onto your New Layout using the Move Tool from the Tools Panel.
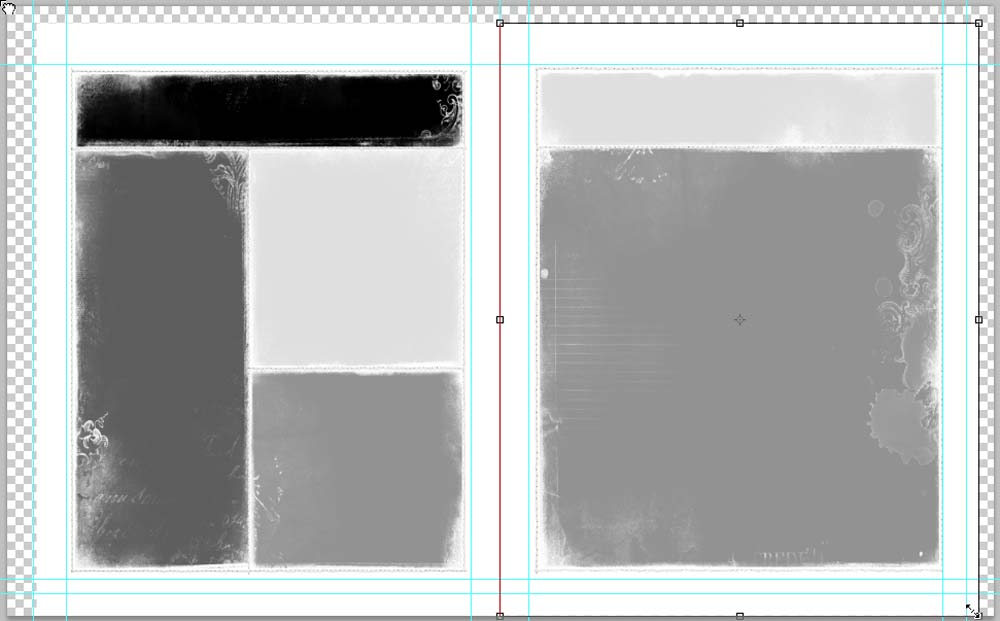
- RESIZE the layers using Edit> Free Transform, or with the Move Tool selected, click on the CORNERS, then the EDGES of the Bounding Box and drag inwards to fit your page design.
Notes.
- Click on the CORNERS to resize the layers proportionately.
- Click on the EDGES to make the square format fit your rectangle design
- This will essentially ‘squish’ the proportions of the template to a certain extent.
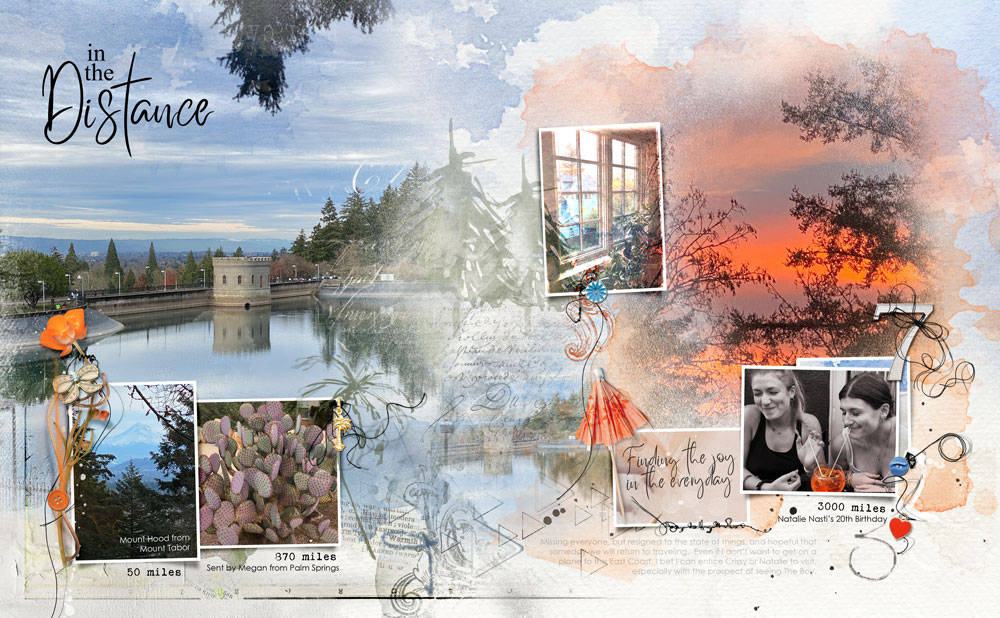
2. Use Different Templates
Modify Templates from different Albums or Collections to create your photo artistry designs.
- Create a 16 X 10 inch New Layout at 300 DPI as you ‘rectangle’ double-page foundation.
- Open Template #10 from Scenic Layered Template Album No. 2 (left) and Template #7 (right) from Project Template Album No. 6.
- Move and place the layers in your layout design.
- Transform the layers to better accommodate the dimensions of your layout design.
- Adjust the PLACEMENT, SIZE and ROTATION n of individual elements and layers as needed.
Note. The frame on the left is too ‘tall and thin’ and one of the frames on the right overlaps a gutter guideline.
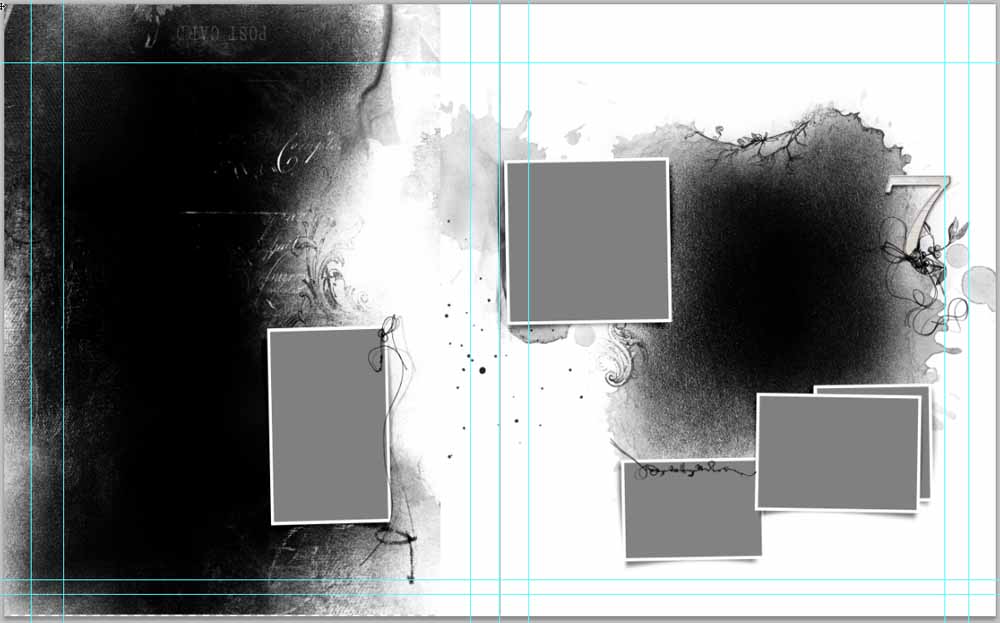
- Go to File > Save As > [Enter File Name] to save your double-page 8 x 10 version to the location of your choice.
Note.
- Select Albums or Template Collections with similar Frames will help UNIFY the design.
- MOVE and/or duplicate Frame element to better suit your photos and overall scrapbooking layout.
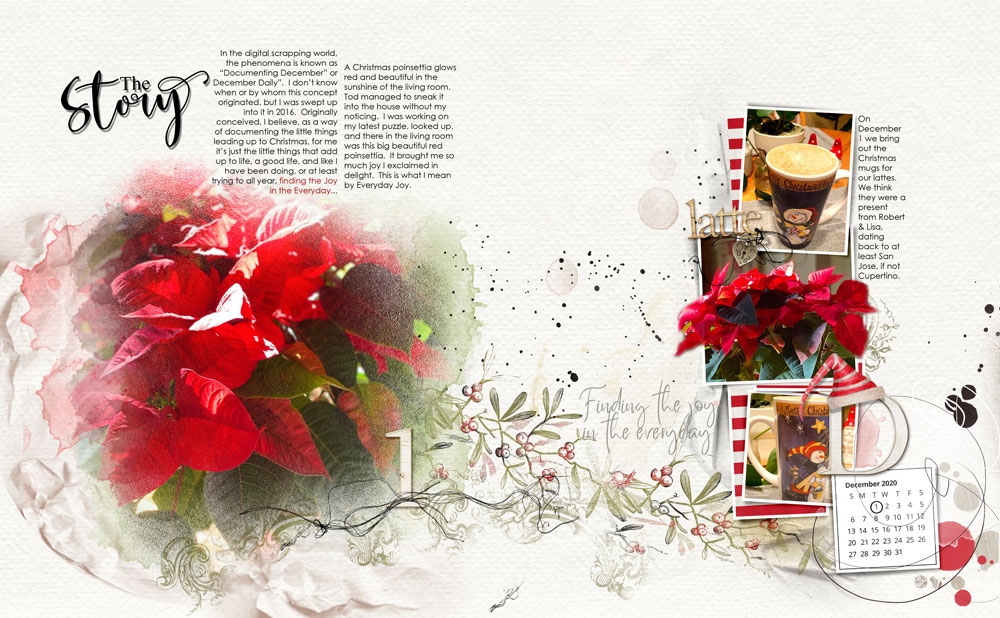
3. Split Template
Span the layers from a single template across both pages of your digital scrapbooking design.
- Select all the layers of a single template design, Template #1 from Project Template Album No. 6 in the Layers Panel.
- MOVE all the layers onto your photo artistry page.
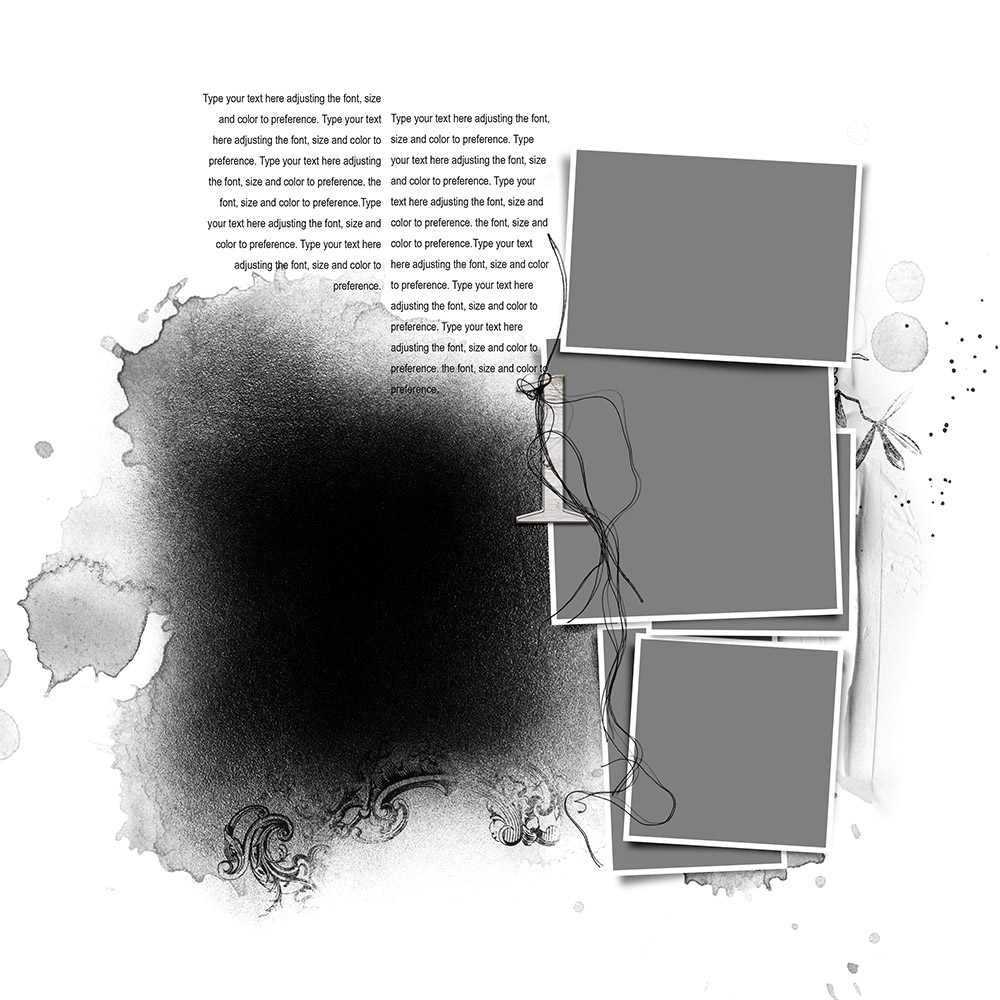
- Place the FotoBlendz and all supporting stains layers on the left side of the spread.
- RESIZE the layers using the Transform controls as preferred.
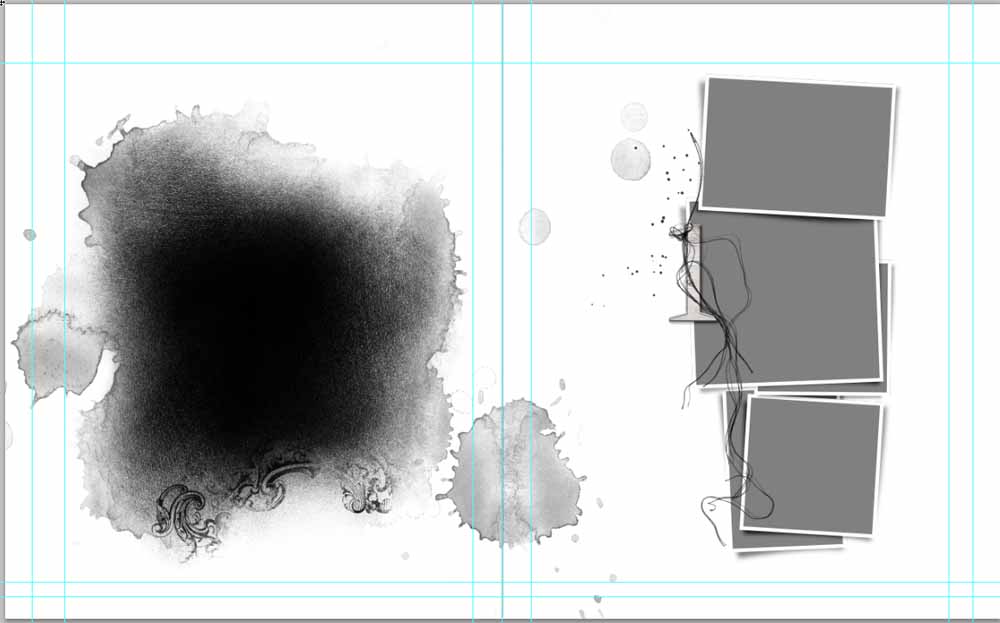
- Move the frame layers to the right side of the spread and modify as needed.
Note. You can use embellishments such as ArtStrokes, MultiMedia elements, UrbanThreadz and Splatters to lead the eye and connect the 2 pages.
4. Duplicate Template Layers
Duplicate the layers in a Template design and arrange across the double-page spread.
- Move all Template #20 layers from Project Template Album No. 6 onto your layout design.
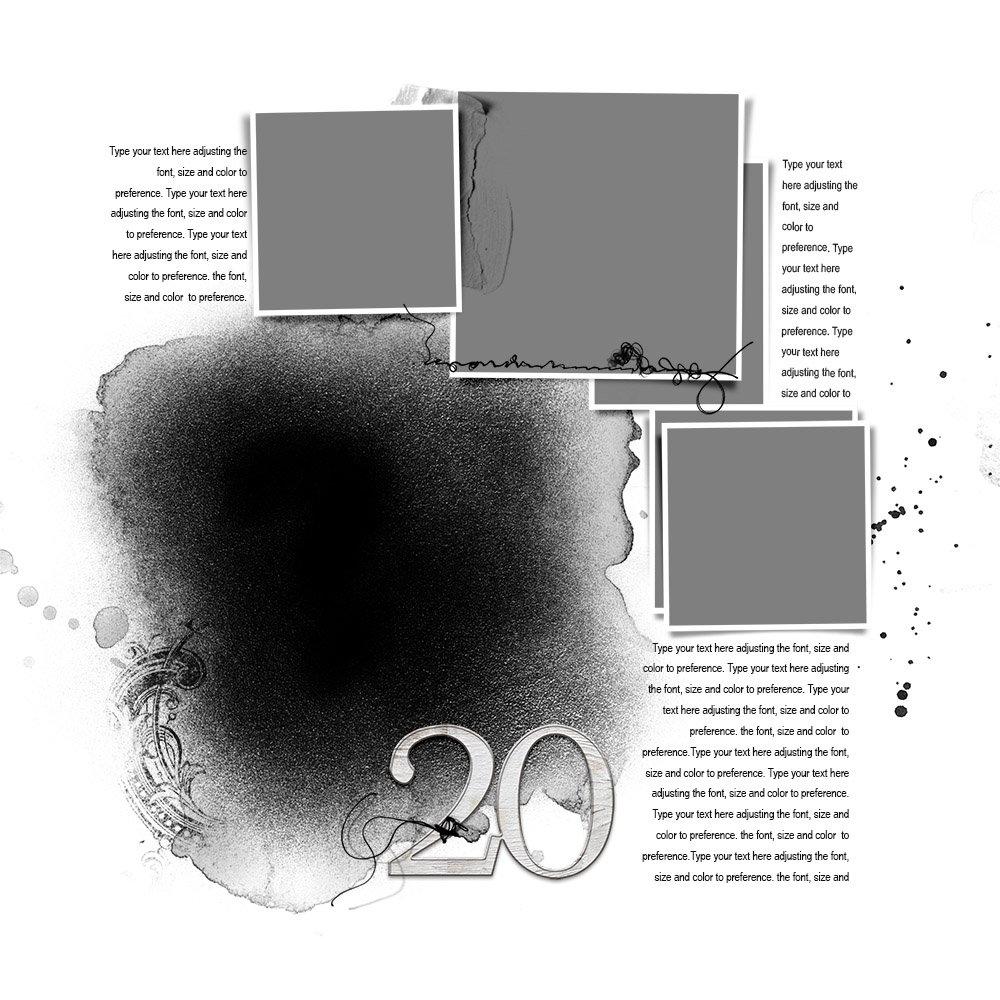
- Move the ‘FotoBlendz’ mask, stains and ‘Hipster Plume’ layers to the left side of the double-page spread.
- Place two of the Frames at the bottom of the digital scrapbooking design.
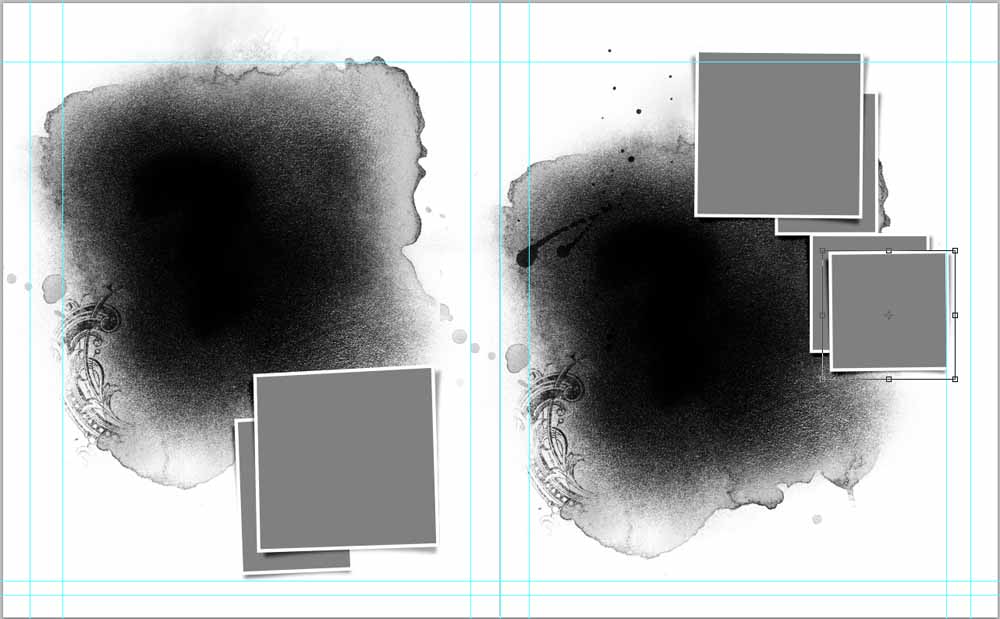
- Duplicate the FotoBlendz by dragging the mask, stain and ‘Hipster Plume’ layers to the New Layers icon in the Layers Panel.
- Move the ‘copy’ layers to the right side of your page by selecting those layers in the Layers Panel and dragging them to the right.
Note. Move four of the template Frames to the upper right area of your design and modify the size as needed.
Tip. Try to place your duplicated frames on different horizontal planes to add visual interest.
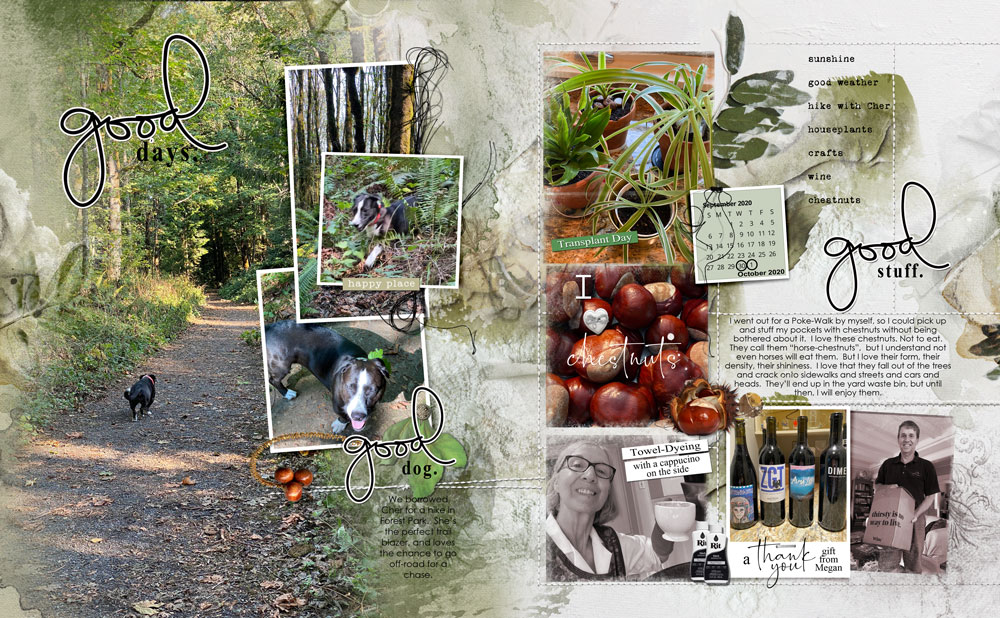
5. Use Individual Layers
Select individual layers from the same or different templates to create a custom template design.
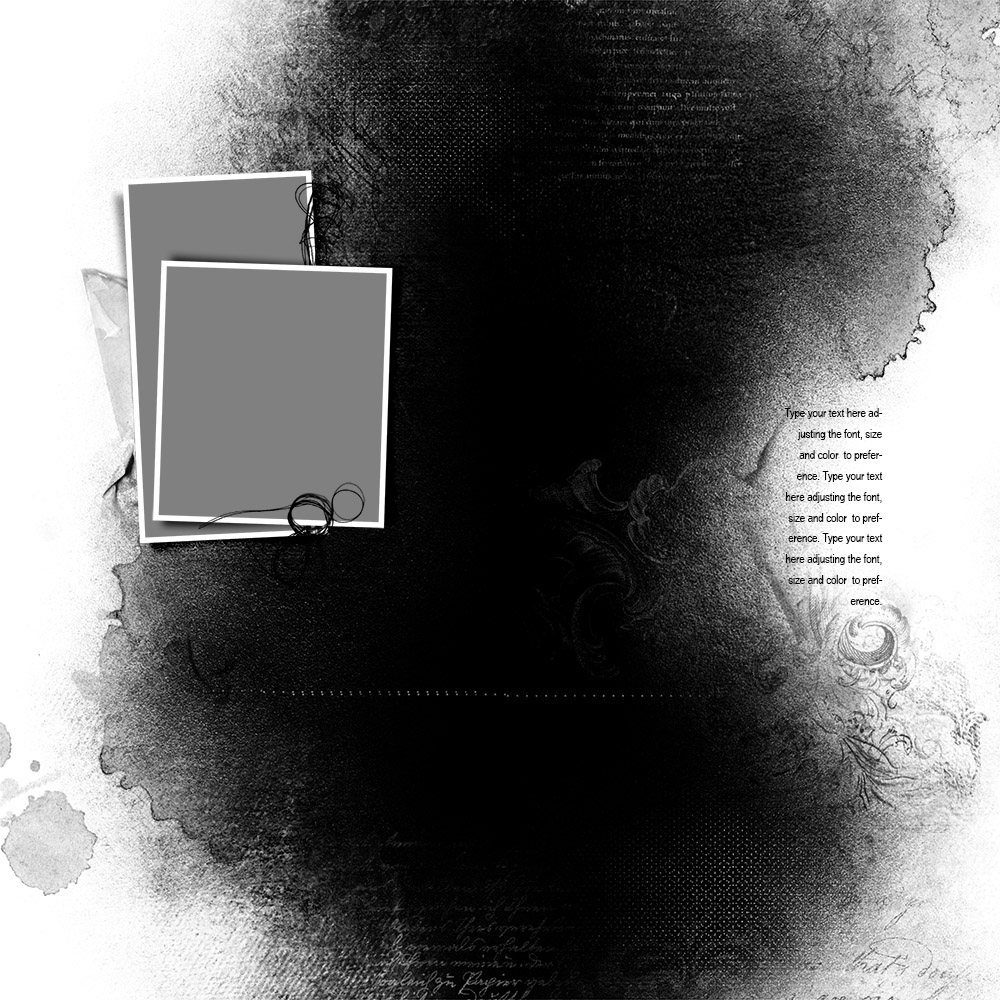
- Use Template #12 from Scenic Layered Template Album No. 1 to blend a large photo on the left side.
- Duplicate, modify and reposition the Frame layers as preferred.
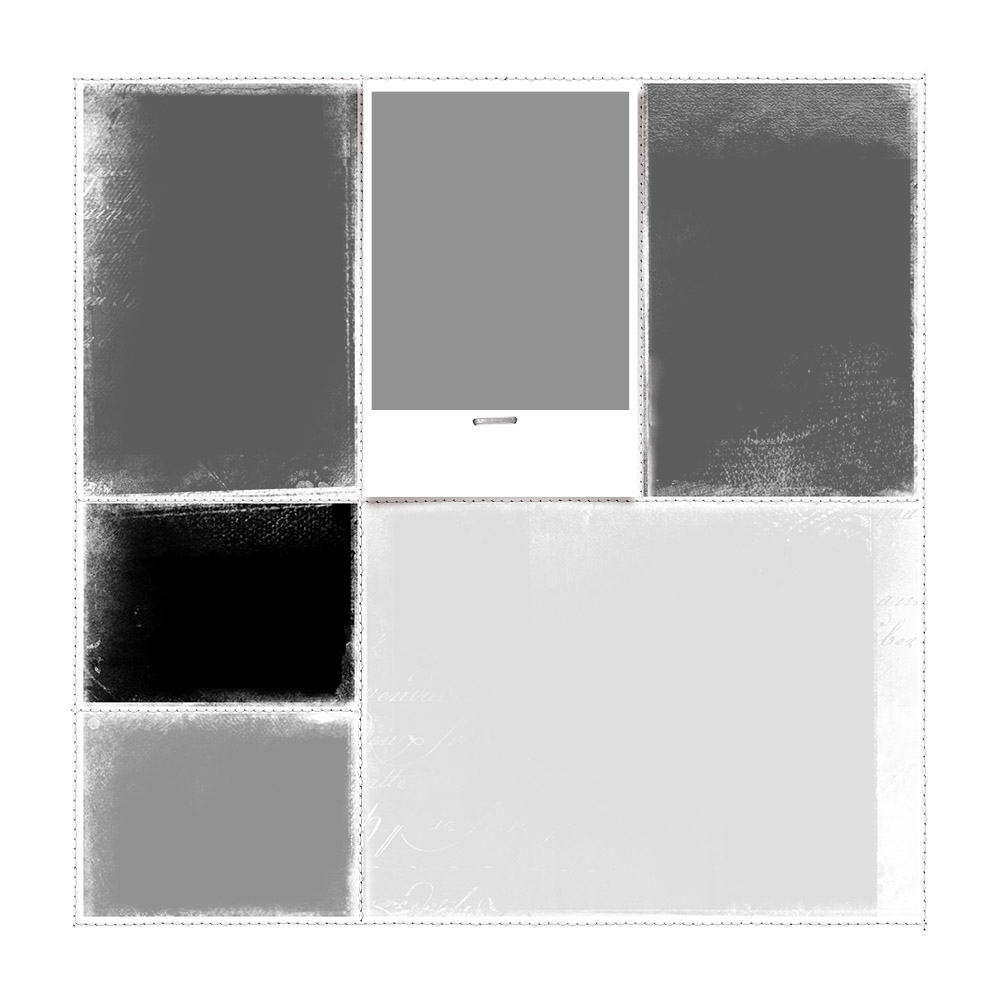
- Use a more photo-intensive template such as #4 from Stitched Layered Template Album No. 1 to support a greater number of photos.
- Reposition the masks to accommodate your images.
Note. Clip Artsy Papers or ArtsyKardz to ‘spare’ photo masks or DELETE to allow the underlying layout foundation design to show through.
Summary
Templates provide a quick and easy foundation for your rectangle format scrapbooking designs.
- Create a New Layout foundation in your size of preference.
- Select one or more Templates according to number and size of your photos.
- Move the layers onto your layout foundation and MODIFY using the approaches outlined in this tutorial.
See also:
And if you enjoyed this 5 Ways to Modify Templates for Rectangle Format post, please consider sharing using the social media buttons below.


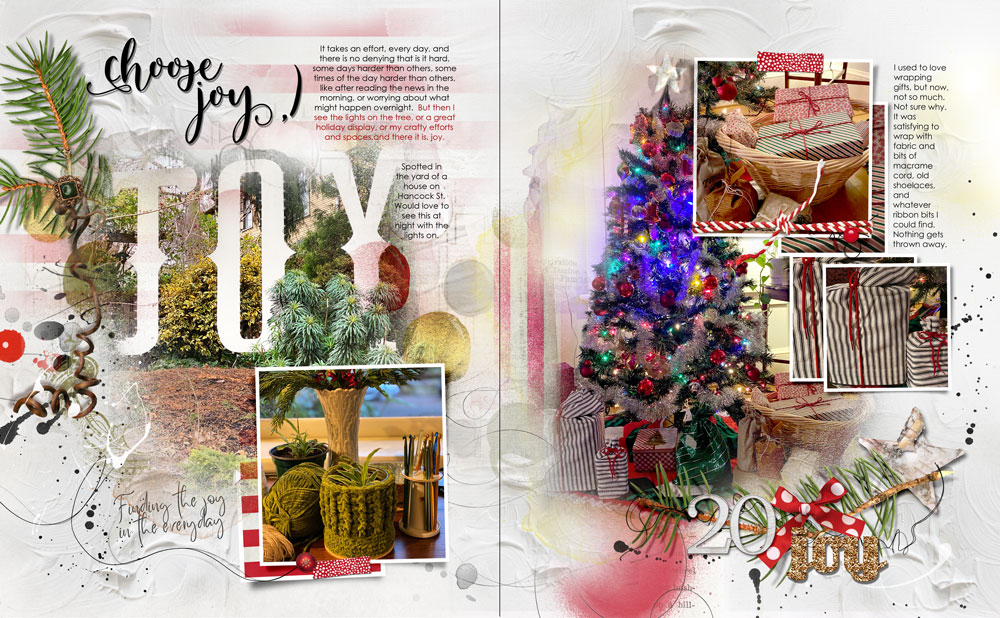




Thanks! This is great information and wonderfully explained Diane. This has me considering doing my next book in 8×10 format.
Nice! Can’t wait to see what you create Kim.
My question is this… can an entire finished page be saved as a jpeg or png to be used in a slideshow? I have an idea on what I want to do with the 100s of my family photos, and it would involve creating individual stories in photos and text with your pages, and then formatting them into a digital slideshow. Would this be possible?
Absolutely – You would simply use a program to assemble your slide show instead of printing the pages.