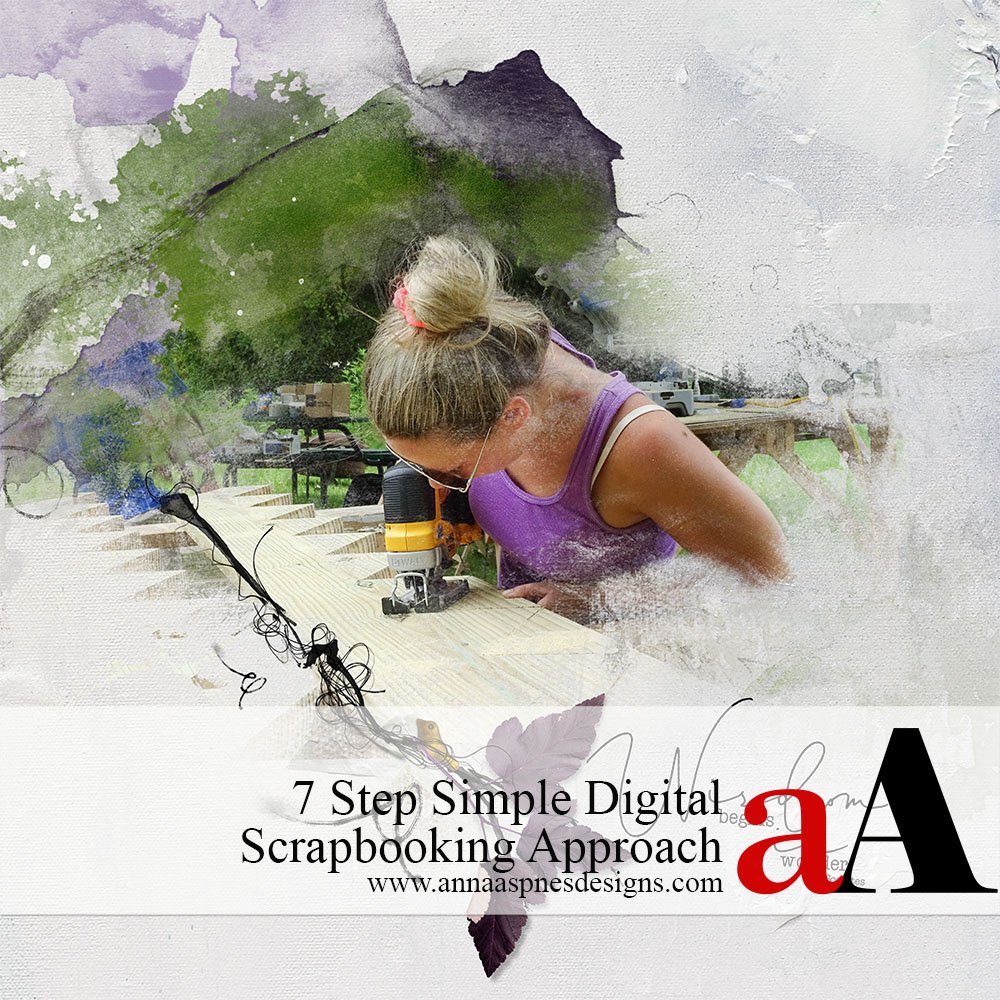
Joan Robillard shares a 7-Step Simple Digital Scrapbooking Page Approach for Adobe Photoshop and Elements.
7-Step Simple Digital Scrapbooking Page Approach
Introduction
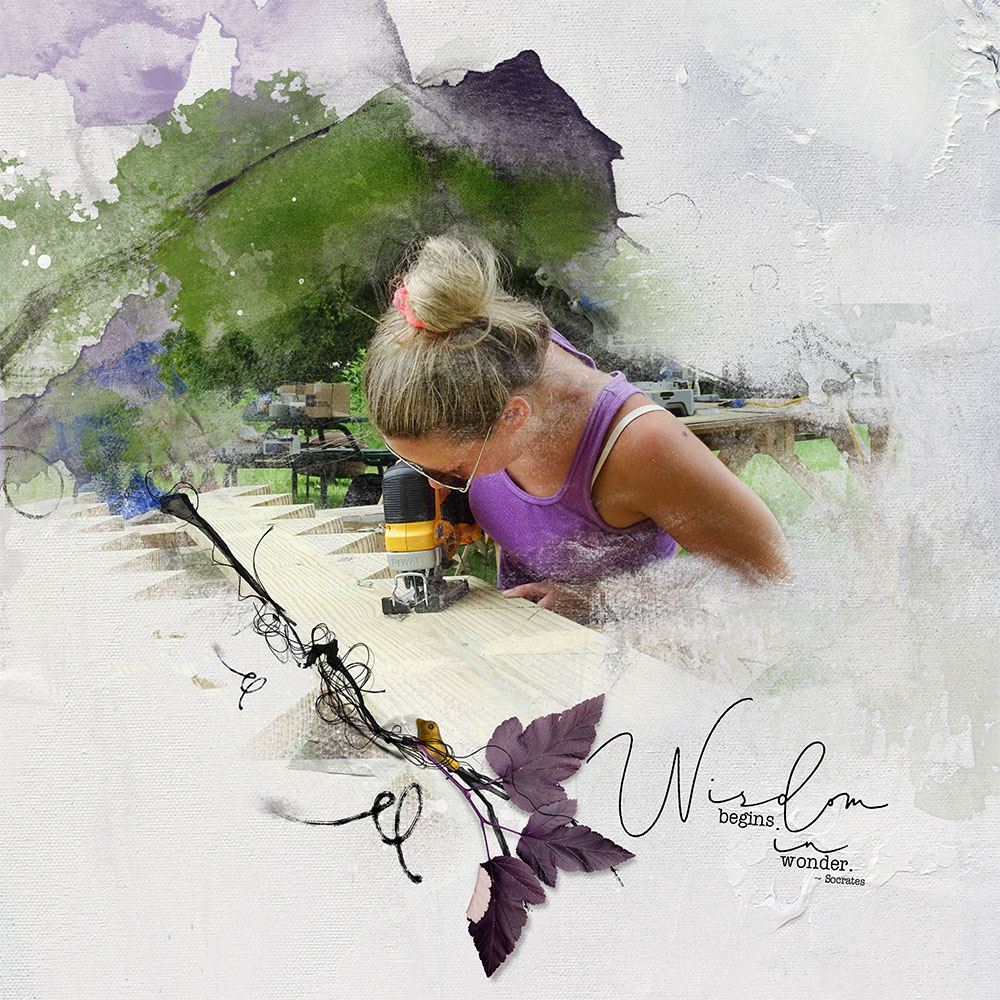
Create a simple page to highlight a favorite photo in just a few simple steps.
- Simplicity allows you to create MORE digital scrapbooking layouts in LESS time.
- Plan and give a little forethought to the design BEFORE you begin creating.
- Use these 5 Steps as a blueprint or recipe to Guide your creative process.
1. Plan and Select
A little organization and planning go a long way to successful layout design.
- Limit your image selection to 1-3 photos for your digital scrapbooking layout page to ensure simplicity in the design.
- Use the Colors in your images to choose a coordinating Artplay Palette.
- Choose good photos and simple details to produce beautiful artistry.
- Select a FotoBlendz Clipping Mask to blend a photo and/or a variety of frames for supporting images.
Tip.
- FotoBlendz Clipping Mask can be delivered in .png or .psd format.
- Group multi-layered FotoBlendz Clipping Mask layers in a folder via Layer> Group Layers to organize and simplify the layers in the Layers Panel.
2. Create Layout Foundation
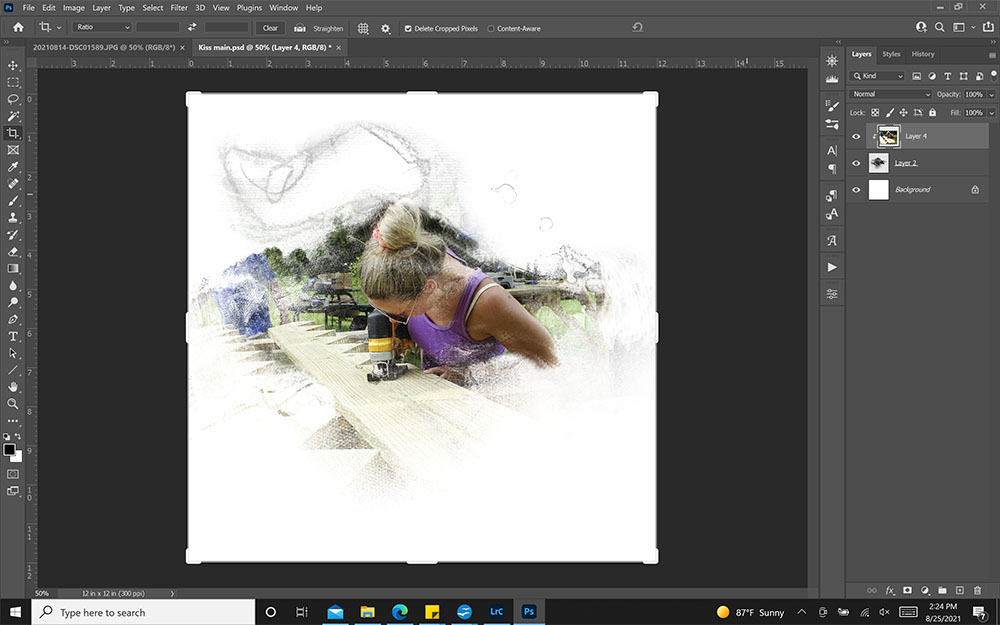
Establish a new layout foundation and create your primary focal point using a mask and/or frame(s).
- Go to File> New in Photoshop or Elements and enter a Height and Width of 12 inches with a Resolution of 300 PPI.
- Position the FotoBlendz Clipping Mask or frame layers onto your New Layout using the Move Tool from the Tools Panel.
Tips.
- Use a FotoBlendz Clipping Mask to quickly and easily blend a single photo.
- Use frames for multiple and/or supporting photos to your blended masked photos.
- Borrow frames in a predesigned configuration from any Template.
- Select all the frame layers on the Layers Panel, then drag to your digital scrapbooking layout design using the Move Tool from the Tools Panel.
- You might also Duplicate frame layers to create multiple copies.
Clip your photo(s) to the mask layers of the FotoBlendz or frames.
- Place the photo On Top Of the mask layer so the edges of the image extend beyond those of the mask layer.
- Go to Layer> Create Clipping Mask to clip the image layer to the mask layer.
- Notice how the photo now conforms to the Shape of the underlying mask.
Tips.
- Use the Paint Brush Tool and a blending style brush to expand the FotoBlendz Clipping Mask.
- Paint directly on the mask to expand or refine details in your photo lost through the masking process.
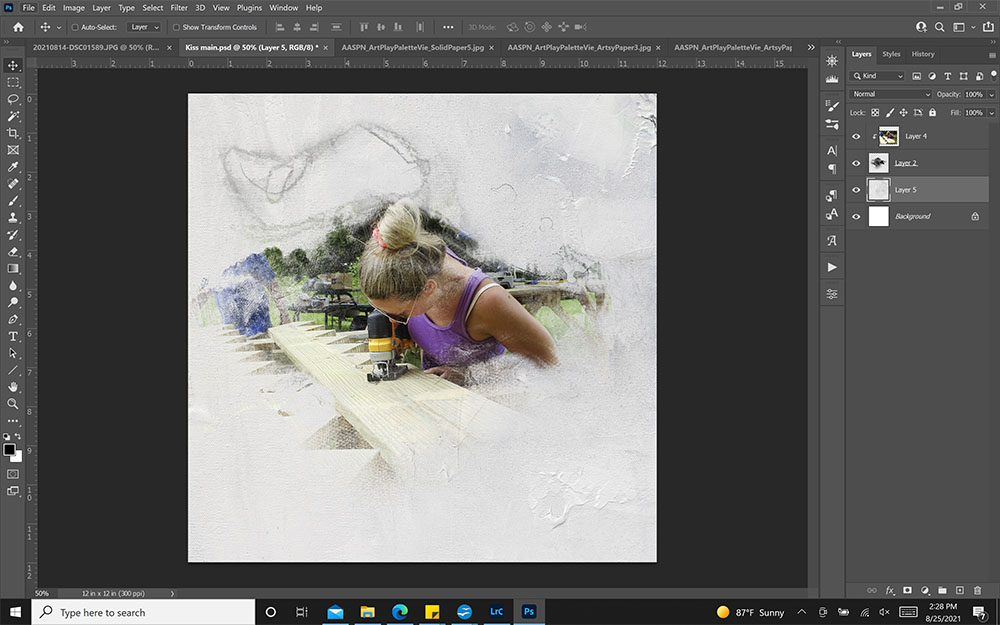
Select a background paper for your layout foundation.
- Select a Solid or Artsy Paper from your chosen ArtPlay Palette.
Note.
- Artsy Papers are predesigned layout foundations where the artistry is included.
- You can create your own custom artsy paper designs using a Solid Paper and a variety of Transfers and Overlays or ArtsyTransfers from the same ArtPlay Palette collection.
- Try to limit yourself to 3 Paper Designs and see which one works best with your chosen photo.
- Remember that your photo should always be the Focal Point of your digital scrapbooking layout design.
- The paper merely serves to enhance and support your photography.
3. Plan The Design
Decide how you will add digital art to your digital scrapbooking layout.
- You can extend the artistry from left to right, top to bottom, or from one corner diagonally to another in the layout design.
- Use the Orientation of your photo, portrait, or landscape to guide your approach.
- For multiple photos, notice the orientation of the frames collectively or as a Group.
For further information:
4. Add The Artistry
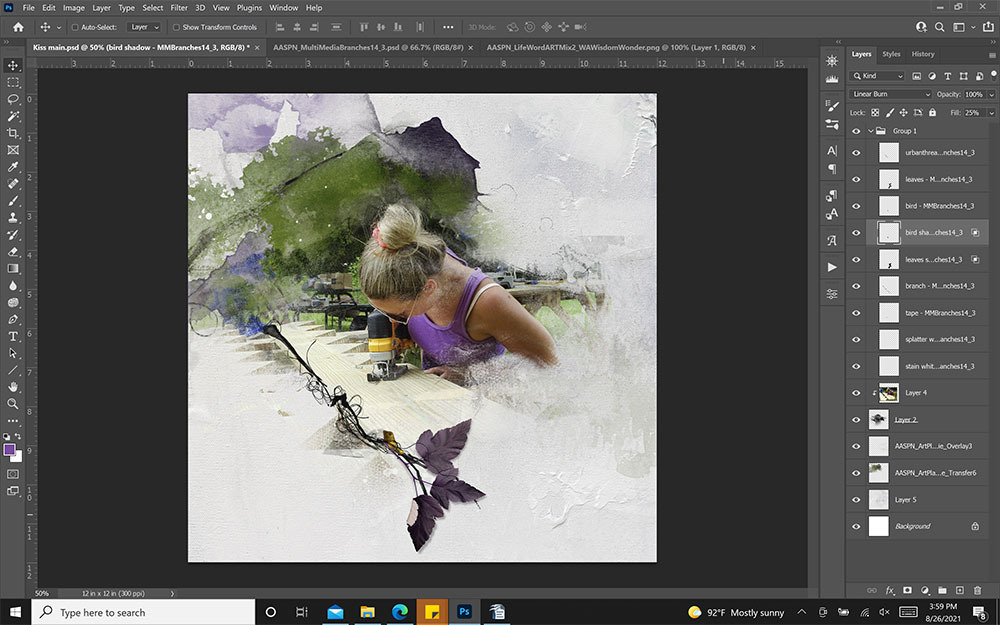
Add Transfers and Overlays to matte your focal photo.
- Choose transfers have Element Properties that support the orientation of your photo and design approach.
- Move them between the background paper and the photo layers.
- Essentially, you are ‘tucking the elements so they are Partially Visible from behind the photo’s creating a ‘matte’ or frame effect.
Tips.
- Use multiple Transfers and Overlays to create a Defined Transition from the blended image to the layout background.
- ArtStroke elements Lead the Eye and can elongate the artistry.
- Look for transfers that fit nicely in corners, then extend the viewer’s attention up or down the digital scrapbooking page.
- Also, consider moving your photos as you add the transfers, making small adjustments as you work on your design.

5. Add Dimension
Add embellishment to create Visual Interest and balance your layout design.
- Place embellishments close to Focal Points.
- This strengthens and Leads the Eye to specific areas of your digital scrapbooking page.
- Experiment with placing your elements in different spots to find the best fit for your photos.
Learn More About This:
There are 2 different approaches:
1. Use Elements from an ArtPlay Palette to create a custom cluster.
- Select 2-3 embellishments, such as a flower and ribbon, or a branch, string, and word strip.
- These are single elements that can be grouped together to create an Element Cluster.
- These embellishments can often be found in the Elements folder of an ArtPlay Palette.
2. Use a ready-made MultiMedia element
- 4-5 Pre-designed element clusters delivered in .psd and individual .png layer format.
- Use the the elements as delivered or modify the layers as preferred to best support your photos.
For Further Guidance:
6. Provide Written Context
Use WordART and/or text boxes to tell the story of your photos.
- Create easy titles by combining elements from the WordART category of the Anna Aspnes Designs store.
- You can also create your custom titles using the Type Tool and fonts of your choice.
- Again, place your titles in Proximity to your photos to provide context.
For Further Guidance:

7. Embellish White Space
Use brushes to add visual interest to an abundance of white space in your layout design.
- You can find a variety of brushes, such as ArtStrokes, in the BrushSet folder of ArtPlay Palettes.
- PaperTexture brushes used in light colors are a wonderful way to add a little interest to White Space.
- Lead the eye with Splatter style brushes.

DigitalART Supplies
Find a complete list of aA digital scrapbook supplies here.
Summary
This 7-step approach can help guide your process to create digital scrapbooking pages in less time.
- Limit your choices through Planning, whether it be photos, papers, or the digital assets you select.
- Aim to work with a single ArtPlay Palette or Collection.
- Stay the Course on your design decisions to simplify the process.
- Focus on enhancing the photo, and Support with words if desired.
- Time is your friend when you keep it simple.
If you like this 7-Step Simple Digital Scrapbooking Page Approach tutorial post, try this approach in your next photo artistry and or digital scrapbooking layout design, and share your layouts in the AnnaGallery.






Recent Comments