Creative Team Member, Beverly, shares her Best Photo Editing Process Tutorial in Adobe Lightroom and Photoshop.
Best Photo Editing Process Tutorial
Adobe Lightroom is used to edit all of my photos, prior to adding artistic techniques to the photo, then creating artistic layouts in Photoshop.
1. Start in Adobe Light Room
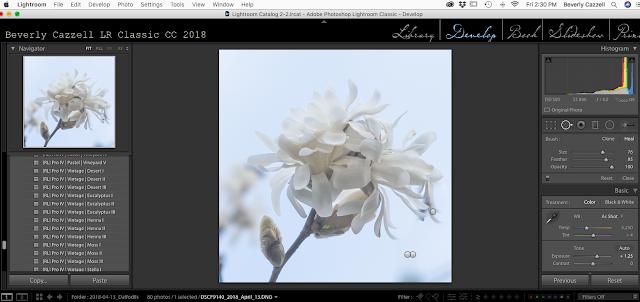
Edit your image using the Basic Panel and Tone Curve options in Adobe Lightroom.
You will use the following tools:
- Spot Removal Tool
- Exposure and Shadows Slider
- Tone Curve Settings
Note. Adobe Lightroom helps me create ‘cleaner’ versions of my images. Notice how the ‘pins’ on the image demonstrate where I adjusted (removed) the darkness and some of the blurred background.
 2. Transition to Adobe Photoshop
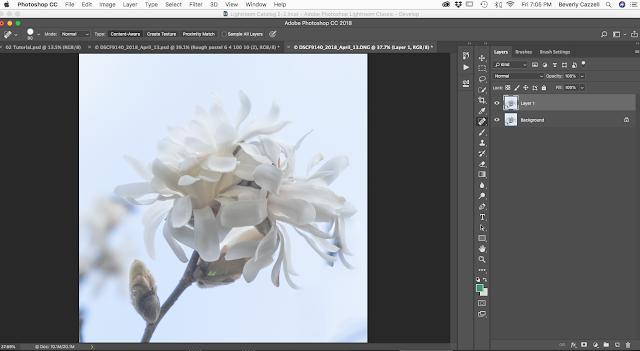
Use the Healing Brush Tool from the Tools Panel to remove imperfections and blurriness in your photo.
- Duplicate the image layer to work on for the final image clean up.
- Remove any blurred background areas and imperfections of the photo using the healing brush.
- When satisfied with the image, flatten, and save as a .psd file.
Note. I with often create another duplicate copy, and continue the use of the Healing Brush Tool, then and save again to perfect the results.
3. Apply Photo Actions
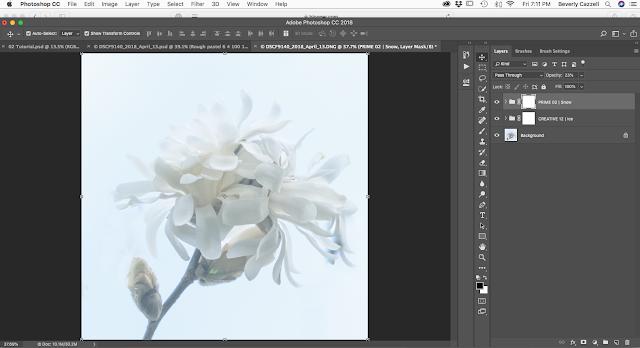
Run some of your favorite Photoshop Actions to lighten and soften the tones on the image.
- Flatten the photo layers, and save as a .psd file.
Tip. I most often us Sarah Gardner’s Beyond the Lens Original actions.
4. Apply Filters
Add your favorite Photoshop Filters to the photo.
- Duplicate the flattened Background layer.
- Select the Duplicate layer in the Layers Panel.
- Go to Filter> Filter Gallery> Artistic to view available options.
- Select, make adjustments using the sliders.
- Click OK to apply the filter.
Tip. Rename the layer to the name of the filter and settings applied.
5. Repeat
Add additional filters to your photo.
- Select the background layer again.
- Duplicate the layer.
- Run a new Filter.
- Repeat as preferred.
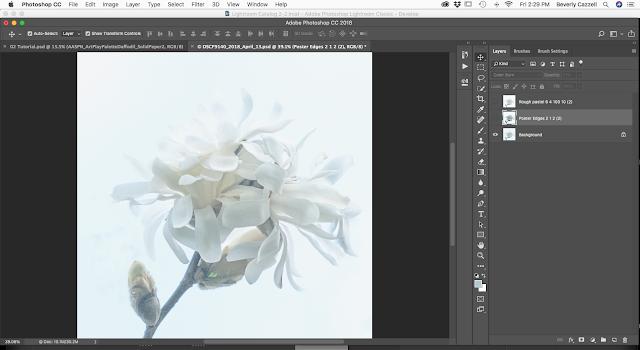
Note. The first Filter applied was Poster Edges (settings at 2, 1, 2) and then Rough Pastel (settings 6, 4, 100, 10).
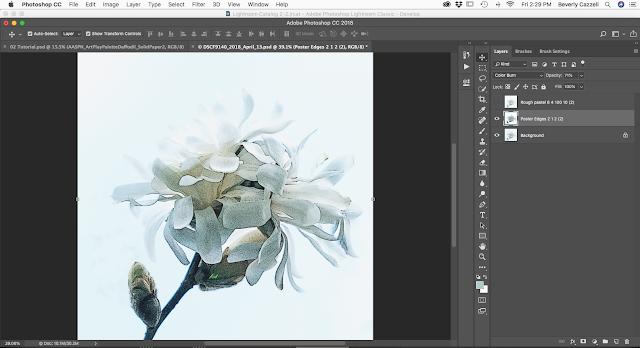
6. Adjust Blending Modes
Change the Blending Modes of the photo layers.
- The default Blending Mode of the 2 ‘filtered’ photo layers is Normal at 100% Opacity.
- Change the Blending Mode of layer from the ‘Normal’ menu at the top of the Layers Panel.
- Experiment with the different options to find the best effect for your photo.
Note. I changed the Poster Edges to Color burn, 71% Opacity, and Rough Pastel layer to Soft Light, 100% Opacity which added depth and warmth to the image.
7. Save File
Save your file so you make future adjustments if needed.
- Save your image as layered .psd file.
- Flatten and save as a .jpg file for use in your digital scrapbooking and artistry layouts.
Note. All files saved will land back in the LR folder you sent from if you sent the image from LR to PS…a handy feature).
8. Create a Layout
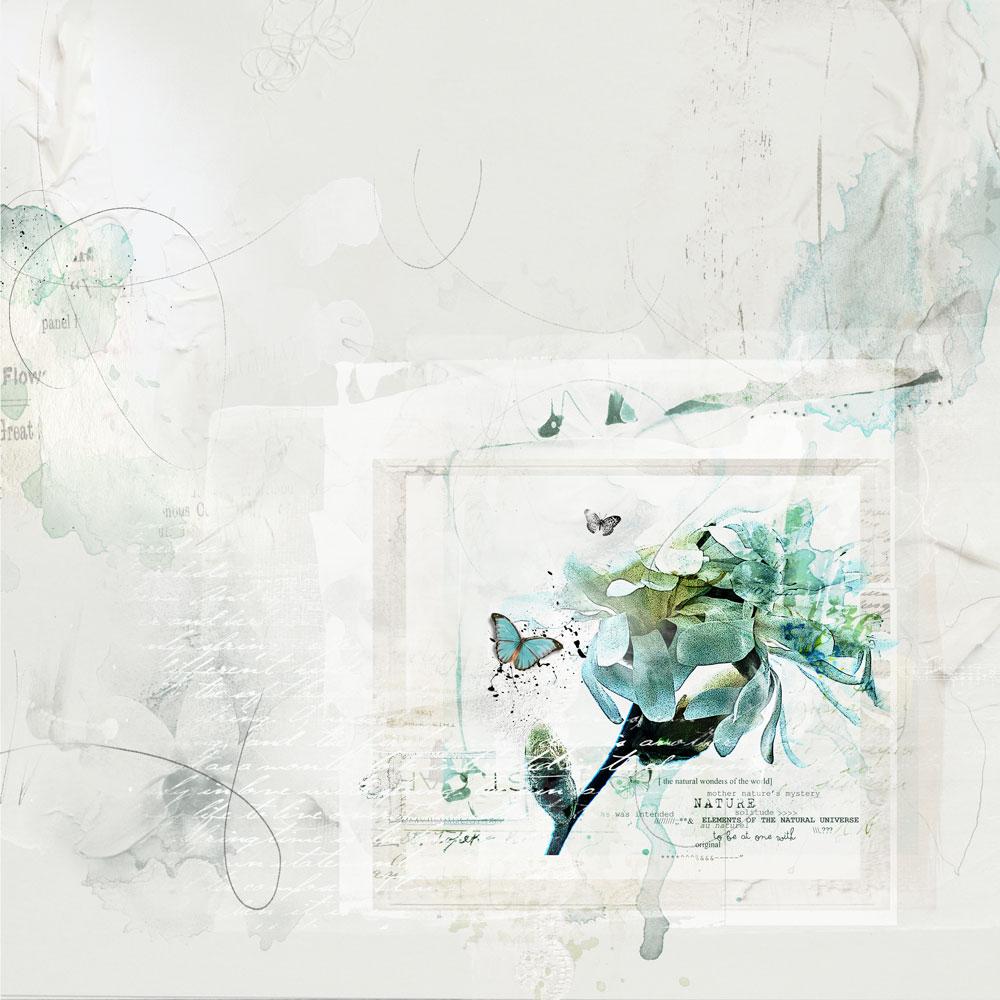
You can now showcase your edited photo using your favorite aA DigitalART supplies.
Post your layouts using this Best Photo Editing Process Tutorial and Artsy Digital Scrapbooking Design ideas in the Gallery.
And if you like this post, please help us help you by sharing it using the social media buttons below.






Recent Comments