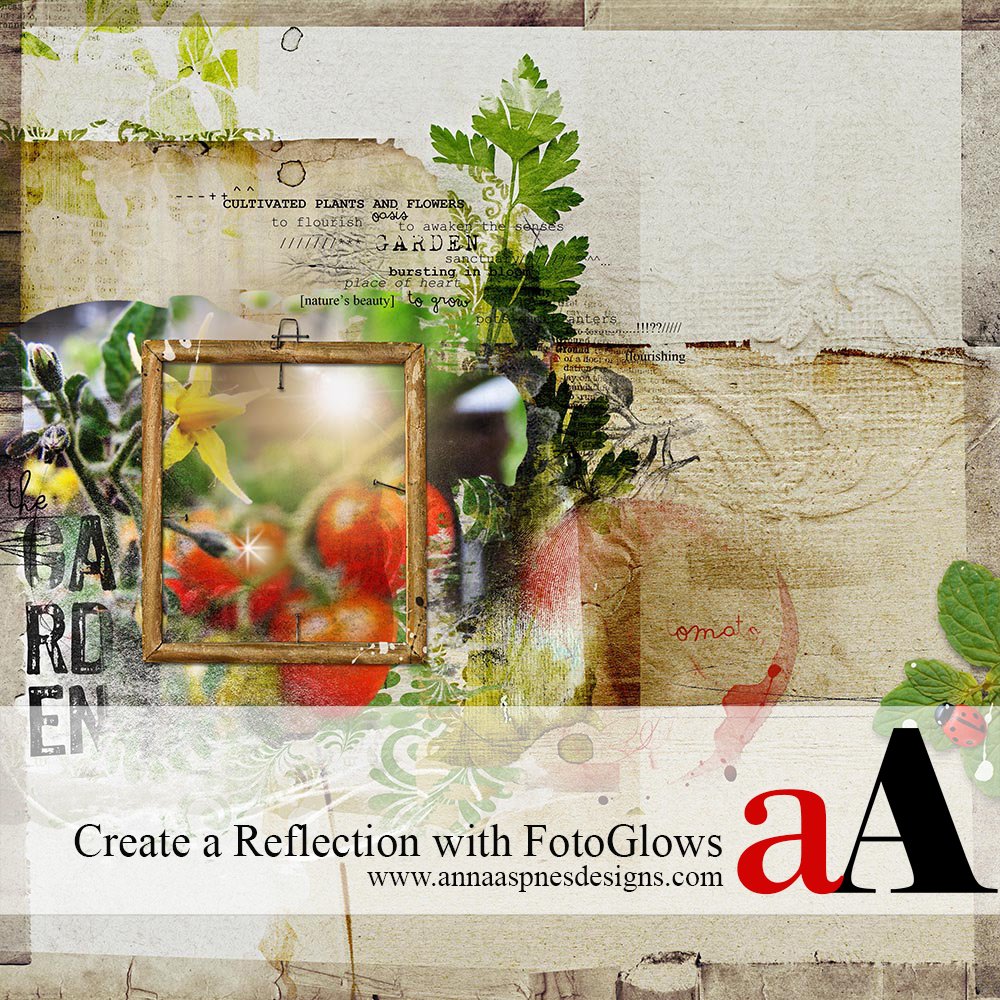
Creative Team Member, Ulla-May, shows us how to create a reflection with FotoGlows in Adobe Photoshop.
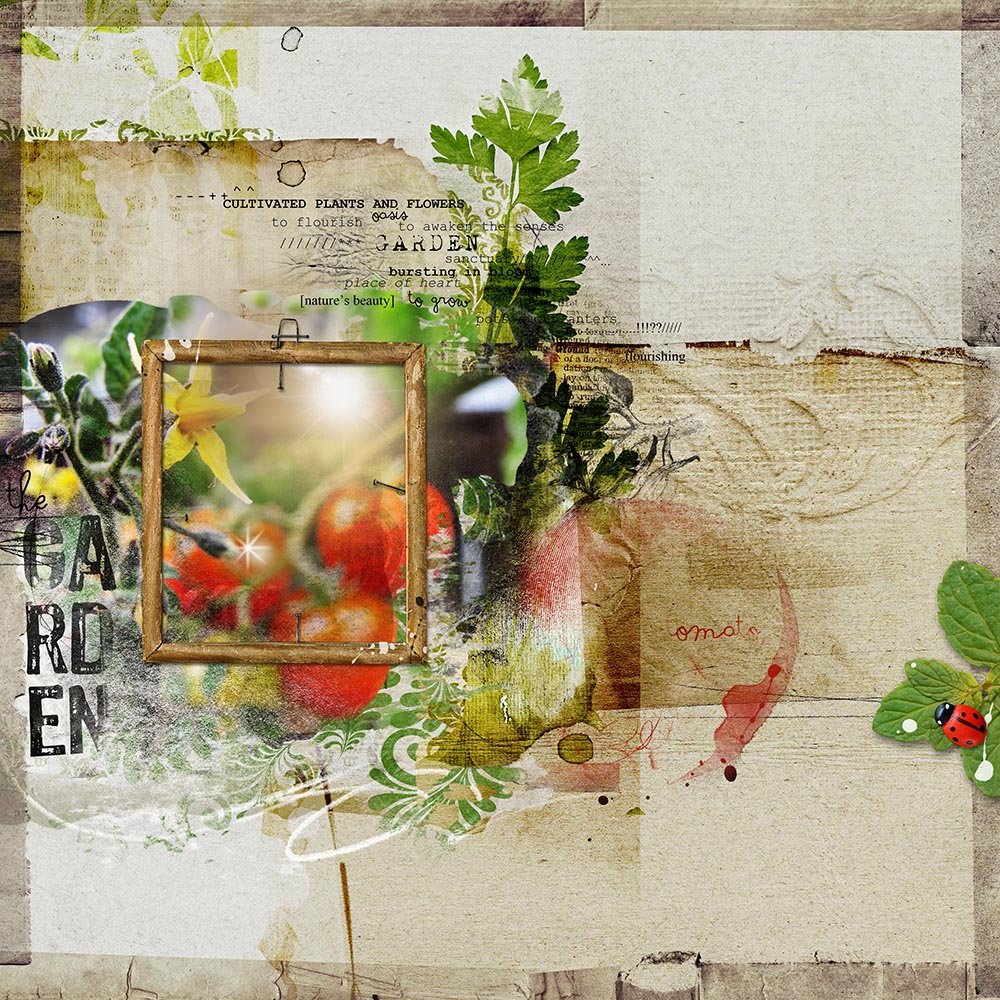
In this layout, I used a FotoGlow to give the illusion that there is light reflecting from glass in front of the photo. Here are the steps I used to achieve this effect.
1. Duplicate your Photo. Duplicate your photo by selecting the photo layer in the Layers Palette. Right click and select Duplicate Layer from the dropdown menu. You will work on the copy so that, depending on the result you want, you can adjust the opacity of this layer in Step 2.
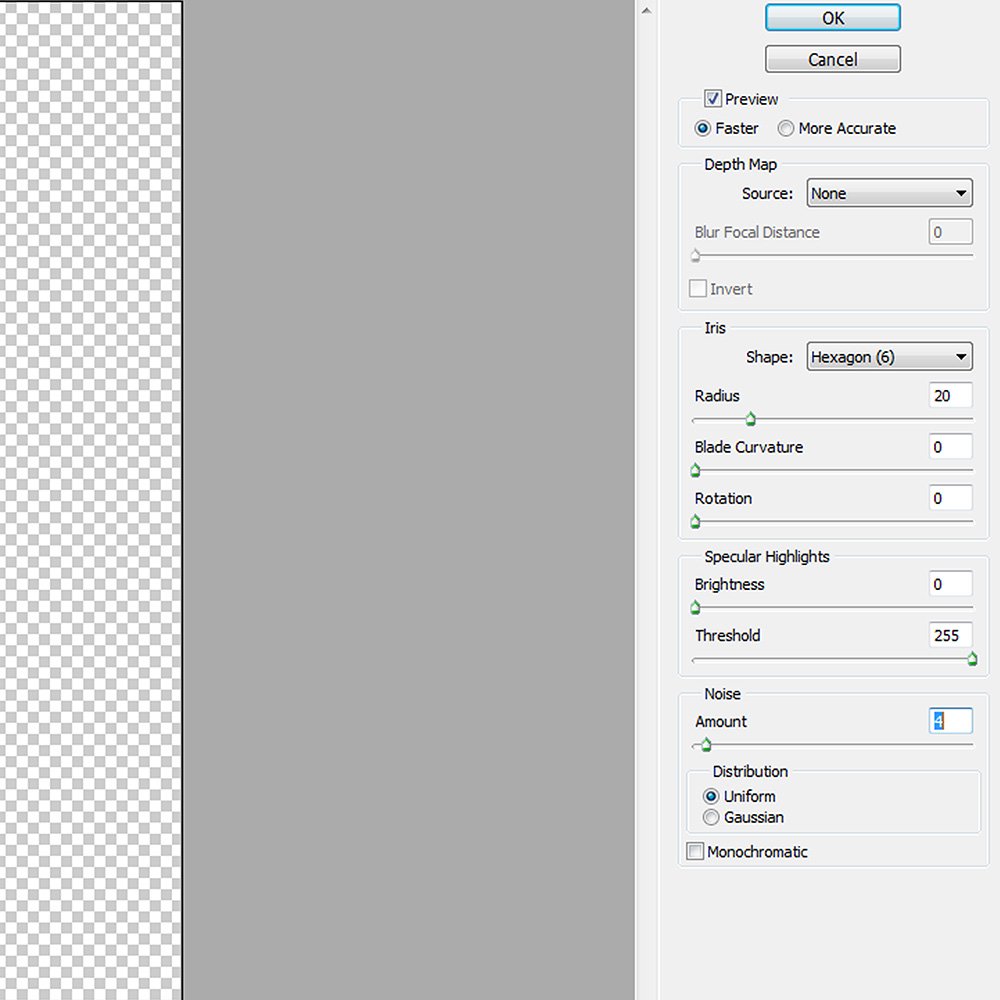
2. Apply a Lens Blur. With your photo copy layer selected, go to Filter>Blur>Lens Blur and use the settings shown below. Click OK. All photos are different, so feel free to play with these settings until you get the desired look. These are the settings that worked best with my photo.
 3. Place the FotoGlow. Place the FotoGlow above your photo copy layer and choose a Blending Mode that works with your photo. I used a FotoGlow from WarmGlows No. 2 for my page and set the Blending Mode to Screen.
4. Enhance. You can enhance this effect by using multiple FotoGlows, adding Textures, Brushes and Elements.
 Click on the above photo for additional process notes and supplies used.


I was just thinking that you could re-color the Glows and use them kind of like your stains. I never realised just how versatile the FotoGlows are! Thank you for this series!
Su
Thanks Su! I´m glad you like this series and also that you get to know new ways to use the glows.
Thank you, I want to try this Ulla-May!