Creative Team Member, Miki, shows us how to create a Clipping Mask with a FotoGlow Tutorial in Adobe Photoshop.
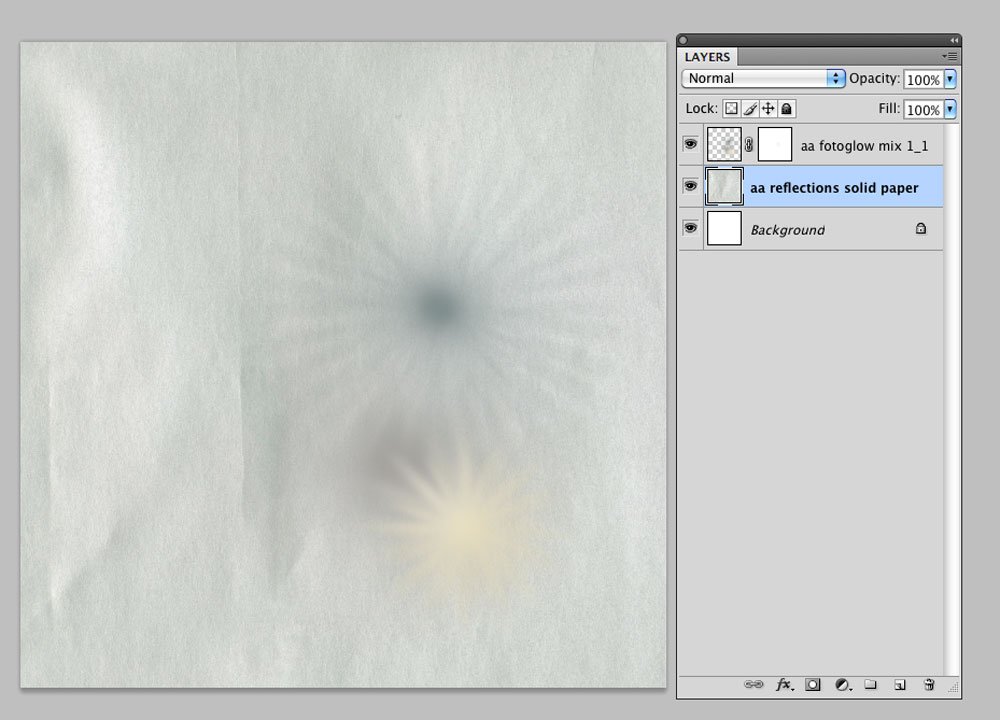
1. Create a Foundation. Create a new 12×12 layout at 300 dpi. Open and drag your paper onto the layout. Select a FotoGlow of choice and place on the page. This will be the foundation for your photo.
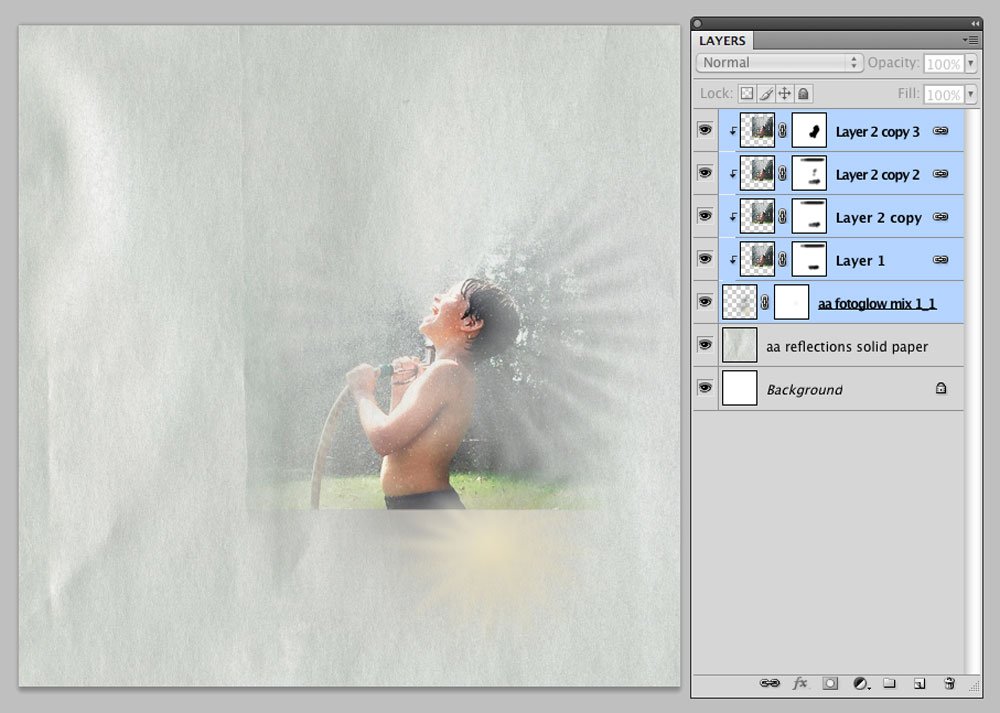
2. Clip the Photo.Open and drag your photo onto the layout. Place the photo above the FotoGlow layer. Clip the photo to the FotoGlow by hoovering the cursor between the two layers in the Layers Menu. Option + click (Mac)/Alt + click (Windows) When the Option /Alt key is held down, the cursor turns into the wedding rings icon, shown between the top two layers.
Clipping the top layer to the layer below creates a Clipping Mask for the upper layer. If the photo doesn’t completely fit within the FotoGlow, add a Layer Mask to the photo and use a black brush to brush away (erase) portions of the image.
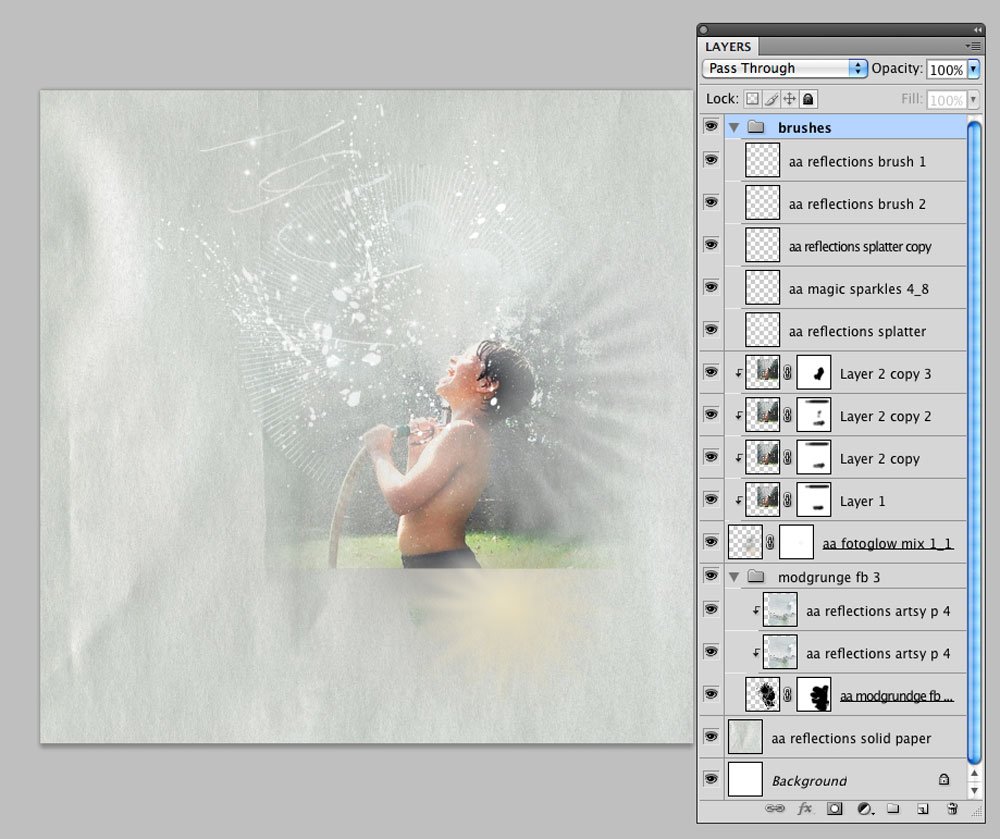
3. Embellish Finish your layout by adding WordArt, Textures, ArtsyTransfers and Brushes.
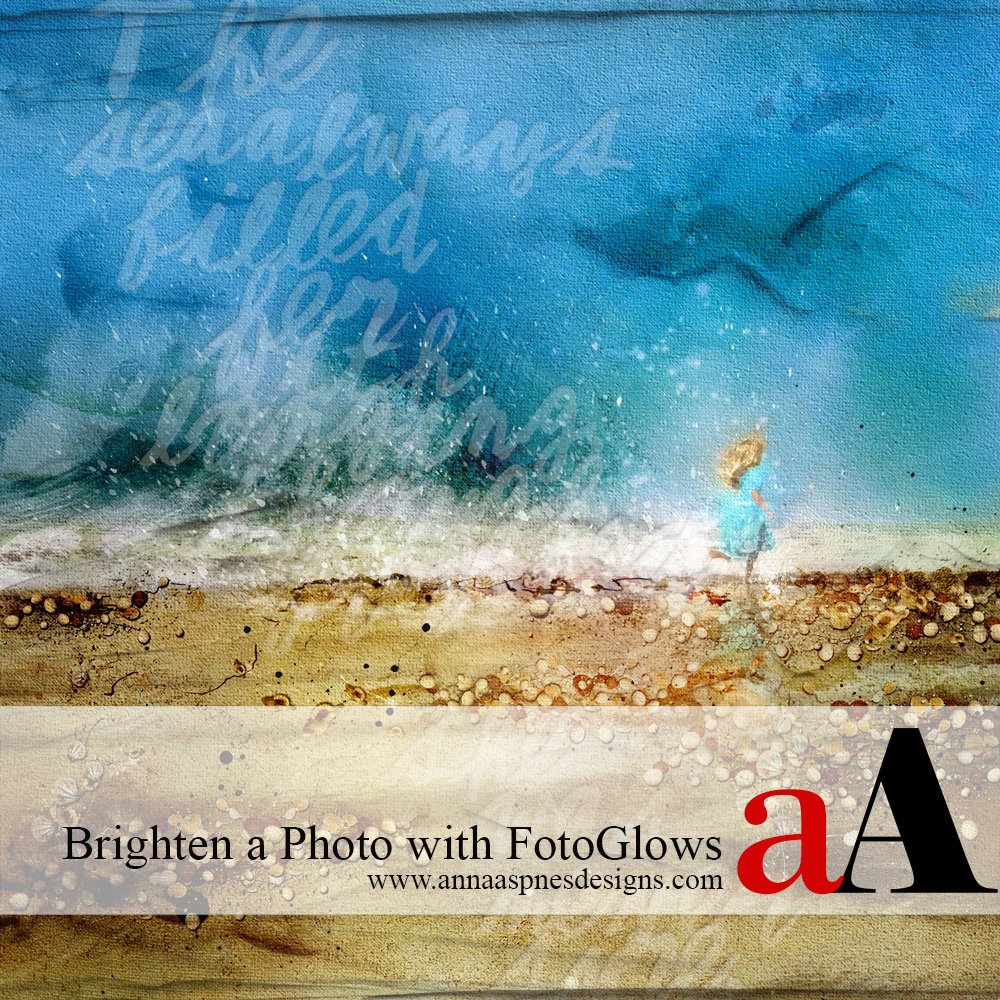
Click on the above photo for additional process notes and supplies used.


Great idea ! i am going to give a try !
Love this Layout !
Clever idea! Lots of things could, ideally, work as a mask! LOL Sometimes, I open the Channels palette and, holding ‘Ctrl’/’Cmd’, click on the image to select all the white, then, go back to layers and ‘Copy’ your selection from your image layer to a new layer and use that for a mask. It looks so cool! Rotate, flip, resize, whatever, it all looks cool!
Thank you for this great idea!
Su