

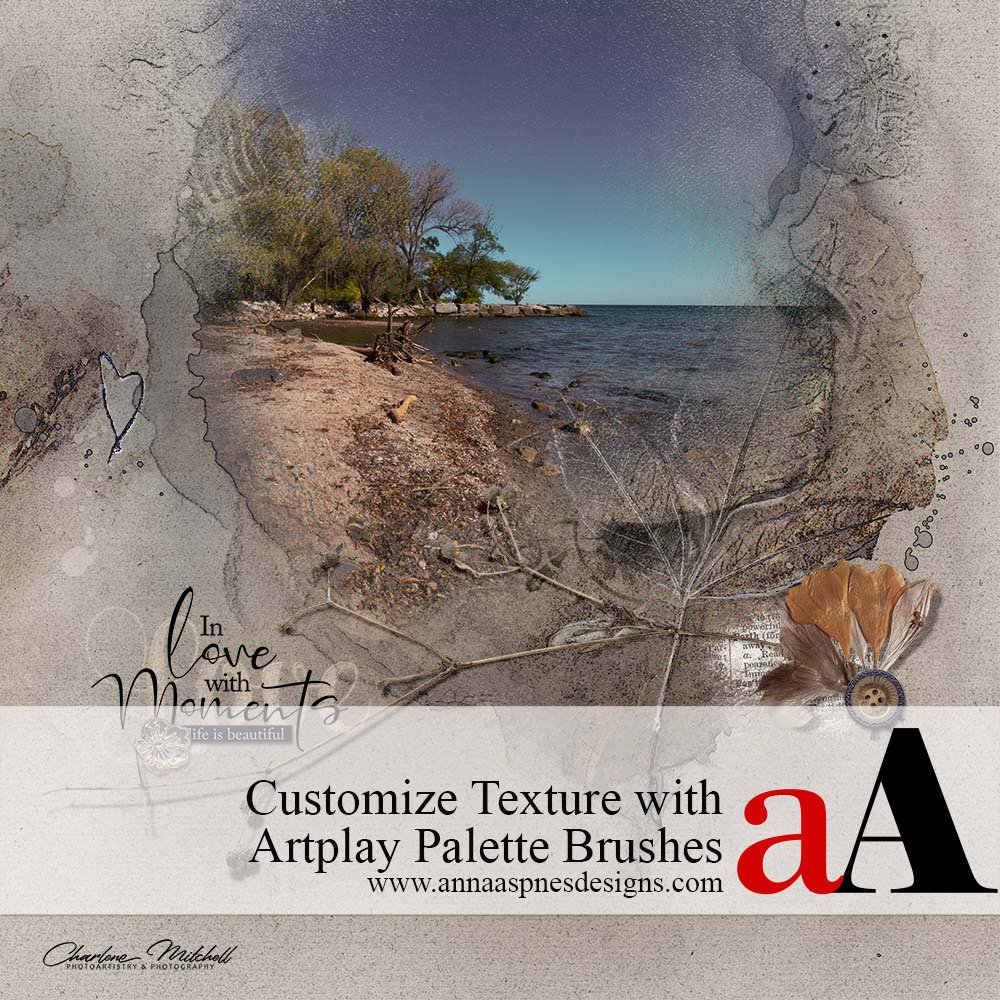
Charlene Mitches shares how to Add Texture to Digital Scrapbook Pages using ArtPlay Palette Brushes.
Customize Texture with Artplay Palette Brushes
USE Photoshop Brushes from ARTPLAY PALETTES TO ADD DEPTH TO Photo artistry and digital scrapbooking layout designs.
- Adjust or ‘flatten out’ the texture and bring back detail as preferred.
- Find a brush in your Artplay Palette that mirrors the motif or enhances the Artsy Paper.
- Experiment with Blending Modes to elevate your artistry.
- Play with the positioning of any Brush Imprint to yield the best results.

1. Flatten Texture
Retain COLOUR FROM YOUR ARTSY PAPER BUT CHANGE THE TEXTURE.
- Create a New Layout [CTRL+N] that is 12 x 12 inches in Dimensions at Resolution of 300 PPI.
- Add Artsy Paper #5 from ArtPlay Noetic Collection BONUS to your layout foundation using the Move Tool from the Tools Panel.
- Duplicate the Artsy Paper twice by dragging the ‘paper’ layer to the New Layer icon in the Layers Panel.
- Turn off the Visibility of the ‘paper copy 2’ layer by clicking on the Eye Icon to the left of the layer thumbnail in the Layers Panel.
- Select the ‘paper copy 1’ in the Layers Panel to highlight.
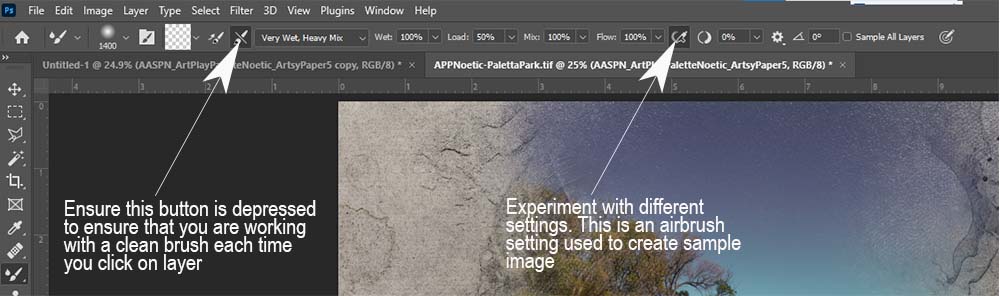
- Choose the Mixer Brush Tool from the Tools Panel.
- Note that you will need to click on the Brush Tool dropdown menu to find it, as outlined in the images below.
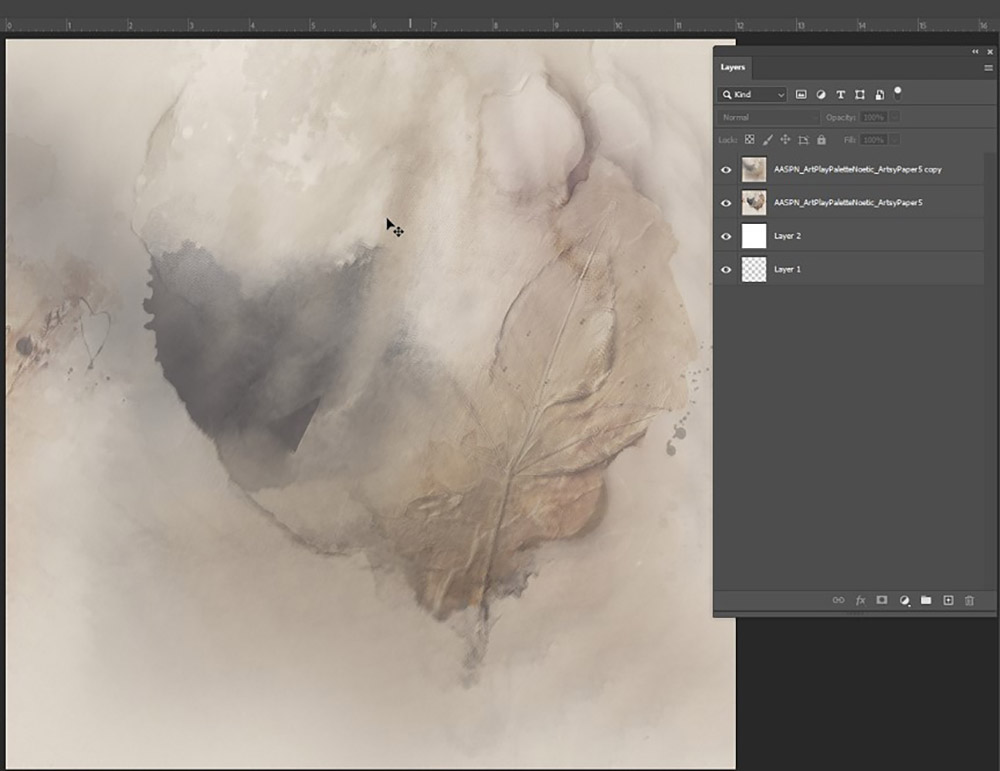
- Click and Drag on the Layer to ‘mix’ the colors together.
- Continue to Click and Drag until you are happy with the effect.
- Turn off the Visibility of this Layer for the next step.
Notes/Tips:
- Use Photoshop’s Default Soft Round Brush with the above-noted settings.
- Results are meant to be very random, so feel free to experiment with the different settings for best results.
2. Revive Texture
CUSTOMIZE THE TEXTURE in your photo artistry or digital scrapbooking layout design.
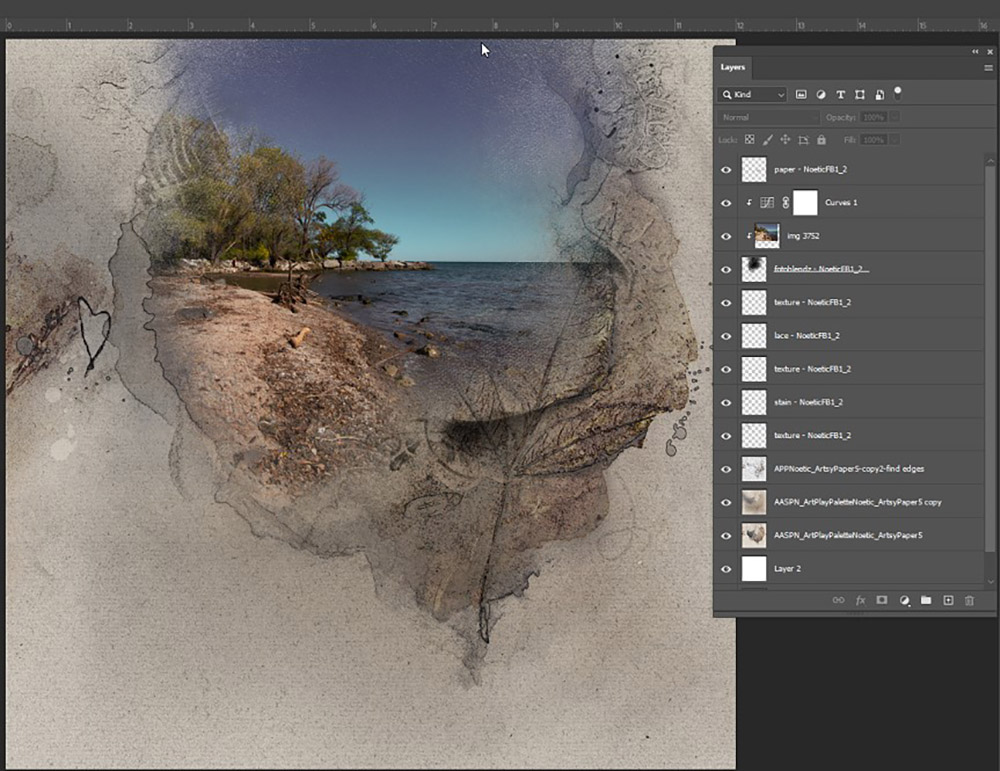
- Turn the Visibility back on for the ‘paper copy 2’ layer and click on the layer to highlight.
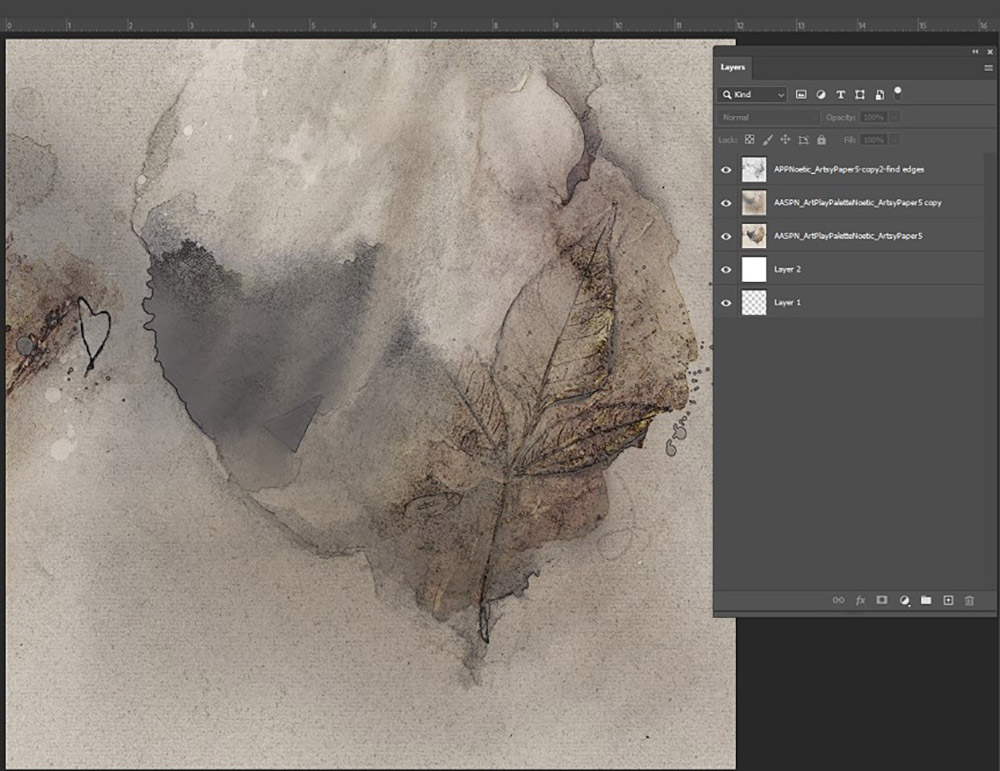
- Go to Filter> Stylize> Find Edges to apply the filter.
- Change the Blending Mode of this layer by clicking on the ‘Normal’ tab at the top of the Layers Panel to activate the fly-out menu.
- Choose Multiply from the list of options.
- Turn the Visibility of ‘paper copy 1’ back on.
Note.
- Notice more pronounced depth coming back into your photo artistry or digital scrapbooking layout design.
3. Add Focal Point
Create a focal point by clipping a photo to a FotoBlendz Clipping Mask.
- Open the clipping mask .psd file #2 from Noetic FotoBlendz No. 1.
- Move ALL layers onto your layout foundation using the Move Tool from the Tools Panel
- Place your photo directly above the FotoBlendz ‘mask’ layer.
- Clip the photo to the FotoBlendz ‘mask’ layer via Layer> Create Clipping Mask.
Tip.
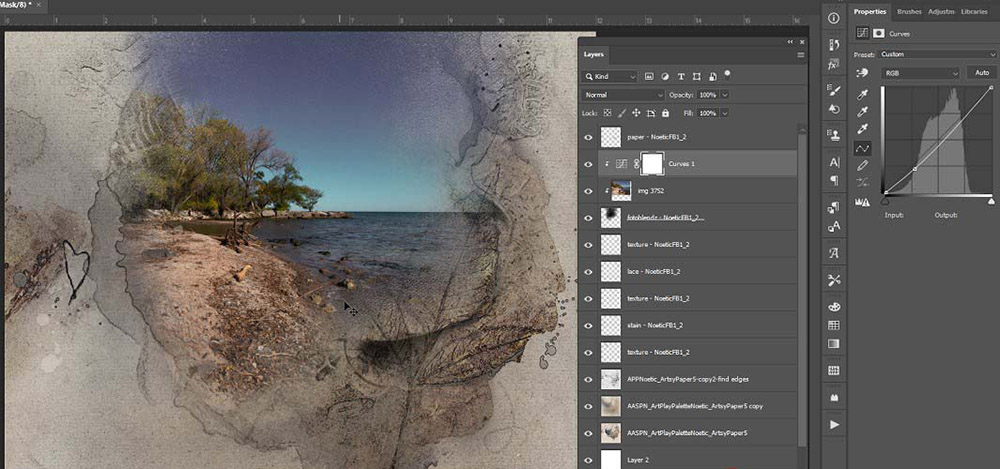
- Apply a Curves Adjustment to deepen the contrast.
- Go to Layer> New Adjustment Layer> Curves (Photoshop Elements) or click on the Adjustment Layer Icon at the bottom of the Layers Panel and choose Curves (Photoshop).
- Clip the Adjustment Layer to your ‘blended photo’ Clipping Set.
Note.
- Clipping your photo enables the photo to conform to the Shape of the underlying clipping mask.
4. Target Depth
ADD DEPTH TO THE LEAF ELEMENT WITHIN THE ARTSY PAPER.
- Create a New Layer by clicking on the New Layer Icon at the bottom of the Layers Panel.
- Move and position Brush #4 in .png file format over the motif in Artsy Paper #5.
- Use the Arrow buttons on your keyboard to nudge the leaf transfer for position accuracy.
- Adjust the Blending Mode to Divide (or choose another option from the menu to preference.)
Note.
- Experiment with the Size, Placement, and Blending Mode to yield different results.

5. Repeat Process
ADD more targeted DEPTH WITH by repeating the texture-enhancing technique with another brush.
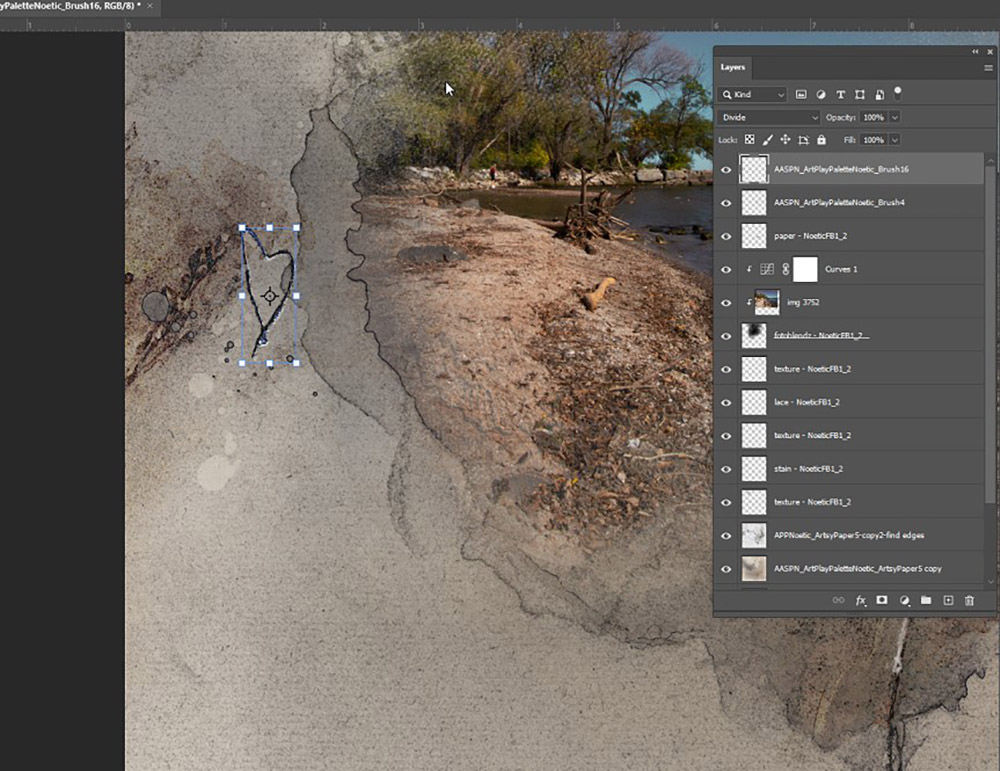
- Create a New Layer and position Brush #16 in .png file format.
- Place the brush transfer over or near the heart-shaped ArtStroke on the left side of the Artsy Paper.
- Resize and reposition the image so it sits directly over the heart motif on the Artsy Paper.
- Change the Blending Mode to Divide or as preferred.
6. Embellish Design
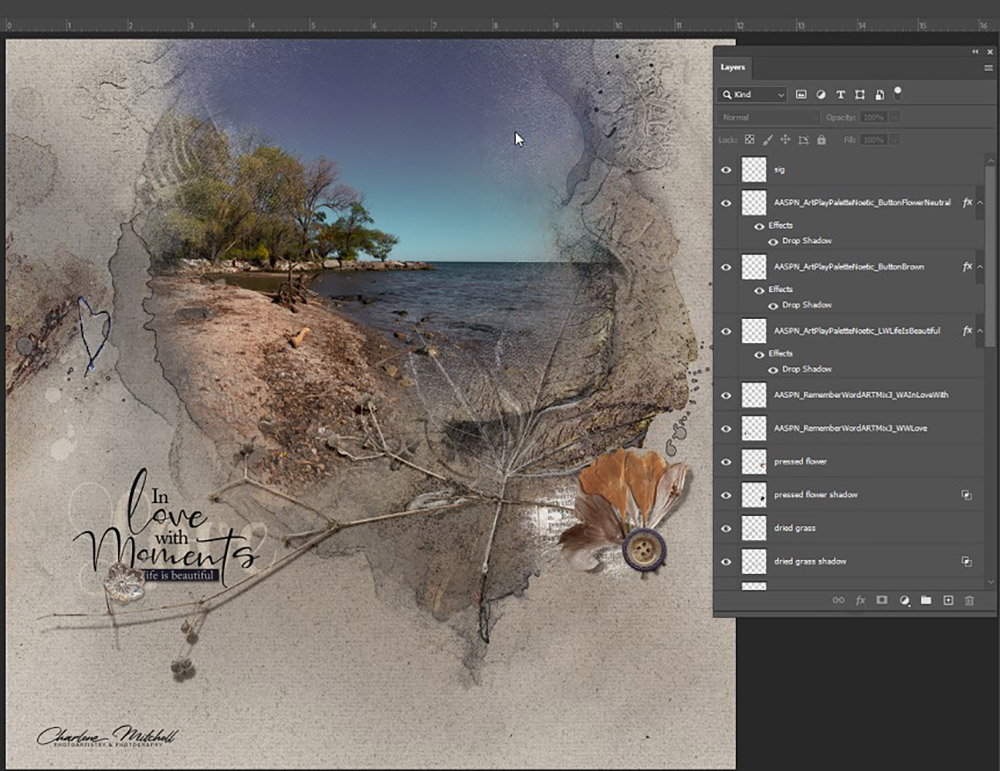
COMPLETE DESIGN BY ADDING ELEMENTS AND WORDART, AS preferred.
- Choose Elements and Wordart or other embellishments to enhance your digital scrapbooking or photo artistry layout design.
- Use the Move Tool from the Tools Panel to add and position embellishments from ArtPlay Palette Noetic Collection.
- Place the elements so they connect the title with the photo.
Digital Scrapbook Supplies
Find a complete list of aA digital supplies used in this photo artistry layout here.
Summary
THERE ARE MANY WAYS You can customize the texture of your layout foundation.
- Change the texture of an Artsy Paper with the Mixer Brush Tool
- Use Filters for additional Visual Interest.
- Layer products from an ArtPlay Palette, such as Brushes, Artsy Transfers and Transfers and Overlays, to add depth and interest
If you like this Add Texture to Digital Scrapbook Pages using ArtPlay Palette Brushes tutorial post, try it on for size in your next digital scrapbooking or photo artistry layout, and share your designs in the AnnaGallery.


I found this TUT very informative and will be playing with it shortly! Thank you Charlene and Anna
Always lovely to hear when a tutorial proves interesting – Thank you for taking the time to share your feedback 🙂
Thank you for taking the time to write a comment Pat. It is great feedback and good to know you found it helpful
This tutorial was very straightforward and helpful. I followed the example and will be referring back to try it again on other layouts.
So happy to hear this. It’s always great to get feedback 🙂
I really appreciate your comment and am happy to hear you found it helpful. Thank you!