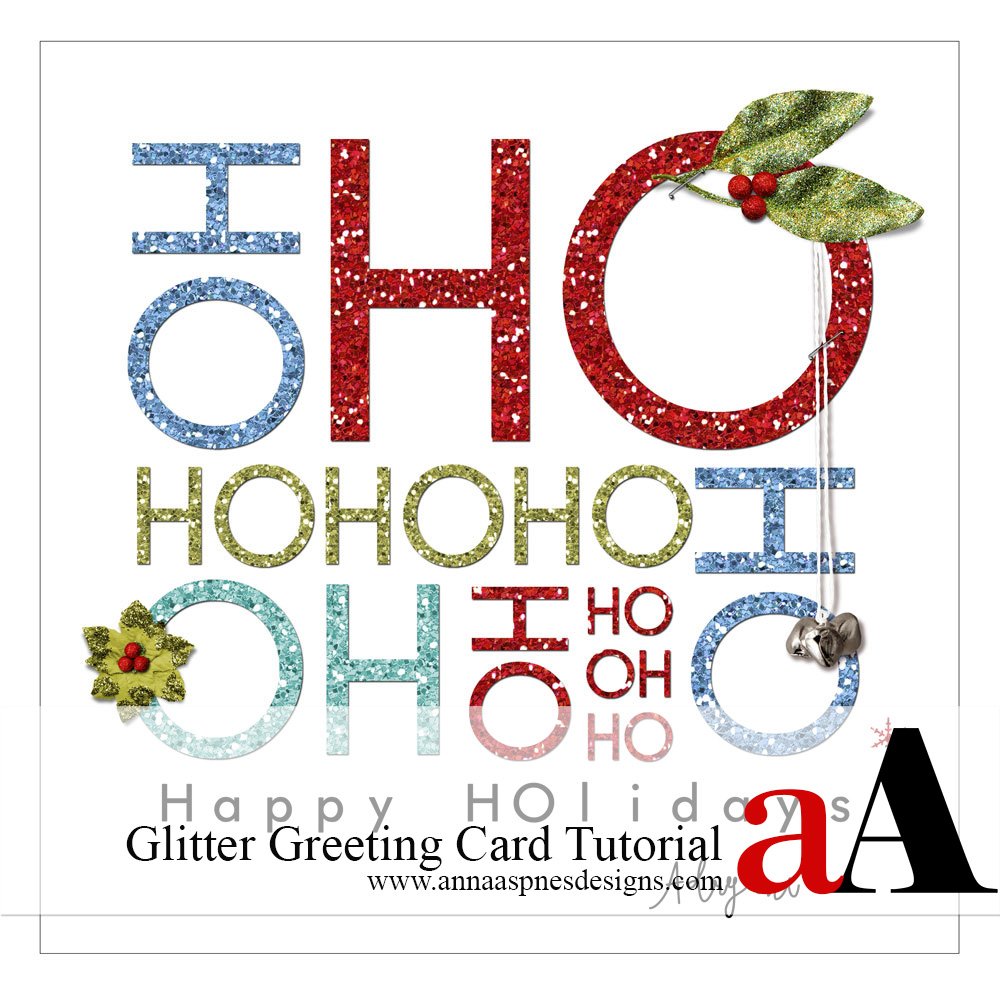
Thanksgiving is a good time to have a go at Adryane’s Holiday Glitter Greeting Card Tutorial.

Holiday Glitter Greeting Card Tutorial
1. Create a Block Text Design. I chose a very simple sans serif block font (Futurist). Using a sans serif font makes spacing your design easier. Be creative with your text.
For example, try changing the orientation of some of your words. This part of the process may take a little bit of patience.
You might also be able to use some WordART in your digital artistry supplies.
 2. Fill Your Text. You can leave the text black or any other color (or colors) and move on to embellishing your card, or you may want to try clipping something to your text.
I wanted my card to sparkle, so I created glitter sheets from the Glitter AlphaSets by Anna Aspnes Designs and clipped the sheets to my text.

 3. Create the Red Glitter Sheet. I took the letter “I” from Glitter AlphaNumberSet No.3 and duplicated it multiple times (CTRL + J). Holding down the Shift key as I moved each layer into place kept the layers aligned. Every other layer was flipped vertically and then horizontally to change up the glitter pattern.
Once I’d created a glitter sheet large enough to cover the letter I merged all of the glitter layers then clipped the new layer to the text layer. I then repeated the process until all of the text layers were filled with glitter.

 4. Embellish. Choose a few simple embellishments to complement your text block. I also decided to add a holiday greeting and sign my card. This card was emailed to friends and family, however, it could have easily been printed and mailed.

5. Repeat. I have also created holiday cards using the Glitter AlphaSets by Anna Aspnes Designs using Serif fonts.

We’d love to see what you create. Please post in the AnnaGallery and share your creativity.





These are stunning! I wish i’d seen it before Christmas.