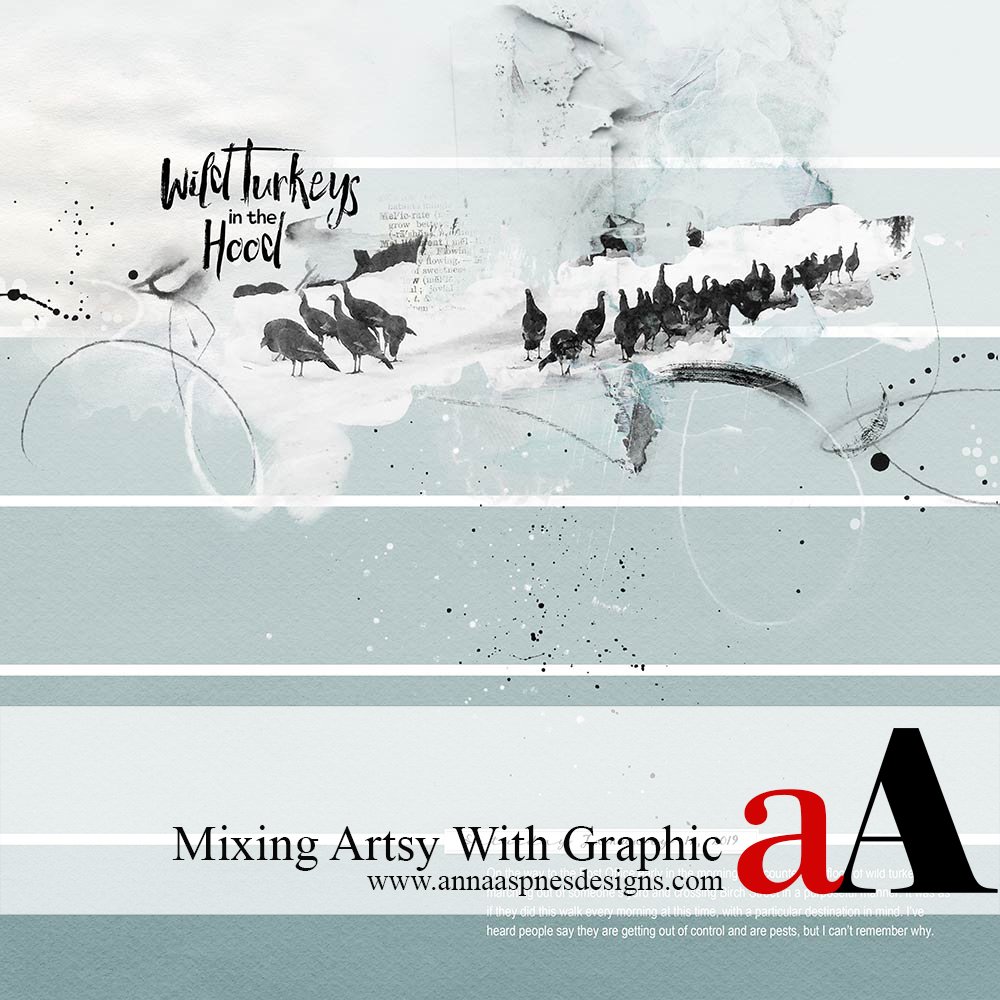
Creative Team Member, Barbara, shares her process for Mixing Artsy With Graphic.
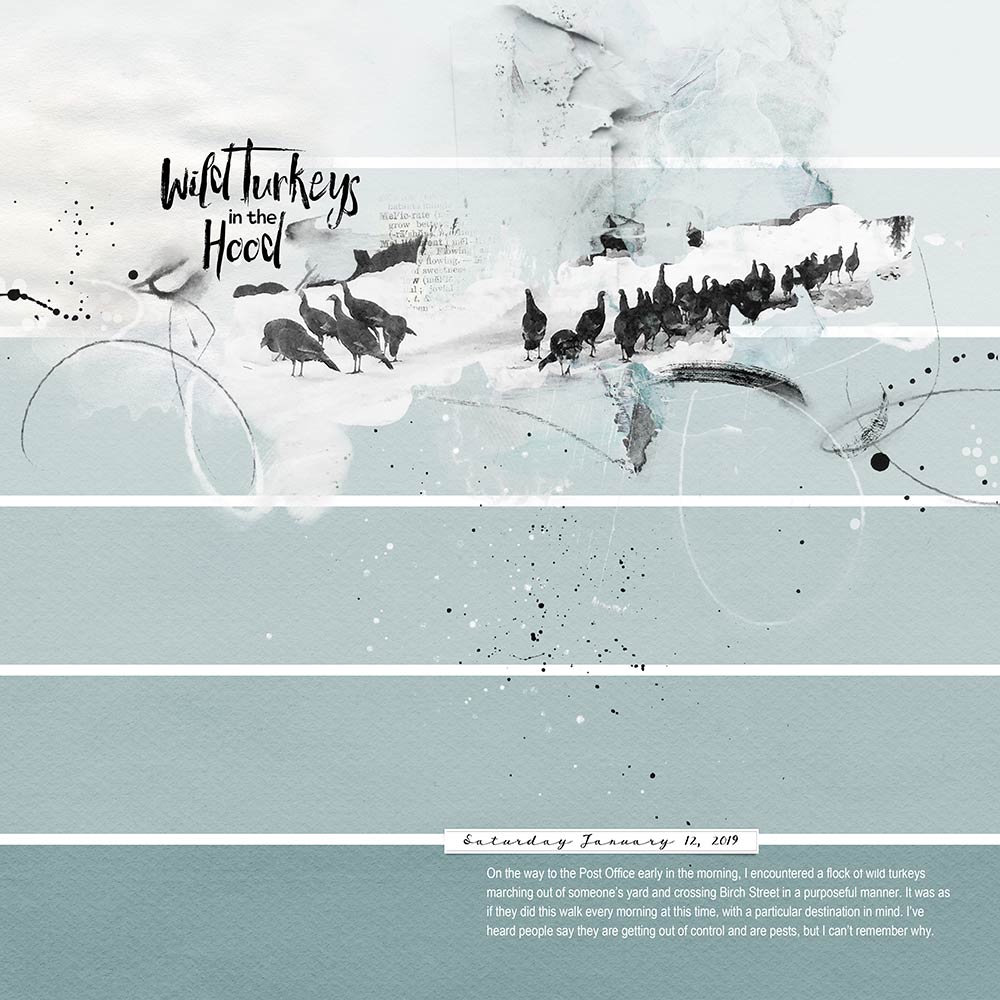
I love the contrast of mixing the artsy with the graphic. They compliment each other and make the page exciting to me. This is one of my favorite pages mixing the graphic with Anna’s artsy. I used ArtPlay Palette Coolth for this layout.
Mixing Artsy With Graphic
Create a Foundation
- Create a New 12×12 300 dpi document.
- Draw a rectangle with the Shape Tool at 3600 x 564 px, duplicate the rectangle 5 times.
- Position the rectangles in order from top to bottom approximately where you want them on the page.
- Select all the layers in the layers panel and go to Layers > Distribute > Vertically to create even spaces between the rectangles.
Add a Paper to the Rectangles
- Start from the bottom and clip Solid Paper #5 from ArtPlay Palette Coolth to the rectangle by holding down the CTRL/ALT key and hovering the mouse between the two layers until you see a downward arrow.
- Again, using the CTRL/ALT with the paper layer selected, move a copy up to the next rectangle with the double arrow showing.
- Move up the stack of rectangles, repeating the process until you have a copy of the paper clipped to all rectangles.
- From the top, reduce the opacity of each rectangle until you get to the bottom, which is 100% opacity.
Embellish and Journaling
- Finish your layout by adding a masked photo, brushwork and journaling.
- Save the template of the rectangles for future layouts.
For more inspiration, see Anna’s Artsy Meets Coolth with Graphic Stripes video.
Post your digital artistry and artsy digital scrapbooking pages in The Gallery, and if you liked this Mixing Artsy with Graphic tutorial, please consider sharing it using the social media buttons below.








This tutorial is really helpful Barbara, especially about the Layers-Distribute-vertically, and showing how to make the rectangle design and size. This is one of my favorites from your collection. Thank you Barbara, and Anna.