
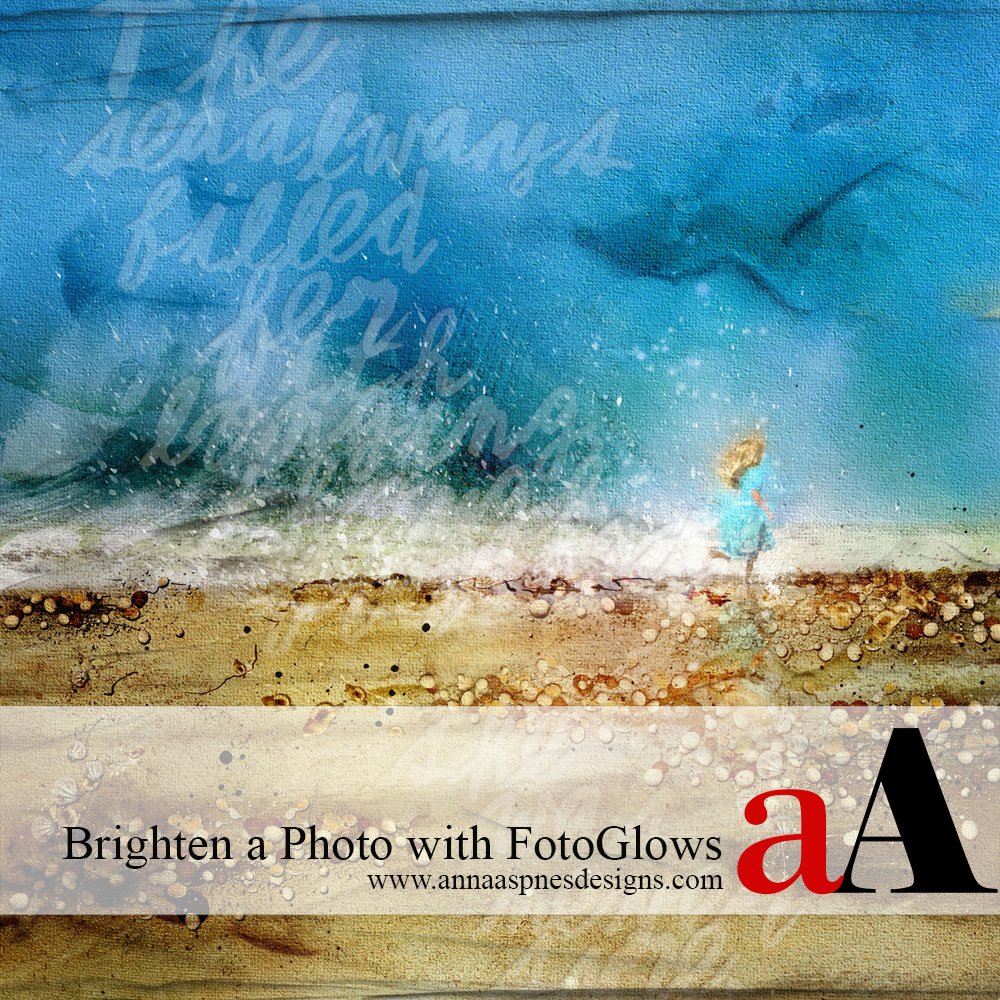
Creative Team Member, Adryane, shows us how to brighten a blended photo with FotoGlows in Adobe Photoshop.
Blending an image against a dark background may leave all or part of the image hard to see. This problem can be fixed with FotoGlows.
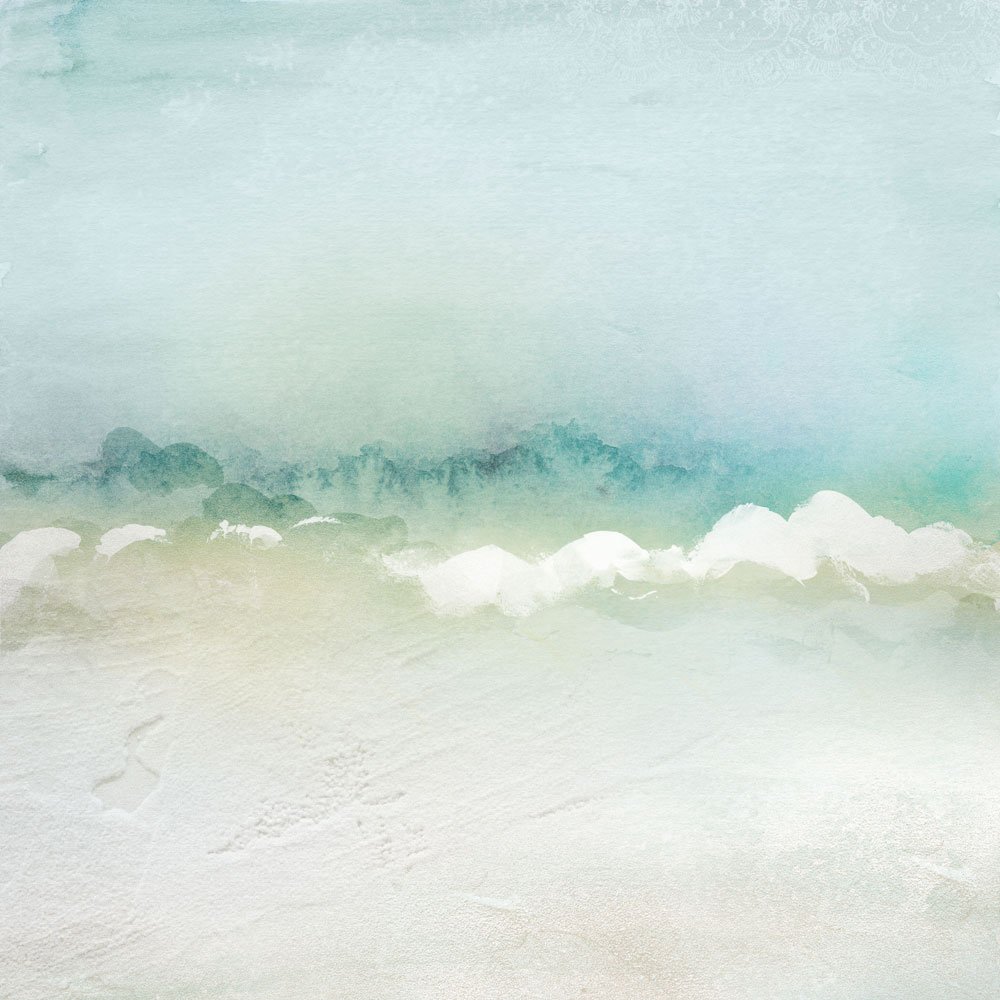
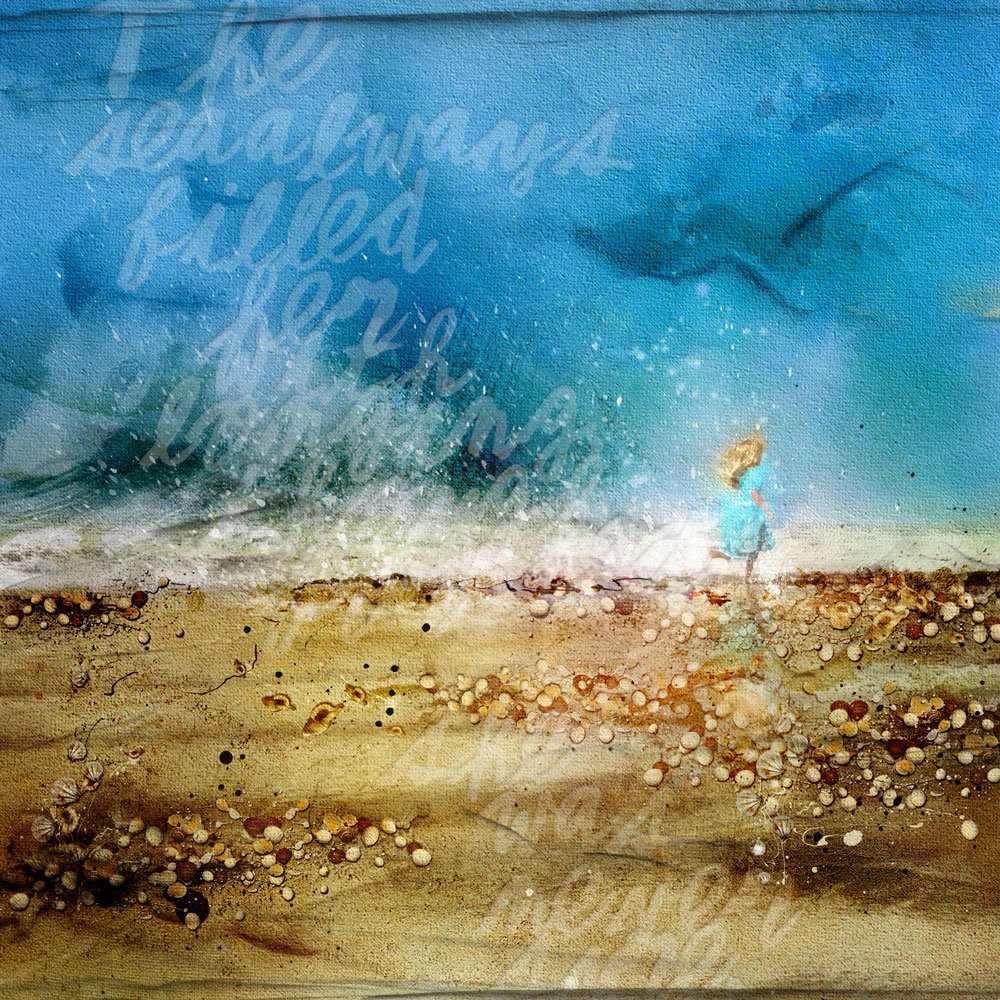
1. Open an Artsy Paper. In a new document, open an artsy paper that supports your design. Here, I chose ArtsyPaper No.2 from ArtPlay Palette Salty Living because the paper is divided much like my photo with sky, water, and sand.
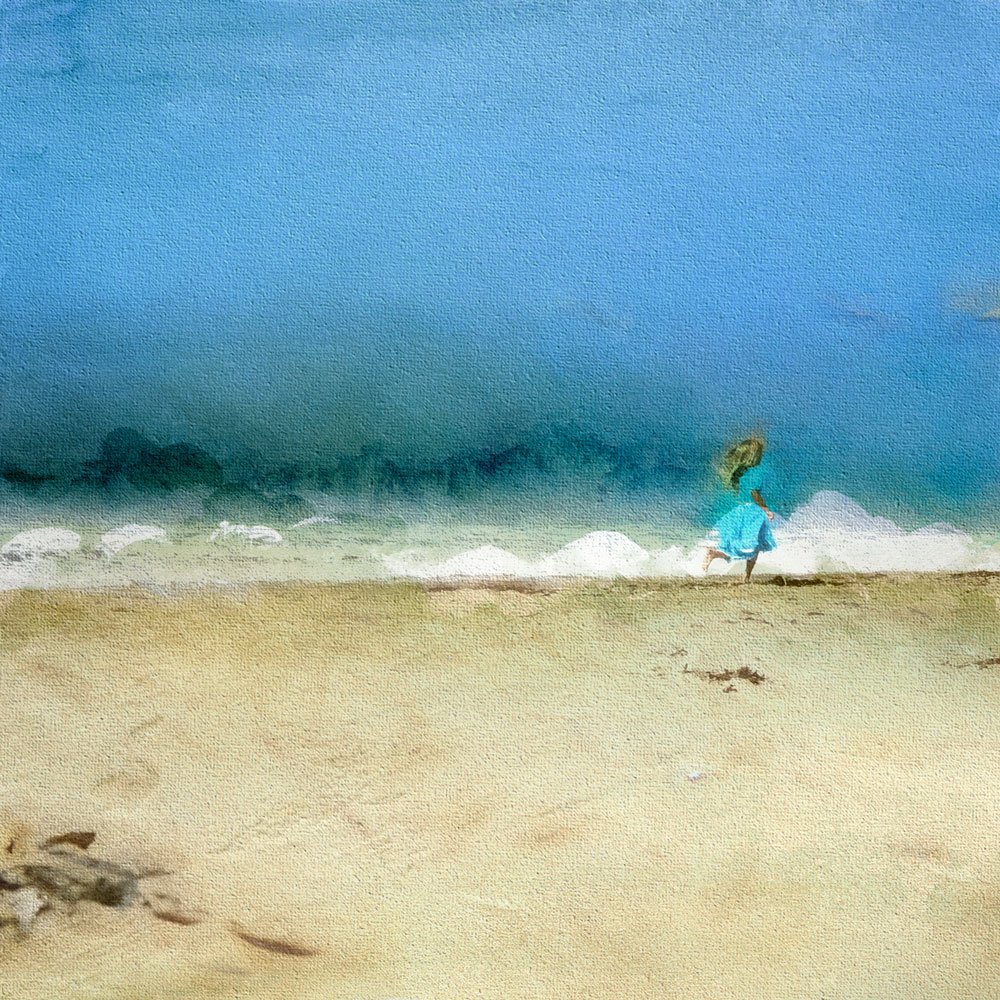
2. Position Your Photo. Place your photo on a layer above the ArtsyPaper and choose an appropriate Blending Mode. My photo is set to Linear Burn. As you can see, the ArtsyPaper bleeds through the photo, making the top half of the little girl too dark.
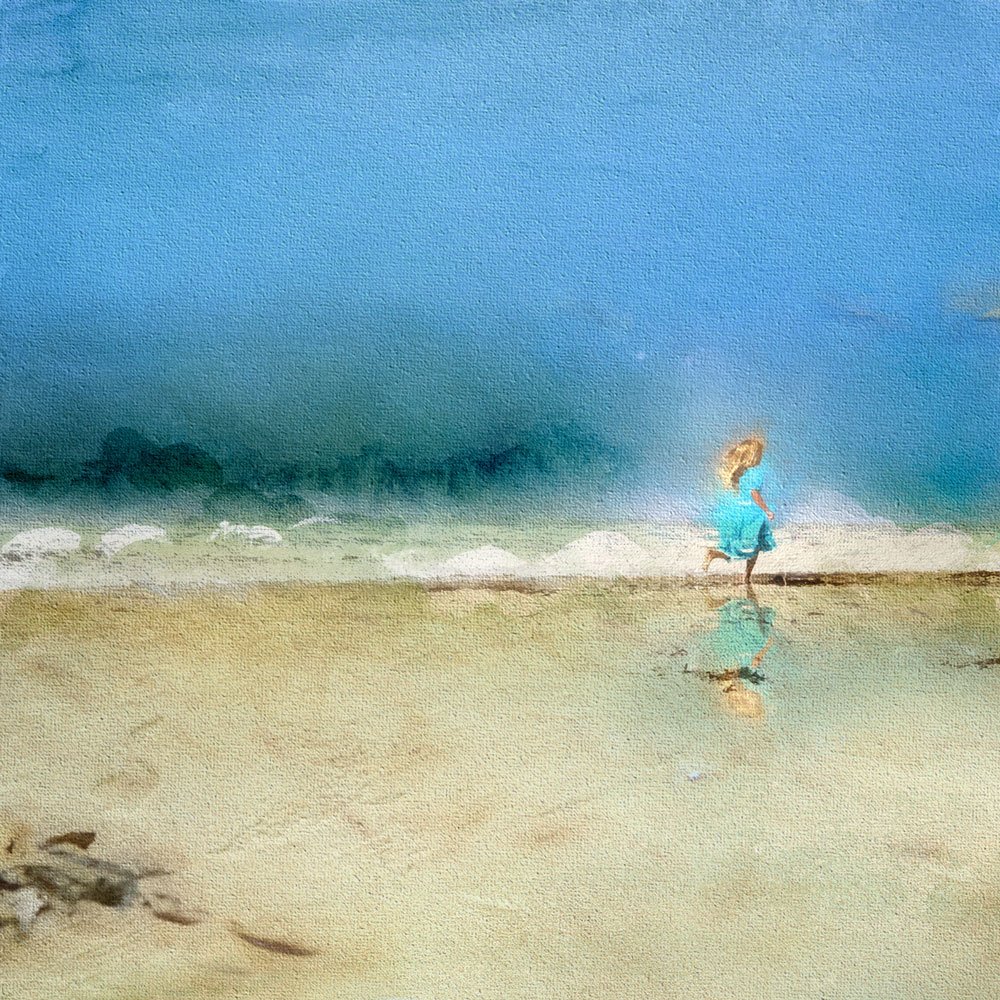
3. Choose a FotoGlow. There are a variety of FotoGlows in the store. They all give wonderfully different results. To begin fixing the lighting problem in my page, I chose a file from FotoGlows No.2.The glow is placed on a layer between the Artsy Paper and my photo. The glow lights up the image of the little girl without disturbing any of the color in the sky or the sand. I duplicated the image and created a reflection. The reflection is also lit by a FotoGlow that is on a layer below the image.
4. Finish Lighting. When you are done highlighting your image, consider adding additional Fotoglows to enhance the color of part of your page (Color Burn or Soft Light are nice Blending Modes for this), or to add additional light around your image.
Click on the above photo for additional process notes and supplies used.
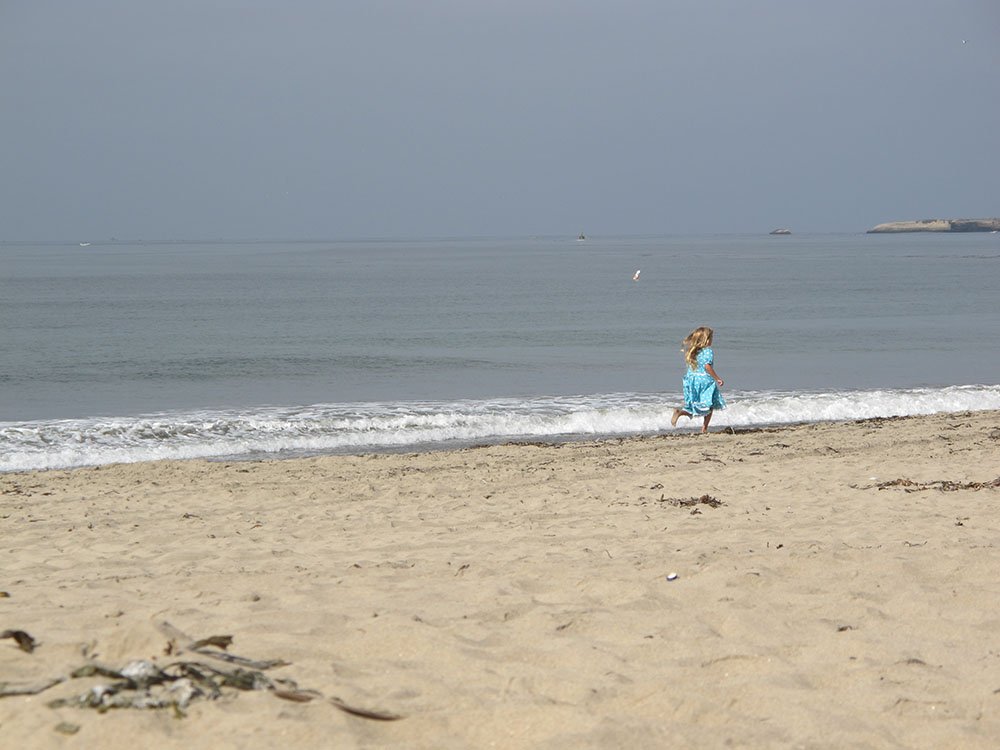
The original photo used in this tutorial is shown below:






Great “nice to know” tutorial… I can see several uses for this technique.. Thanks
Thank you, Pam 🙂
Great how to explanation on this beautiful work. Thanks. Would like to see more from you. Thanks!
can you post the BEFORE photo ???
great tut
thank you
Done 🙂
thank you so much …
this makes everything clearer !!!!!
Thank you, Charlene 🙂
That is cool! Actually, I just had an opportunity to employ something similar. I placed a ghost image over a busy texture, with different colors and light. The face didn’t show, so, I brushed some light coloring on a layer beneath the ghost image and tailored it to fit! I never thought about using glows! Thank you!
Su
Adryane – love this page and the colours are spectacular. I would love to know how you applied the canvas texture when you added the photo?
Thanks Annette
Thank you, Annette.
The texture is applied to the background paper.
With your background layer/paper selected, go to Filter > Filter Gallery > Texture > Texturizer
In the dialog box that opens, choose Texture Canvas; Scaling 160 to 165; Relief 2; Light Top.
The settings will change depending on the background paper chosen
Great post! This page turned out beautifully! Very helpful in trying to understand fotoglows and the addition of the ‘before’ photo pulls it all together. Thank you
Hi Charlene! Excellent see also the following video tutorials:
1) 5 Techniques for FotoGlows https://www.youtube.com/watch?v=_NV3UlmC8Qg&t=32s
2) Prismatic Digital Artistry and Scrapbooking https://www.youtube.com/watch?v=me5pSO2Q8T4&t=15s