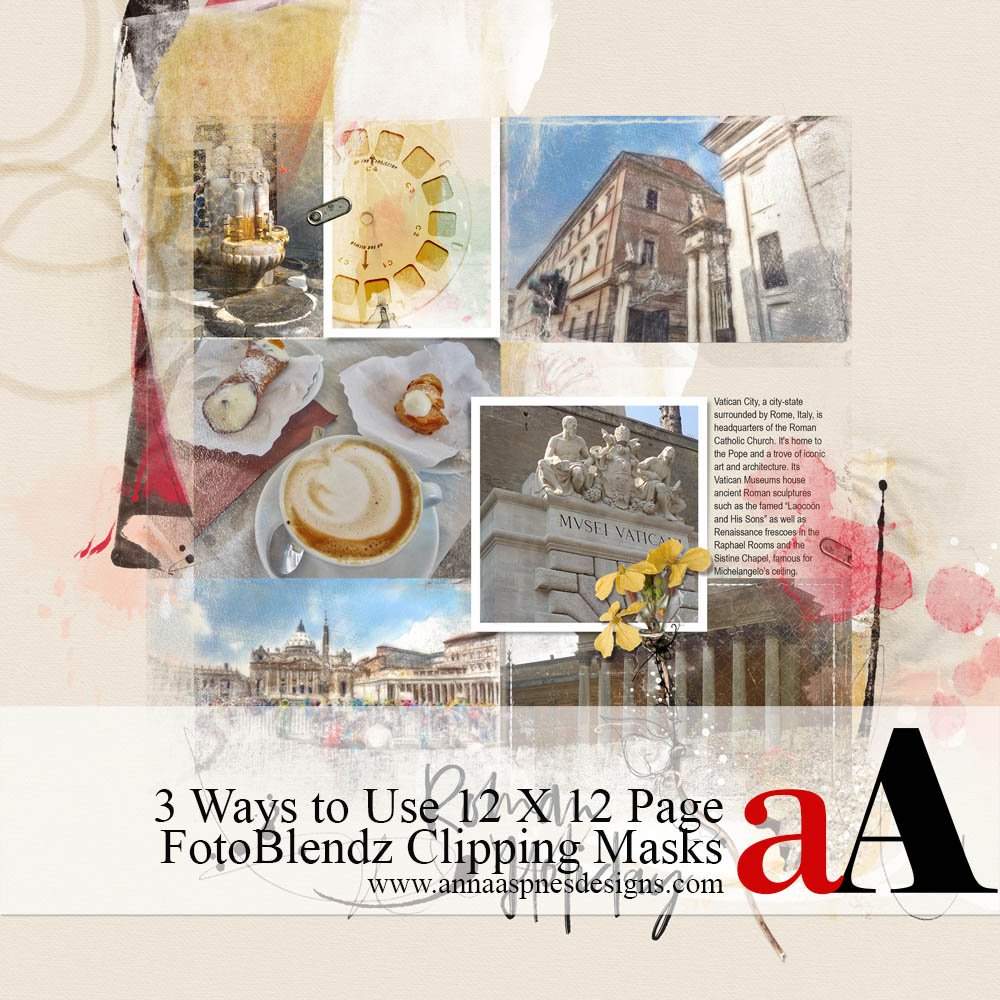
Today, Creative Team Member, Marnie Morgan, is sharing 3 Ways to Use 12 x 12 Page FotoBlendz.
Complete these techniques in Adobe Photoshop and Elements.
3 Ways to Use 12 x 12 Page FotoBlendz
Learn to use these FotoBlendz to complete a layout.
- This technique was discovered serendipitously.
- It’s now become part of my digital scrapbooking and artistry process.
- Works well when a layout ‘feels’ incomplete, too busy, or needs a contrasting background.
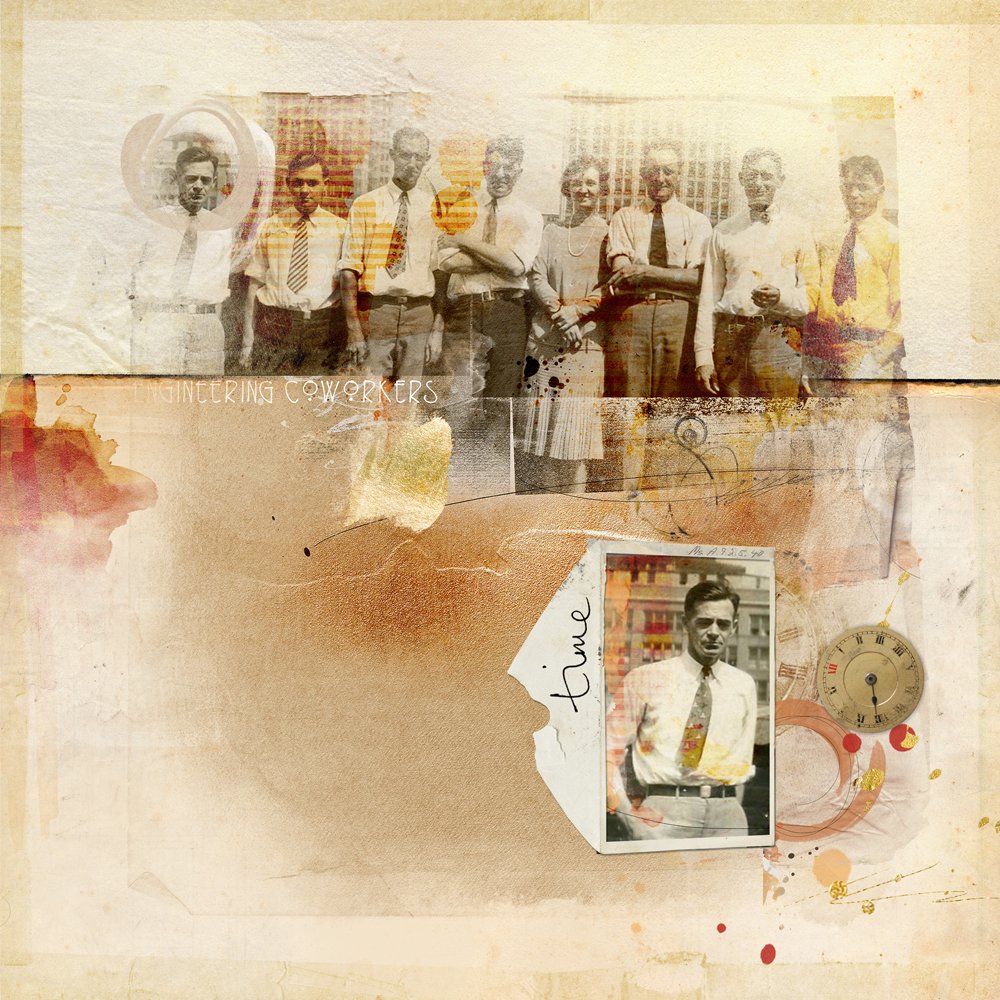
1. Create a New Focal Point
Use a 12 x 12 Page FotoBlendz clipping mask to move the viewer’s focus in the layout design.
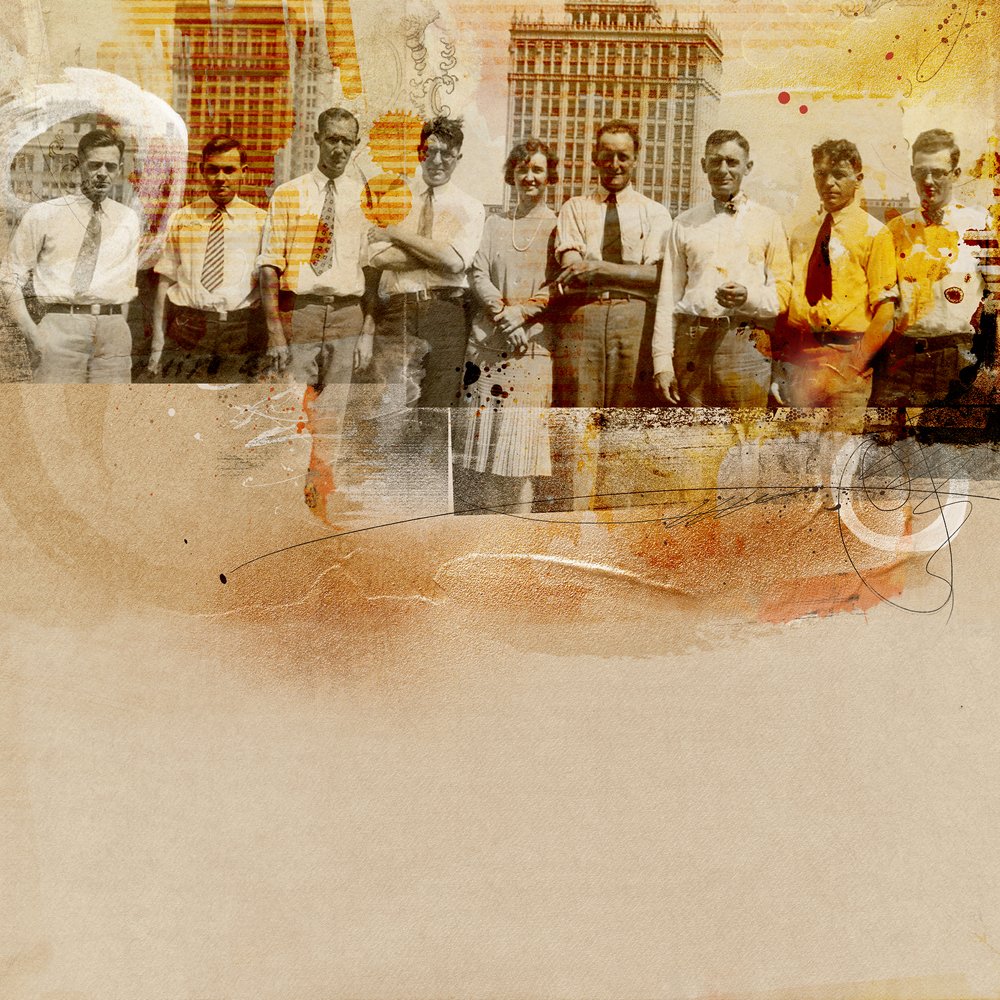
- Decrease the prominence of a large focal photo and move the viewer’s eye from the group image to the subject of the smaller photo.
- My grandfather is pictured on the far left with his coworkers.
- The aim is to emphasize or distinguish him from the group photo.
- The layers of the completed page were flattened into a single composite layer.
- This was then clipped it to 12 x 12 Page FotoBlendz No. 9 (#2) and placed on a different background paper.
- You can then support your new focal point with supporting images, brushes and embellishments.
Note. Go to Layer> Create Clipping Mask to clip the composite to the mask.
BEFORE:
AFTER:
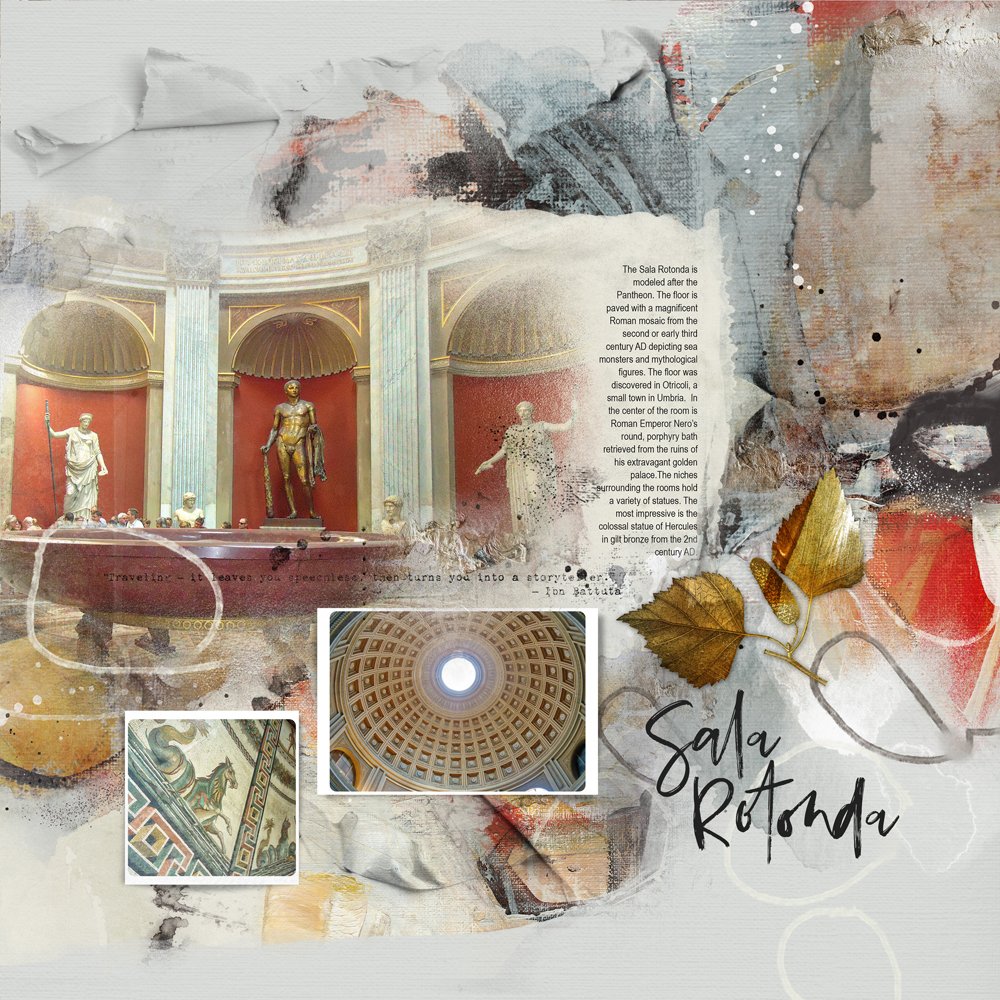
2. Establish Title Placement
Use a 12 x 12 Page FotoBlendz clipping mask to ‘make room’ for your title.
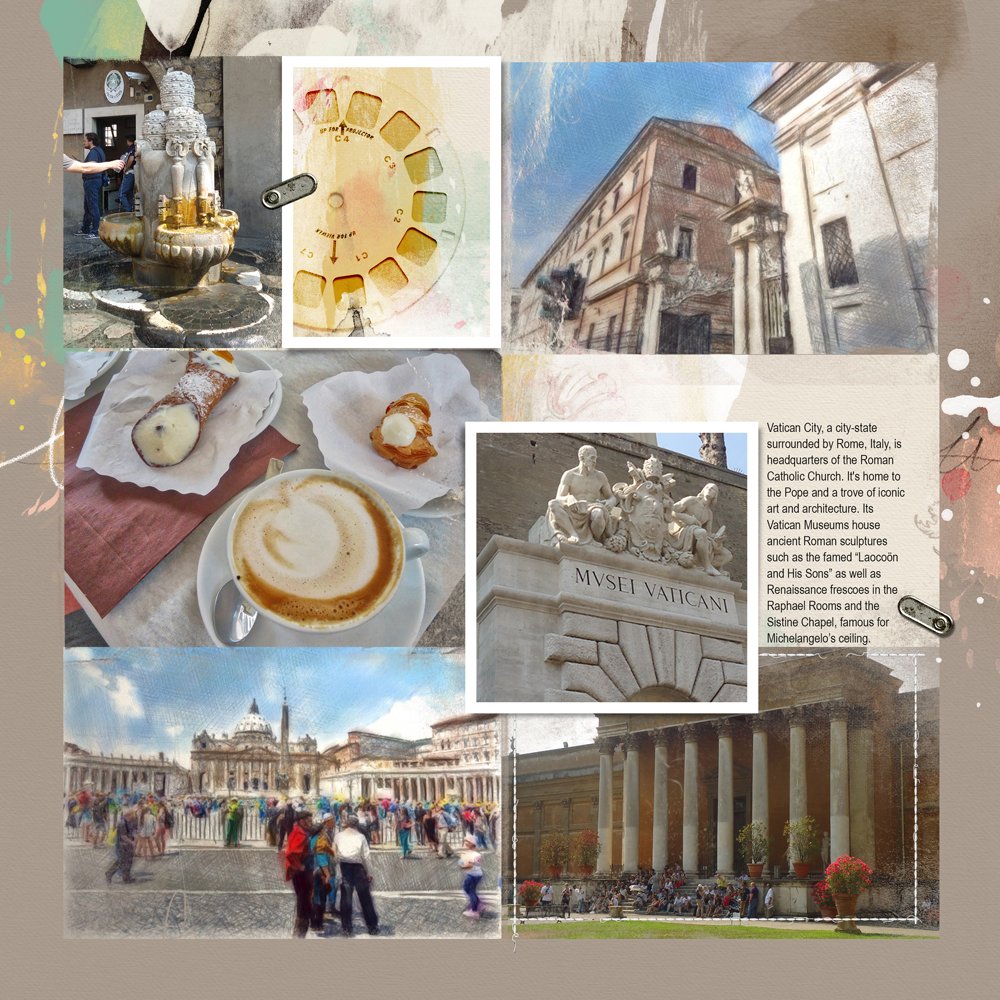
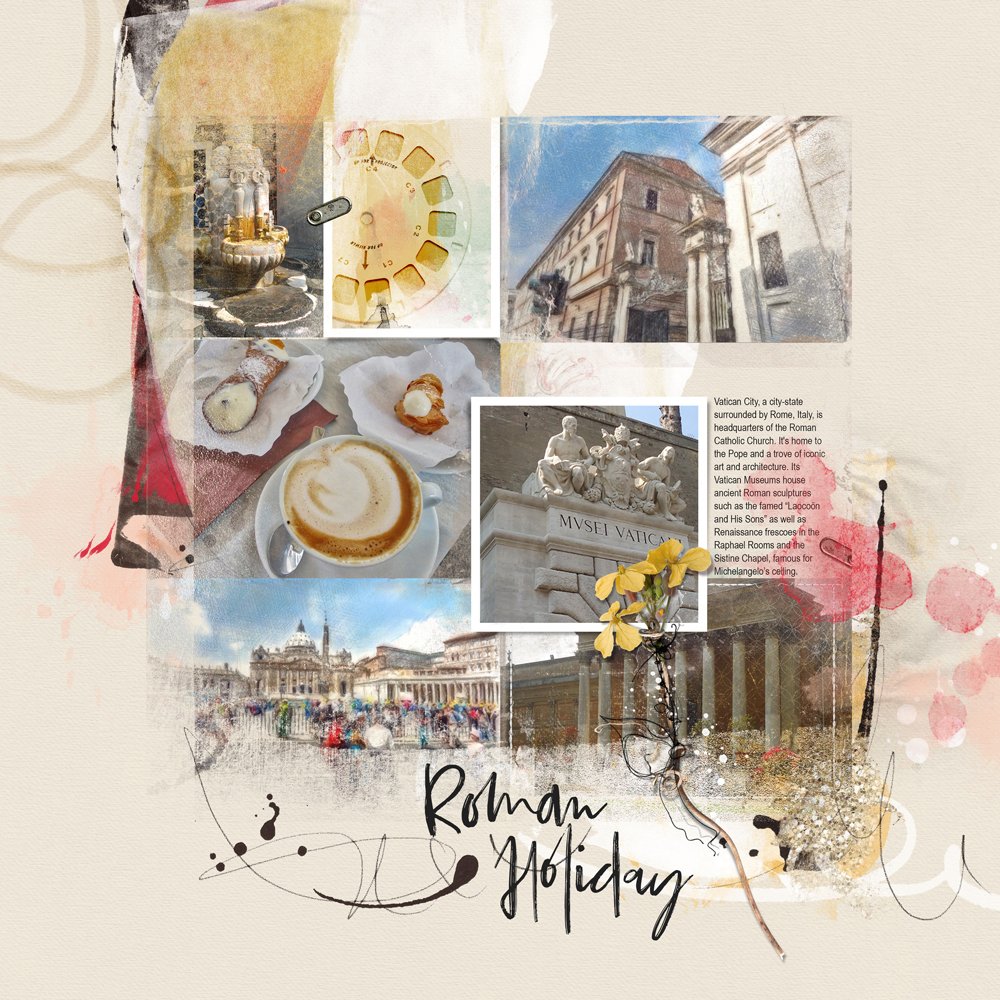
- ‘Roman Holiday’ was created using a FotoInspired Layout Template.
- I realized that the layout needed a title on completion.
- The layers were flattened and clipped the composite to 12 x 12 Page FotoBlendz No. 7 (#4)
- The layers in the clipped layers were linked by selecting both layers in the Layers Panel and clicking on the ‘clip’ icon.
- You can then decrease the size of the Clipping Set to create more ‘white space for embellishments such as ArtStroke, WordART, and embellishments.
Note. A light-colored background paper was selected to coordinate with the adjoining travel album page.
BEFORE:
 AFTER:
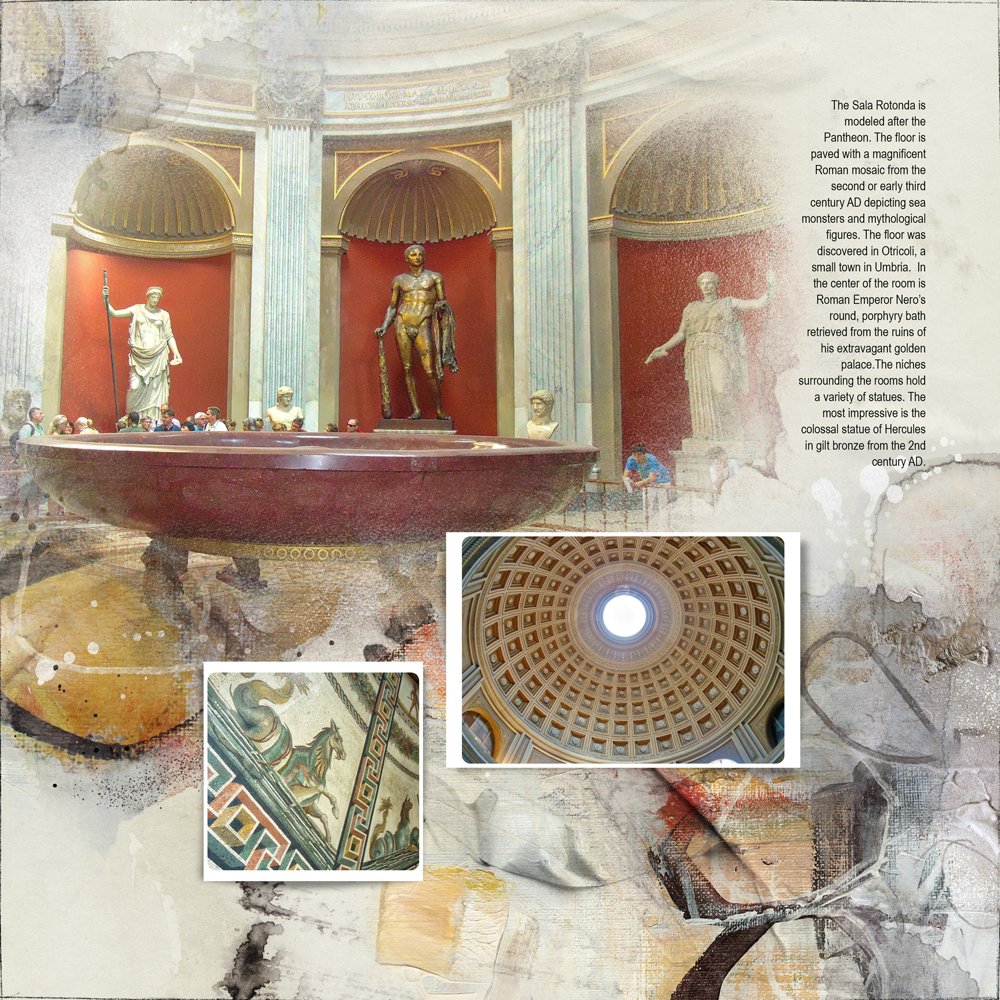
3. Modify Layout Design
Use a 12 x 12 Page FotoBlendz clipping mask to change the design of a page.
- The completed page was clipped to 12 X 12 Page FotoBlendz No. 8 (#3) to show more of the Artsy Paper from ArtPlay Palette Riant.
- The size of the Clipping Set was decreased and re-positioned to the left side to alter the layout design.
- This also created some ‘white’ space opening the opportunity to support with additional embellishments.
Note. You could also change the shape of the 12 x 12 Page FotoBlendz clipping mask as outlined Adryane’s video.
BEFORE:
 AFTER:
Summary
In this tutorial you have learned 3 ways to use 12 X 12 Page FotoBlendz Clipping Masks:
- Shift the focal point in your layout design.
- Experiment with changing the size of the mask, page, and/or composite.
- Alter the design to create space for additional elements.
Enjoy the visual surprise created with each transformation.
Try This
- Add a distressed look to your digital scrapbooking.
- Simply increase the complexity of your artistry.
- Complement with an Edge Overlay.
- Create an an artsy matted effect without a traditional linear approach.
- Use different types of FotoBlendz Clipping Masks.
- Watch this Basic Clipping Mask function video.
- Create a digital scrapbooking or artistry layout and post to the Gallery.
- Visit the aA store to purchase your own set(s) of 12 x 12 Page FotoBlendz Clipping Masks by Anna Aspnes Designs.
SAVE 40% on Clipping Masks
- Save 40% on Clipping Masks
- From Wednesday November 6th, 2019 at Midnight PST.
- Not valid on products released in the last 12 weeks.






Thank you Marnie, for sharing this exciting process! Plus, so nice of Anna to host a surprise sale on the fotoblendz! I’ll be trying out several of these processes.
Enjoy!
I sure appreciate your comment, Bev! You’re always so encouraging…thanks!
Thanks Marnie, lately I have been enjoying a “re-birth” of my love for FotoBlendz clipping masks. Your tutorial gave me even more ideas to try. I am surely inspired.
We always love to hear this Pam!
Thank you, Marnie, for sharing your process. I always love new ideas to try.
Many thanks, Pam! Anna’s FotoBlendz clipping masks hold unlimited possibilities! Your art inspires me as well!