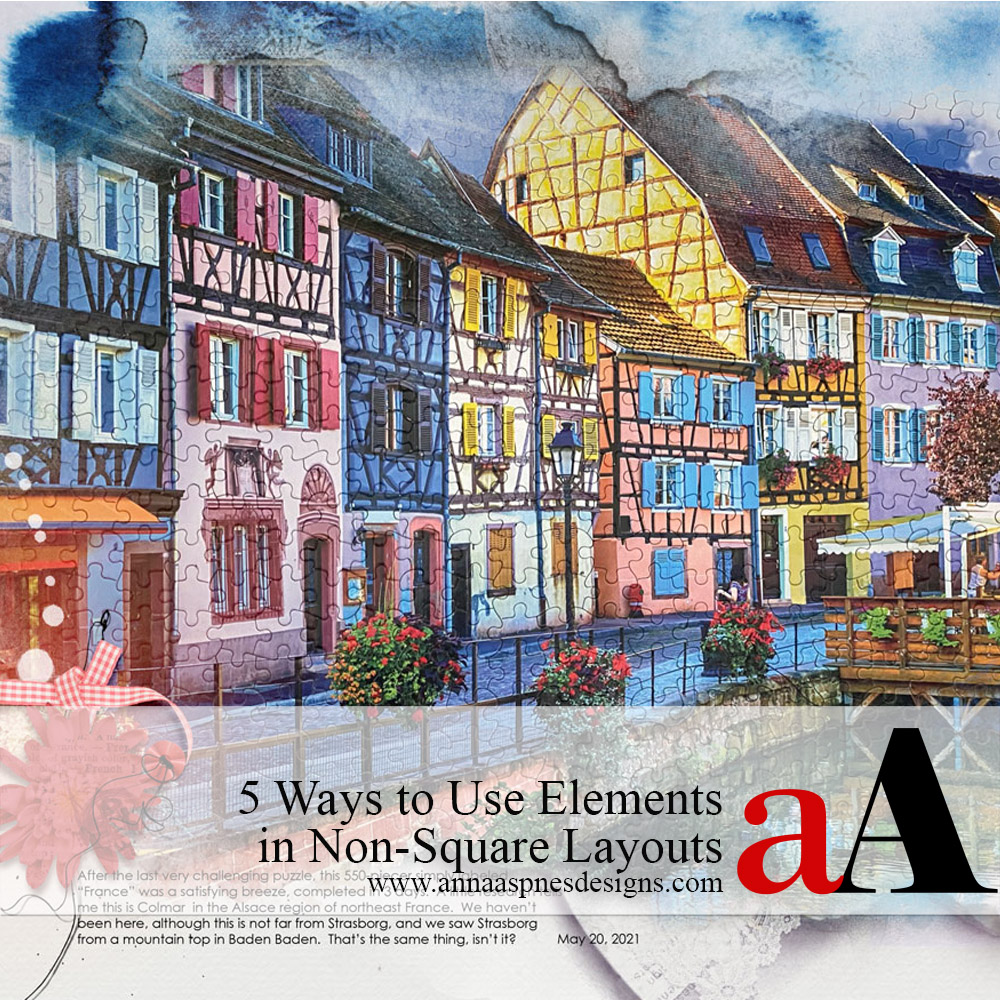
Today, Creative Team Member, Diane Weber, is sharing 5 Ways to Use Elements in Non Square Layouts.
Complete these techniques in Adobe Photoshop and Elements.
Click on the images below for complete aA DigitalART supply lists and additional process notes.
5 Ways to Use Elements in Non-Square Layouts
Introduction
LEARN TO ADAPT ELEMENTS FOR YOUR 8×10 DIGITAL SCRAPBOOKING OR PHOTO ARTISTRY PAGES.
- Elements provided in aA Digital Assets are typically sized for 12 x 12 pages.
- You can adapt these elements for use in your portrait or landscape sized layouts.
- Use Design Principles and Element Properties to place your elements.
Note.
- Diane creates her digital scrapbooking layouts in 8 x 10 inch at 300 PPI format.
1. Embellish White Space
Determine where you will place your elements in your digital scrapbooking or photo artistry layout design.
- Look for any area lacking Visual Interest also known as White Space.
- These areas are great for placing embellishments and elements with Visual Interest.
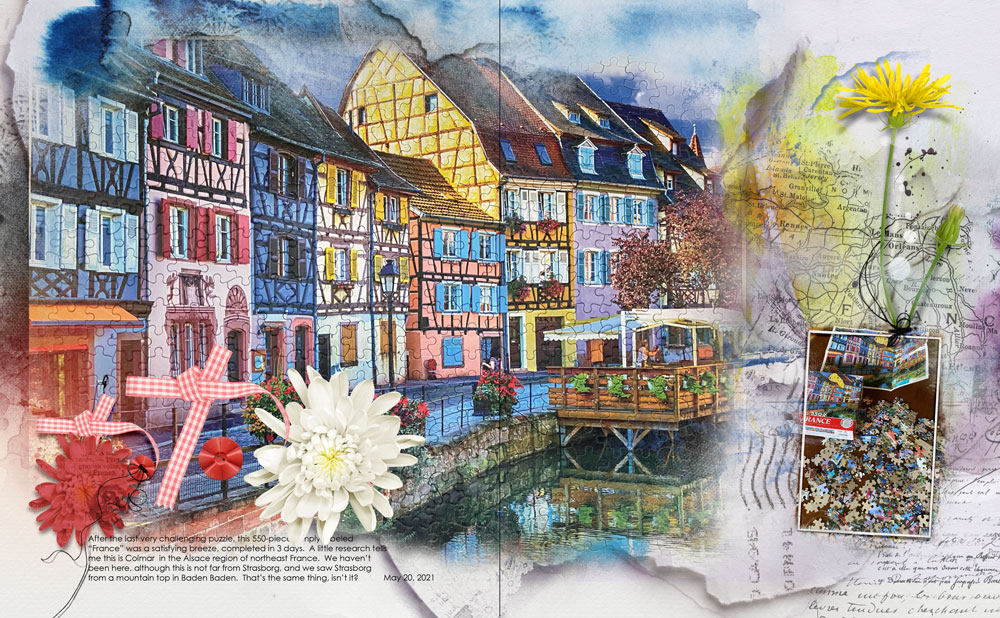
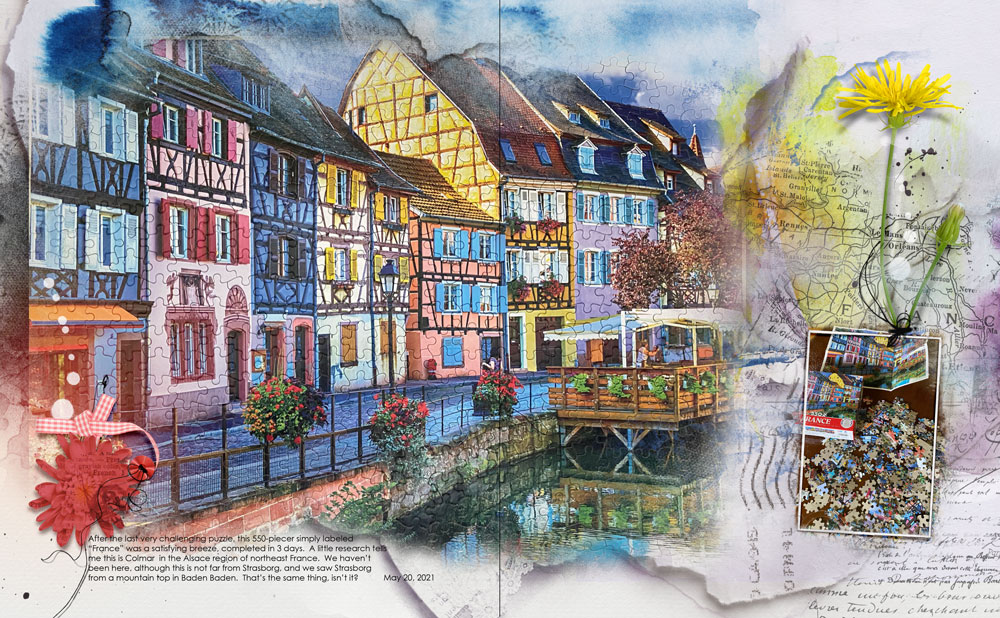
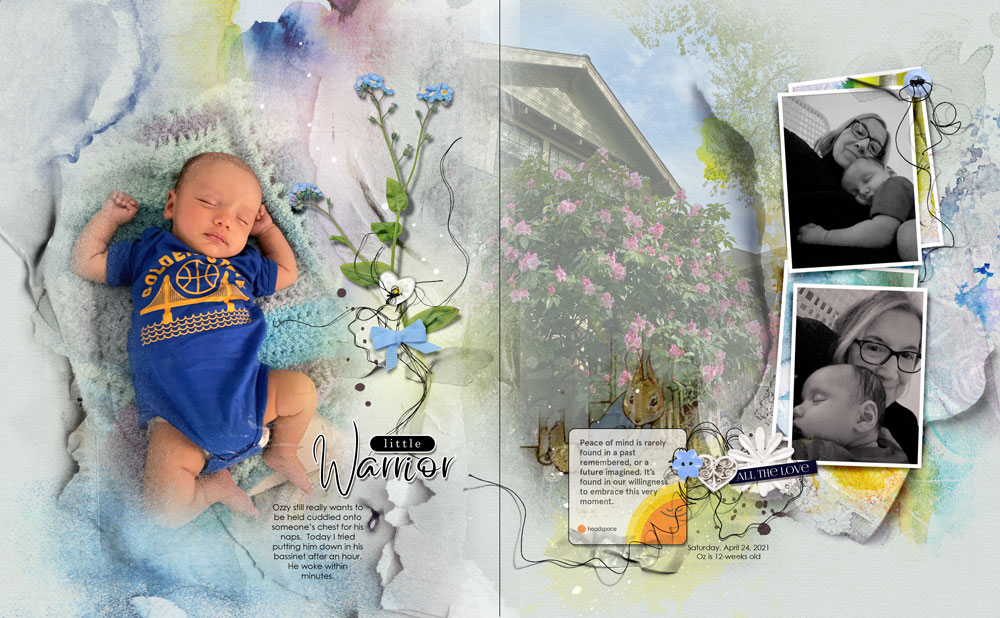
- In the above example, notice the White Space in the lower left corner of the left page and right side of the second part of the double page spread.
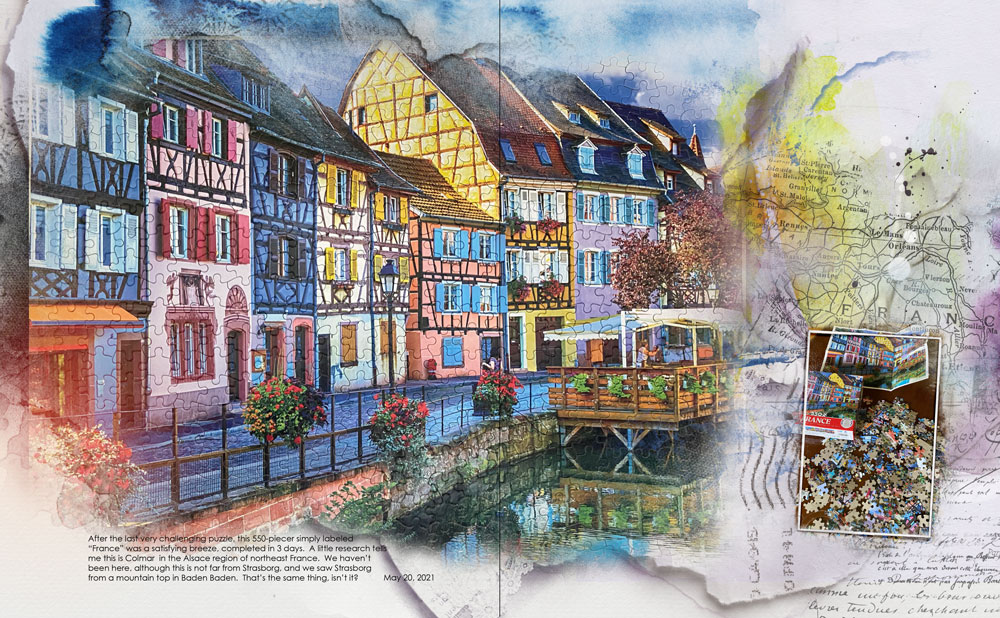
Place the elements in those areas of White Space.
- The Size and Shape of the White Space will determine how large OR small the embellishment can be.
- Large elements go in larger areas lacking design appeal.
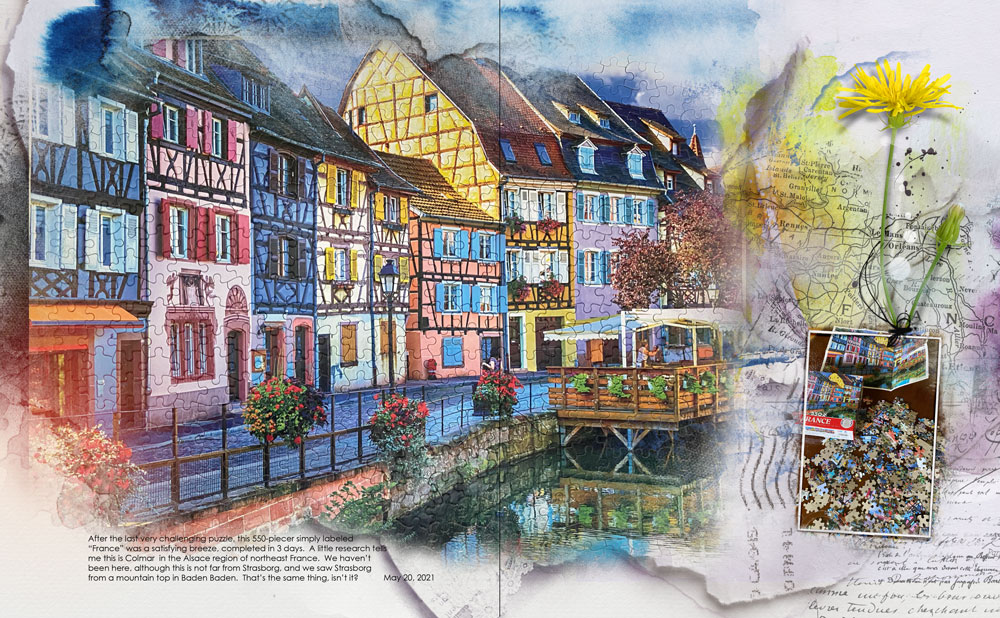
- Notice how the tall and narrow nature of the flower element in the top right side of the second page matches the similar shaped area of the available space.
- Open and move the element layer(s) onto your layout design using the Move Tool from the Tools Panel.
- The element may be comprised of multiple layers to include a Drop Shadow.
Tip.
- Click the layer in the Layers Panel on top of which you would like your element to reside BEFORE you move your element layer(s) onto your digital scrapbooking or photo artistry layout design.
2. Modify Elements
Improve aspect ratio and realism by reducing the size of elements by about 25-45% in 8 x 10 layouts.
- Open and move the element layer(s) onto your layout design using the Move Tool from the Tools Panel.
- Ensure you have the Move Tool selected and the Show Transform Controls (Photoshop) or Bounding Box (Elements) option checked.
- Click on a corner of the Bounding Box toactivate Transform Controls.
- When the cursor transforms into a Diagonal Double-Ended Arrow you can drag the corner inward, Resize the element and make it smaller.
- Moving the cursor a little further out from the corner yields and Arced Double-Ended Arrow allowing you to Rotate the element.
- Place a trio of elements together to create an Element Cluster.
Tips.
- You may need to hold down the SHIFT button on your keyboard to resize an element proportionally.
- Go to View> Rulers to enable measurement guides on the edges of your layout design.
- Use these guides to measure the Size of your elements.
- For example, a button is typically smaller than 1/2 inch.
- In time you will be able to ‘eyeball’ the process and assess the size of elements without measuring.
Note.
- The flower element was also Recolored to better coordinate with the color palette.
See also:
- Useful Techniques Video on the Resources page.
- Create Custom Clusters class series.
3. Create Visual Triangles
Place elements in a Visual Triangle to create focal point and move the eye around a single or double page spread.
- A Visual Triangle is an arrangement of elements where a triangle Shape is formed if you draw an invisible line from one element to another.
- These elements typically have a similar Element Property in common such as Shape, Color or Element Type.
- Place 3 separate elements in 3 different places on your digital scrapbooking layout design.
- You can also group elements into 3 different Clusters.
Tip.
- Layouts with LOTS of photos require fewer embellishments and vice versa.
- Use embellishments like ArtStrokes, MultiMedia Branches, UrbanThreadz and Splatters that offer length and breadth to direct the design from one page to the next.
- Even if element does NOT completely connect the ‘suggestion’ is enough to the lead the eye.
- You can create a single or multiple Visual Triangles.
Note.
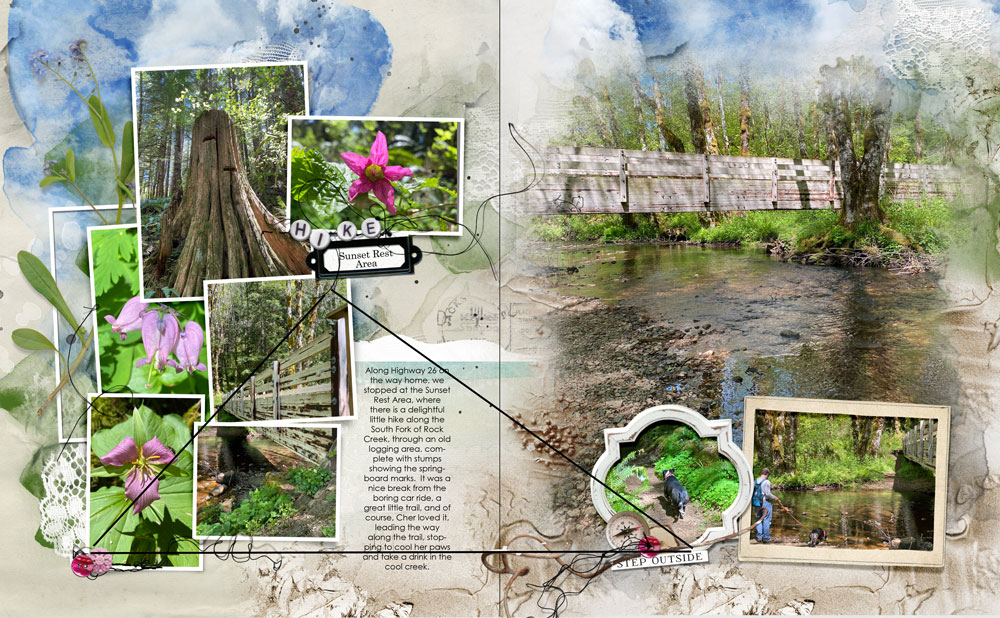
- A Visual Triangle is created with the 3 clusters of elements across both pages of the digital scrapbooking page
- The pink framed flower photo and the 2 same pink buttons on each side of spread also support the layout design.
- The white lace, beads, typed note, labeled words and frames also create triangles within the design keeping your eye moving around the artistry.
- Notice also the Repetition of the circle Shapes.
4. Lead The Eye
Placement of elements help lead the eye from one focal point to another in your layout design.
- The eye will naturally move from top-to-bottom and/or left-to-right of a digital scrapbooking page.
- This can be supported by using Linear Design Principles that move vertically or horizontally from one side of the layout to the next.
- Place your elements to bolster Focal Points, or areas of particular areas of interest, to draw attention and lead the eye.
- Choose elements that serve to Connect your layout design Focal P0ints.
Tips.
- Placement of elements does NOT have to be absolutely straight.
- Vary placement to create subtle Diagonals that foster Visual Interest.
- Breaking up straight lines with less uniform placement creates Tension and excitement in the digital scrapbooking layout design.
- Select long and narrow elements, liked BeadedThreadz, UrbanThreadz, or MultiMedia that physically draw the eye from one area of interest to another.
Note.
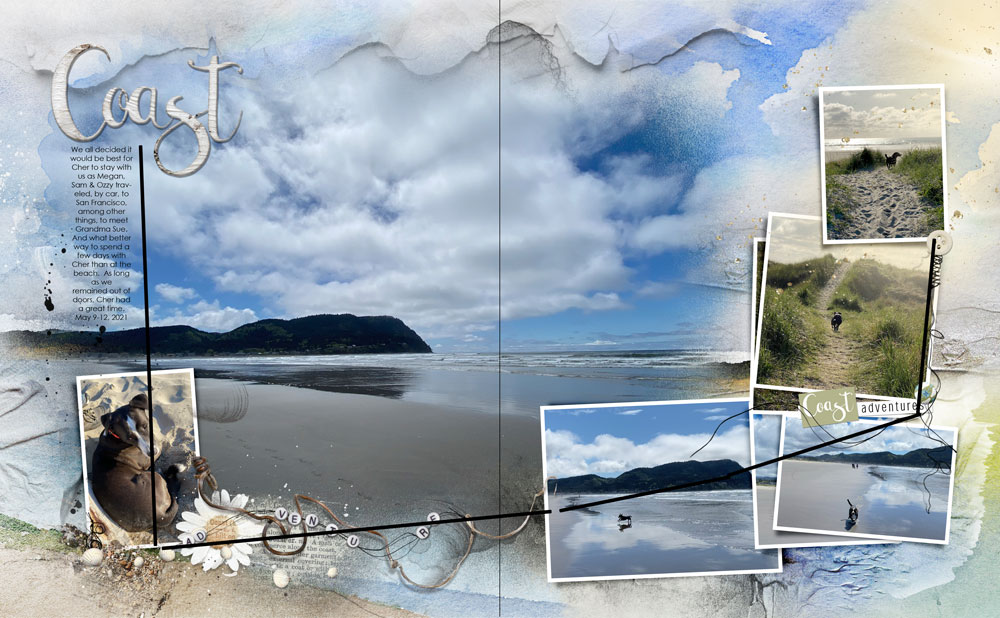
- Notice how the eye starts at the WordART title in the top right corner of the layout design.
- The column of journaling Leads The Eye to the framed ‘dog’ photo which is supported by an Element Cluster.
- The BeadedThreadz and twig elements physically Connect the frame with the second set of frames on the opposing page.
- The ‘tail’ of the UrbanThreadz guides the eye back up the digital scrapbooking page to the remaining photos in the sequence.
5. Utilize MultiMedia
Reposition and resize MultiMedia element files to appropriate proportions in your 8 x 10 digital scrapbooking designs.
- You do NOT need to resize all the components of a MultiMedia element when working in 8 x 10 format.
- Go to File> Open and open the .psd version of choice.
- Select all the file layers in the Layers Panel then ‘drag’ the layers onto your digital scrapbooking layout using the Move Tool from the Tools Panel.
- Resize ALL but the following elements including their Drop Shadows using the Transforms Controls,
Do not resize:
- ArtsyStains
- Paint Splatters
- Stitching
- FotoGlows
- Unless they look out of proportion.
Note.
- You can also customize your MultiMedia elements.
- Use the layers independently and Reposition as preferred.
- Create your own custom clusters from the layers provided.
 Summary
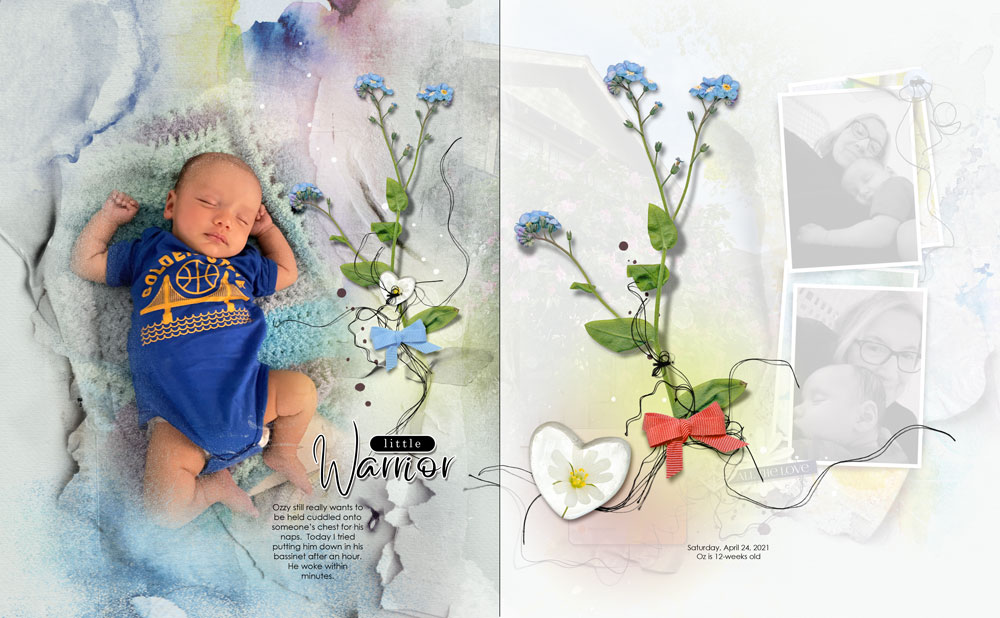
You can easily modify, customize and adapt digital elements to support your non-square smaller digital scrapbooking layouts.
- Find White Space to place your elements.
- Resize and recolor embellishments as needed to support your layout design.
- Lead the eye with Visual Triangles and Linear Design Principles.
- Connect Focal Points with long and narrow embellishments.
- Create your own Custom Element Clusters with MultiMedia elements.






Recent Comments