


At the weekend, I shared the 200th Arty Layered Template in the aA store with our AnnaNews subscribers.
You can still access this template from the archives when you subscribe here.
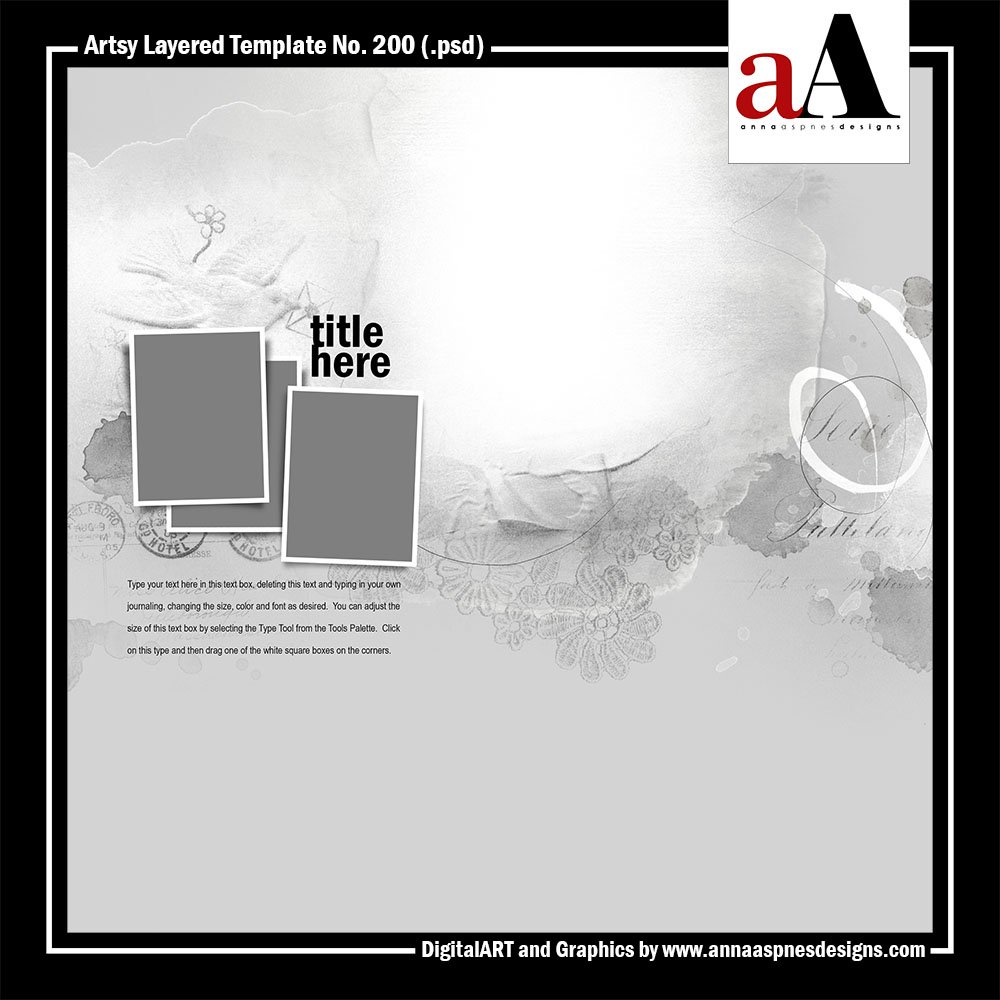
An artsy template is a blueprint for creating a DigitalART layout delivered in .psd format designed for use in Adobe Photoshop and Elements, or Paint Shop Pro. The multi-layer format provides you with the opportunity to recolor, modify or clip other images to any of the gray layers in the template to create your own custom pages.
In celebration of this, milestone we’re running a special challenge with the chance to win one of 5 X $5.00 GiftKardz to the aA store.
Find out how to join in here.
aA Creative Team Member, Ulla-May, shares her both her page and process for using Artsy Layered Template No. 200 below: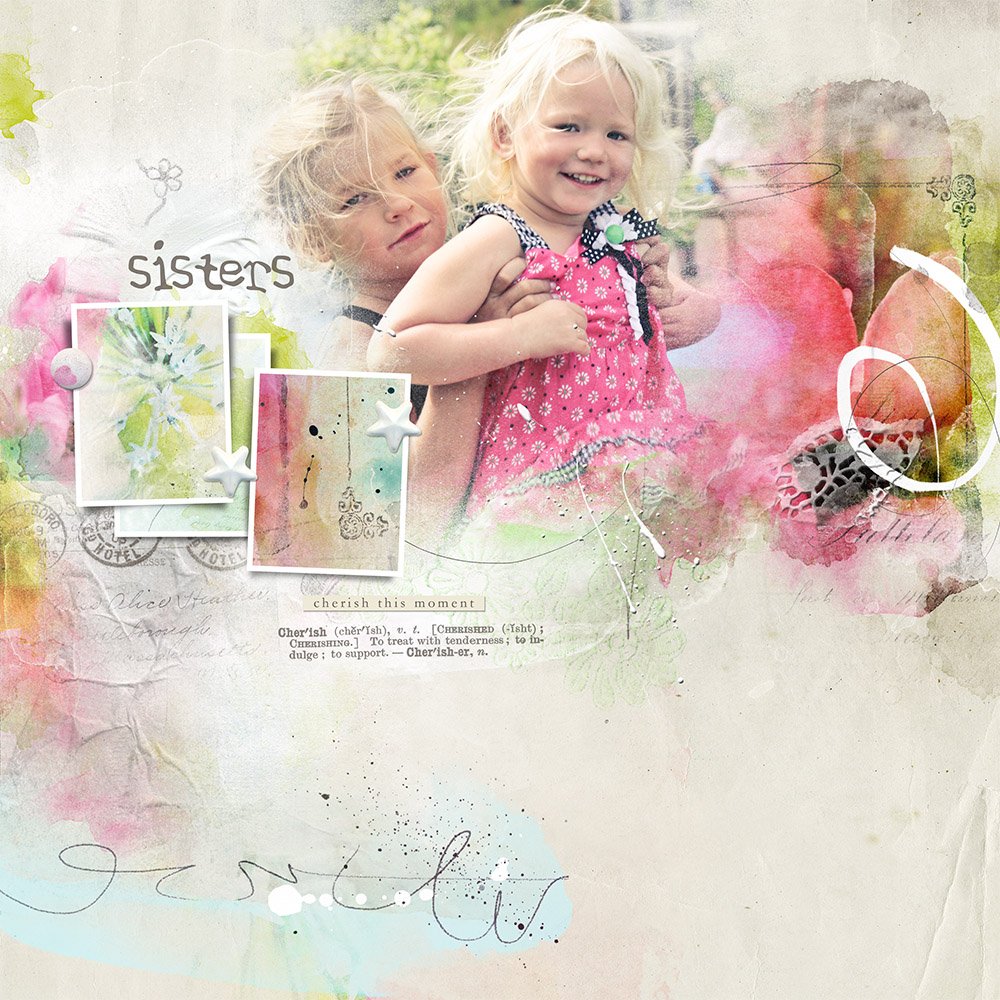
Click on the image above to access a full list of aA DigitalART supplies used to make this layout.
1. Create Foundation. Download, unzip, locate, select then open Artsy Layered Template No. 200. Open an artsy paper from ArtPlay MiniPalette Cherish into your work space, click on the background layer to select. Click on the Move tool from the Tools panel then click on the artsy paper file, hold down the left mouse button, drag, then release the left mouse button to drop the artsy paper into position over the background in the template file.
2. Create an Artsy Background. Repeat the Click-Drag-Release process by moving a transfer and another artsy paper onto the layout foundation. Re-size the elements as desired by selecting the Move tool, clicking on the bounding box, then dragging the edges outward/inwards to re-size. Apply the Color Burn blending mode from the Layers panel by clicking on Normal and selecting the Color Burn option from the drop-down menu.
3. Recolor Layers. Customize some of the gray layers in the template by re-coloring them as desired. Select the layer you would like to recolor in the Layers panel. Got to Edit> Fill, and ensure the *Preserve Transparency* box is checked. Choose a color from the Contents menu using the Color Picker, then click OK. Recolor text by selecting the Type tool from the Tools panel, highlight the text, then modify the color from the color icon in the options bar.
4. Embellish. Add the lace and postage stamp elements using the click-drag-release technique. Create visual interest by stamping the textures and stains on new layers using the Paint Brush tool from the Tools panel as outlined in this video tutorial. Adjust the color of both the element and brush layers as needed to better co-ordinate with your color scheme.
Try this | Move around the layers on the template using the Move tool from the Tools panel to create multiple designs from the same template. You can duplicate layers, rotate them and change the blending modes. Clip photos or transfers from ArtPlay MiniPalette Cherish and ArtsyKardz Cherish MultiPack to any of the gray layers as a fun way to custom imagery to your page.
See 7 Ways to ArtPlay for further guidance on the basic techniques for creating DigitalART in Adobe Photoshop and Element.


Hey, there, Anna dear! What a great site you made! I really like it! I think I have found the e-mail about this 200th ArtsyTemplate, I did sign up, but, now, the shop is down for remodel! LOL I will get it eventually and participate, too!
I know you put alot into your new site and it shows! I hope to be able to join in some of the classes!
Thank you for being so attentive to your fans!
Su
Hi Su! Yes that’s true! I hear a rumour we’re going to be back on-line again really soon. Thanks for the words of support.
Anna
Anna
Was this suppose to come this week because I didn’t receive the newsletter of this template and I looked the spam folder
It was in Saturday’s AnnaNews. I haven’t heard of anyone else not receiving the newsletter this week. I can resend if you can’t find it 🙂
I received the newsletter, but no link to the template.
Hi Carolien,
Click on the Past Issues option at the top of the newsletter and select the 200 and More issue.
You will be able to download the template from there.
Thanks! Anna
Yeah, Thank you, Anna. I found it. You have to look in your browser at the email, then I’ll see past issues, not in my mail box. Your new website looks great. Thanks a lot for your help and lovely template.
Yep. Happy you found it. Glad you are enjoying the new aA digs 🙂
I don’t see the Saturday newsletter in my inbox or trash (which goes back to last Wednesday), so I’m assuming I didn’t receive it. Any chance of having it resent? Thanks!
Re-sent it to you Patsy. Let me know if you don;t receive it.
I have not received my newsletter either. Any chance of resending? Thank you
I too did not receive my newsletter and am unsure where to find the template from the archives?? Thanks for any help.
Hi Beth,
There must have been a problem with Mailchimp last week. I will send you the link via email.
In future, you can access the Archives by opening the AnnaNews in your browswer, click on the Past Issues tab at the top of your screen, from which you can select from the list.
Let me know if you have further questions,
Anna
Thank you. Love your work and generosity.
Appreciate your support of aA Designs Beth.
Thank you so much for this beautiful template! And – a bit late… I know- congrats on your 200th template!
Enjoy and thank you!