

Today, Creative Team Member, Laura, is sharing how to attain a grunge style using digital stitching, also known as UrbanStitchez and UrbanThreadz in Adobe Photoshop Elements.
Note that this tutorial can also be conducted in versions of Adobe Photoshop.

The ‘Grunge’ style is the opposite of neat, clean, shiny and modern. It’s associated with a worn look, irregular edges, dark or subdued colors, distressed surfaces and random paint splatters or stains.
I frequently add the ‘Grunge’ style using digital stitching, UrbanStitchez and UrbanThreadz by Anna Aspnes Design, to my DigitalART layouts. I layer the stitching files on top of one another to create heaped piles, adding visual interest and creating a flow of irregular and organic lines.
Grunge Style Using Digital Stitching
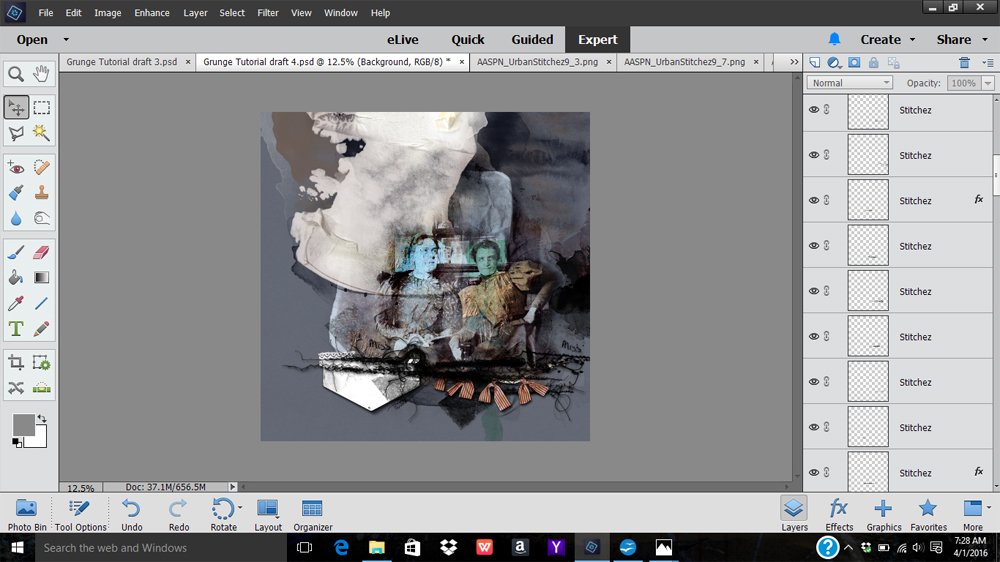
1. Create a new 12 x 12 layout at 300 dpi in Adobe Photoshop or Elements. Go to File> New File, and set specifications in the dialogue box as preferred. Open and move your your background paper onto the new layout using the Move tool from the Tools panel.
Note that dark shades of green, blue, and red work well in grunge designs, as do darker neutrals like browns and grays. I used a slightly textured paper from the ArtPlay Palette Aspera.
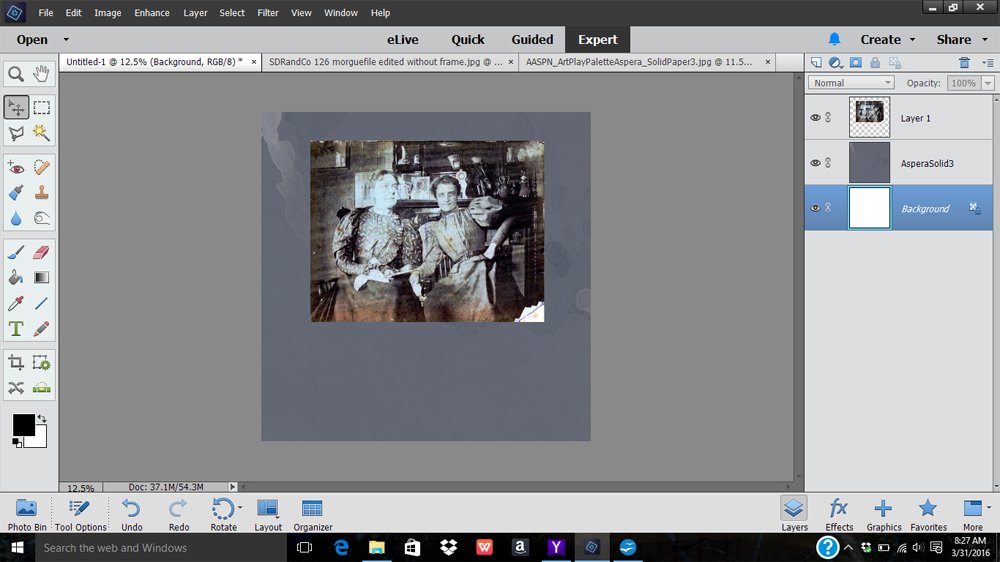 2. Roughly blend your photo using artsy Brushes or clipping the image to a Fotoblendz Clipping Mask. I used the inverted masking technique for my extraction, as outlined in the AnnaBlendz LIVE class. Re-position your image on the page as desired.
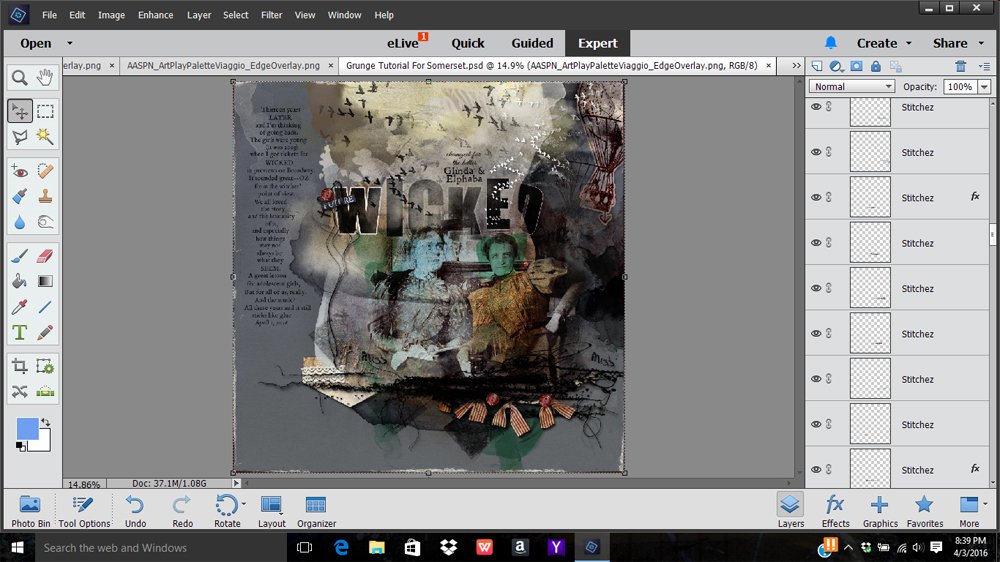
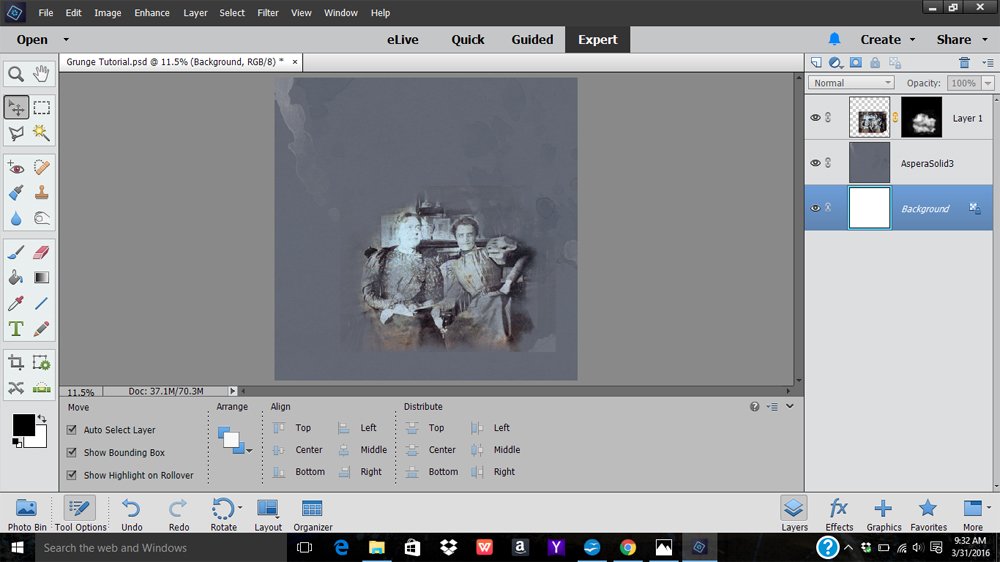 3. I continued the use of ArtPlay Palette Aspera collection, to maintain color coordination, by adding ArtsyTransfers Aspera #1 and #2 onto the background paper. I also altered the photo by layering Transfers, Overlays, and Paint on top of the image and applying Blending Modes to the various layers.
Further guidance on this technique can be found in Altering Photos with ArtsyTransfers tutorial.
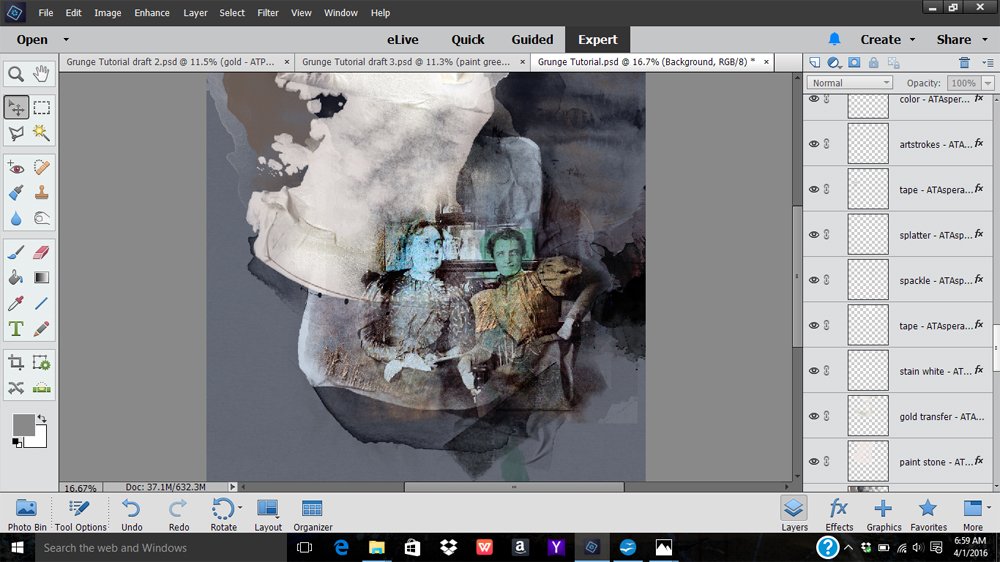 4. Create a foundation for your UrbanStitchez such as a cluster of elements. I added tape, a bit of lace, a banner, and a tag. You could also use ribbon.

5. Now create a grunge style using digital stitching. I layered well over a dozen different stitching elements, choosing a variety from UrbanStitchez No. 1, No. 2, and No. 6. Pile the stitches both on top of one another and under/over your element cluster foundation.
Experiment with applying a Drop Shadows Layer Style to any of the element layers. Go to Layer> Layer Style> Drop Shadow (Adobe Photoshop) or access the Drop Shadow layer styles from the Styles tab in the Effects panel (Adobe Photoshop Elements) to enhance the stitching with additional depth. Many of digital stitching files are delivered with a slanting orientaiton and I tend not to straighten them out -the irregular lines reinforce the grungy look.
6. If your stitching becomes too dense for your liking, insert some FotoGlows in between the layers to inject light. Add Elements, WordArt and then vertical UrbanStitchez or UrbanThreadz. I used UrbanThreadz No. 4 to balance the horizontal stitching.
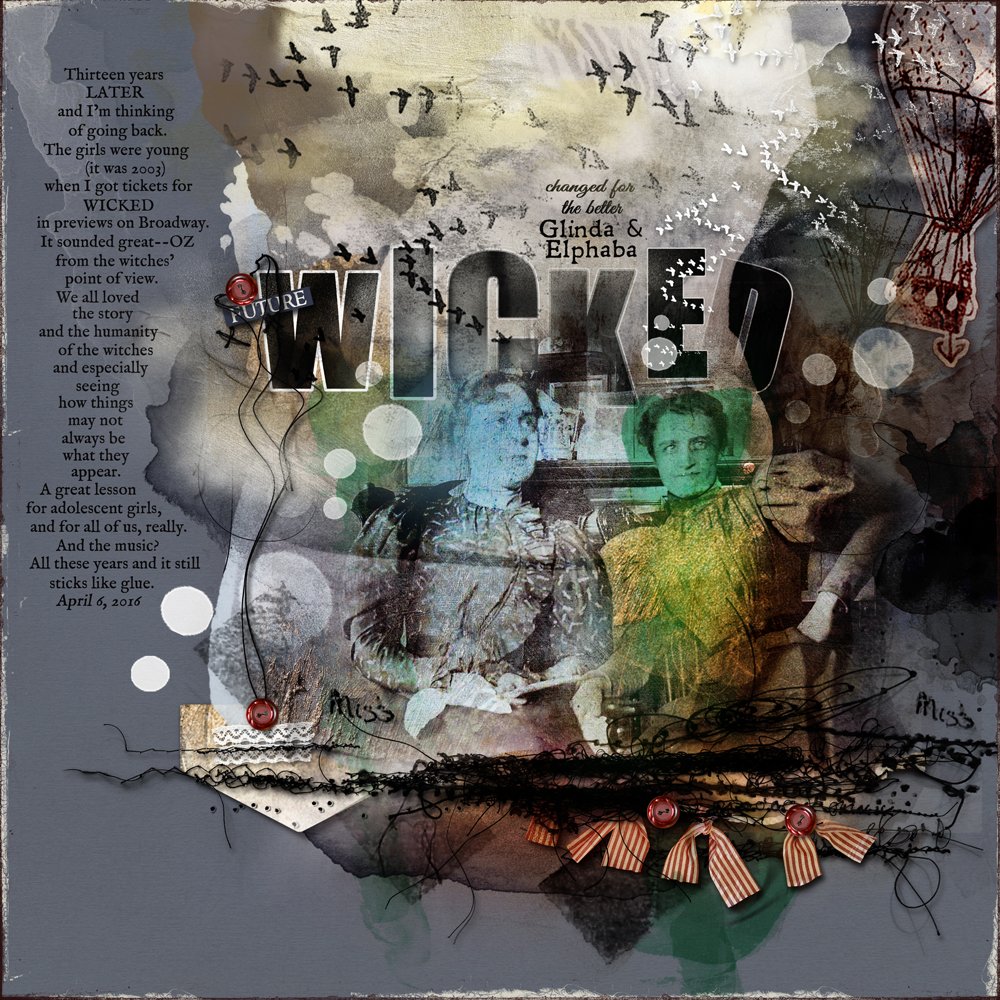
Click on the above photo for additional process notes and supplies used.


Recent Comments