

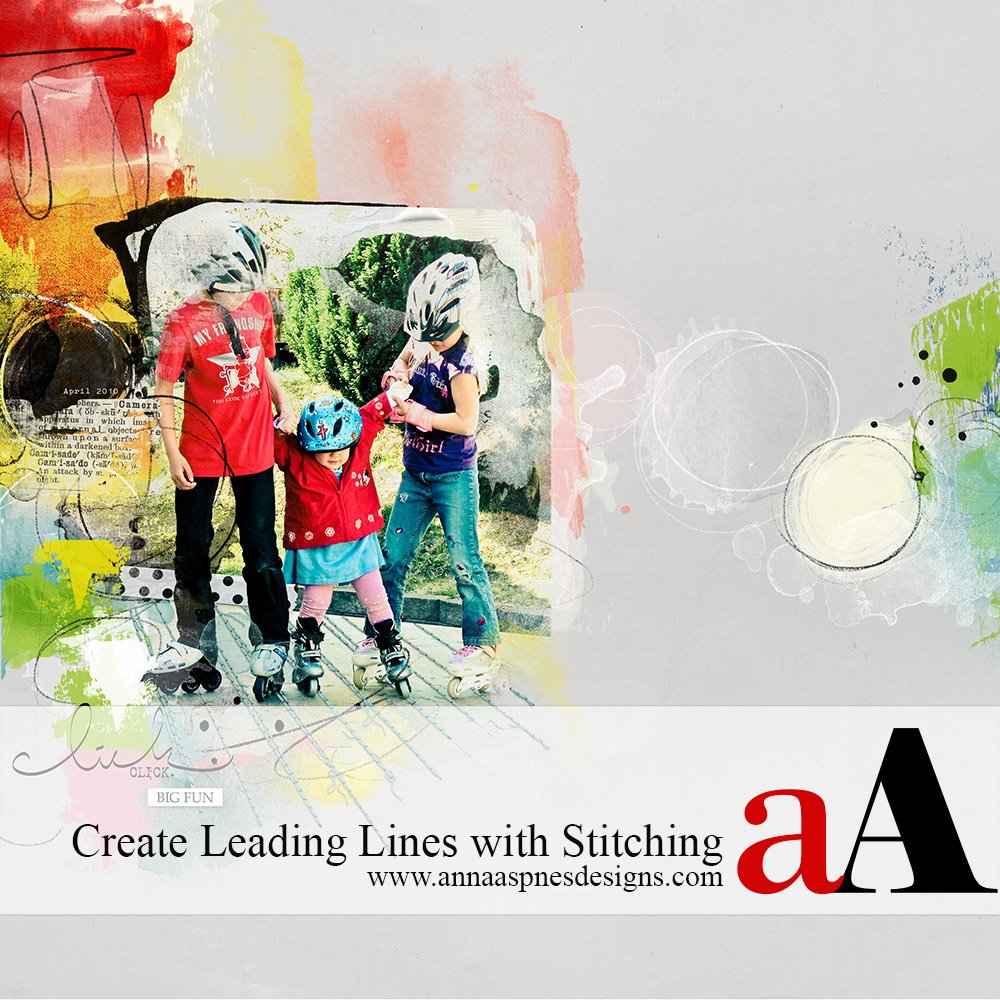
Today, Creative Team Member, Ulla-May, is sharing how to create leading lines with digital stitching using the UrbanStitchez product range in Adobe Photoshop.
Note that this tutorial can also be conducted in versions of Adobe Photoshop Elements.

The use of lines, called leading lines in the photography world, can be used to direct attention to the subject of your photograph. These lines can be straight, diagonal, wavy, or any other creative variation. One way to create strong visual interest using leading lines in a page is via digital stitching
Leading Lines with Digital Stitching
1. Create a Foundation. Create a new 12 x 12 layout at 300 dpi in Adobe Photoshop or Elements. Open and move an artsy or solid paper of your choice onto the new layout using the Move Tool from the Tools panel to create your layout foundation. I used an ArtsyPaper from ArtPlay Palette Artsy and flipped it horizontally. Go to Edit> Transform> Flip Horizontal (Adobe Photoshop) or Image> Rotate> Flip Layer (Adobe Elements).
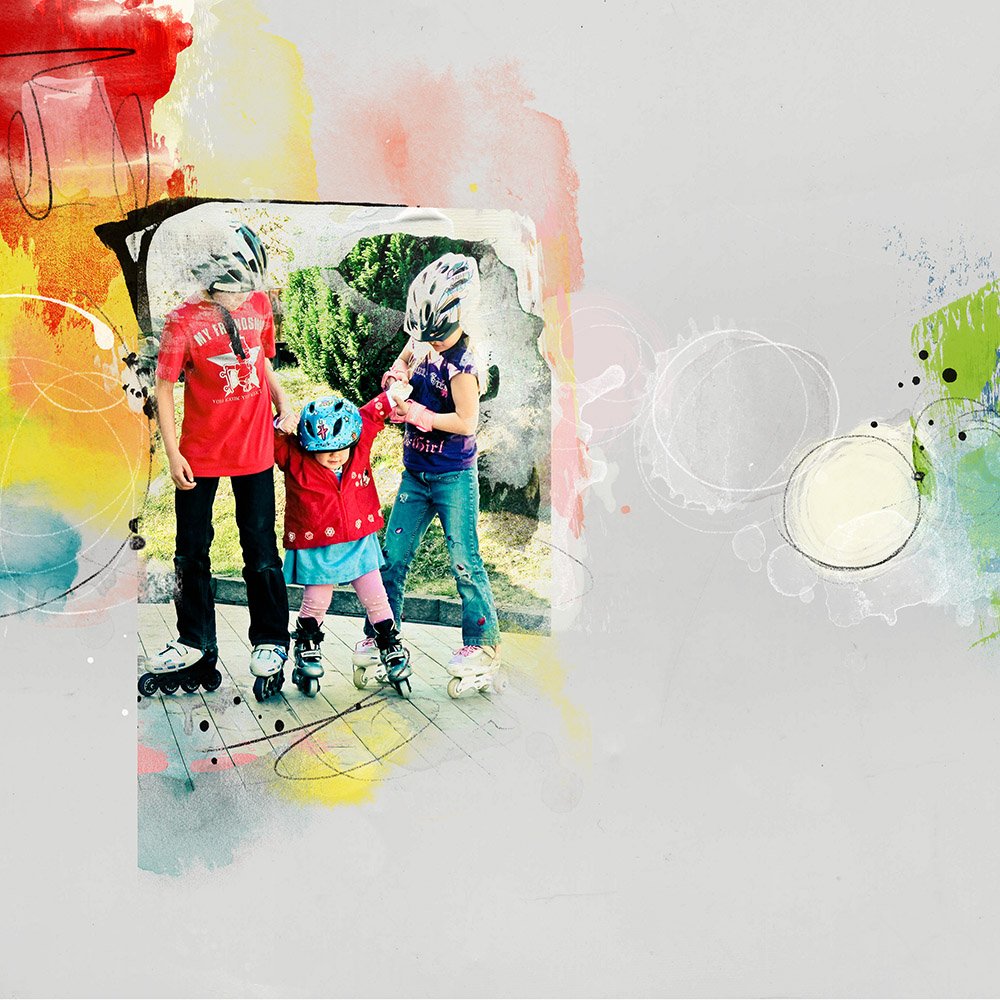
2. Choose a Photo. The best photos for this technique will either have strong visual lines or have a natural place to add lines that will lead to your subject. I chose a photo of my grandchildren on roller skates. There is a strong visual line behind them and the wooden deck is a natural place to add stitched lines leading to the skates.
Before adding my stitching, I blended my photo over the ArtsyPaper using a transfer. See this tutorial for more techniques on blending photos with ArtsyTransfers.
3. Add Stitching. Create leasing lines with digital stitching. There are lots of different types of stitched elements in the aA store. There are straight stitches like the ones I chose from Stitched by Anna White No. 9 and more organic stitches like the ones found in Anna’s UrbanStitchez and UrbanThreadz. Once you find stitching that you like and works with your design, move them to your page with the Move tool.
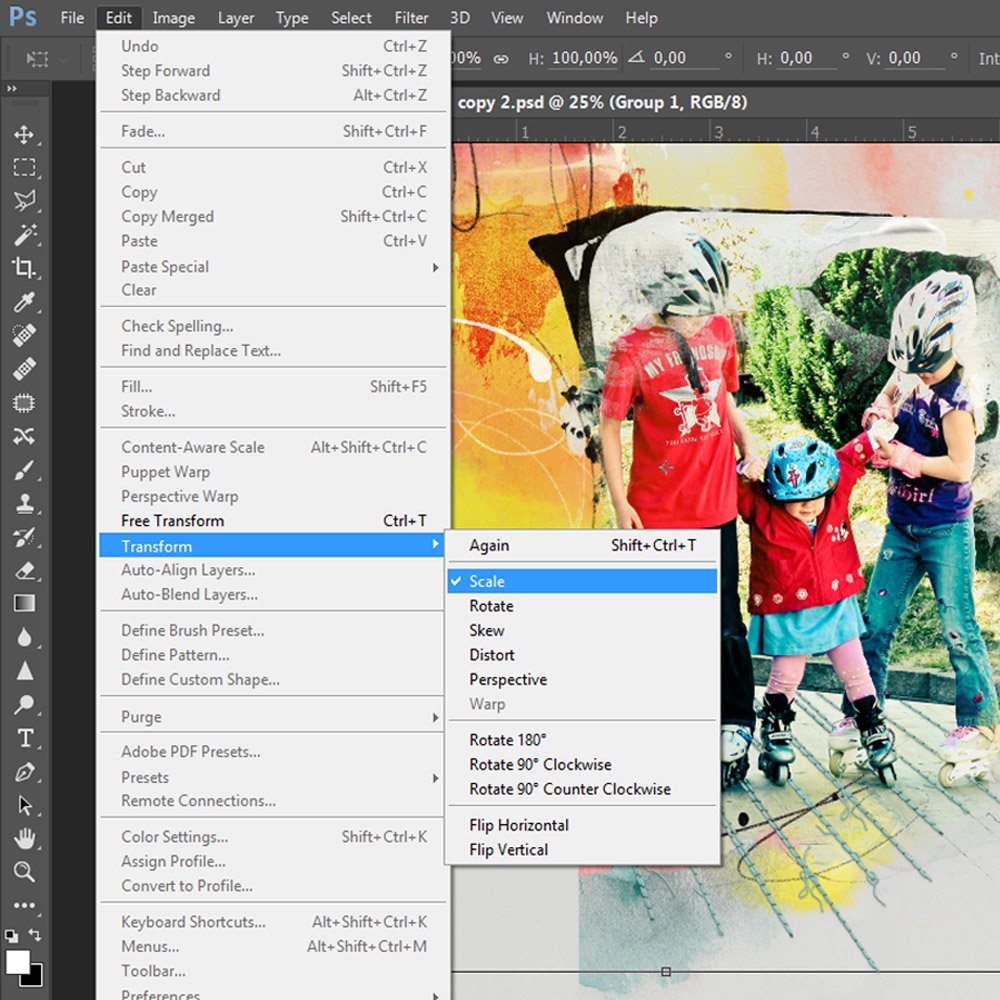
You may want to explore adjusting the scale/size of your stitching. Go to Edit>Transform>Scale (Adobe Photoshop). Adobe Photoshop Elements does not have a Scale option, but you can go to Image>Transform> Free Transform (CTRL + T) to achieve a similar effect.
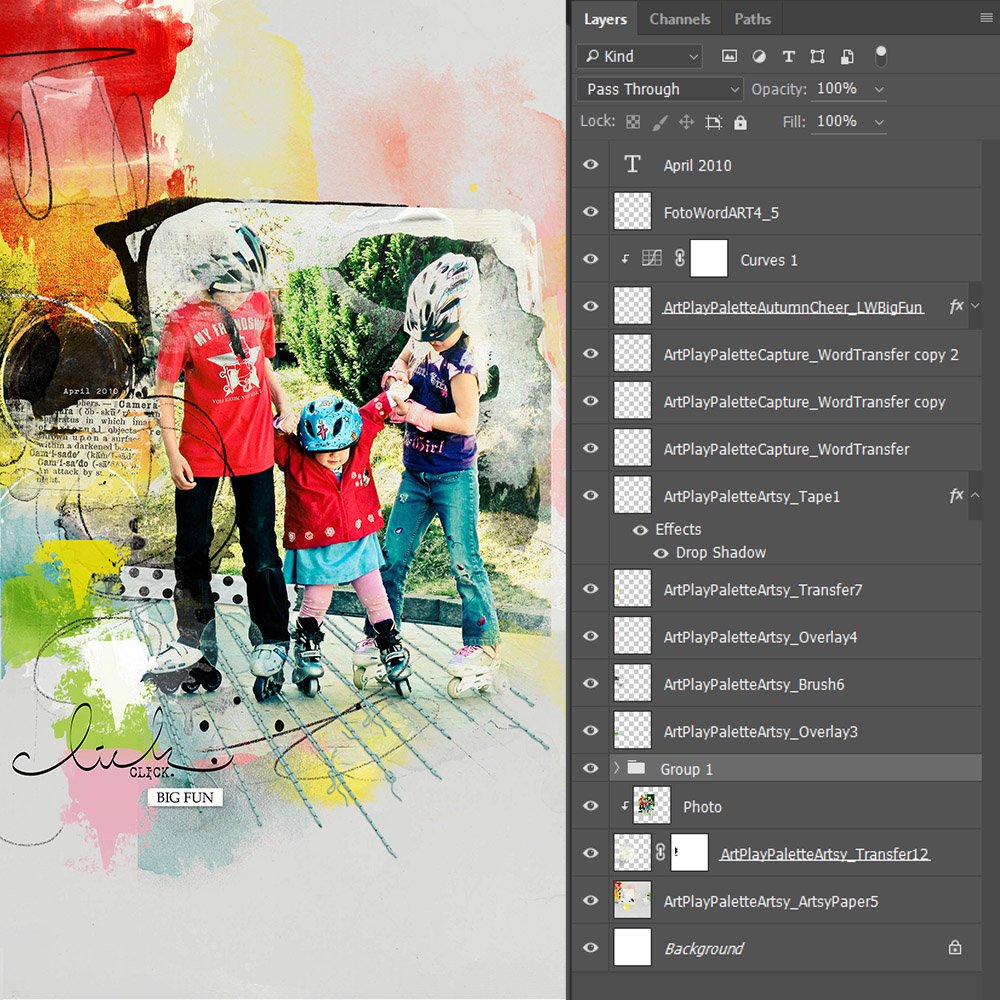
4. Recolor the Stitching. You may want to recolor your leading lines with digital stitching to better match your design. I converted my stitching layers from white to blue.
See this tutorial for techniques to recolor digital stitching. After recoloring the stitches, I added a few additional Elements to complete the page.

Click on the above photo for additional process notes and supplies used.


Recent Comments