
Today, Creative Team Member, Trish Hoskin, is sharing how to use Use Brushes as Focal Points.
Use Brushes as Focal Points
Introduction
Provide guidance on how to create photo artistry with BrushSets as the main element.
1. Select DigitalART Supplies
Choose an ArtPlay Palette with a few coordinating companion sets.
- Select your DigitalART based on Color preference or emotion to be evoked.
- Consider the Theme of the digital artistry layout design.
- Choose an Artsy Paper from ArtPlay Palette as your layout foundation.

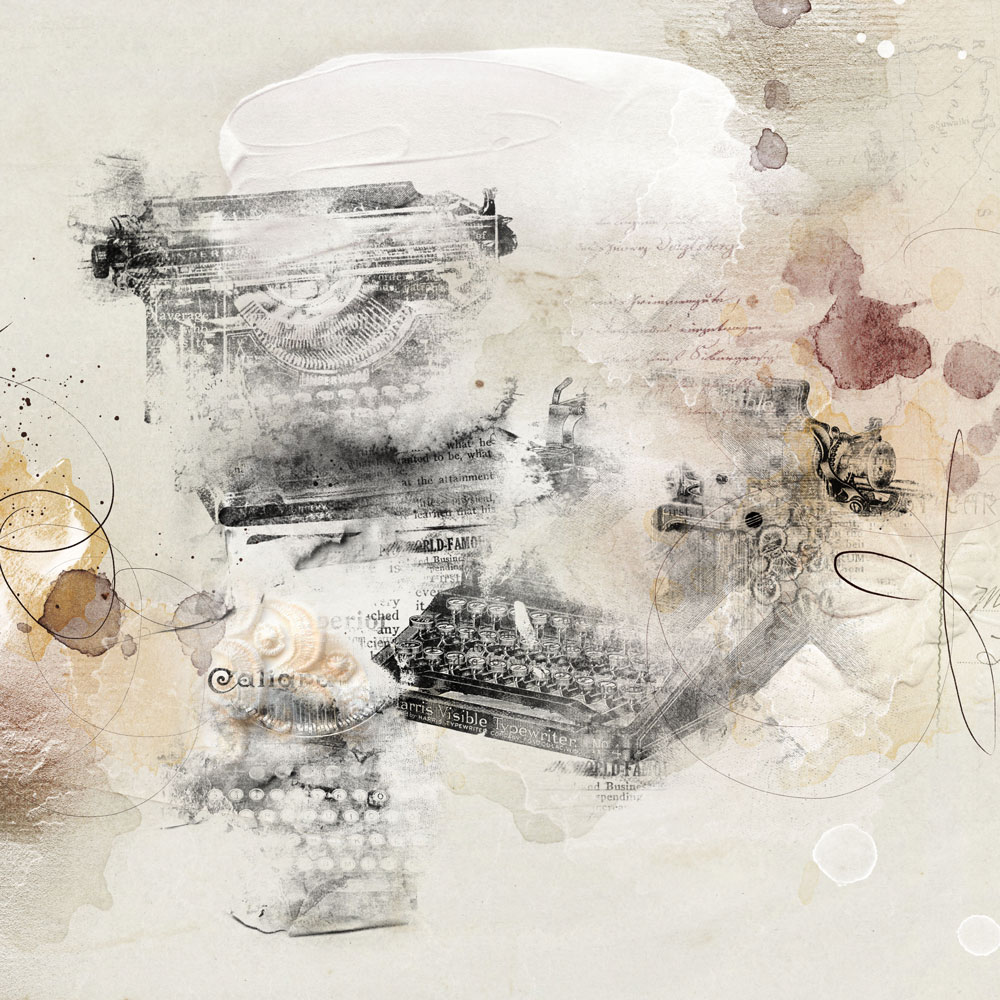
Use Brushes as Focal Points by Trish Hoskin – Image 1
2. Establish Focal Point
Stamp your brush image using the Artsy Paper as your guide.
- Artsy Papers are designed to guide the placement of your Focal Point.
- Identify the areas of White Space and Visual Interest.
- Create a New Layer.
- Stamp the BrushSet image of choice in the Focal Area of the Artsy Paper using the Paint Brush Tool from the Tools Panel.
Note.
- You can also open and place the .png file version of the BrushSet from their saved located.
- Use a single image OR group together multiple brushes to create an image Cluster.
- Placing elements close together creates Relationship and fosters UNITY.
- Choose a Color with strong VALUES so that it stands out from the rest of the artistry and catches the viewers eye.
Tip.
- Black is always a GOOD choice as Trish demonstrated below but try dark shades of colors found in your layout foundation.
- This can yield a softer color-harmonizing approach.
- It’s also more conducive to the application of Blending Modes.
Use Brushes as Focal Points by Trish Hoskin – Image 2
3. Embellish with DigitalART
Add a variety of DigitalART elements to the layout foundation to increase visual interest.
- Consider ToolSets such as ArtsyStains, ArtsyPaint and Splatters.
- Use Transfers and Overlays from ArtPlay Palettes.
Use the .abr file with the Paint Brush Tool.
- Create a New Layer for each brush imprint.
- Choose a Color that supports your layout foundation and your Blending goals.
- Stamp the brush image on the New Layer to create Balance or Contrast.
- Select the Move Tool from the Tools Panel to adjust Placement, Size and Rotation of the image.
- Recolor the images using Hue and Saturation or Color Fill options.
- See Useful Techniques for Photoshop and Elements for further (re)coloring guidance.
Place .png files using the Move Tool.
- Use Design Principles and Element Properties to place your elements.
- Create smaller Focal Points with elements to lead the eye around the layout design.
- Provide context with a WordART title.
See also:
Try this:
- Add ArtsyTransfer layers into the mix.
- Apply Blending Modes.
- Adjust the Opacity of any layer accordingly.
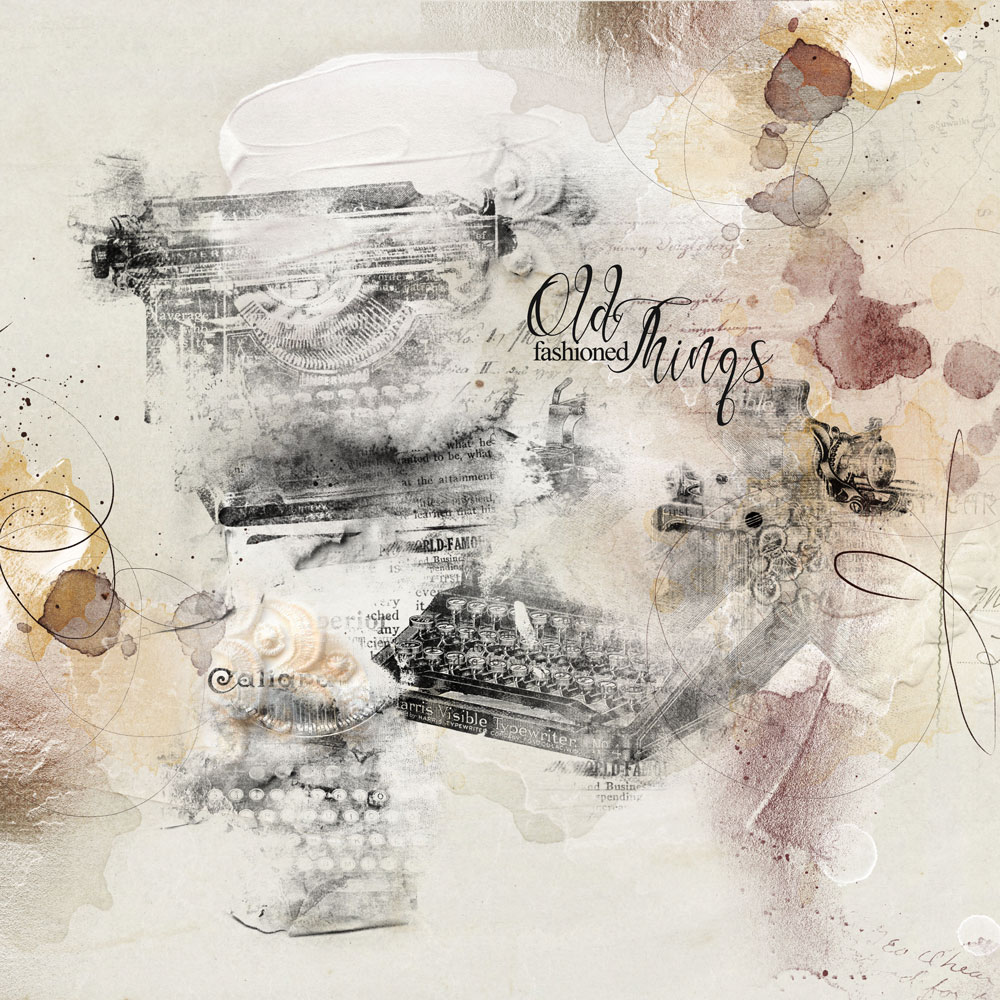
Use Brushes as Focal Points by Trish Hoskin – Image 3
DigitalART Supplies
See a full list of aA DigitalART supplies here.
Summary
Create a digital artistry layout with a BrushSet Focal Point in 3 simple steps.
- Choose your aA DigitalART supplies.
- Add a BrushSet image using either the .abr or .png format files in a coordinating color.
- Embellish with ToolSets and Transfers and Overlays as preferred.


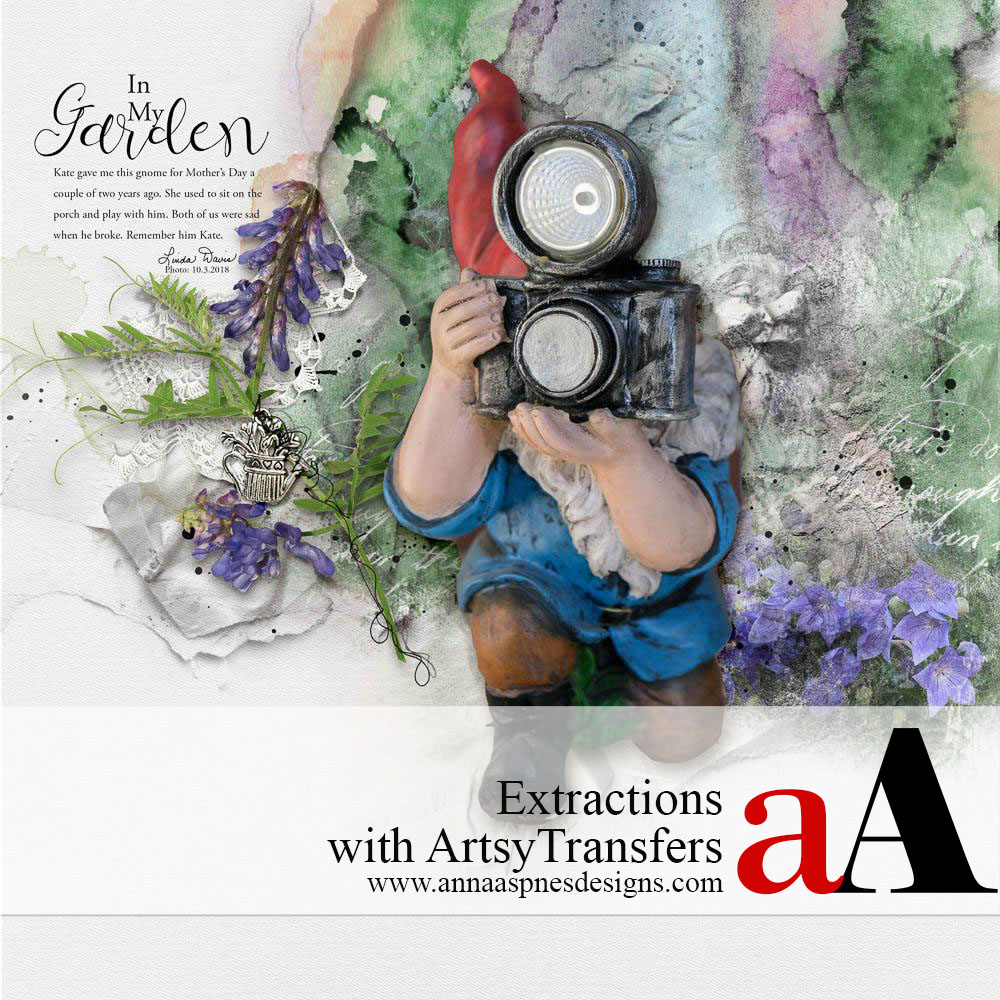


I am addicted to brushes as proven by my enjoyment of your multiple innovative classes. Thanks for this fantastic artsy layout tutorial. Hugs and many thanks. 🙂
So haooy you enjoy Shirley!