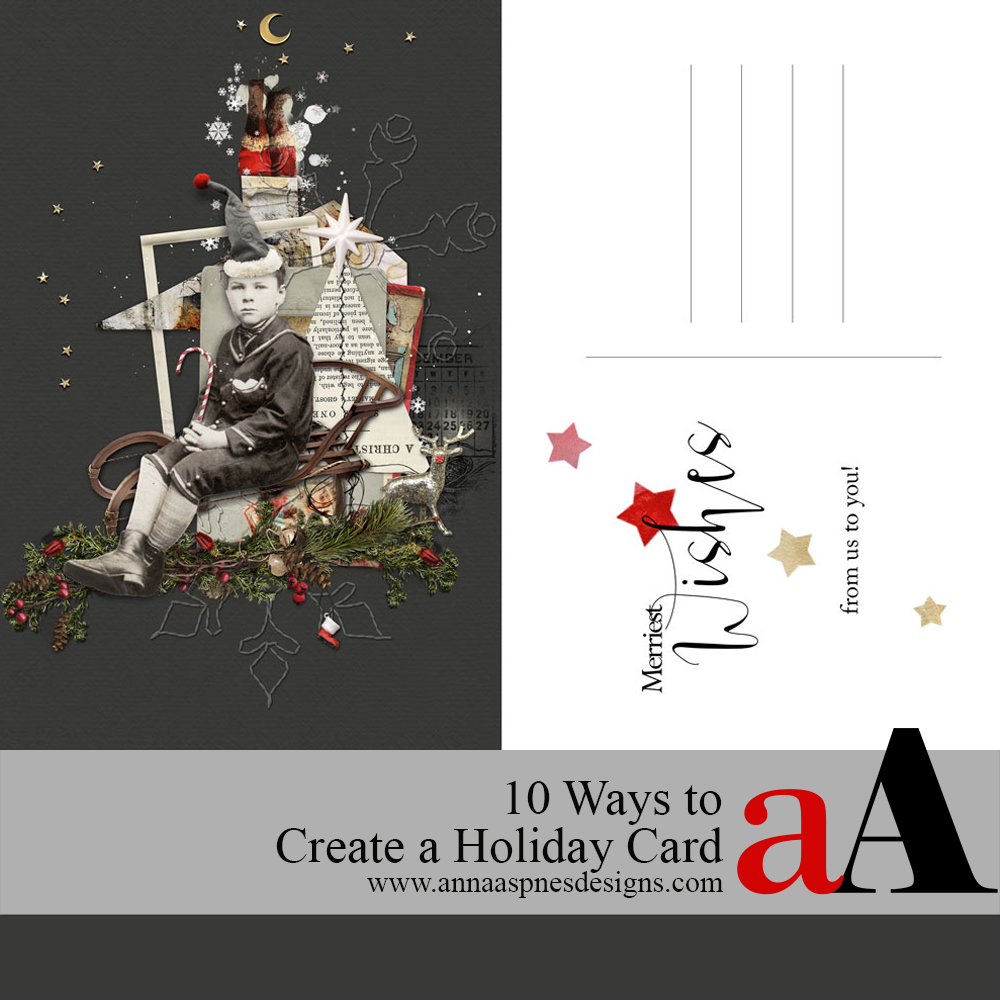
Today, we sharing 10 Ways to Create a Holiday Card using your aA DigitalART supplies.
10 Ways to Create a Holiday Card
Introduction
There are a number of approaches you can use to create digital Holiday cards using the various digital products at Anna Aspnes Designs.
- Your digital layout design will be much Smaller and perhaps a different Shape to your traditional memory keeping page.
- This makes a card a little Simpler to design because you can adopt a ‘Less is More’ approach with fewer digital elements.
- Aim for a single Focal Point enhanced by supporting photos and artistry.
1. Embellishment Focal Point
Use a MultiMedia or Custom Element Cluster to draw the eye into your holiday card design.
- Use a MultiMedia element as delivered or modify to create your own rendition.
- Create your own Custom Element Cluster using embellishments from MultiMedia elements or ArtPlay Palettes.
- Support your Focal Point with a WordART title and a Artsy Paper background.
Tip:
- Merge the elements into a single layer and apply a WaterColor Filter in Adobe Photoshop.
2. Diagonal Design Approach
Position the artistry in opposing corners of the Holiday car design to create Tension.
- Place transfers from ArtPlay Palettes or ArtsyTransfers diagonally opposite one another in your layout design.
- Make one of the areas of interest Larger than the other to create a strong Focal Point and foundation for your photo.
- Blend your photo onto the transfer layers using a Layer Mask and Brushes or using a FotoBlendz Clipping Mask.
Tip:
- Use a contrasting background and title to yield Visual Interest.
3. Pictorial Element Design
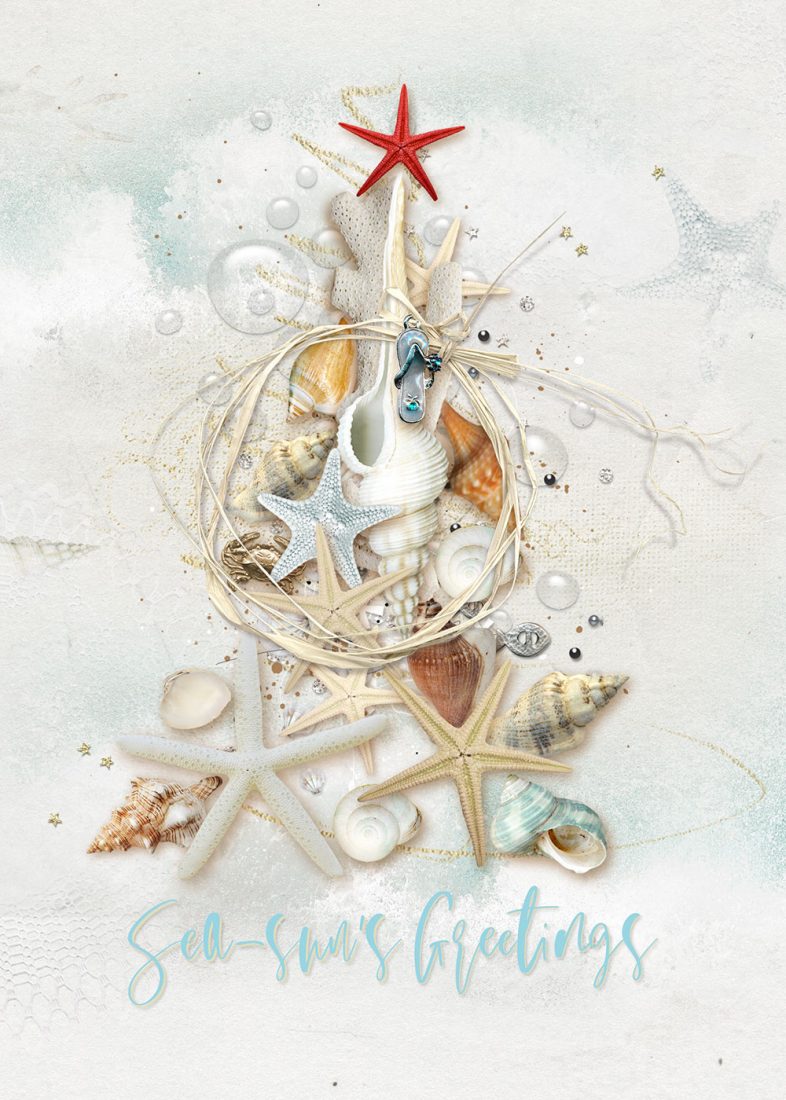
Create a ‘picture’ using elements from the Anna Aspnes Designs digital asset range.
- Arrange digital elements to support your Holiday card Theme.
- The beach elements are cleverly arranged on the Artsy Paper foundation in the shape of a Christmas Tree.
- Notice how the Orientation of this pictorial motif matches that of the card itself.
Tip.
- Use bright and bold colored elements sparingly to excite and lead the eye.
4. Extend Design Motif
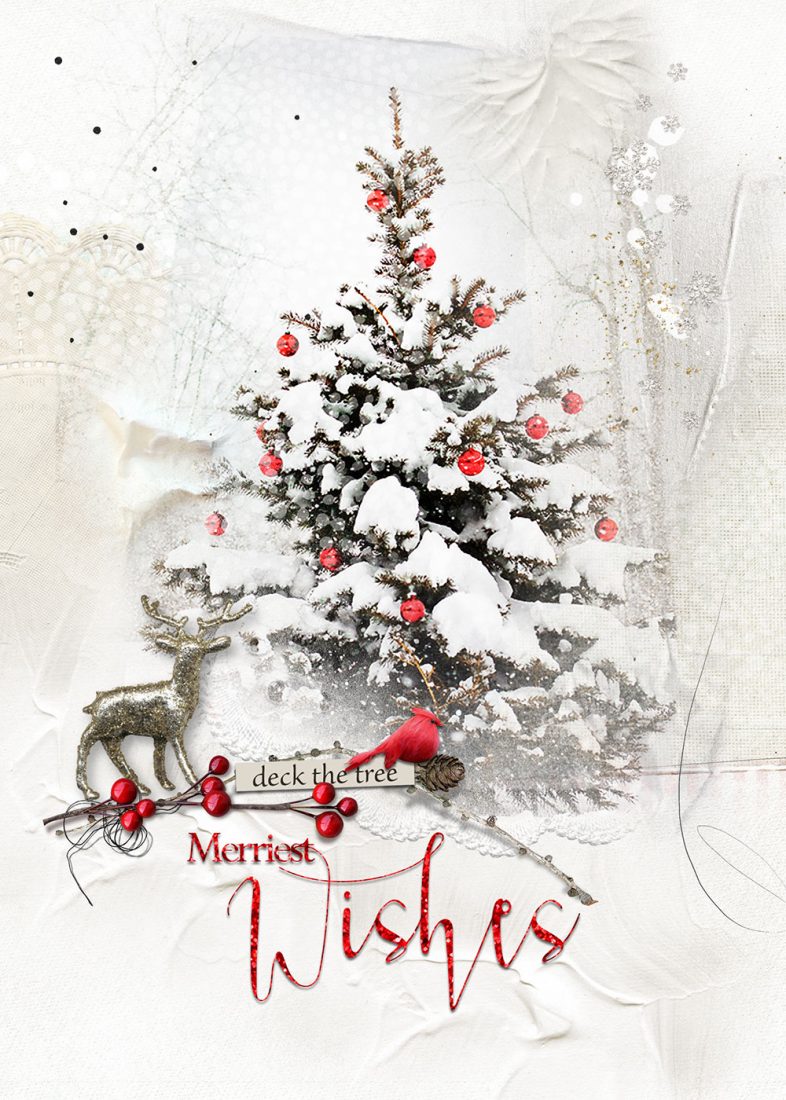
Add elements that extend the theme of your layout design.
- Support the Focal Point with additional elements.
- These elements should elaborate and enhance the Theme.
- Notice how the deer and bird elements help tell a bigger Visual Story.
Tip.
- Choose a Colors that coordinate with your Focal Point.
5. Modify a Template
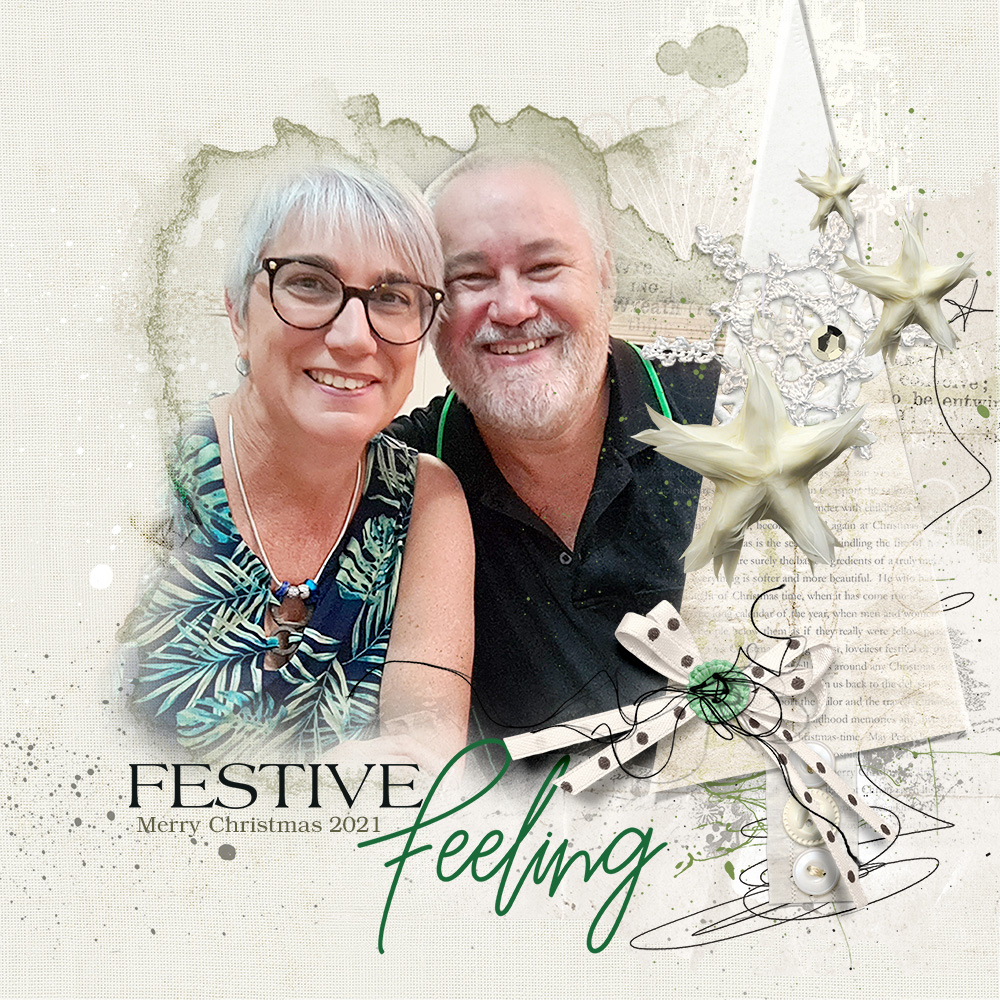
Modify a Template to create the foundation of your Holiday card design.
- Change the Size, Reposition or ‘turn off’ the Visibility of template layers as needed.
- Clip the photo to the FotoBlendz Clipping Mask.
- Recolor the template layers to coordinate with Colors in your photos.
Tip.
- Personalize your card design with a ‘people’ photo.
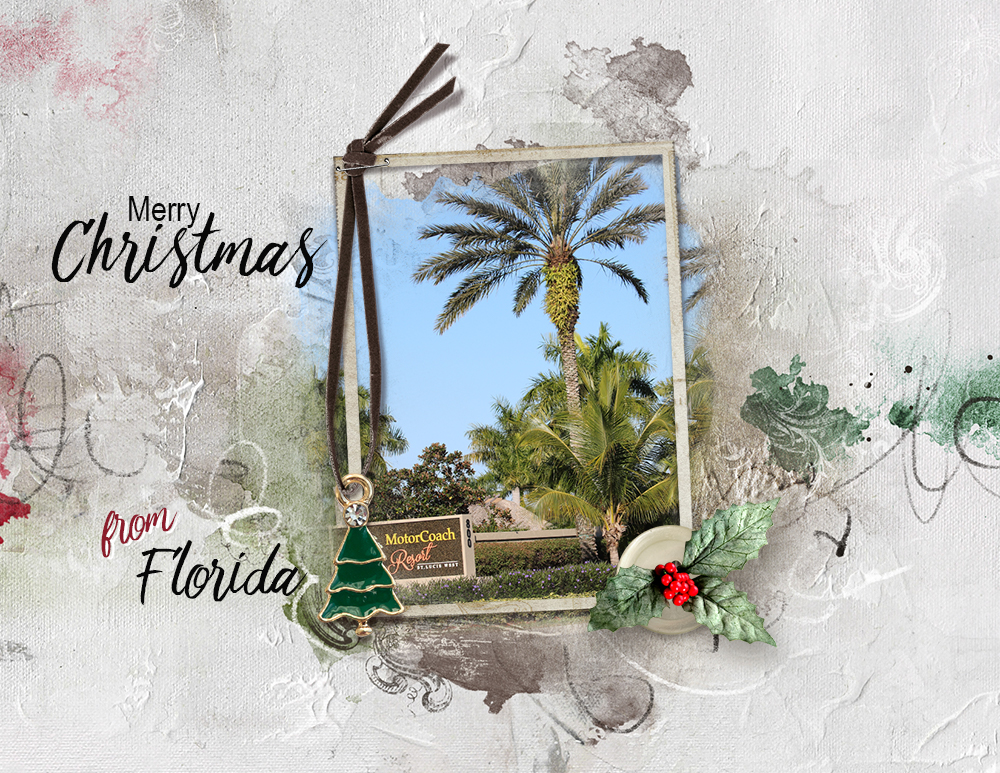
6. Frame a Photo
Use a digital frame element to showcase your photo.
- Clip a photo layer to the mask layer in the Frame.
- You can find a variety of frames in ArtPlay Palettes and the Frames categories of the Anna Aspnes Designs store.
- Support with words and embellishments to enhance your Holiday card design.
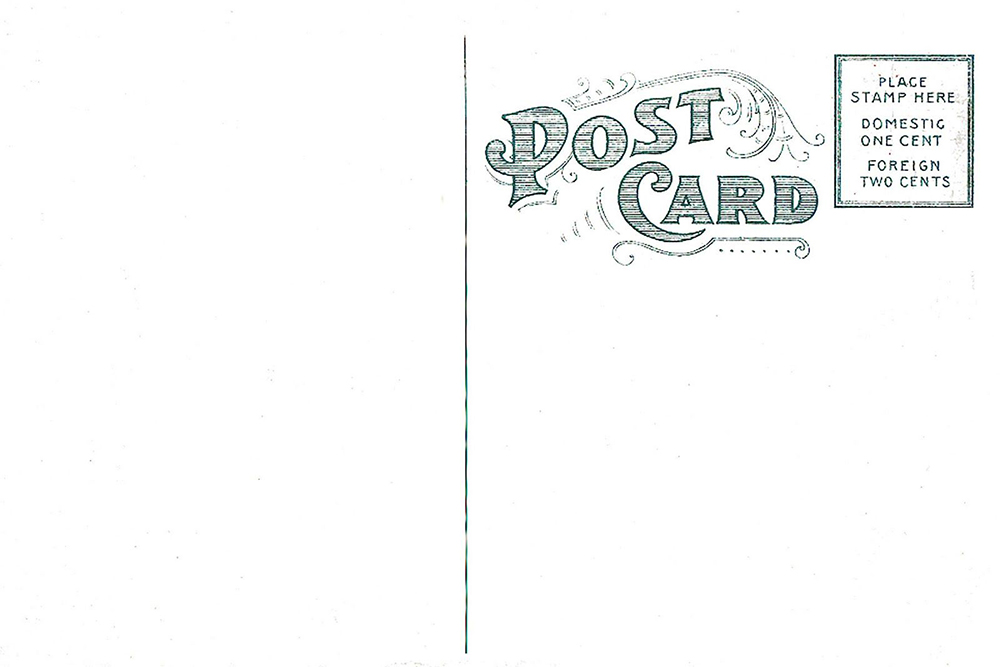
Tip.
- Use a scan of a vintage postcard or a Photoshop Brush to create the back of your card design.
7. Frame Design Motif
Use a digital frame to draw the eye to an artistry motif.
- Clip an ArtsyKardz file or Artsy Paper to the mask layer in the Frame.
- Resize and Reposition the element over the mask layer to bring a specific area of interest into view.
- Notice how the framing draws the eye to the artistry.
Tip.
- Matte the design with a striking patterned paper.
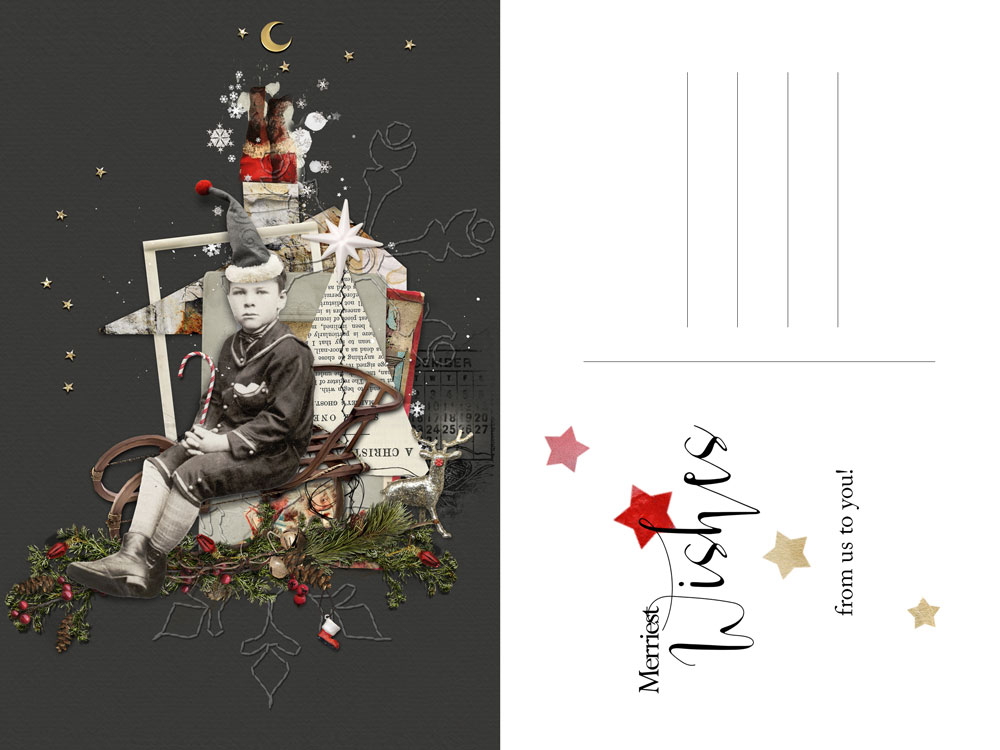
8. Heritage Image Extraction
Extract a heritage photo and anchor the image to your background with a custom element cluster.
- Use this extraction tutorial to Remove the background from your photo.
- Apply a Drop Shadow Layer Style to your extraction to apply Depth and Dimension.
- Choose embellishments that support both the Theme of your design and stance of your Subject.
Tip.
- Have fun with ‘dressing-up’ your heritage subject.
9. Create a Scene
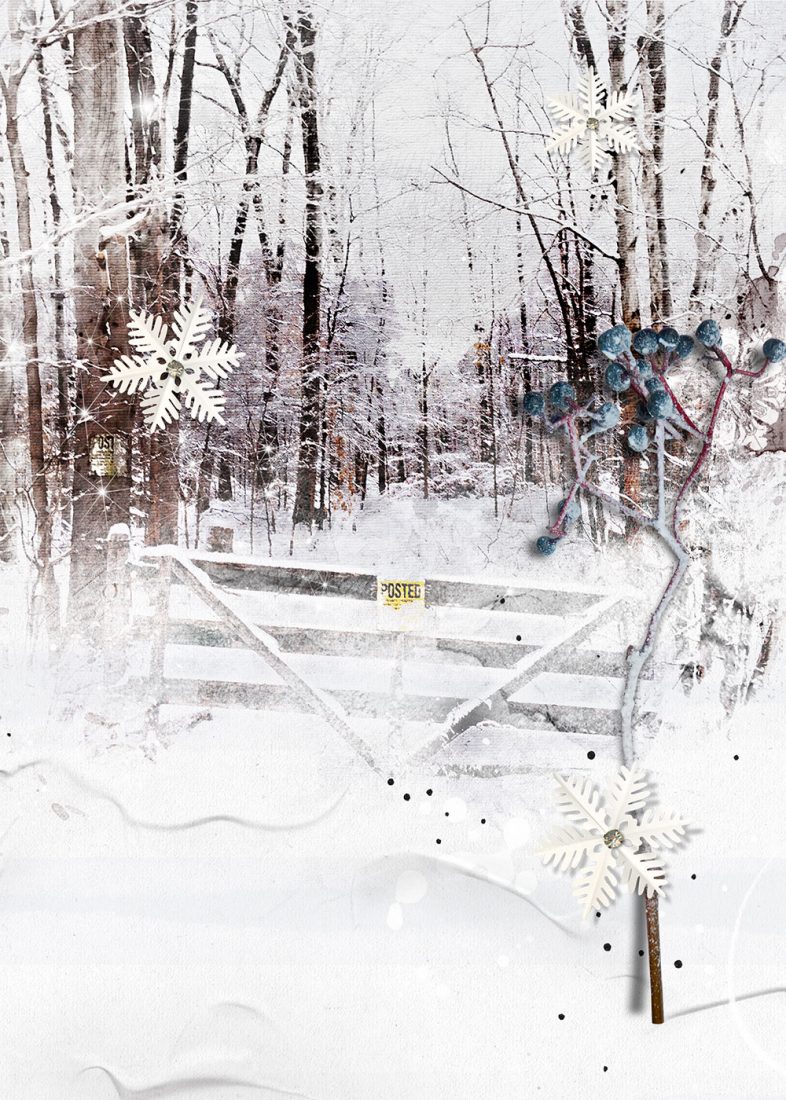
Use a variety of digital elements to create a holiday scene.
- Choose or build your own custom artsy Layout Foundation using digital papers and transfers.
- Add brush to your background to establish a Focal Point.
- Incorporate FotoGlows and stars to instill magic in the Holiday card design.
Tip.
- Create a Visual Triangle to ensure Balance plus Visual Interest in your design.
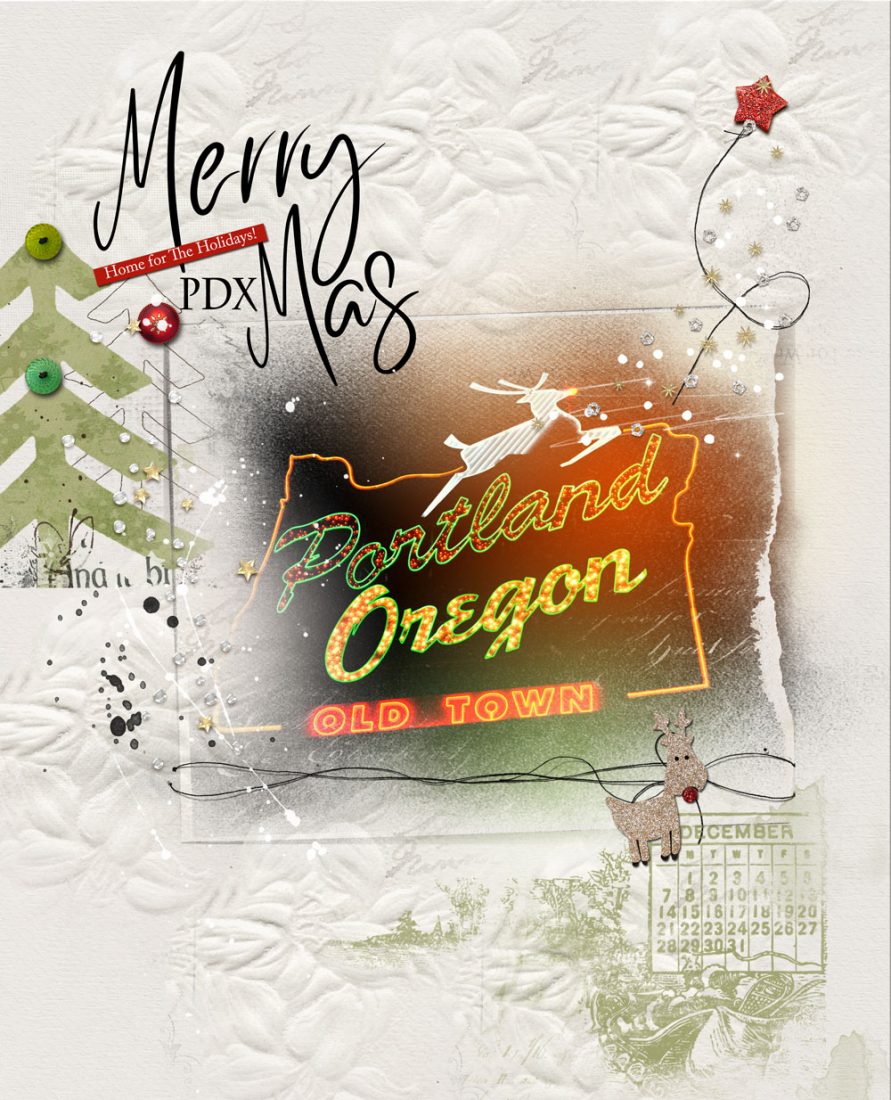
10. Blend with FotoBlendz
Blend a photo using a FotoBlendz Clipping Mask.
- Position your photo layer on top of the FotoBlendz Clipping Mask.
- Go to Layer> Create Clipping Mask.
- Notice how the photo layer conforms to the Shape of the underlying mask layer.
Tip.
- Choose a card foundation that is of similar Color to the edges of your photo ensuring better blending results.
Summary
There are SO many ways you can use your aA DigitalART supplies to create a digital holiday greeting card.
- Create a card foundation using digital papers and transfers/overlays from ArtPlay Palettes or ArtsyTransfers.
- Establish a Focal Points using a framed or blended photo, element cluster or constructed Holiday scene.
- Embellish with WordART, dimensional elements and BrushSets to support the design.
See also:
- 6 Step Digital Greeting Card Tutorial
- Create Digital Cards using Digital Scrapbooking Supplies
- Create an Artsy Digital Layout
If you like this 10 Ways to Create a Holiday Card tutorial post, try this technique in your next photo artistry and or digital scrapbooking layout design, and share your layouts in the AnnaGallery.



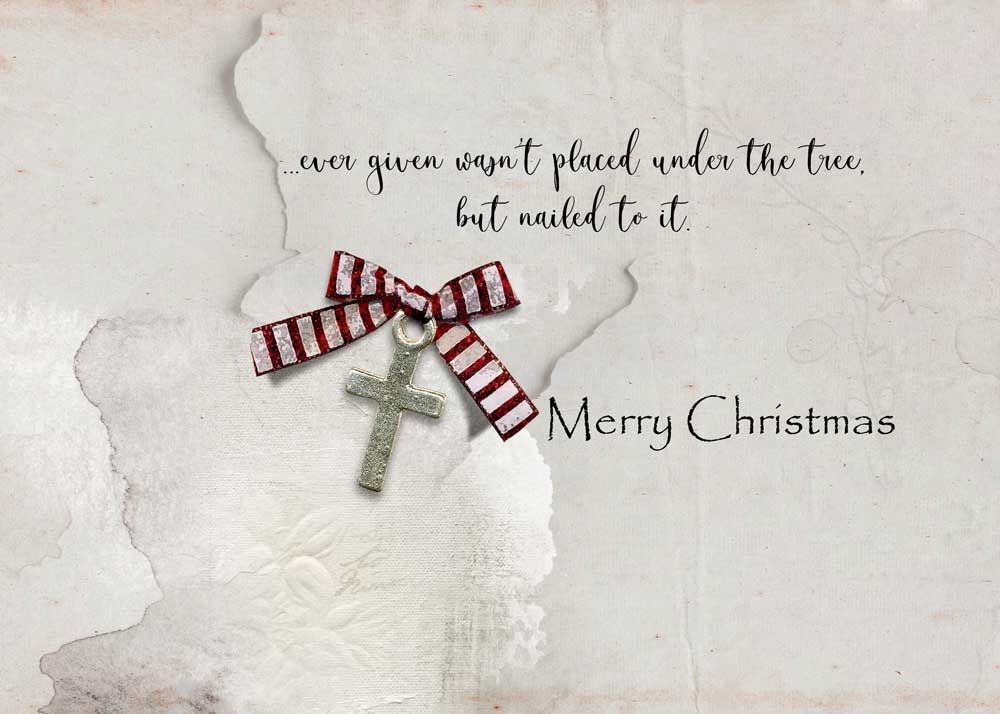
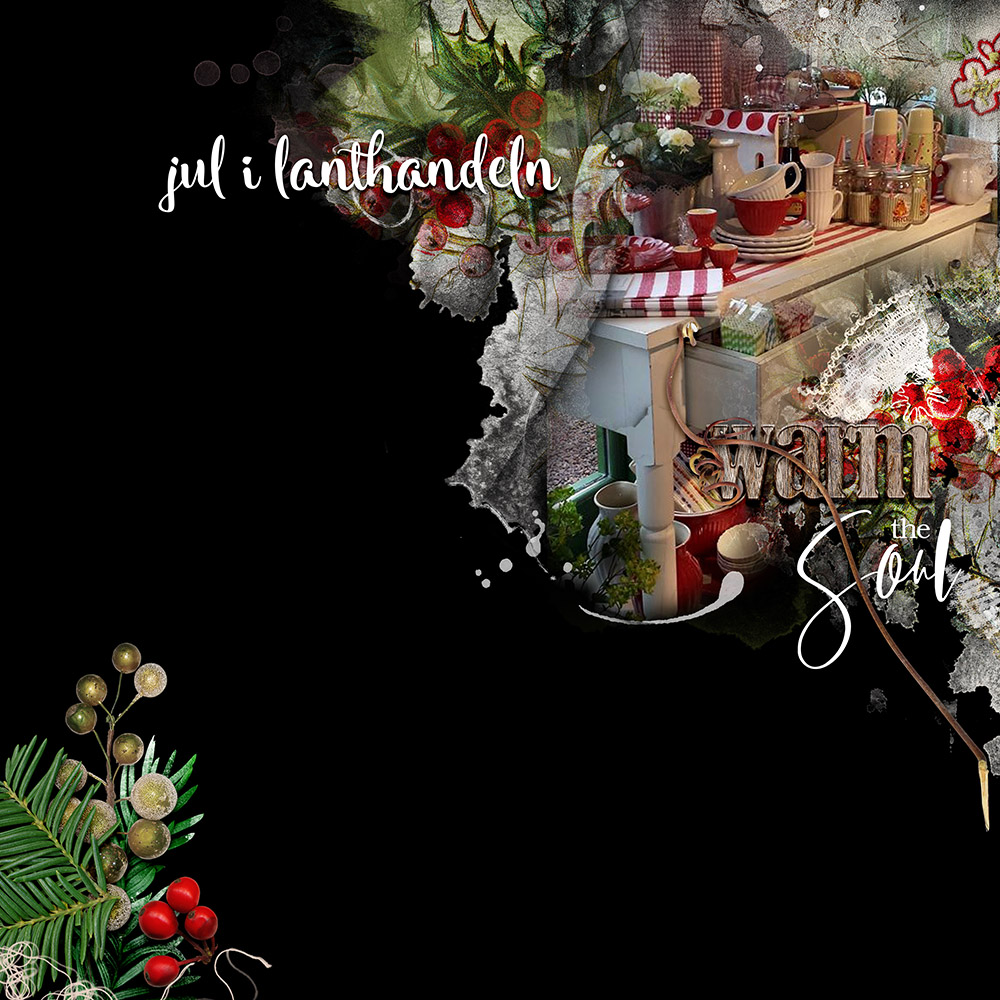
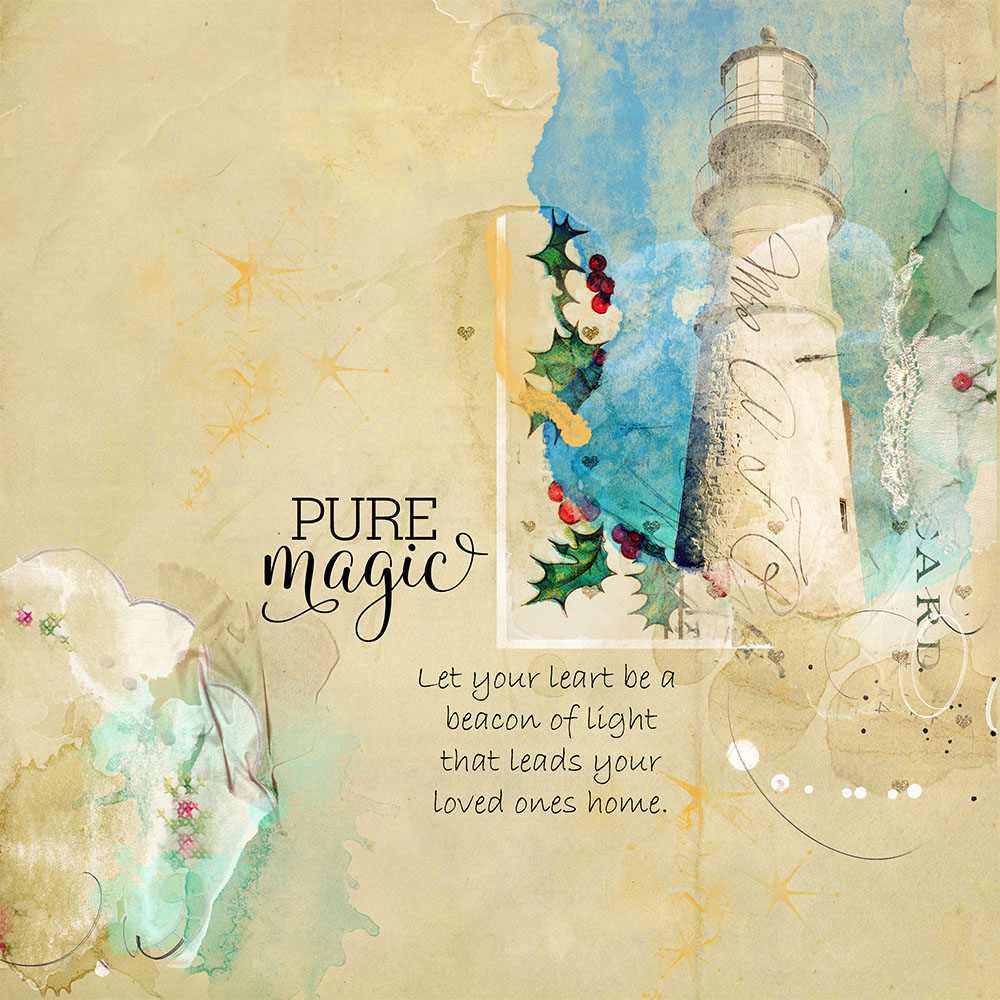






All of these cards are WONDERFUL and INSPIRING!!
Thank you Vicky!