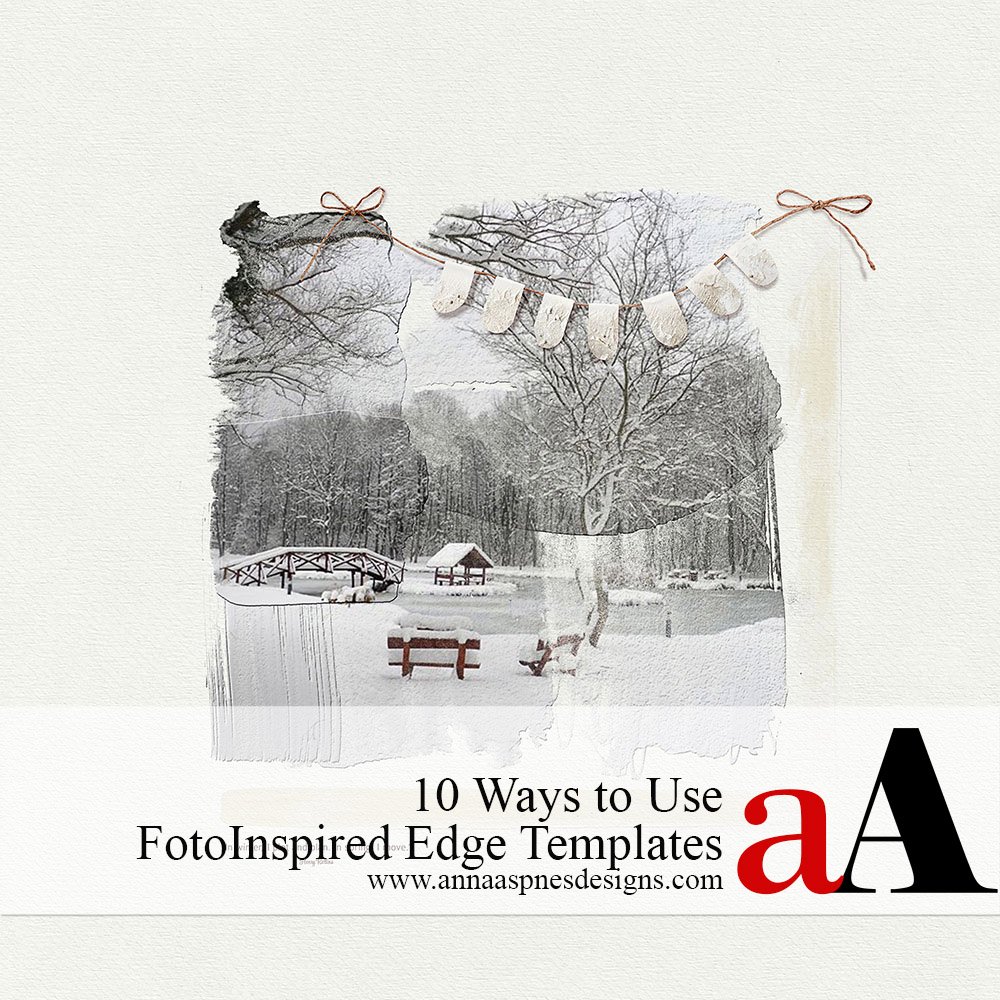
Today I’m sharing 10 Ways to Use FotoInspired Edge Templates in your photo artistry and digital scrapbooking layout designs.
Introduction
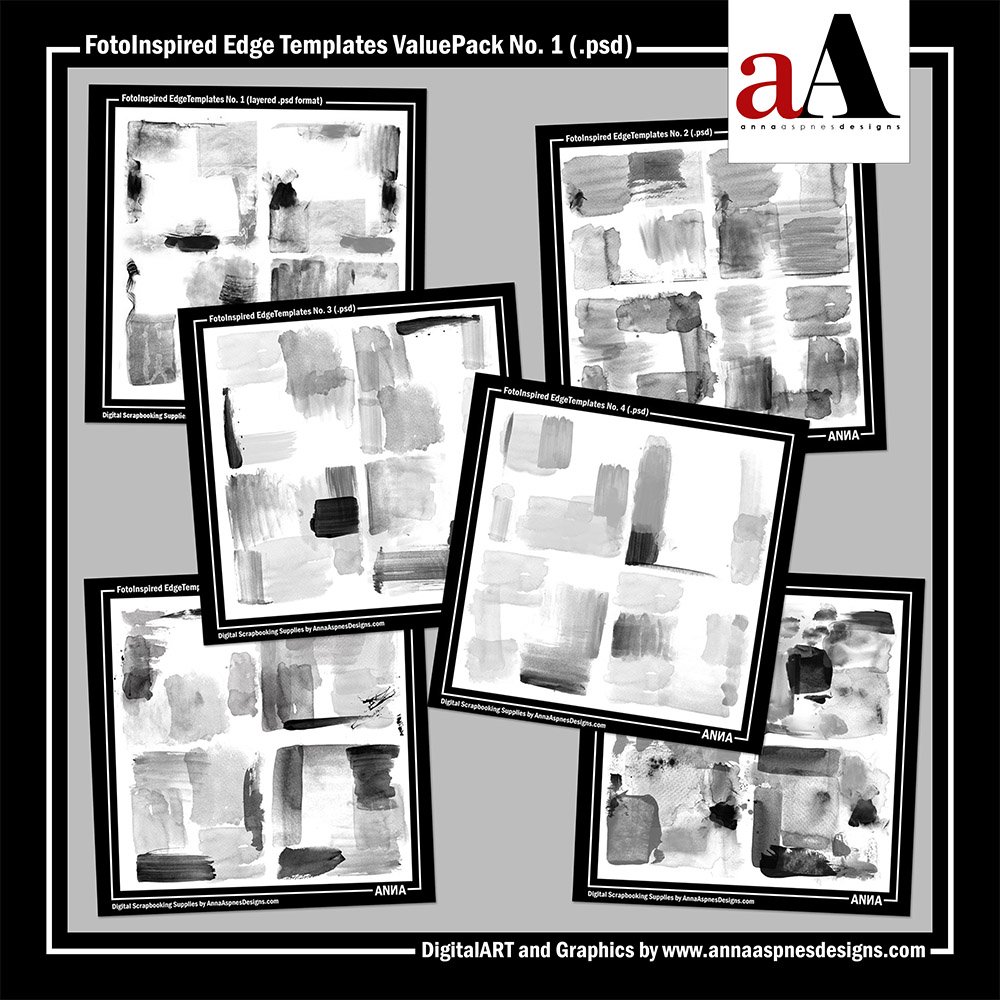
Add an artsy edge to your FotoInspired layout designs plus enhance your photo artistry and photo blending.
- These multi-layer .psd format templates were originally designed to provide an artsy border to your FotoInspired Templates.
- The painted layers are designed to reside between the background and FotoInspired Template layers.
- Each paint layer may be recolored or re-positioned as preferred to best support your photos.
2013 | Week 15 (FotoInspired Edge Templates No. 2)
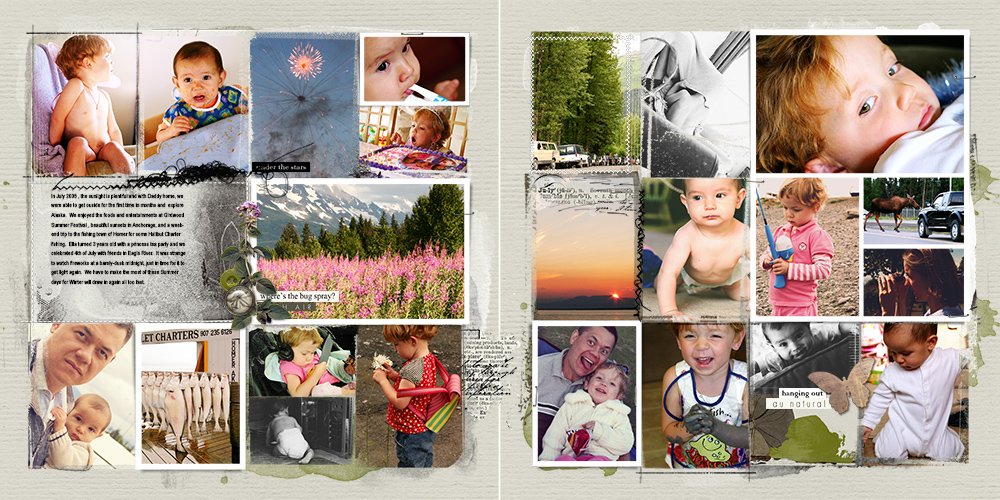
Alaska | July 2005 (FotoInspired Edge Templates No. 2)
The application of these FotoInspired Templates has morphed and changed with the creativity of the artists who have used them.
- Use these templates as a foundation to your photo artistry and digital scrapbooking layouts.
- Blend your photos abstractly with the multiple painted layers that make up these templates.
- Incorporate Useful Techniques for Photoshop and Elements to take these FotoInspired Edge Templates to a whole new level.
Below are just some of the ways you can use these FotoInspired Edge Templates as clipping Masks to ‘artisify’ your layout designs.
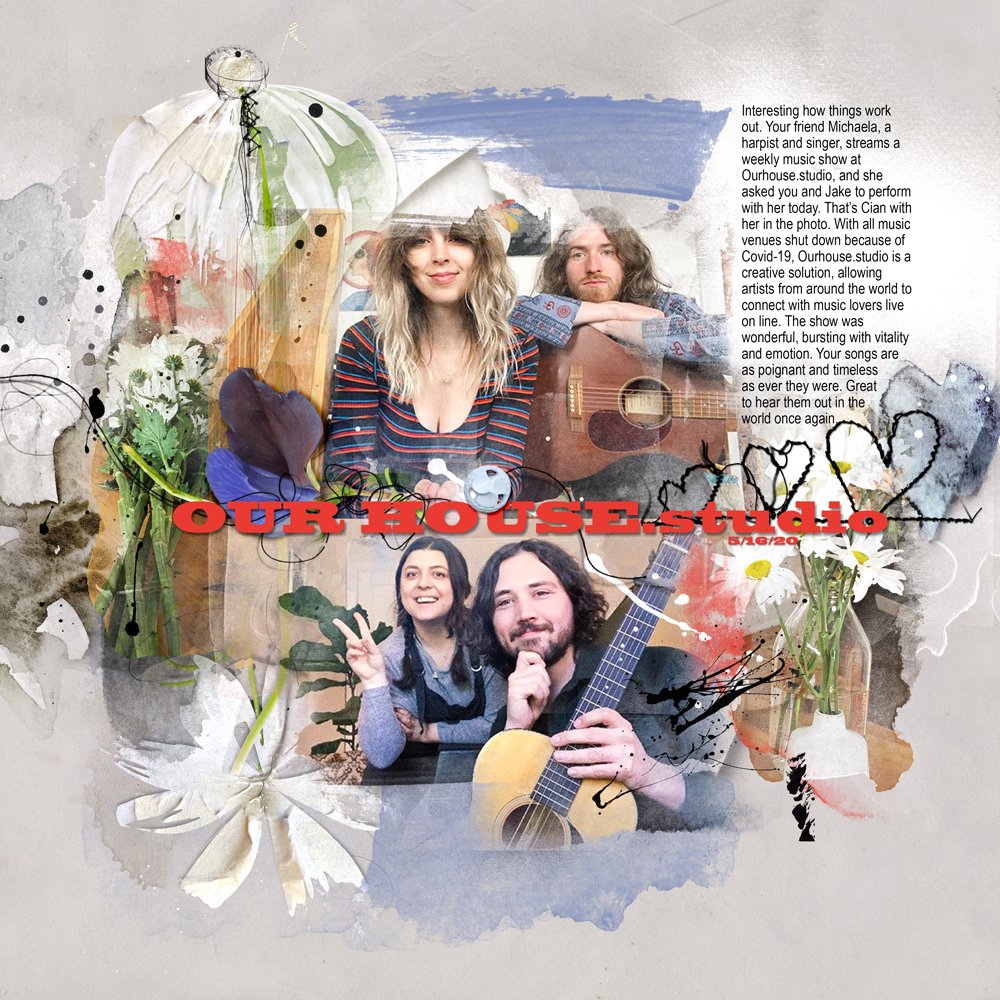
1. Creatively Blend Photos
Use the paint layers in the FotoInspired Edge Templates as an artsy clipping mask for your photos.
- Clip a photo to any of the layers in the FotoInspired Edge Templates.
- The DARK layers will yield more details in your photos than the LIGHT gray layers.
- Duplicate the layers and Layer> Merge Layers to increase the density of the mask.
Tip. See Modify Clipping Masks for guidance on revealing more details in your photos when clipped to masks.
OurHouse.Studio | Laura
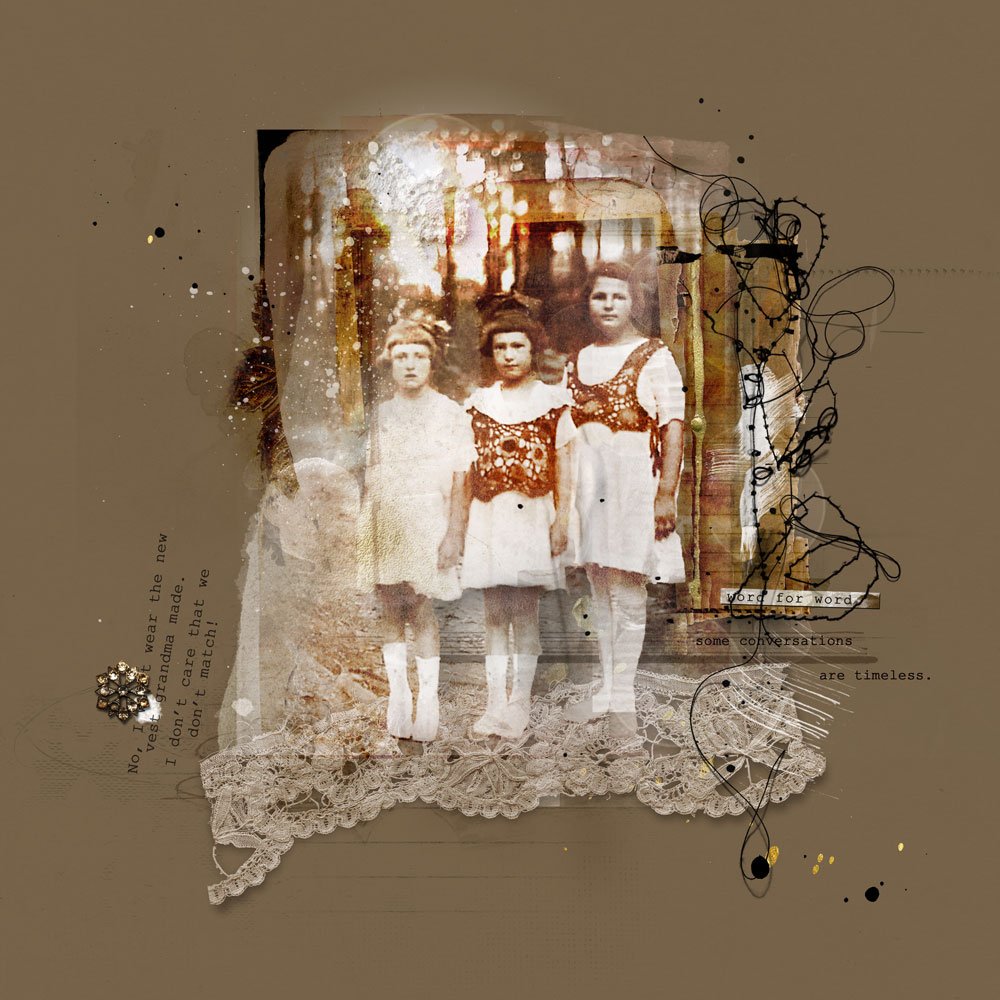
2. Matte an Image
Use the FotoInspired Edge Templates to create a foundation for your focal photo.
- Resize the template layers and position in the center of your layout design.
- Clip Artsy Papers, Transfers, and FotoGlows to the paint layers to frame a space for my photo.
- Apply modifications to the layers as preferred.
Word For Word | Adryane
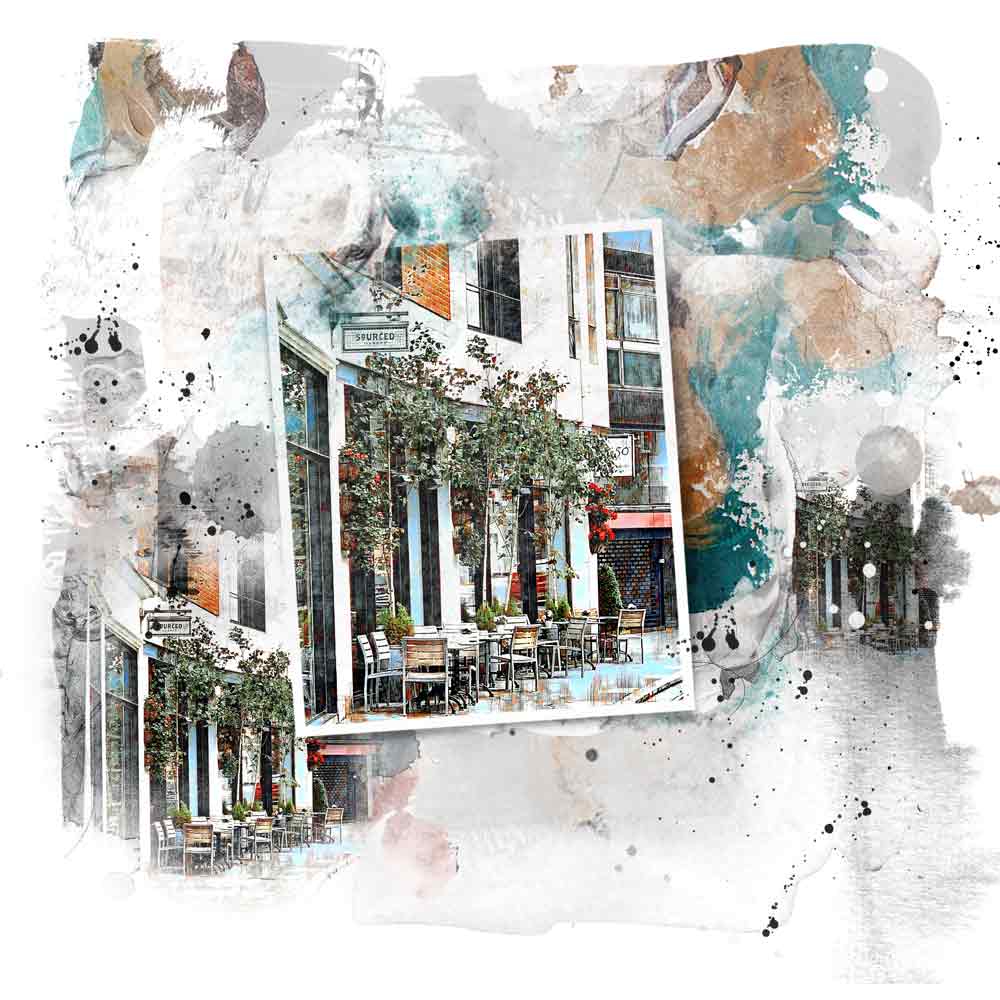
3. Embellish with ArtsyTransfers
Clip ArtsyTransfers to the paint layers in the FotoInspired Edge Template.
- Move one or more ArtsyTransfer layers directly above each of the paint layers in the template.
- Go to Layer> Create Clipping Mask to clip these layers to the paint layers.
- Recolor the paint layers as preferred via Edit> Fill.
Tip. You can also clip your photo layers to the paint layers to blend them with your ArtsyTransfers.
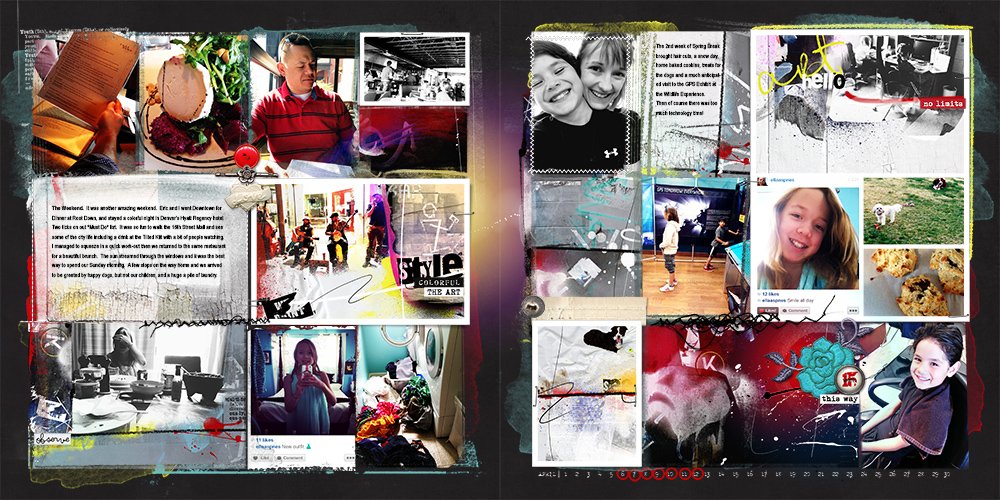
Street Cafe | Trish
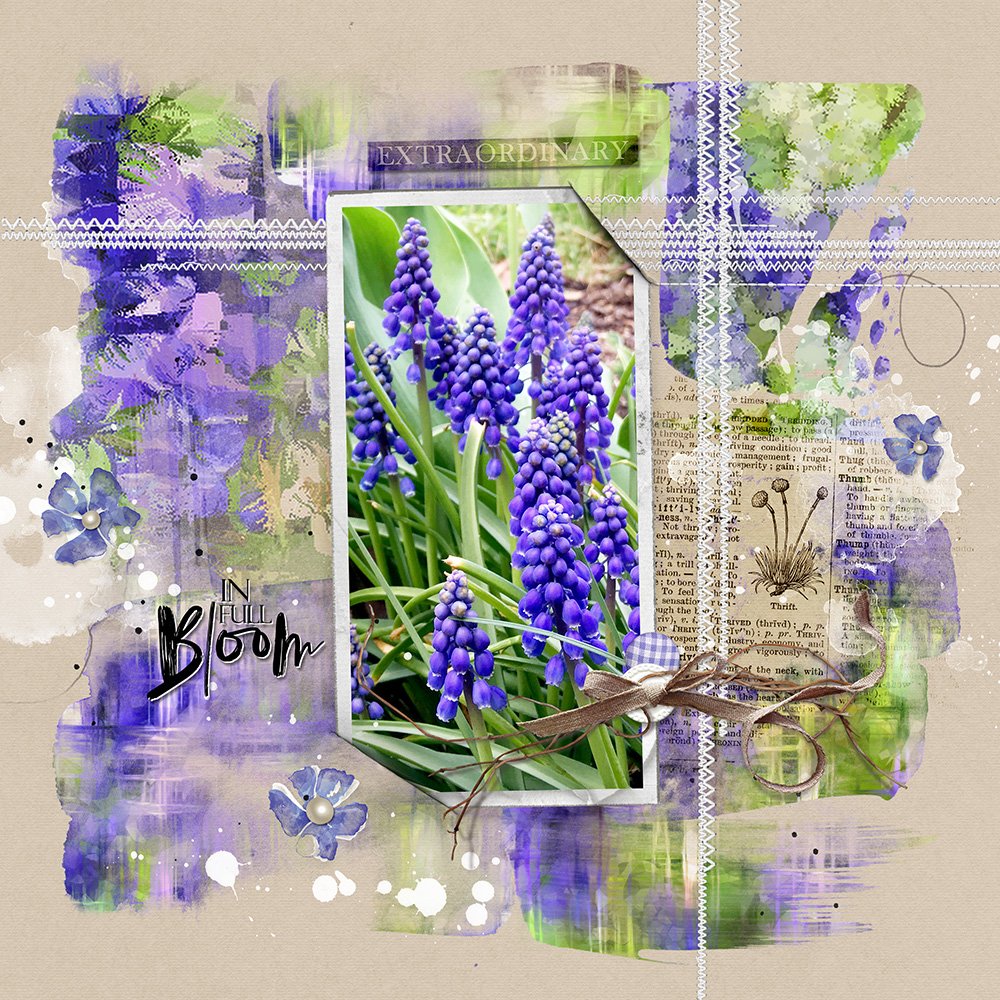
4. Multiple Filtered Photos
Apply filters to your photos using Smart Phone Apps.
- Establish a solid layout foundation to showcase your photos.
- Process the focal photo with a smart phone App such as iColorama using the Style> Tensor adjustment.
- Repeat to achieve different renditions of the same photo, before clipping to the paint layers in the FotoInspired Edge Template.
Tip. Recolor some of the layers to white to create CONTRACT and add Splatters/ArtStrokes for visual interest.
In Full Bloom | Miki
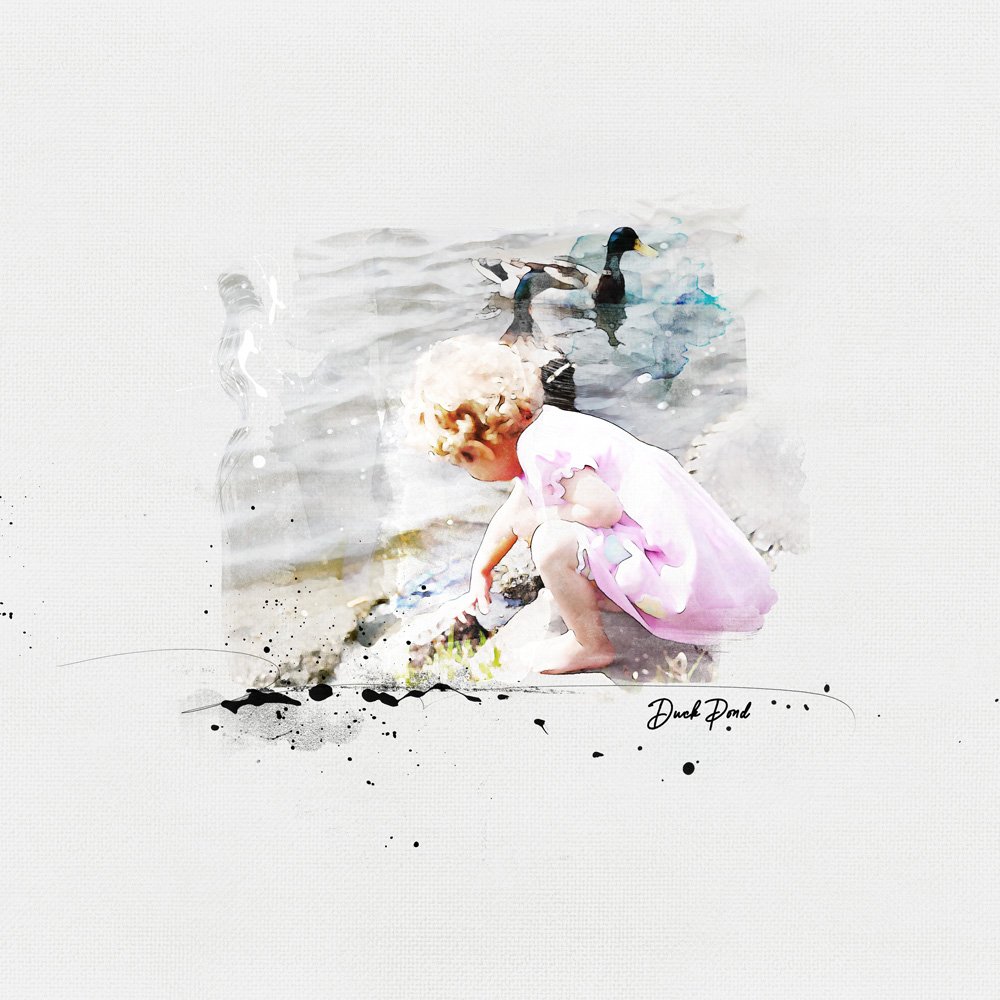
5. Modify Template Layers
- Apply Filters of choice to your photo in Photoshop or Elements.
- Clip multiple layers of the same edited photo to the mask layers.
- Duplicate the photo layers reposition and or change the Blending Mode as preferred.
Note. There are 24 masked layers in this layout design.
Duck Pond | Adryane
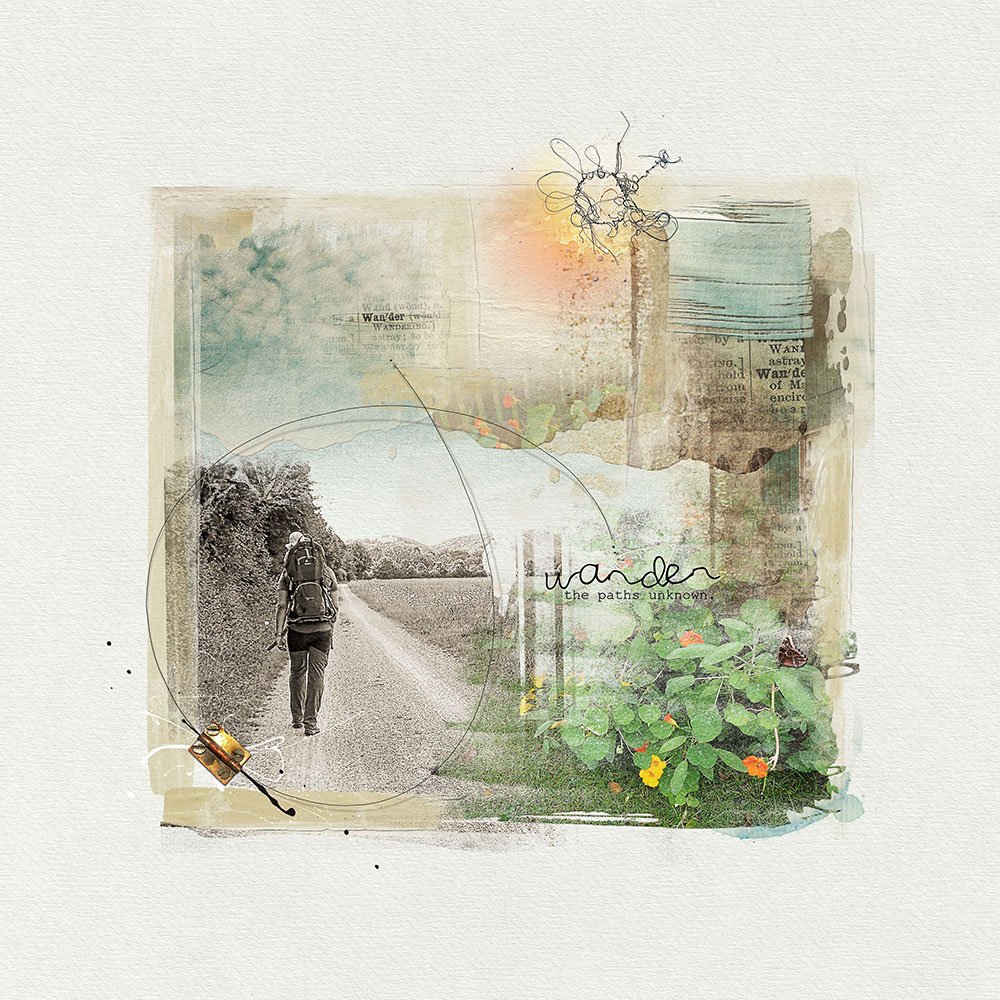
6. Incorporate FotoBlendz
Add a FotoBlendz to the paint layers to create a focal point.
- Open and move the layers and position within the layers of the FotoInspired Edge Template.
- FotoBlendz Masks are less transparent so will allow for more density in your blended photo.
- Modify the surrounding layers as preferred to support your photo.
Story | Margo
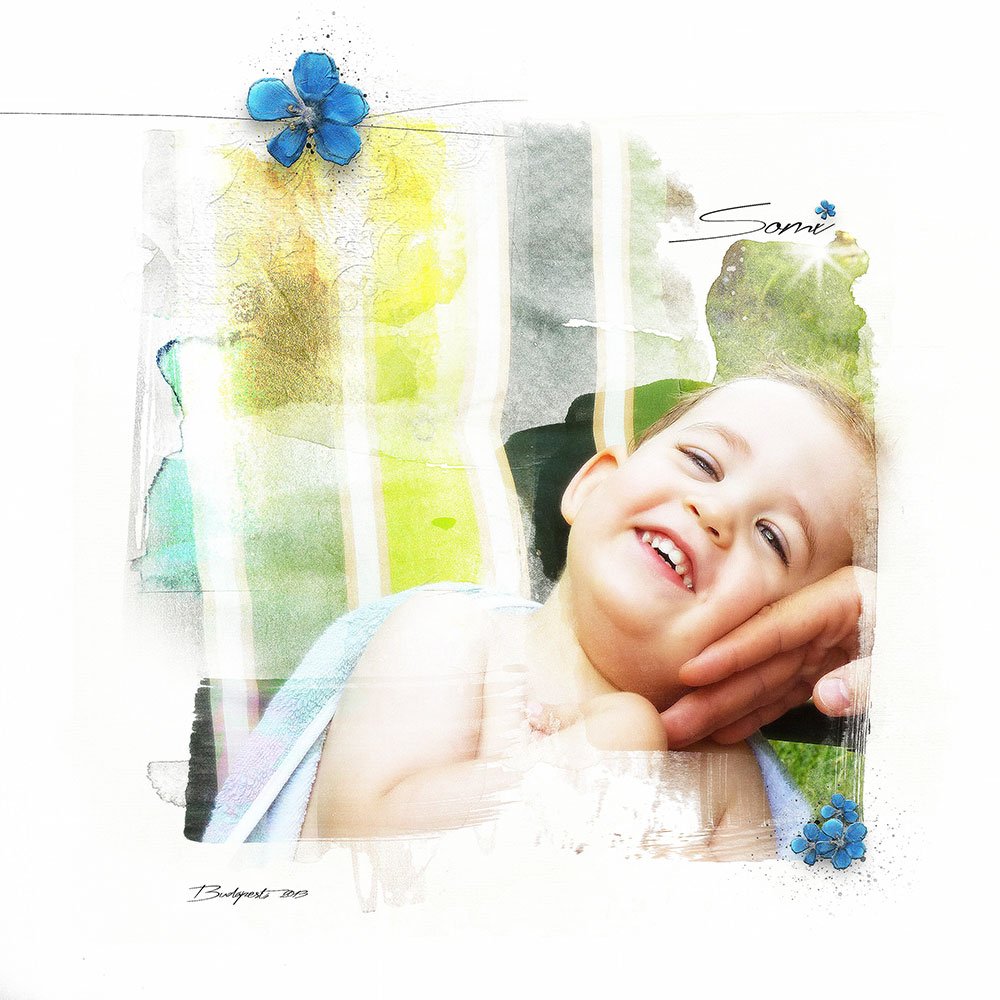
7. Add Brushes
Embellish with brushes to add color, texture and visual interest to the paint layers.
- Support the colors in your photos and DigitalART supplies.
- Lead the eye around your layout design.
- Add texture to create Visual Interest.
Tip. See Basic Brushes for further guidance.
Somi| Margo
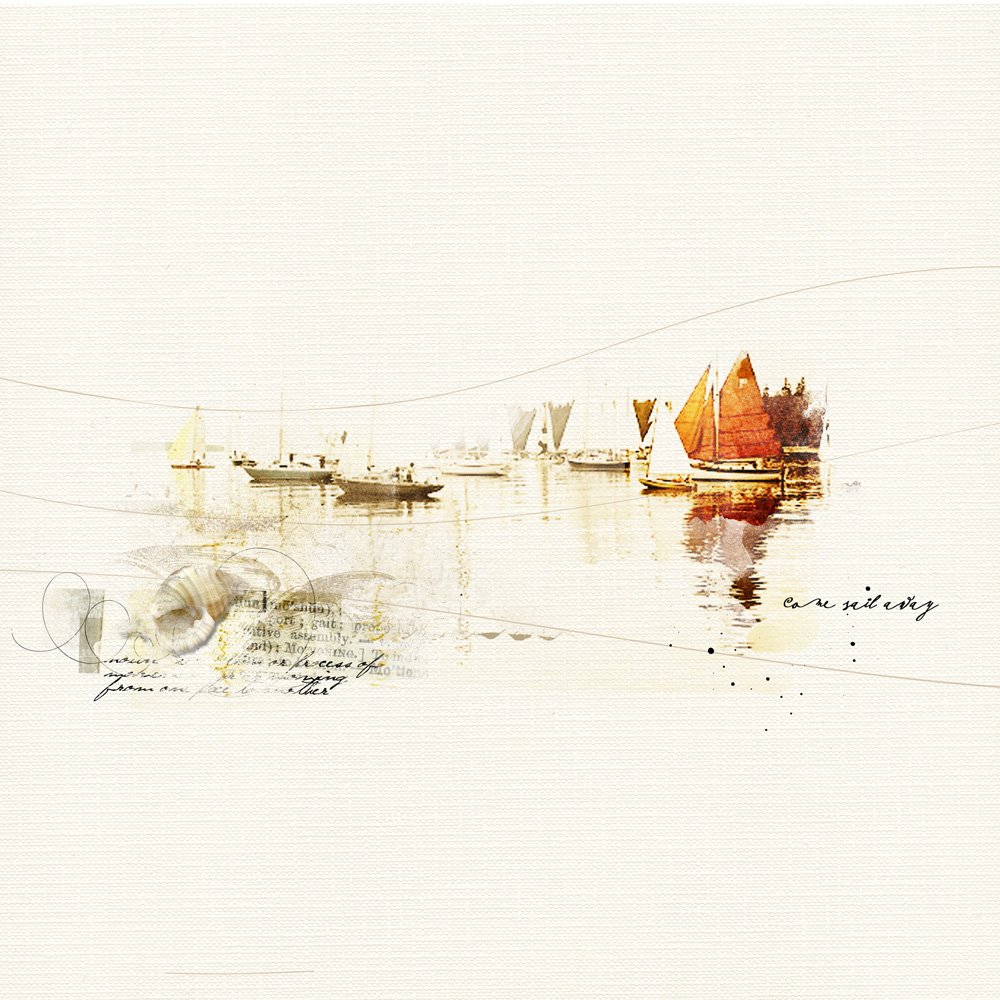
8. Partial Template Usage
Turn off the visibility of some of the layers in the FotoInspired Edge Template.
- Click on the ‘eye’ icon next to the paint layers in the template to adjust the surface area and size of the template.
- Clip photos and/or aA DigitalART supplies to the remaining visible layers to mask your photos.
- Apply Blending Modes to the clipping mask layers as preferred to accentuate the photo effect.
Tip. Resize any of the paint layers, changing their SIZE and ORIENTATION individually, as preferred.
Come Sail Away | Adryane
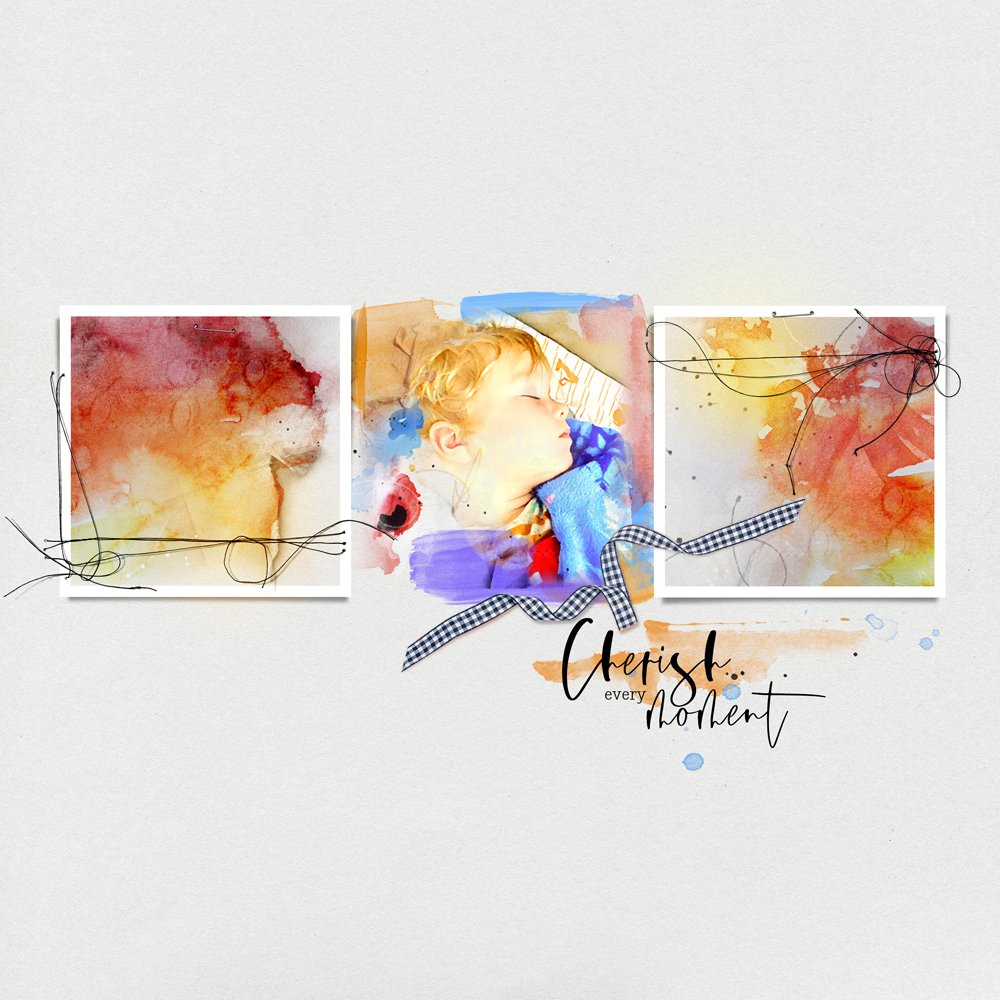
9. Create Custom Mask
Build your own custom mask using the paint layers.
- Arrange the paint layers on top of one another to create a personalized multi-layer mask.
- Duplicate layers to increase density of the mask and/or make other modifications to the layers.
- Clip your photo to the top layer in the Layers Stack and recolor the supporting paint layers.
Tip. Support your blended image with similar sized frames photos.
Cherish Every Moment | Marnie
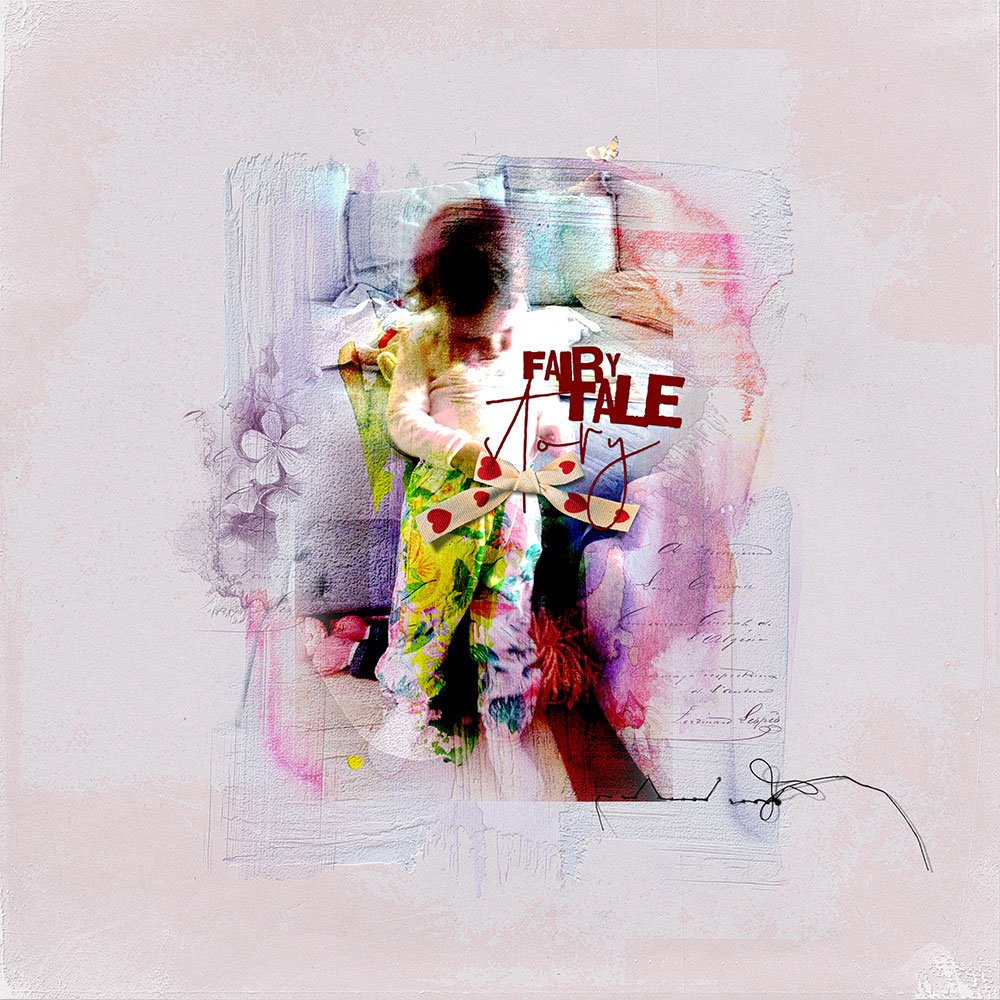
10. Apply Layer Styles
Apply Layer Styles in Photoshop or Elements.
- Bevel and Emboss and/or Drop Shadow Layer Styles will add dimension to the FotoInspired Edge Templates.
- Apply to individual paint layers or merge the layers before applying the Layer Style.
- Clip photos and/or aA DigitalART to create a dimensional blended photo collage.
Tip. Play with the Blending Modes in your Layers Panel to elevate the depth of color in your layout design.
Fairytale | Margo
Summary
There are SO MAY WAYS you can use the FotoInspired Edge Templates
- Use as a mask to create a photo collage or create an artsy background to showcase your focal point photo.
- Incorporate duplicate copies of the same image or multiple photos.
- Make individual use of the layers or merge to form one big mask.
- Apply filters and special effects to your photo
- Experiment modifying the layers as preferred using Useful Techniques for Photoshop and Elements
Try this:
- See Blending Modes Magic and use some of the layers as overlays
- Use the paint layers as a guide for your layout design.
- Define brushes from the paint layers and use as a color accent.






Thank you so much Anna, and the Team, for taking time to create inspirational layouts, and share the best tips and methods for using these edge templates. I hope to give some ideas a try in my upcoming pages.
Thanks for the request Beverly – It’s fun to create articles for the aA community!
WOW! There’s a wealth of knowledge here! I think this could be a class in itself. Can’t wait to try some of these ideas. (On a sad note, so sorry that you had to put your dog down. This is one of life’s hardest tasks. My heart goes out to you and your family, Anna.)
very happy you are inspired – Looks forward to seeing what you create. And thank you for the sweet words about our Ray of Sunshine – We’re all at peace but a huge hole in our hearts.
Thank you Anna for the great new Fotoinspired Edges. They are fantastic and so fun to play with. Also, thanks for this page of inspirational ideas and tips.
You are the best!
Enjoy Maggie – Looking forward to seeing your artistry with these 🙂
What a great tutorial! I have a question…is there a difference in the results if you do Edit>Fill vs clipping a new fill layer to the mask? It seems to do the same thing, and I tend to do the fill layer more because I can easily see the color I used. I just wasn’t sure if there is a reason that I should do one over the other.
Hi Claire,
Edit> Fill is considered a ‘destructable’ approach where clipping a Color Fill Layer is more editable – Same result, just a different approach.