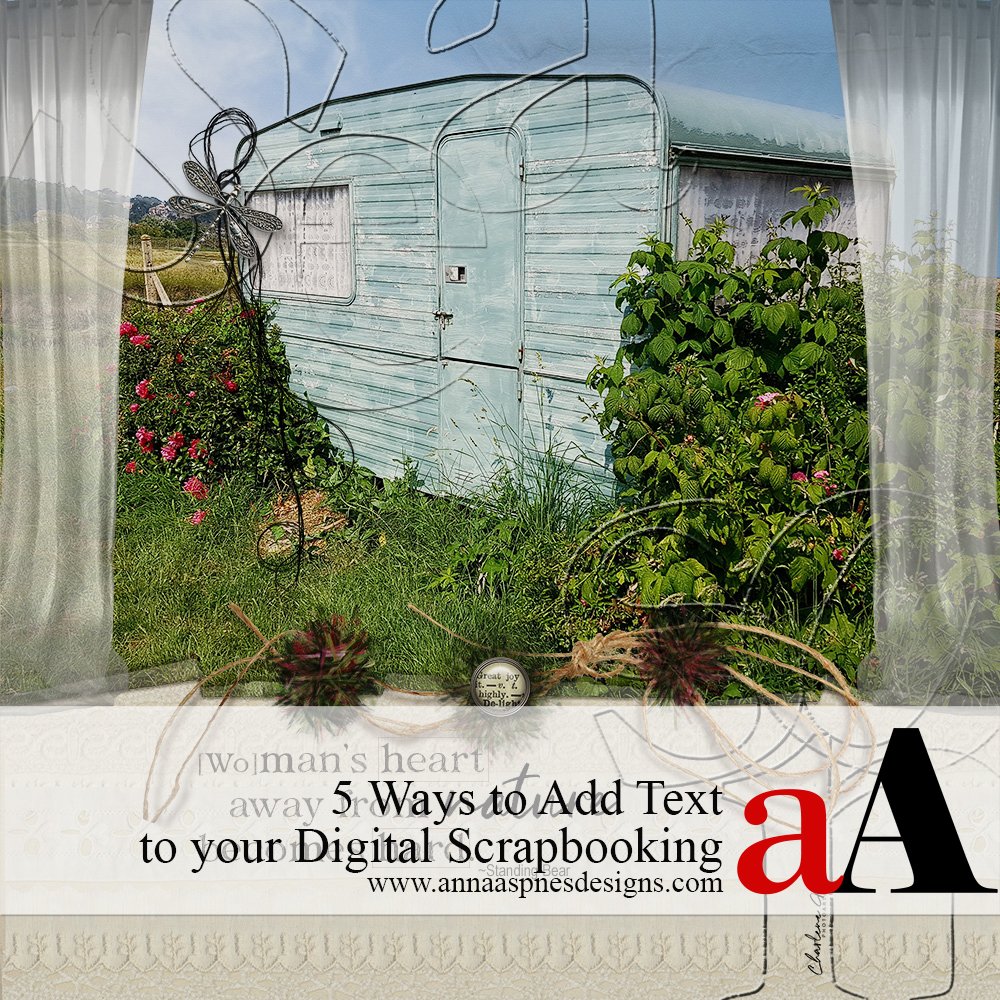
5 Ways to Interesting Text in your Digital Scrapbooking or photo artistry pages and layouts.
Follow this tutorial by Charlene Mitchell in Adobe Photoshop or Elements.
5 Ways to Add Text to your Digital Scrapbooking
Ideas for applying visual interest to the text in your digital scrapbooking and photo artistry pages.
- ANY element, including text, contributes to the Balance of Design in a layout.
- Always consider Element Properties such as size, color, style, etc…
- Simple Adjustments often yield more complex results.
1. Establish Layout Foundation
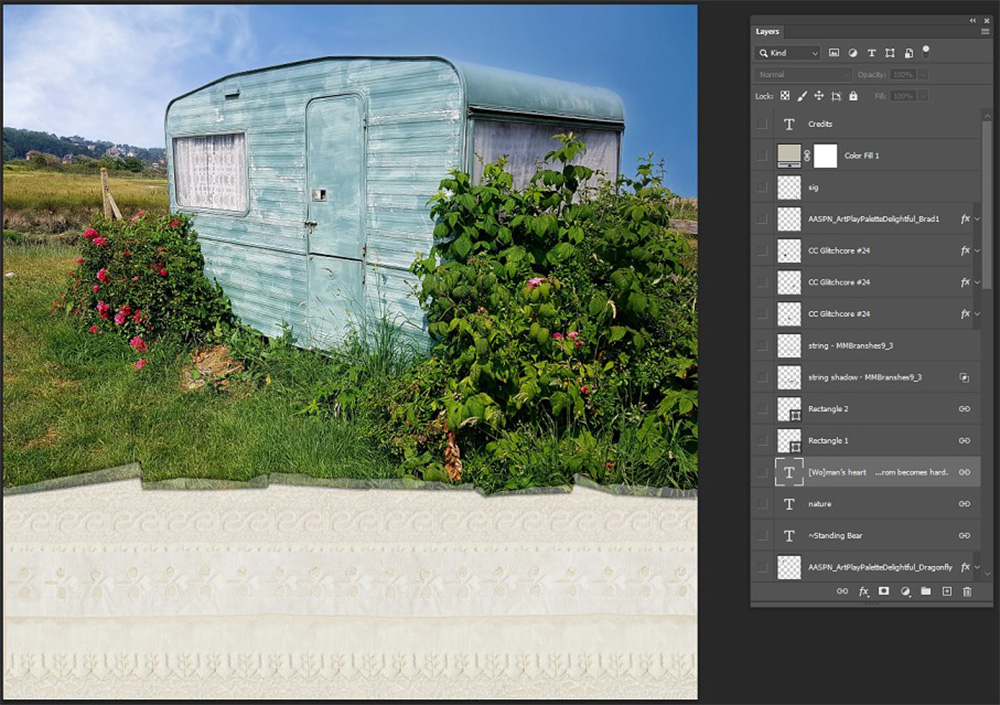
Choose a photo and background paper for your digital scrapbooking and photo artistry layout design.
- Create new document CTRL + N (CMD + N) 12 X 12 inches at Resolution 300 Pixels/Inch.
- Add your photo by clicking on the image and dragging to your new Layout Foundation using the Move Tool from the Tools Panel,
- Select the Background layer in the Layers Panel.
- Choose an artsy or solid paper and add to your Layout Foundation.
- Reposition photo as needed, to create room for the words or text you want to include
Note.
Words or text may refer to:
2. Choose Text Element
Consider the Space you want to fill and the message your wish to convey.
- Look through your supplies or in the Anna Aspnes Designs Store for WordART ideas or inspiration.
- Experiment with Placement of text element on top of your Focal Image.
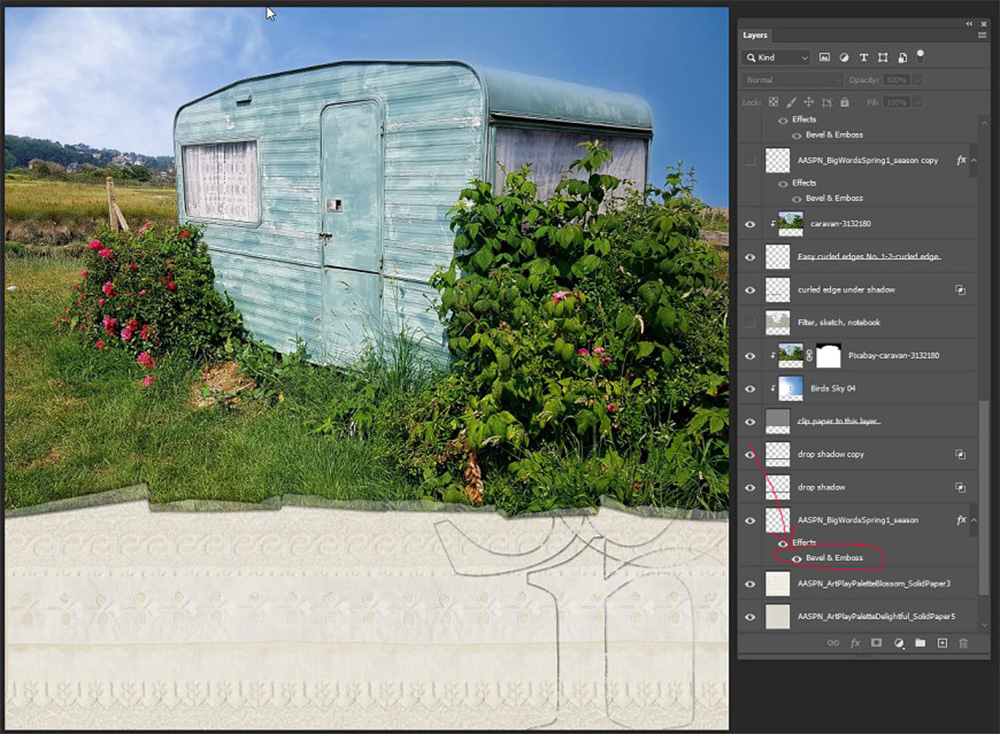
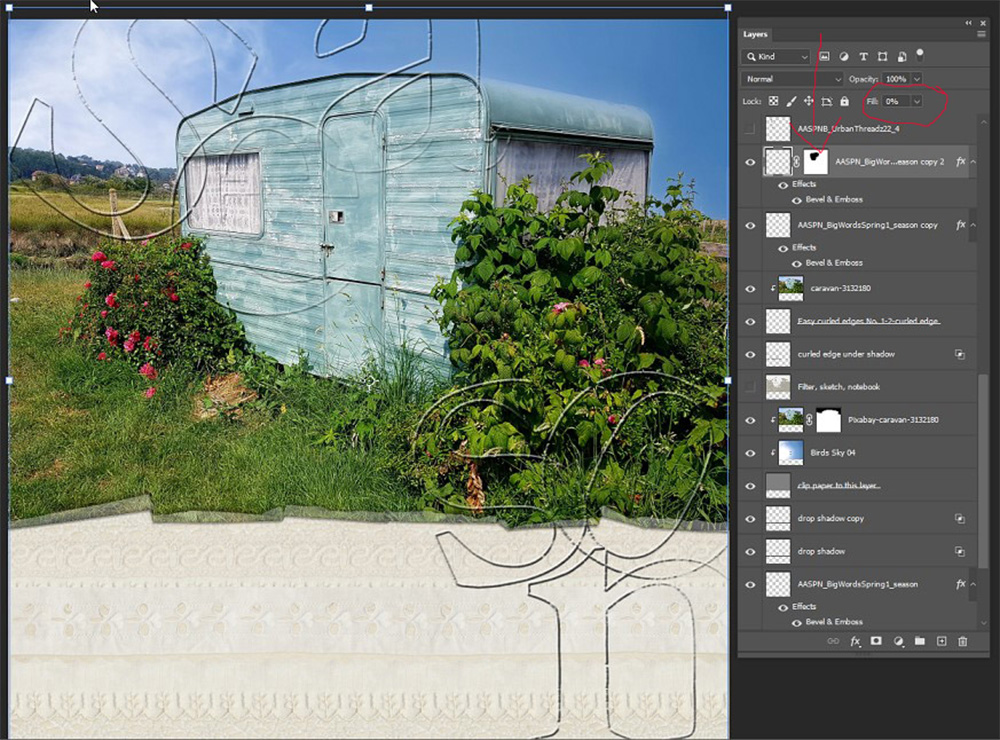
- The BigWords Spring No. 1 offer large Characters with Opacity to embellish and convey meaning in the design.
- Adjust the Opacity and/or apply a Blending Mode at the top of the Layers Panel to modify the effect.
Tip.
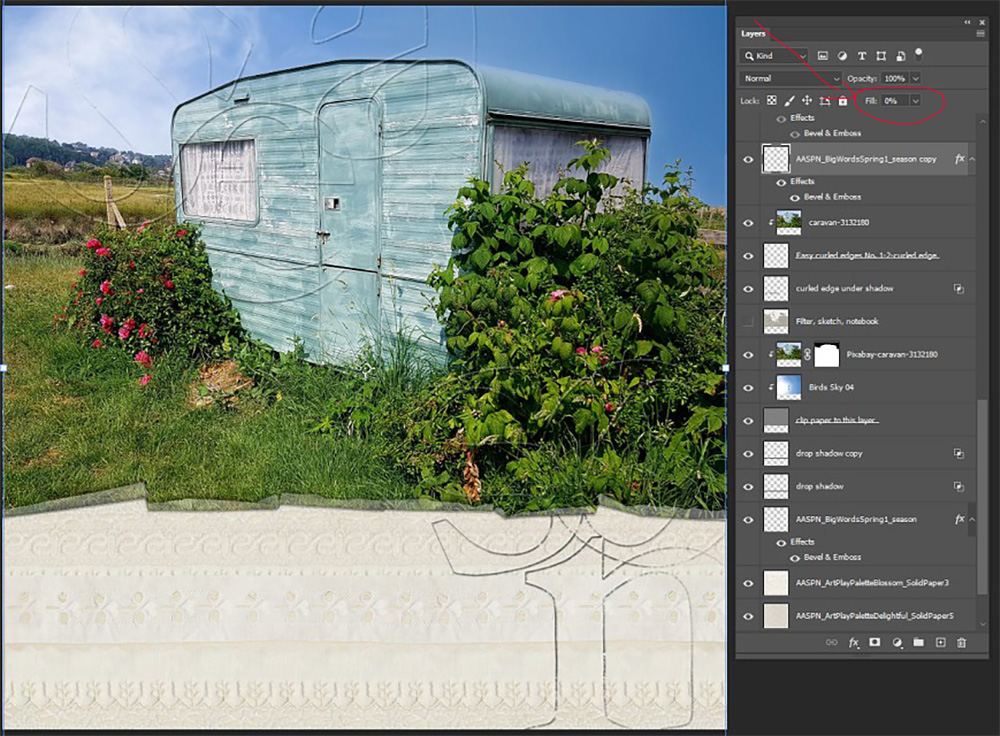
- You can also apply Layer Style effects.
- Go to Layer> Layer Style> Bevel & Emboss
- Enter Fill=0 so that only the effect is visible.
3. Create a Title
Choose 2 fonts that work well together.
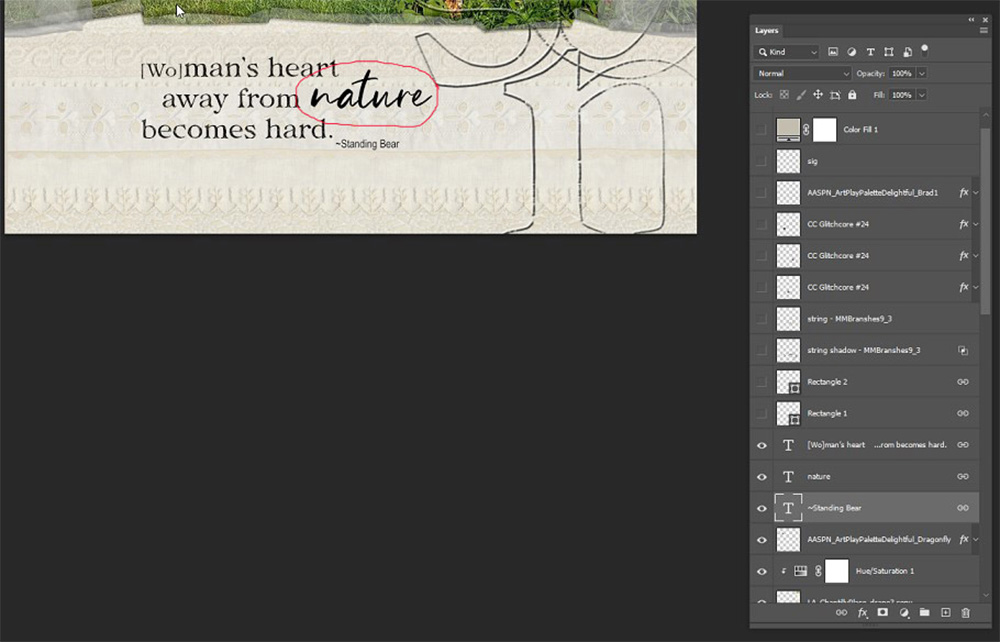
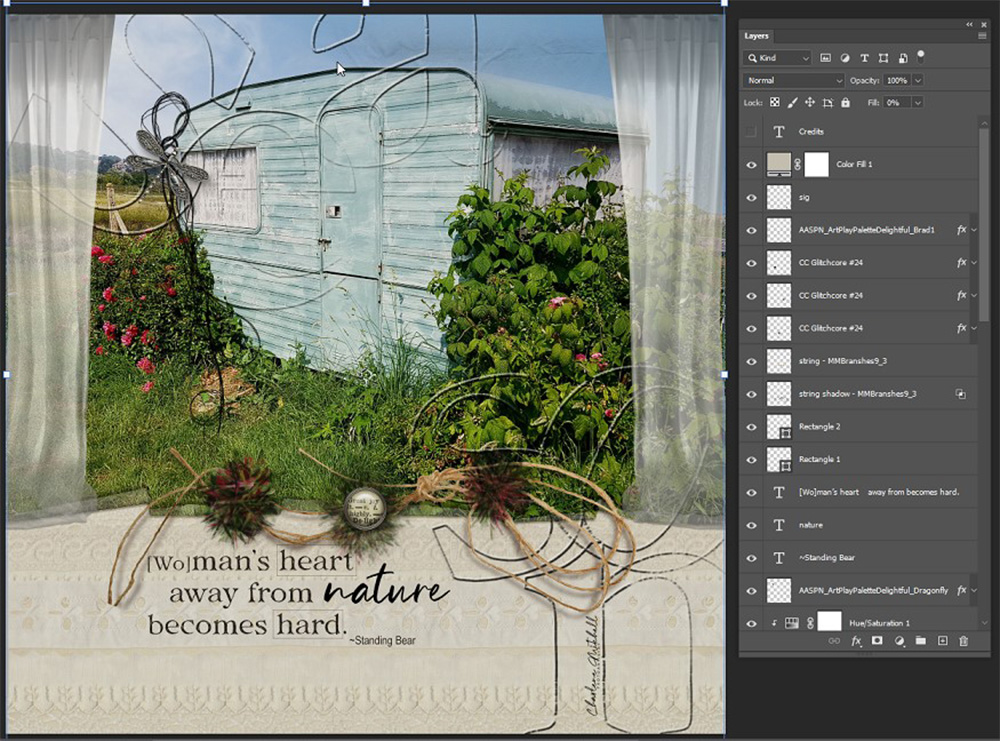
- Select a Key Word/Phrase which will be The Most Important word or words, such as ‘nature.’
- Use a decorative or striking Script font for this word or words, such as a Clarins Script font.
- Increase the Visual Weight by making the text Larger or changing to a bold Color.
- Choose a Serif/Sans Serif font such as Clarins Serif for the remainder of your title.
Note.
- In this example, Clarins Handdrawn Font Duo was used.
- Arial Narrow was used for the author of the quote and in a much smaller font.
4. Emphasize Words
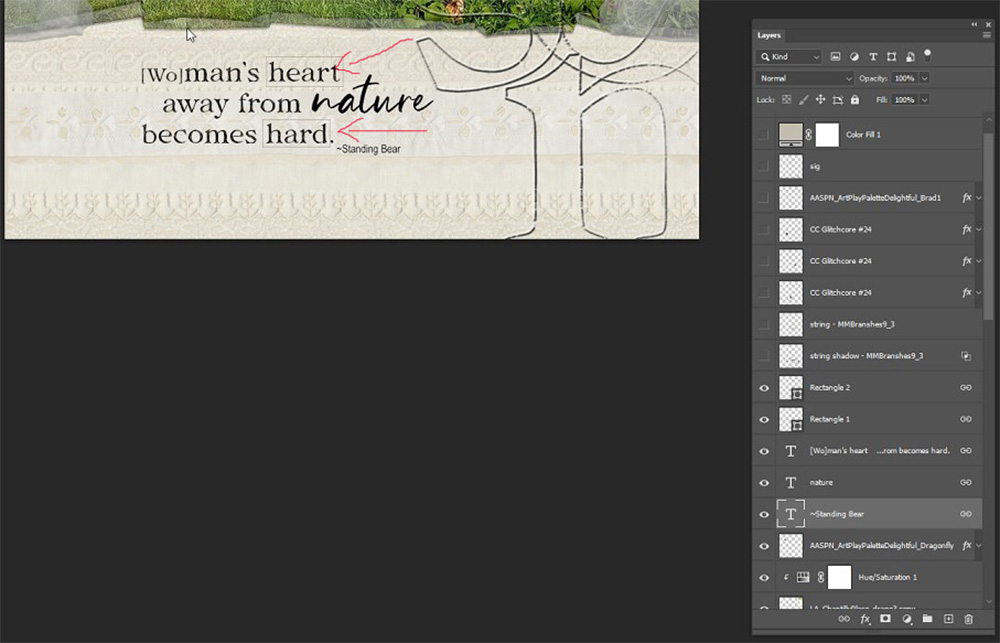
Use the Marquee Tools to circle or draw a box around words in your digital scrapbooking layout design.
- Apply Subtle emphasis to words in your digital scrapbooking titles.
- Select the Rectangular/Eliptical Marquee Tool from the Tools Panel and draw a rectangle/circle around each word you wish to draw attention.
- Choose No Fill and and apply 1 pixel Line or to preference.
5. Recolor Text
Change the color of your font to preference and support your digital scrapbooking layout design and theme.
- Select your text using the Text Tool in the Tools Panel.
- Click on the Text Colour box at the top of your screen in Photoshop (the bottom of your screen in PhotoShop Elements.)
- Sample a color from your digital scrapbooking page by moving your cursor over your page.
- Notice that your cursor will transform into an Eye Dropper enabling you to select a color.
- Click on this area (or ALT+CLICK) (OPTION + CLICK) to select.
Note.
If you are using WordART element:
- Go to Edit> Fill> Color.
- Click on the Contents drop-down menu and select Color to activate the Color Picker.
- Sample or choose a Color by clicking in the dialogue box and click OK.
- Ensure the ‘Preserve Transparency’ box is checked.
- Black is my go-to WordART color, but you may also prefer a Dark Color Variation from your digital scrapbooking page.
6. Modify a Quote
Adjust a quote to suit your theme and the message conveyed.
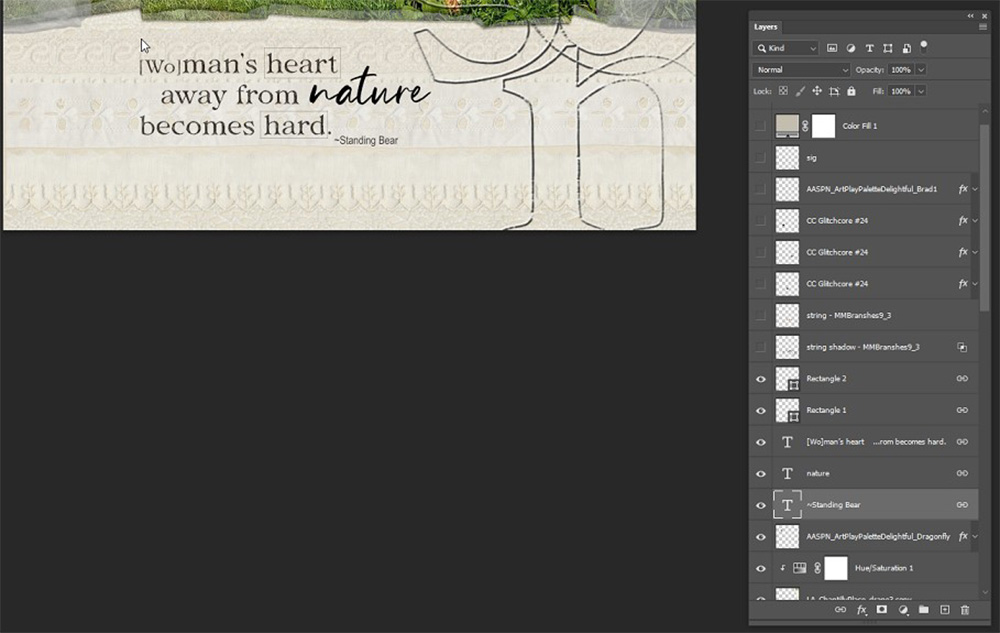
- For example, the quote is “Man. . . “
- I wanted to change the word to “Woman” with the intention of Honoring the original quote.
- Choose the Text Tool from the Tools Panel and select the text you want to change.
- Type any additional text and reduce the Font Size at the top of the screen in Photoshop or the bottom of the screen in Photoshop Elements.
- Notice how I have placed the additional letters in Brackets to denote the addition to the original quote.
- This necessitated a shift in Placement of the other words in the title ensure the words all fit well together.
7. Additional Ideas
More ways to add text to your digital scrapbooking page.
- Use LabeledWords from ArtPlay Palettes to provide additional context to titles.
- Matte your titles with ScriptTease or WordStrip elements.
- Emphasize your titles with WoodWords from WordART to create variation in your type designs.
- Embellish your layouts with Monograms via Type or AlphaSets.
- Create your own Focal Words using AlphaSets.
Note.
- Sometimes just ONE small adjustment can have the biggest results.
See also:
See this Gallery Post for a detailed supply list for this layout
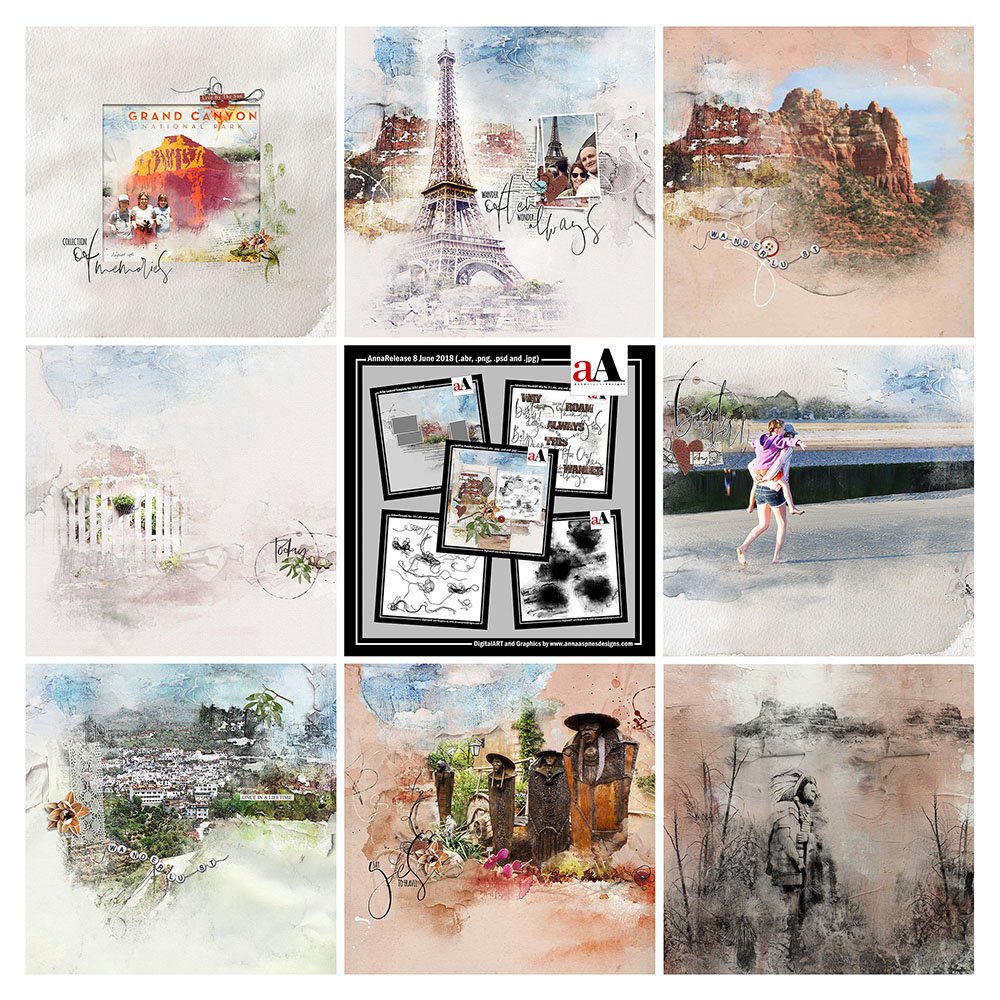
Further examples are:
Summary
Words impact the visual interest of your digital scrapbooking pages.
- Select words or typography that is Interesting on its own.
- Apply Special Effects such as Layer Styles or Blending Modes.
- Choose fonts that work well together.
- Create Emphasis through small adjustments.
- Recolor your text to support your Color palette.
- Customize words using Shapes or Brackets.
- Vary the Type of elements used to foster Visual Interest.
SEE ALSO:
- Create Your Own WordART Frame Titles
- TitleSmarts Workshop
- Fabulous Titles and Blending Modes Video
- 10 Ways to Use WordART Mix Elements.
- Text On a Path
Got a question about 5 Ways to Add Text to your Digital Scrapbooking? Please post below.




Recent Comments