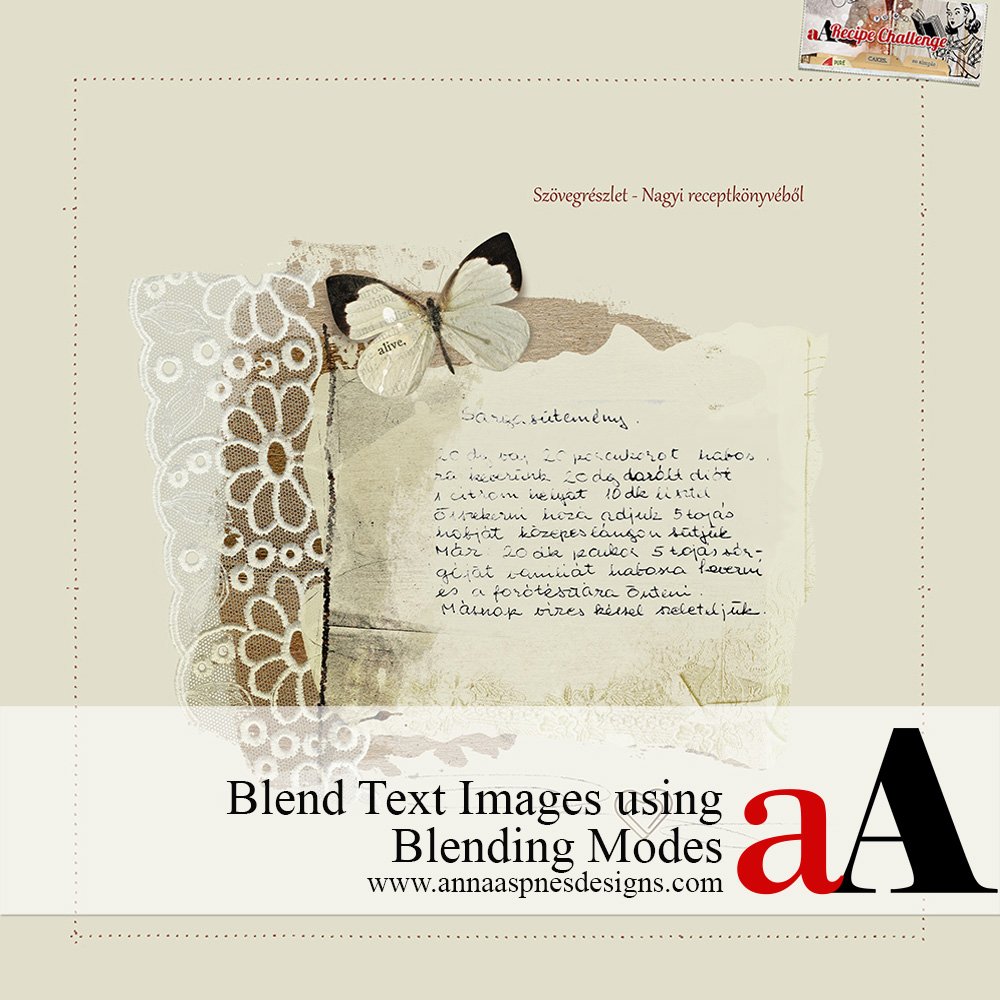
Today, Margo is sharing how to Blend Text Images using Blending Modes in Adobe Photoshop CC.
Blend Text Images using Blending Modes
Introduction
Learn how to:
- Seamlessly blend text images with your DigitalART supplies.
- Use Blending Modes as an alternative to making a custom brush.
1. Create Layout Foundation
- Go to File > New and create a blank file of 12 X 12 300 DPI.
- Click the New Layer icon at the bottom of the Layer panel.
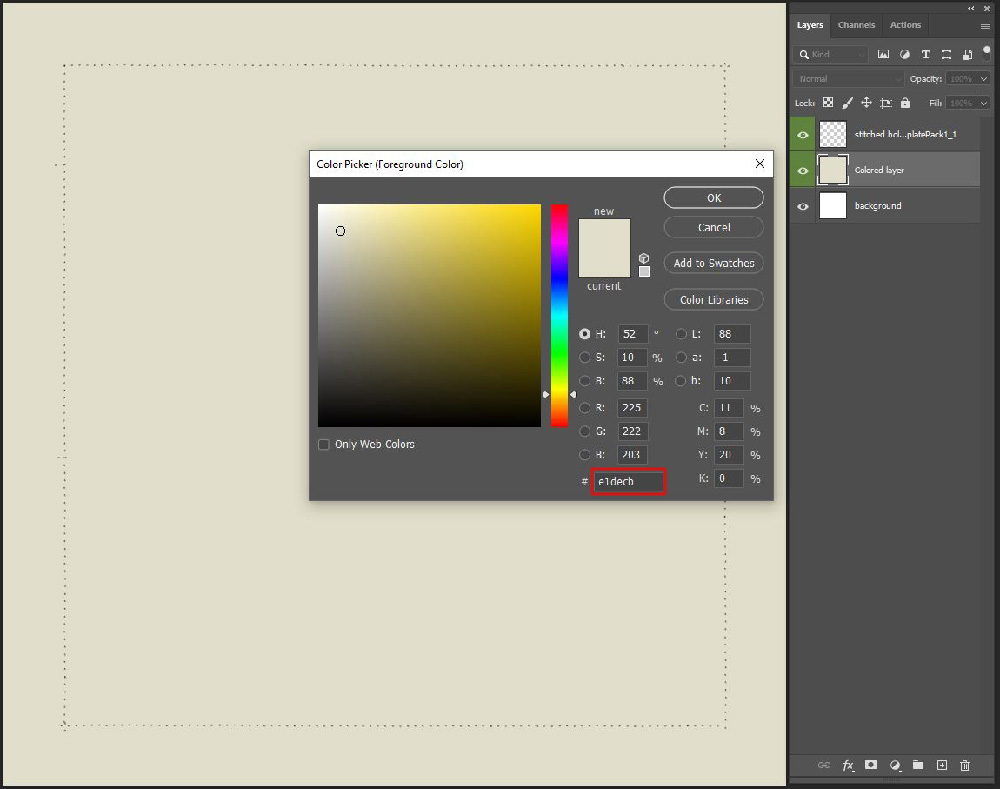
- Click on the Foreground Color thumb in the Tools Panel to activate the Color Picker.
- Using the characters on your keyboard enter ‘e1decb’ in the box after the # sign.
- Select the Paint Bucket Tool from the Tools Panel and click on the New Layer to fill with a beige color.
- Open the Recipe Template Pack No.1, 1.psd file into the Photoshop workspace.
- Select the ‘stitched holes‘ layer in the Layers Panel.
- Select the Move Tool from the Tools Panel.
- Click-Drag-Release the ‘stitched holes’ layer and position directly above the color-filled layer.
TIP. Hold down the SHIFT button on your keyboard as you move the ‘stitched holes’ layer to CENTER on the color-filled layer.
2. Select Text
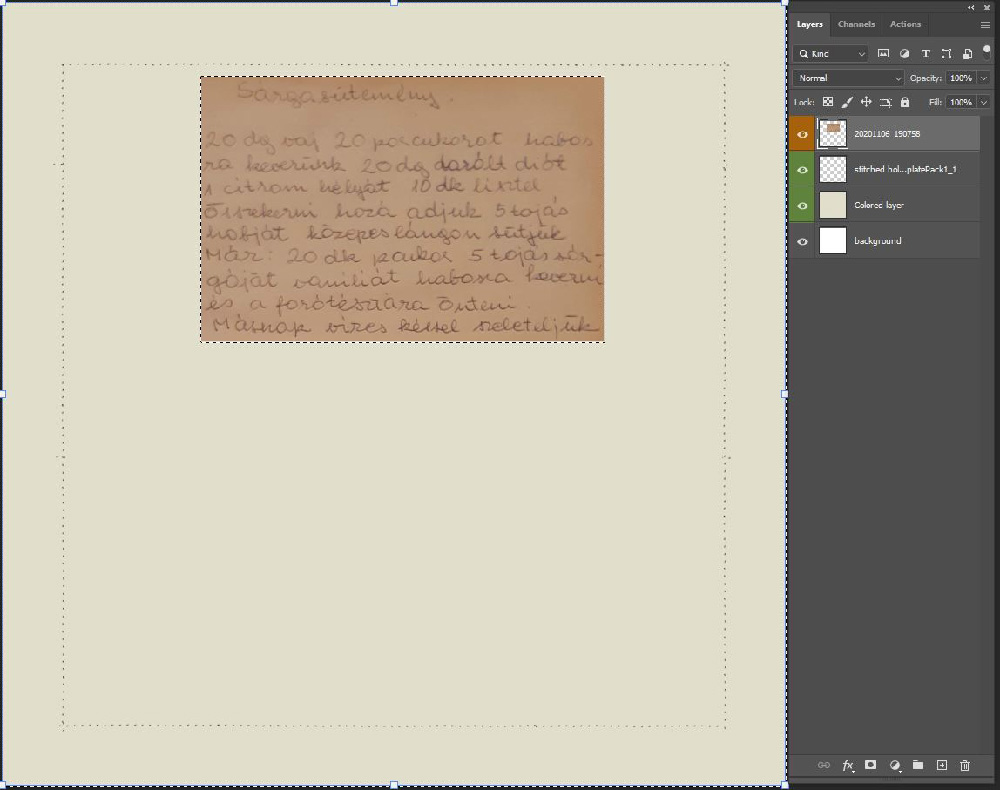
Choose and image and select the text using the Rectangular Marquee Tool.
- Open the image with text.
- Go to Layer> Rasterize> Smart Object if needed to make the image layer editable.
- Select the Rectangular Marquee Tool from the Tools Panel.
- Make a selection around the text in the image.
- Go to Select> Inverse and press the DELETE button on the keyboard to remove everything outside the selection.
- Go to Select> Deselect to deactivate the selection.
 2. Edit Image
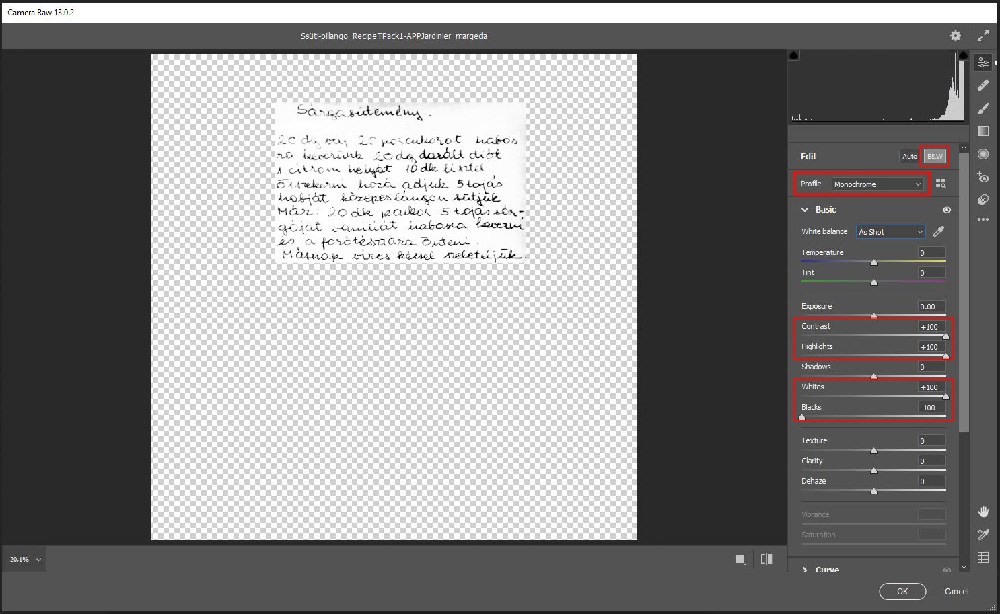
Create a black and white conversion using the Camera Raw Filter.
- Ensure the image layer is selected in the Layers Panel.
- Go to Filter> Camera Raw Filter.
- Adjust the sliders in the dialogue box as outlined in the image below.
Note. The goal is to achieve strong black and white contrast.
- Click on the OK button to return to the editing the page.
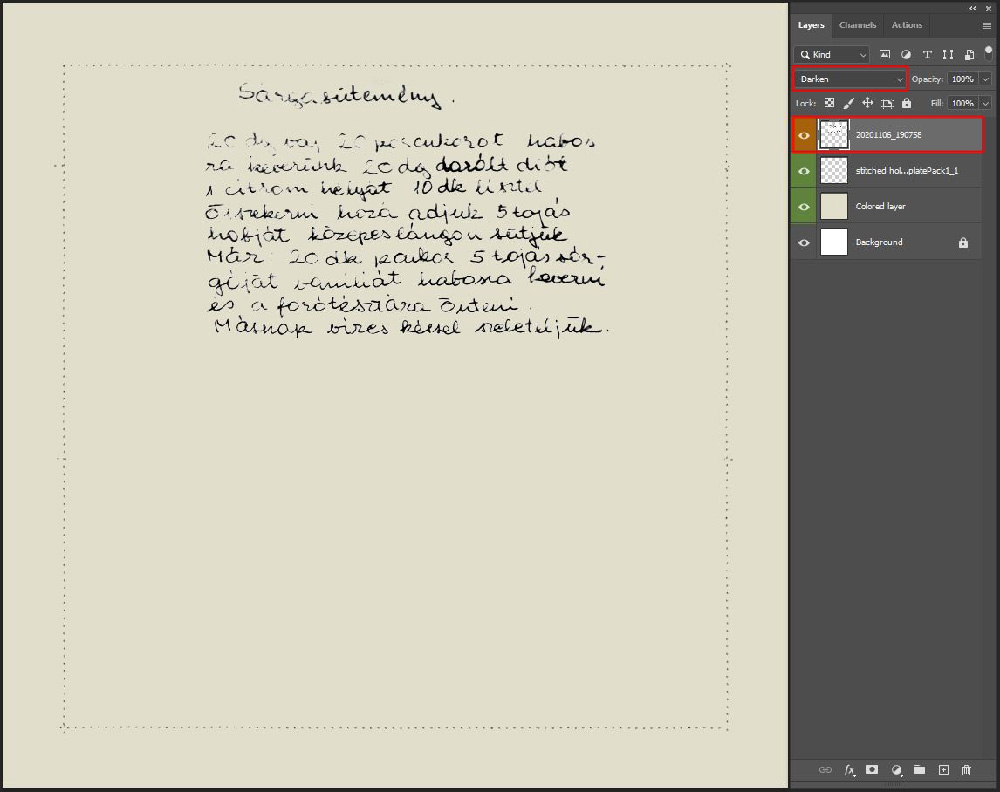
- Apply a Darken Blending Mode to the text image layer from the ‘Normal‘ menu at the top of the Layers Panel.
Note. You can now move and resize the text as preferred.
4. Embellish Text
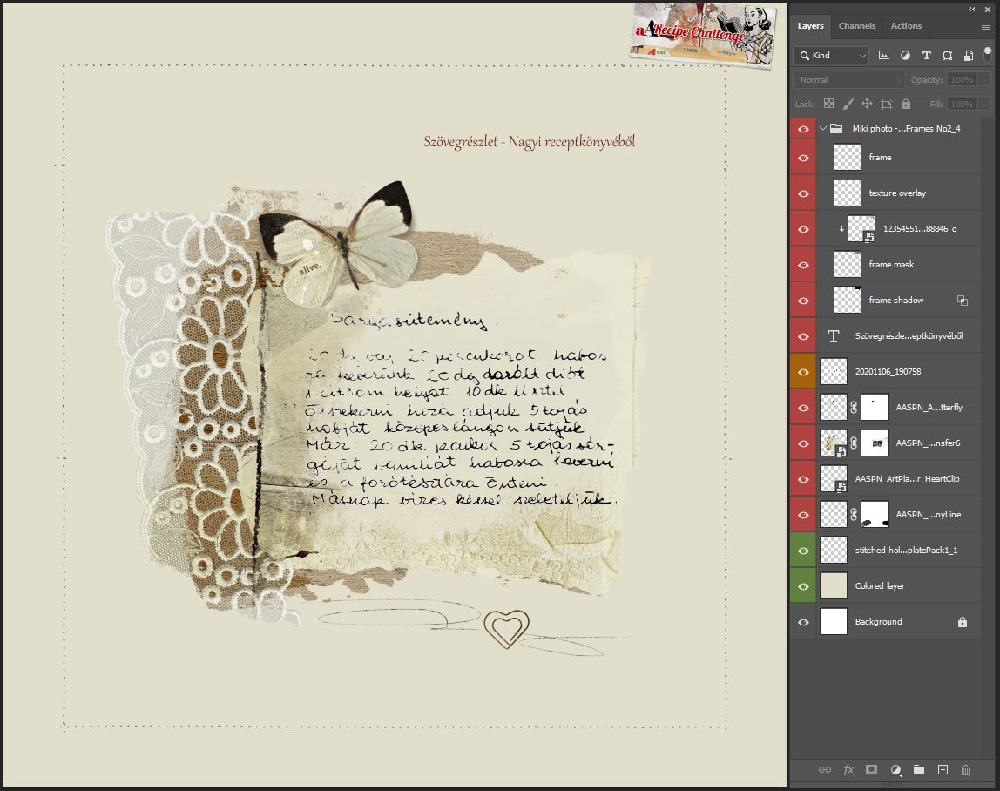
Frame the text focal point with digital assets to create digital artistry or art journaling pages.
- Open and place DigitalART elements around the text.
- Notice how the text element becomes the Focal Point of your digital scrapbooking design.
- Elements from ArtPlay Palette Jardinier were used to embellish the artistry.
 DigitalART Supplies
See a complete list of digital assets for this design
Summary
Use filters and blending modes to combine text with your digital artistry designs.
- Use the Camera Raw Filter to convert a text image image into black and white with great contrast.
- Apply the Darken Blending Mode to ‘knock-out’ the white background to the text.
- Embellish with aA DigitalART supplies.
See also:
- 5 Ways to Use Stitched Templates
- 5 Ways to Create Frames as Focal Points
- Masking with Blending Modes
And if you enjoyed this Blend Text Images using Blending Modes post, let us know what other tutorials you’d like to see in this space.




Recent Comments