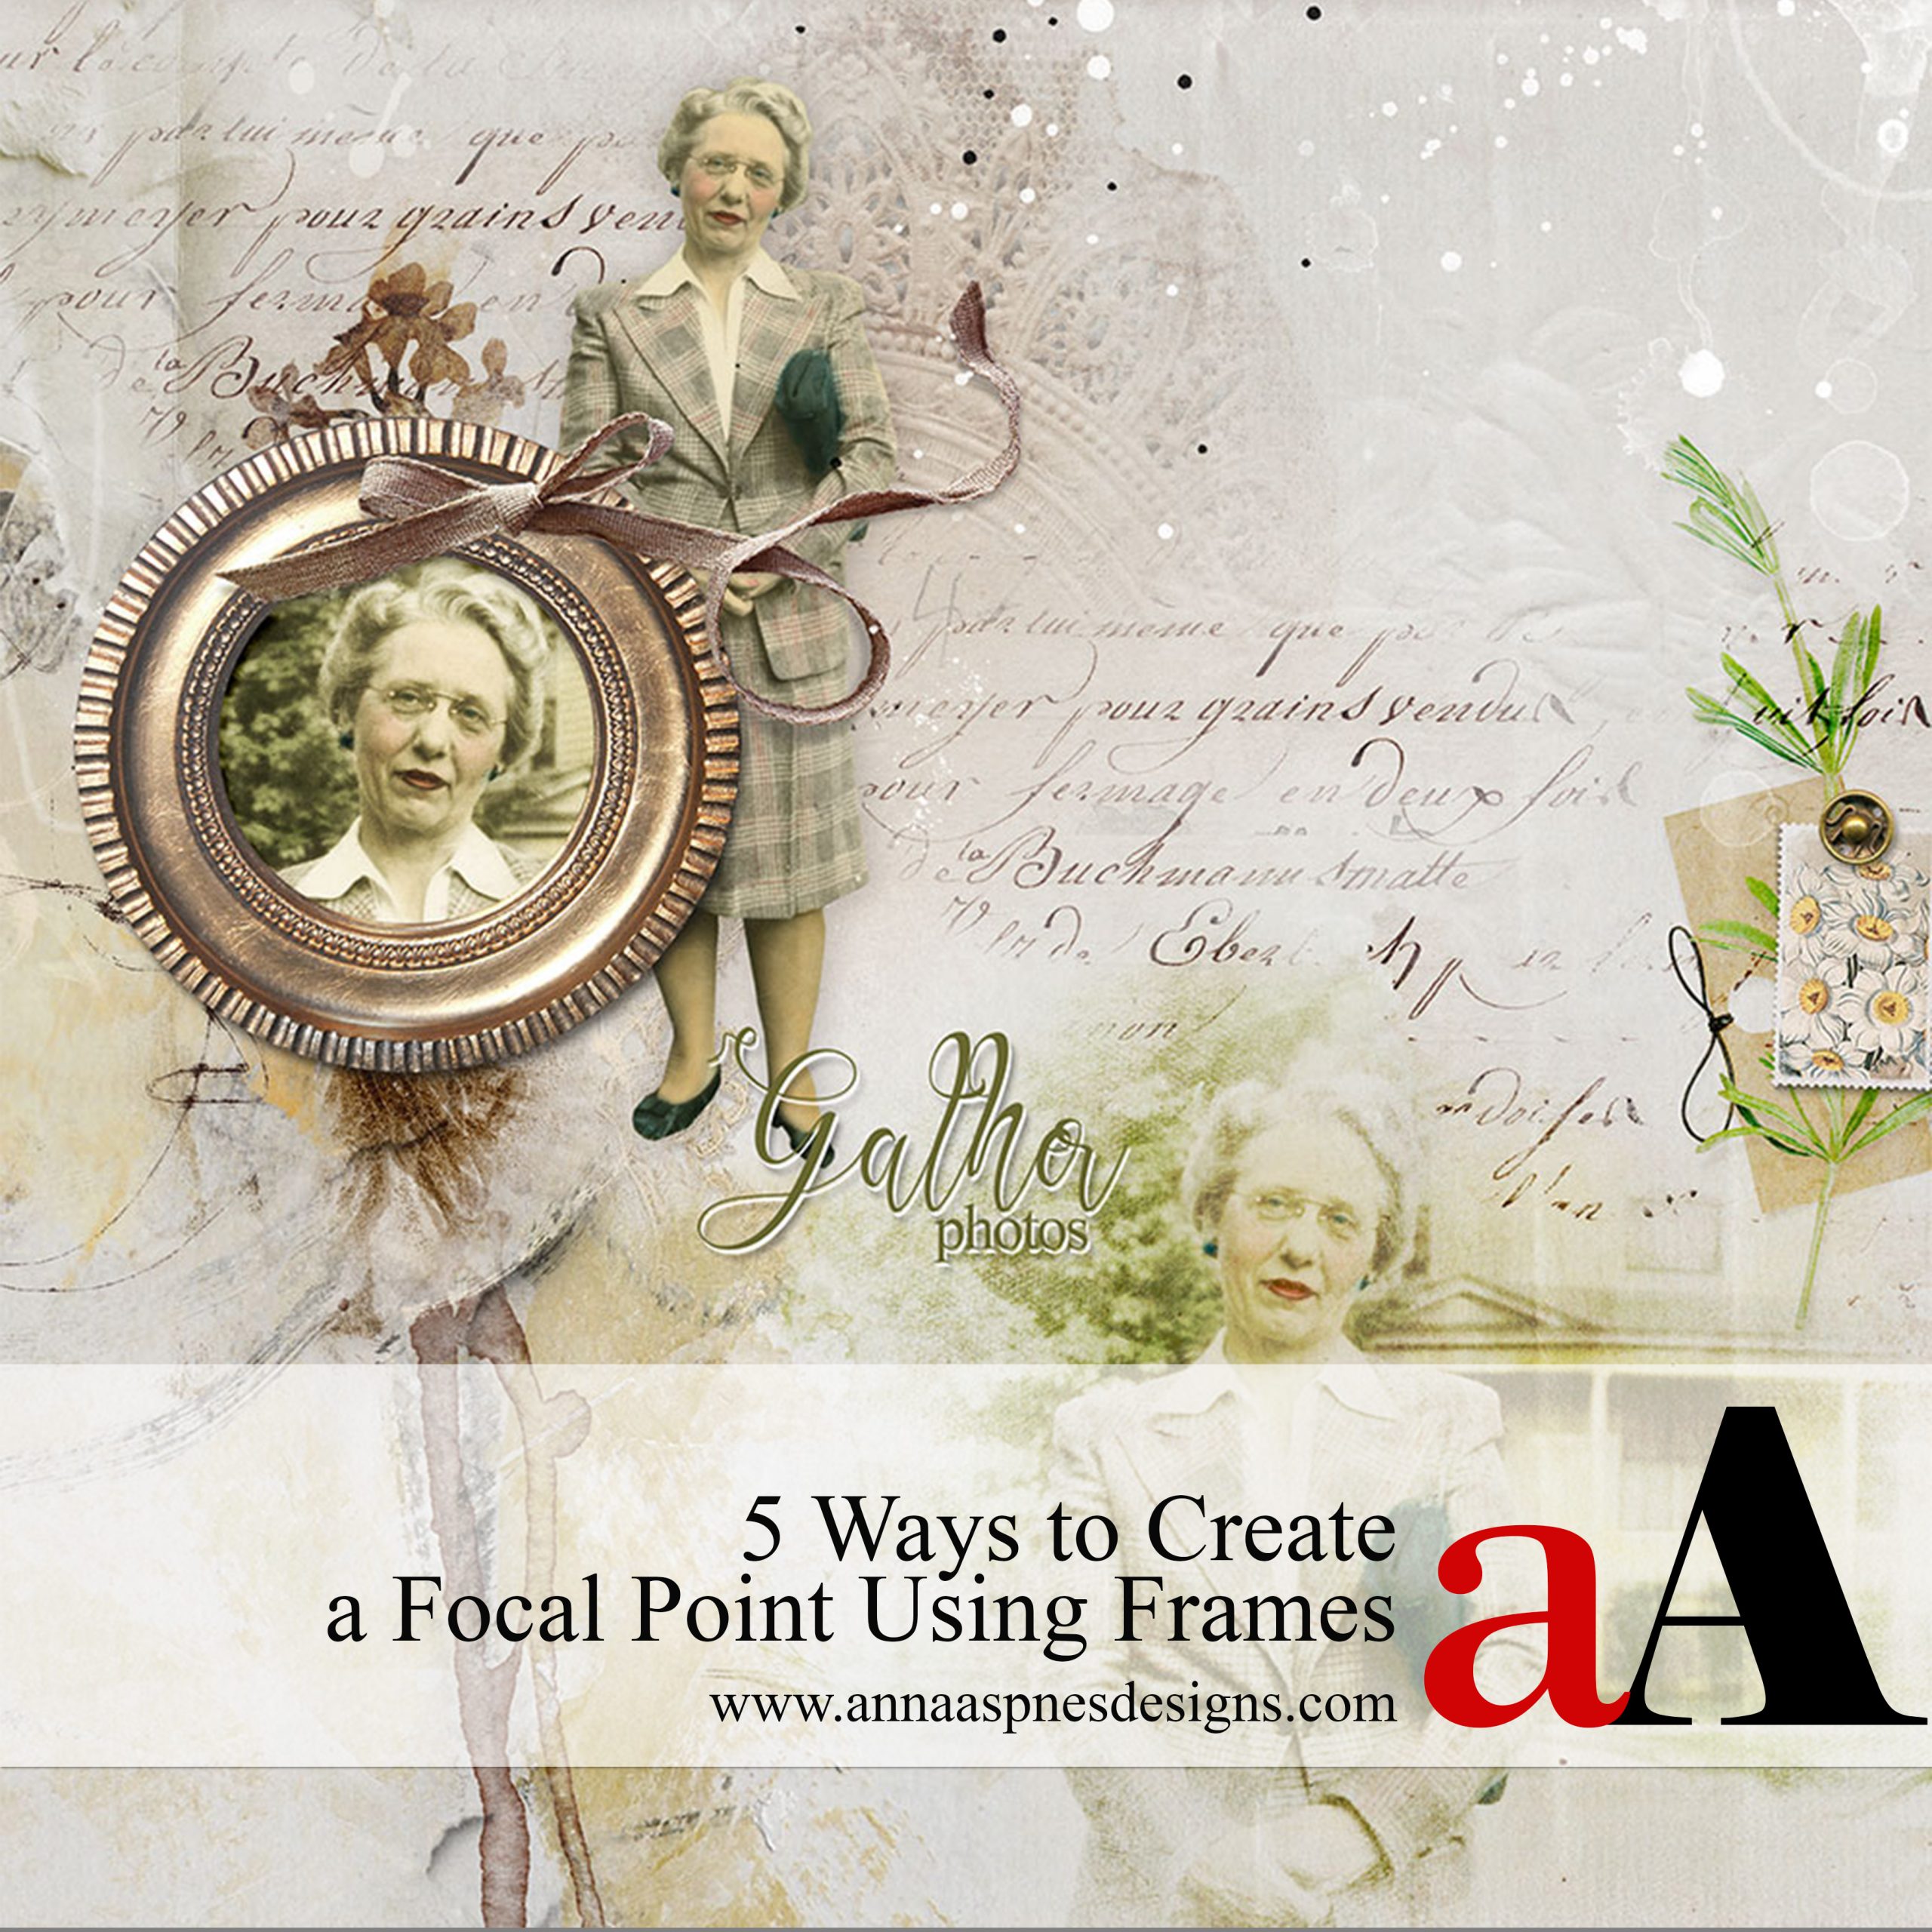
Today, Miki is sharing 5 Ways to Create a Focal Point Using Frames.
5 Ways to Create a Focal Point Using Frames
Introduction
Use Frames to add weight to your focal points.
- A FOCAL POINT elements that captures the viewers attention, either intentionally or by chance.
- The aim is to add eye-catching parts to your layout design so that they LEAD THE EYE.
- FRAMES can to add VISUAL WEIGHT to a focal image.
1. Imply Frames
Deconstruct MultiMedia elements placing the individual parts in clusters around the focal point.
- Open the .psd file of a MultiMedia (MM) element.
- Clip a photo to a FotoBlendz/Frame mask or blend using a Layer Mask + Brushes.
- Notice that when you place the blended image beneath a number of element and frame layers, a spill-over effect is etsablished.
- Modify these element layers in terms of placement, color, size and/or Blending Mode as preferred.
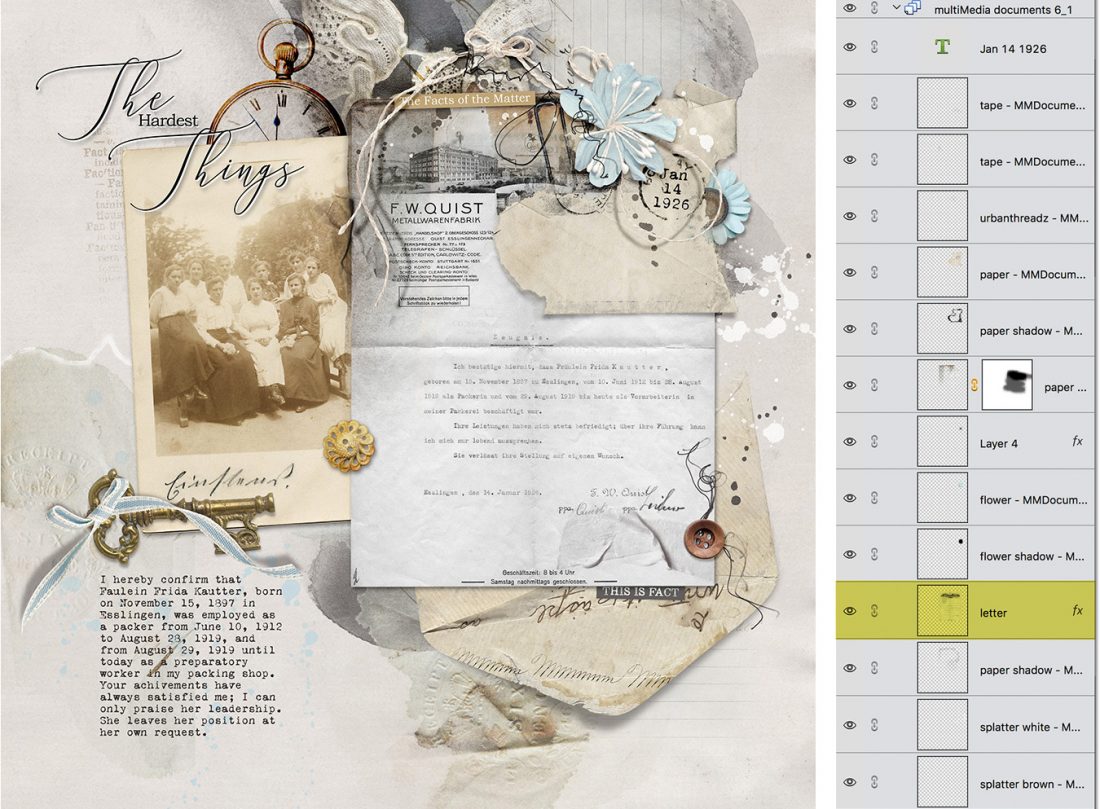
Example #1.
The layers of the MultiMedia Document are placed above and below the letter image to:
- Enhance the artistry through LAYERS.
- COMPLEMENT and draw the eye to the letter.
- Frame the image thereby adding strategically placed Visual Weight to the layout design.
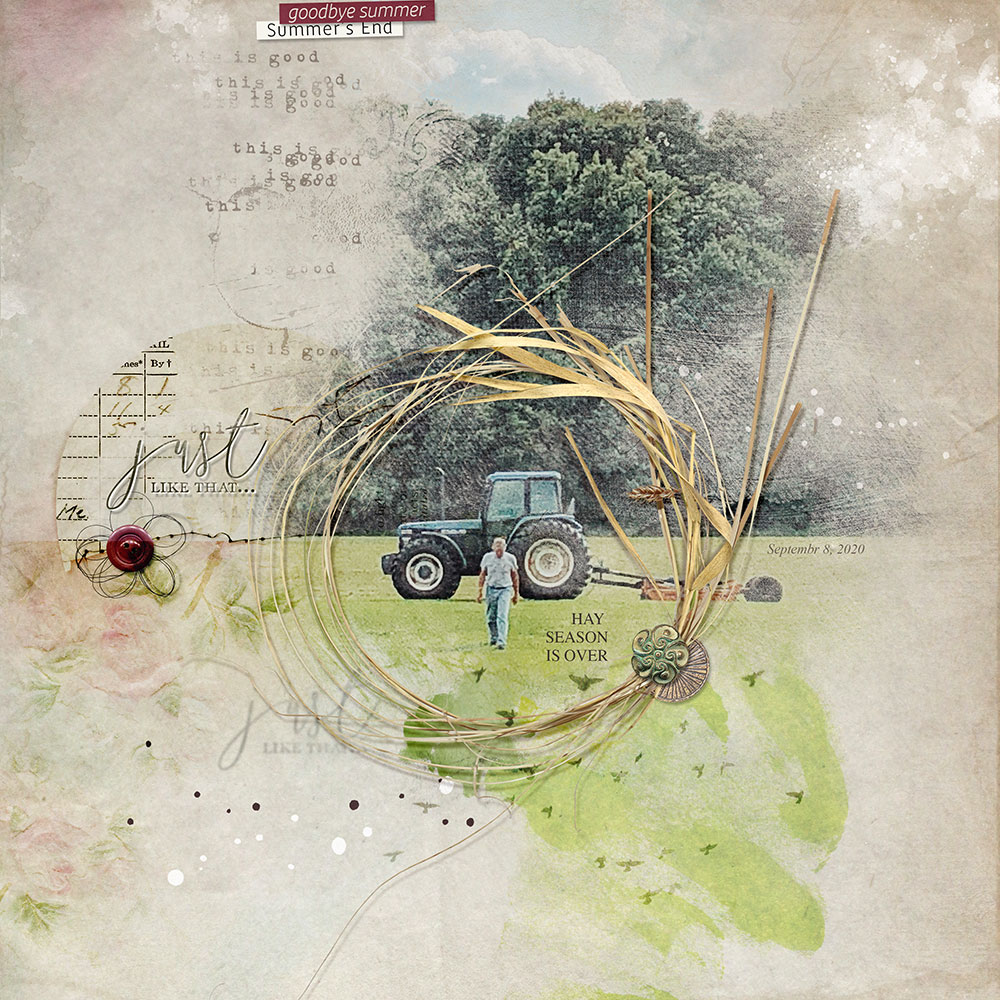
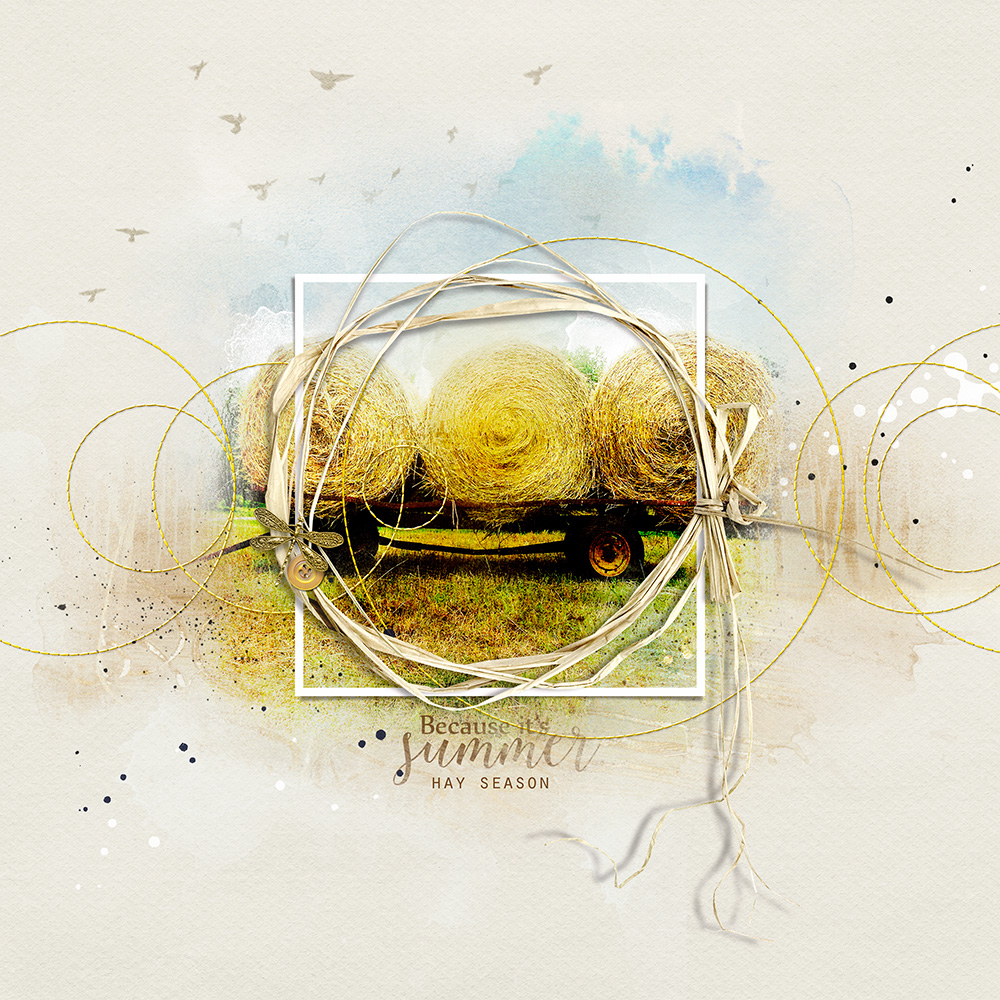
Example #2.
- The DIMENSION in the straw frame adds Visual Weight and attracts the eye.
- The circle SHAPE moves the eye in a circular MOTION.
- It also draws the viewers attention to the framed Focal Point.
2. Decoration
These elements have interesting design features that stand out in your layout designs.
- Color, Depth, Size and Visual Interest can make a photo a Focal Point.
- Use frames to differentiate a group of photo and provide a level of SEPARATION so they all don’t blend together.
- Notice how decorative frames with greater Visual Interest creates more CONTRAST.
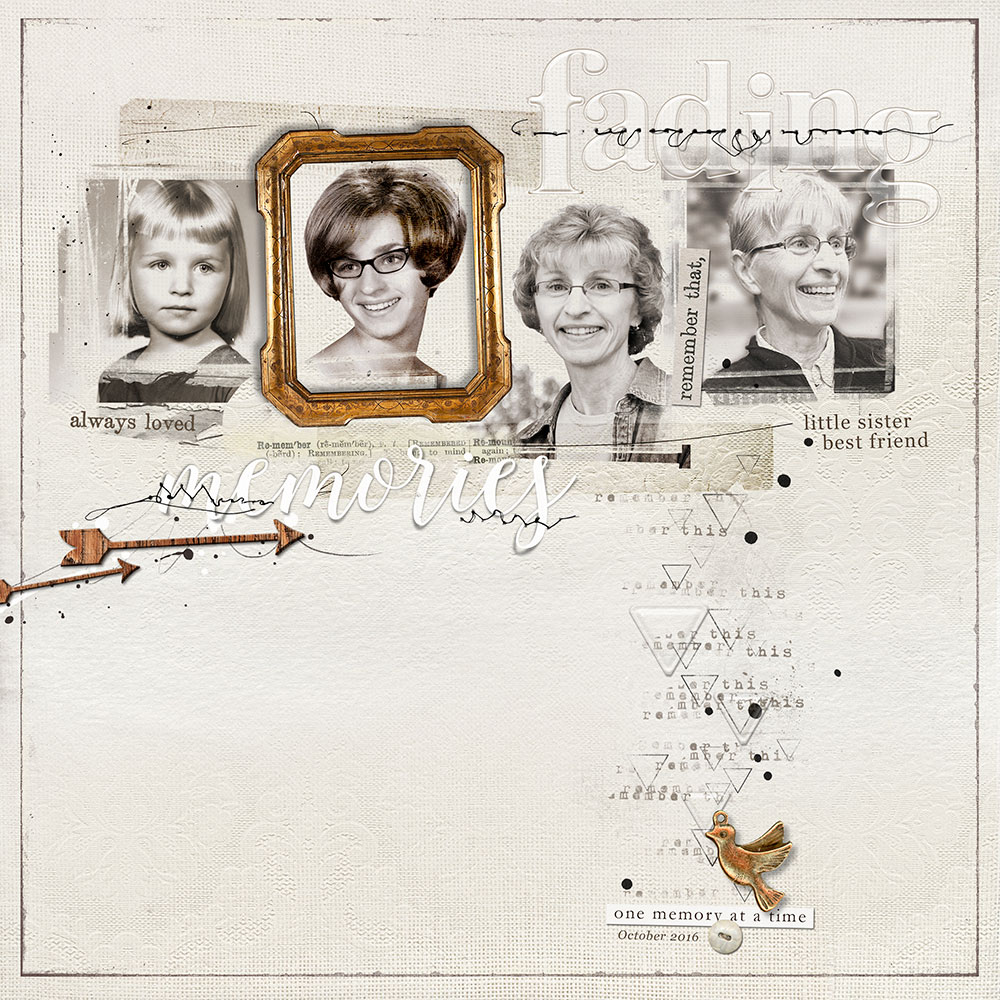
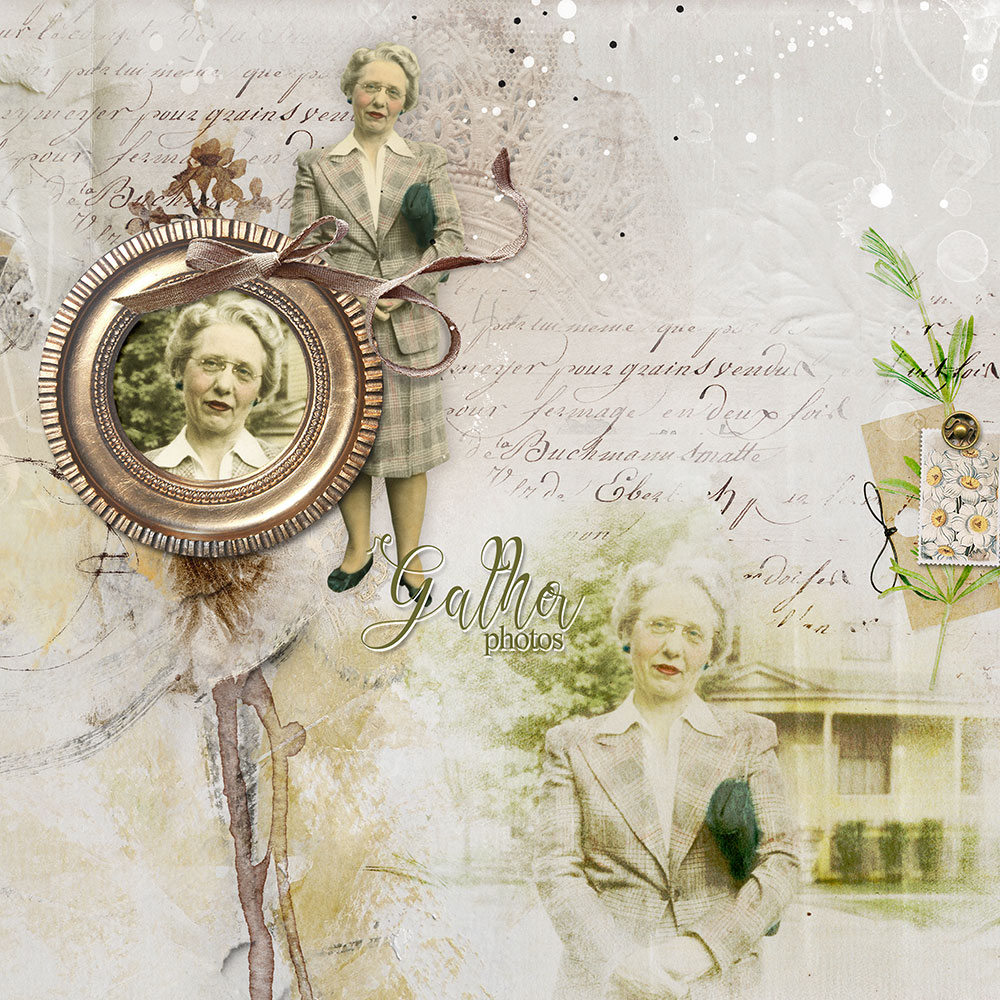
Example #3.
- Notice how the dimension gold frame DIFFERENTIATES one photo from a group of SAME size and colored images.
Example #4.
- Notice how this circle frame with the wide rim make the SMALLER of the three photos stand out MOST.
3. Unique Tension
Add tension to a frame by using unexpected and unique elements.
- TENSION is the secret sauce that excites the eye and draw attention.
- It often relates to something UNIQUE or different.
- There is a constant BALANCE and dance between elements that CONSTRAST or COMPLEMENT.
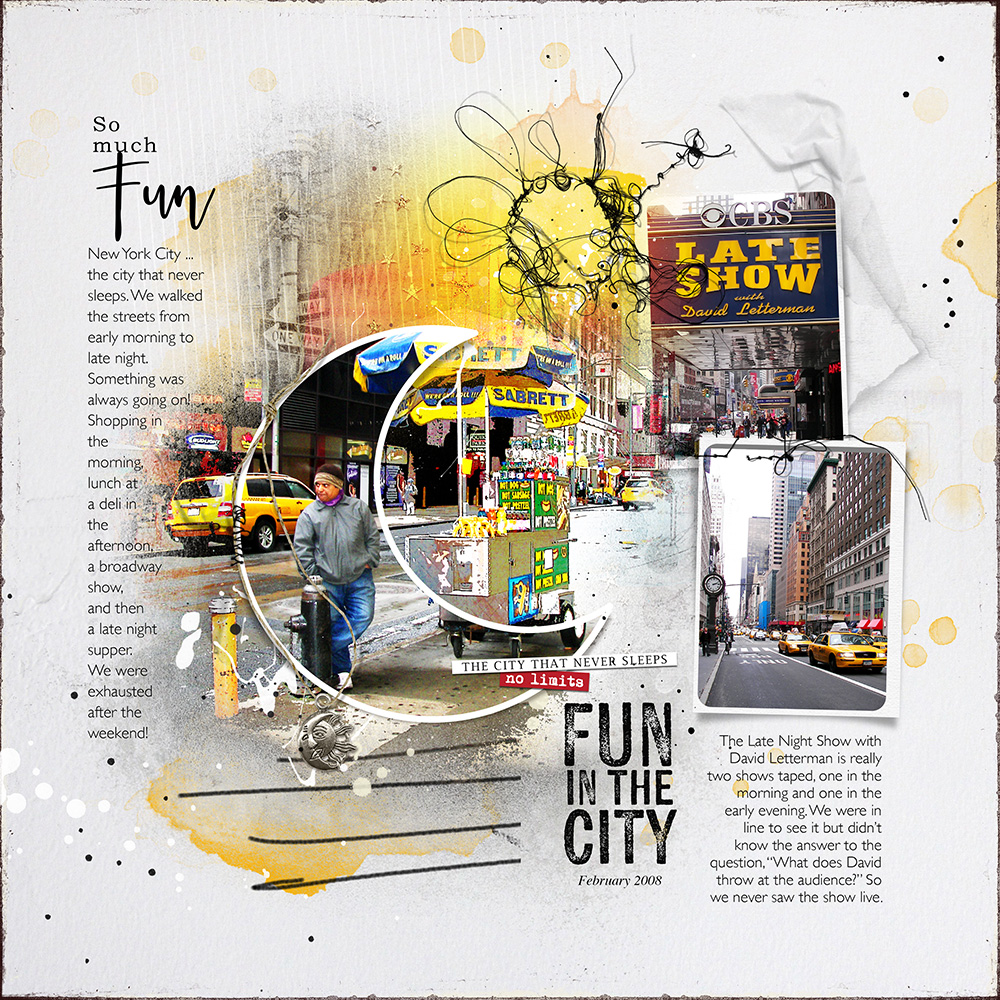
Example #5.
- The moon shaped frame ALIGNS with the curve in the underlying imagery.
- The top rectangle frame has been PARTIALLY altered.
- Notice how the yellow COLOR and PLACEMENT of text also leads the eye around the design.
- There is REPETITION in the circle shapes which stands in CONSTRAST to the straight lines.
- The THEME of the sun/moon charm supports the STORY in the concept that the city never sleeps.
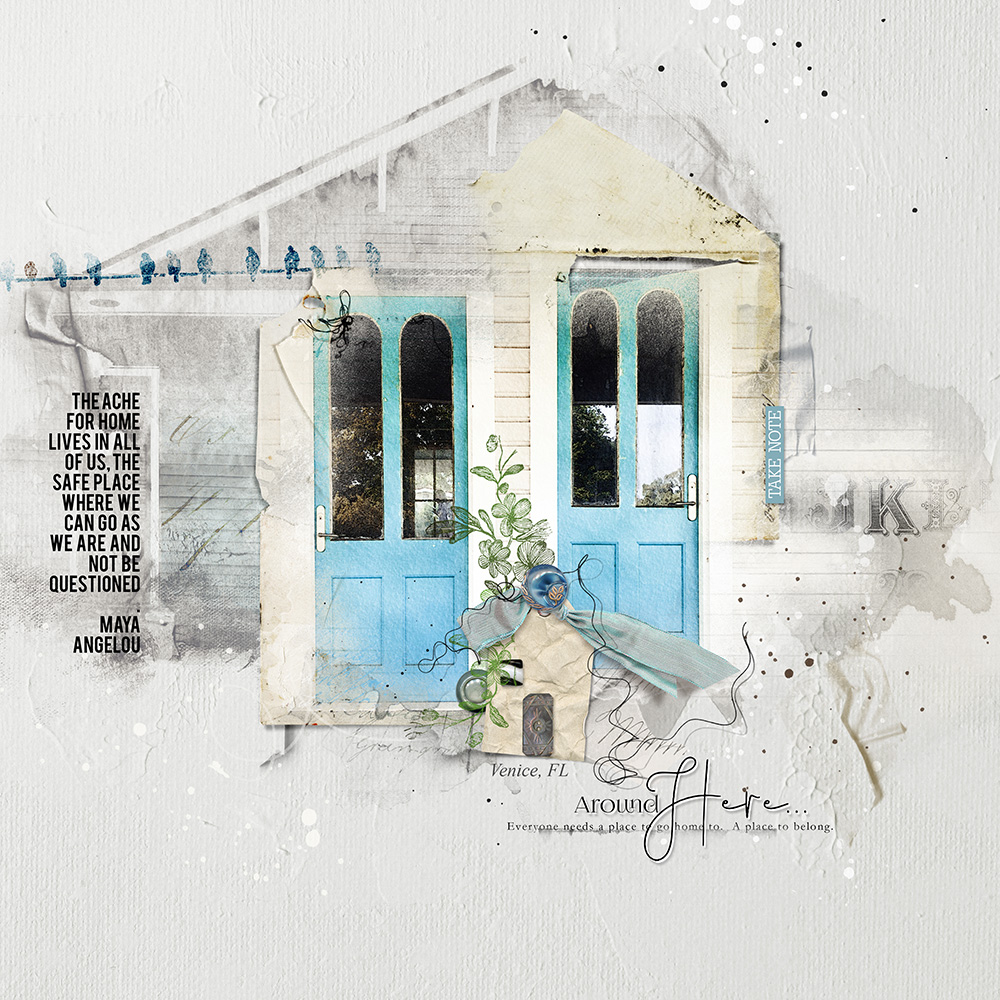
Example #6.
- The dimensional paper elements provides a UNIQUE frame to the 2 door focal points in here image.
- The MultiMedia Home element reinforces the home THEME.
- The ribbon intentionally GUIDE the eye.
4. Shapes and Repetition
Double up the frames and work with SHAPES to increase visual interest.
- Twice the frames yields twice the EMPHASIS in your layout design.
- It also can make the Focal Point more INTERESTING to look at too.
Example #7.
- Notice the CONTRAST between the SHAPE, COLORS and TEXTURES of the 2 frames.
- The repetition of the circle MOTIF in the stitched frames and the SUBJECT itself yield EMPHASIS.
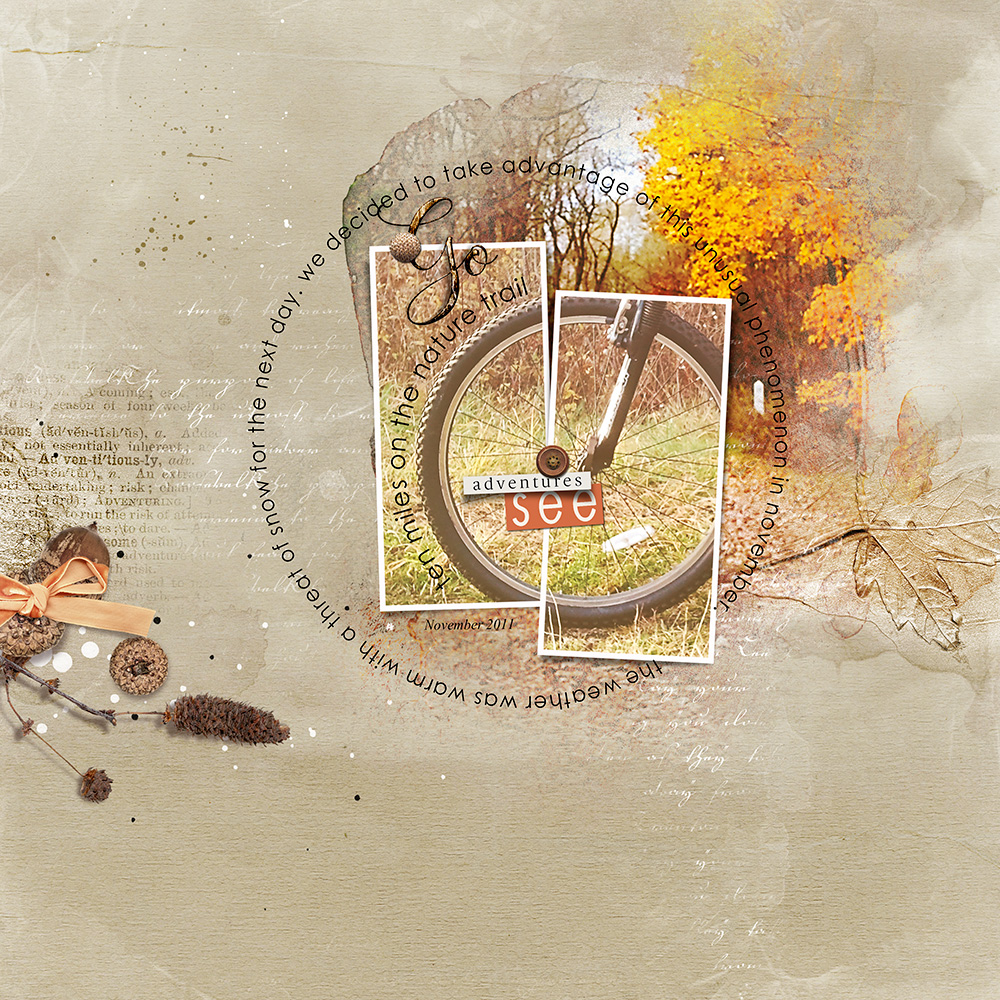
Example #8.
- The repeated use of the circle MOTIF implies MOVEMENT.
- The image split across two CONTRASTING frames offers Visual Interest.
- Placement of additional elements serves to ADHERE and provide a FRAMED composition.
5. High Value
Darker or contrasting colors have greater impact than lighter or similar colors.
- A darker color is said to have a higher VALUE.
- Darker frames set against a lighter background can therefore have a GREATER visual impact on the viewer.
- Additional CONTRAST introduced with MORE element properties will make the frame stand out further.
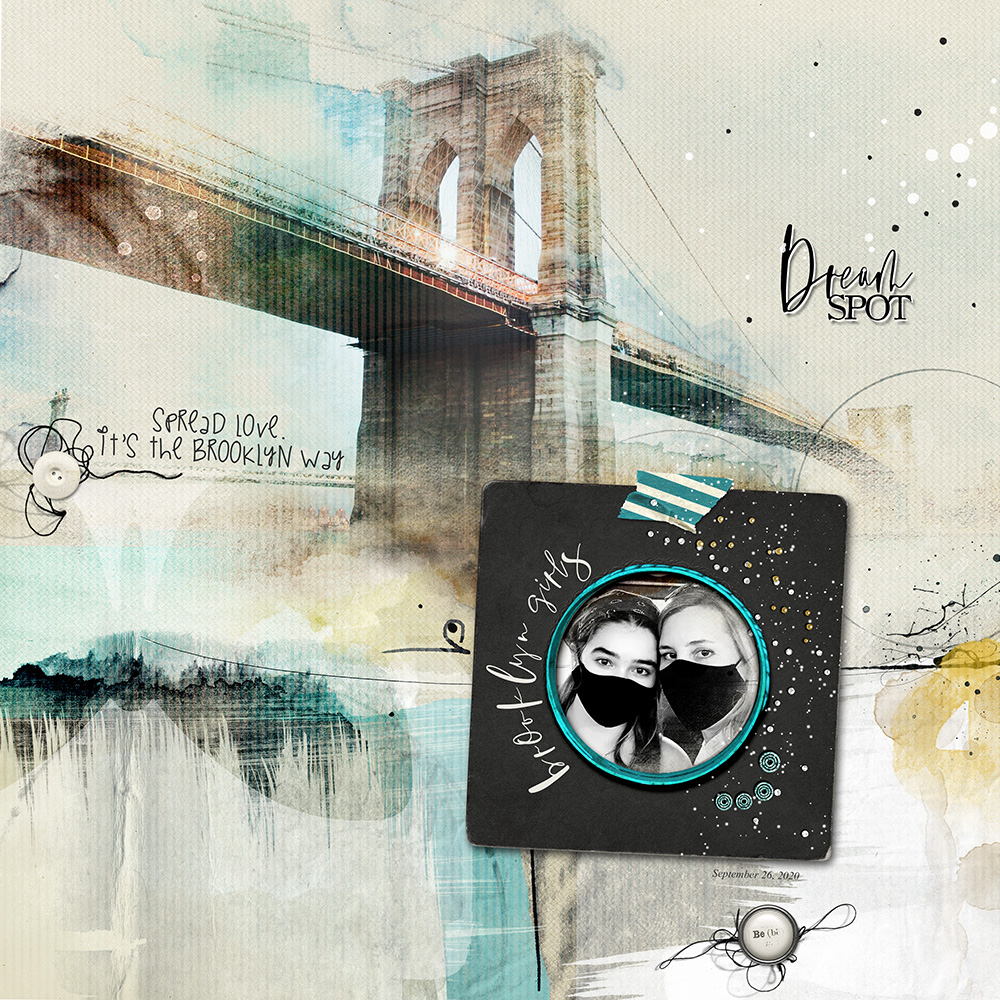
Example #9.
- Notice how the wide BLACK frame with the contrasting teal rim draws the eye to the SMALLER black and white photo to make sure it’s not lost against the larger colorful background image.
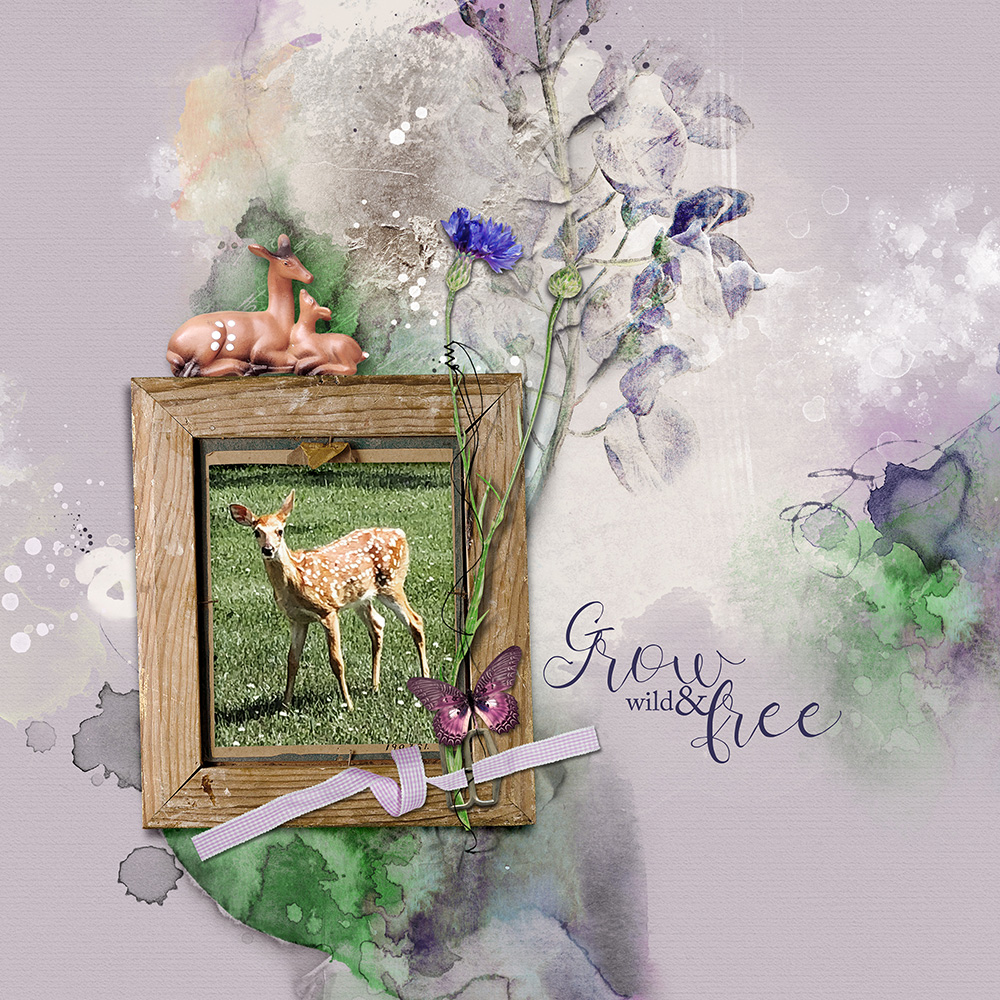
Example #10.
- Notice how the lighter natural frame supports the THEME and tones done the brightly colored artistry therefore providing the necessary CONTRAST to yield Visual Interest.
Summary
Frames are an EASY way to create more defines Focal Points in your photo artistry and scrapbooking layout designs.
- Use Frame or imply a ‘framed’ approach using strategically placed Elements.
- Get to know the Element Properties of your Frames and Elements so you can use them with proven Design Principles.
- Intentional layout design is achieved by the BALANCE between HARMONY and CONTRAST.






Recent Comments