
Today Laura is sharing a Special Photo Effects in Photoshop Elements tutorial.
Special Photo Effects in Photoshop Elements
Introduction
Add a little, or a lot of grunge, with this easy photo effect in Photoshop Elements.
It’s a great way to salvage:
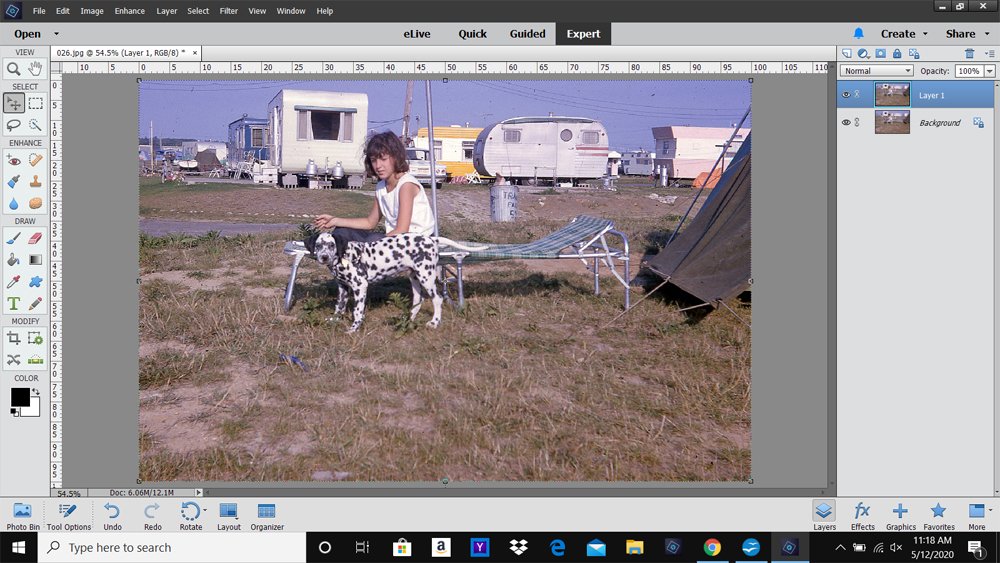
- Old photos, such as this scan of a color slide snapped in the 1960s.
- Technically imperfect photo images.
1. Select Photo
Choose and prepare your photo.
- Go to File> Open, navigate to your image and double-click to open into your workspace.
- Go t0 File> Duplicate (Elements) to create a copy of the image.
- Close the original image and work with the photo duplicate.
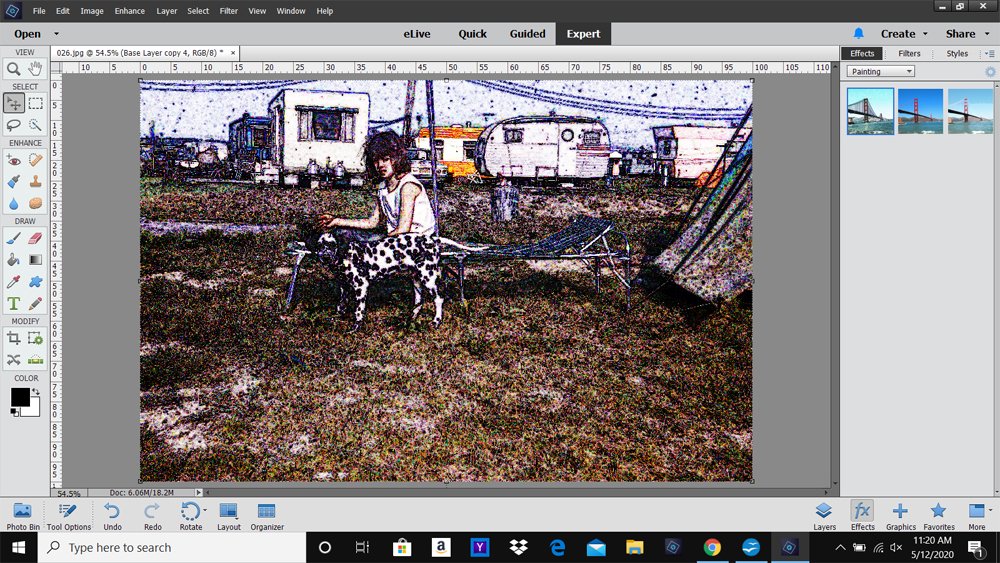
2. Apply Photo Effect
Select different effects from the Effects Panel.
- Click on the FX icon at the bottom right of the screen to access the Effects Panel.
- Activate the menu options by clicking on the downward facing arrow at the top of the panel.
- Choose ‘Show All‘ and hover your cursor over the thumbnails for more information about each effect.
- Double-click on the preview thumbnail to apply the effect to your photo.
Optional:
- You can add more than one effect.
- Each effect creates a new photo layer in the Layers Panel.
- View these layer(s) by clicking the Layers icon bottom right of your screen.
- You can toggle between the 2 panels.
Note:
- The Effects you have available to you may VARY according to the version of Photoshop Elements you are using.
- Laura applied the Florescent Chalk effect in Photoshop Elements 14.
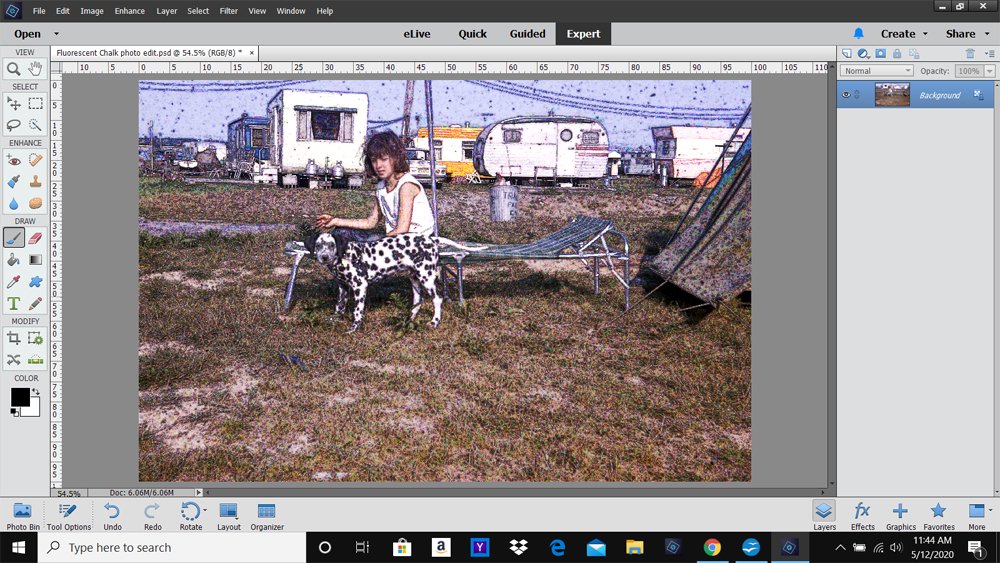
3. Make Adjustments
Improve the appearance of the chosen effect with your photo.
- Change the Saturation via Enhance> Change Color> Hue/Saturation.
- Go to Enhance> Adjust Lighting> Brightness/Contrast or Levels to change the Contrast.
- Duplicate layers and modify the Blending Modes and Opacity.
- Apply a Layer Mask to ‘effects’ layer bring back underlying details in the ‘original’ layer using BrushSets.
- Go to Layer> Flatten Image to merge the layers into one.
Notice. Laura brought back the detail of the facial features.
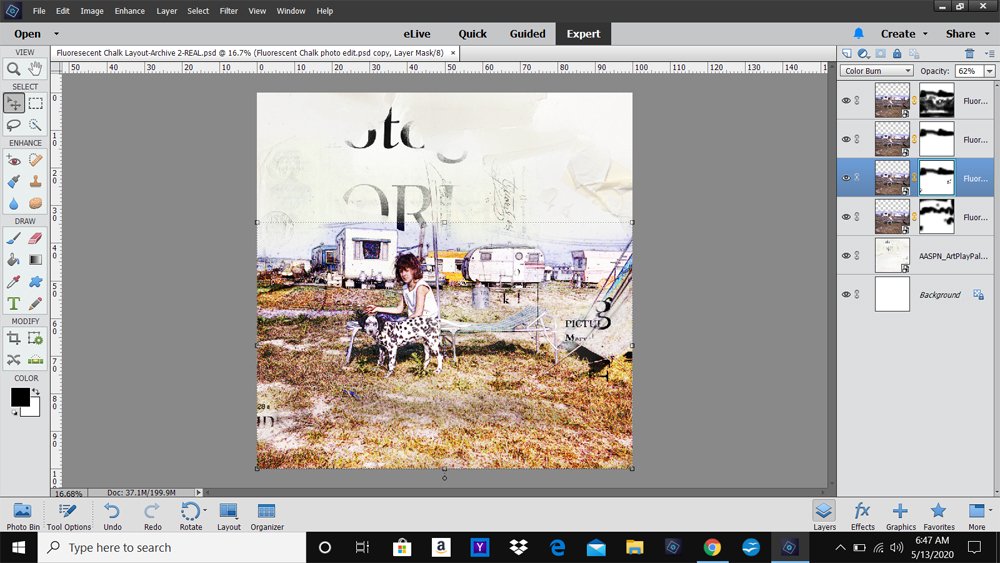
4. Create a Layout
Blend your ‘special effect’ photo with aA DigitalART supplies.
- Blend the photo using a Layer Mask and Brushes or clip the image to a FotoBlendz mask.
- Duplicate the layers and apply Blending Modes modifying the Opacity of each layer as preferred to fine-tune light and dark areas.
- Add Transfers and Overlays, Embllishments and WordART to complete your layout.
Note.
- Laura used Solid Paper #3 from Artplay Palette Document plus three duplicate copies of her photo.
DigitalART Supplies
See designer process notes and complete list of aA DigitalART supplies.
Summary
Add a special effects to your photo from the Effects Panel in Photoshop Elements.
- Work on a copy of your photo so you do not change the original
- Experiment with applying one or more Effects to your photo.
- Modify the effect(s) using some of the Useful Techniques in Photoshop and Elements.
WE INVITE YOU TO:
- Read this Artsy Processing with Smartphone Apps on the aA Blog.
- Watch this Layers of Blending Modes video on the aA Youtube Channel.
- Learn how to create this Collage and ‘Window’ Effect.







Thanks for the tutorial. Like the effects they tie well into the subject and make the design so cohesive.
Thanks for sharing Pam.