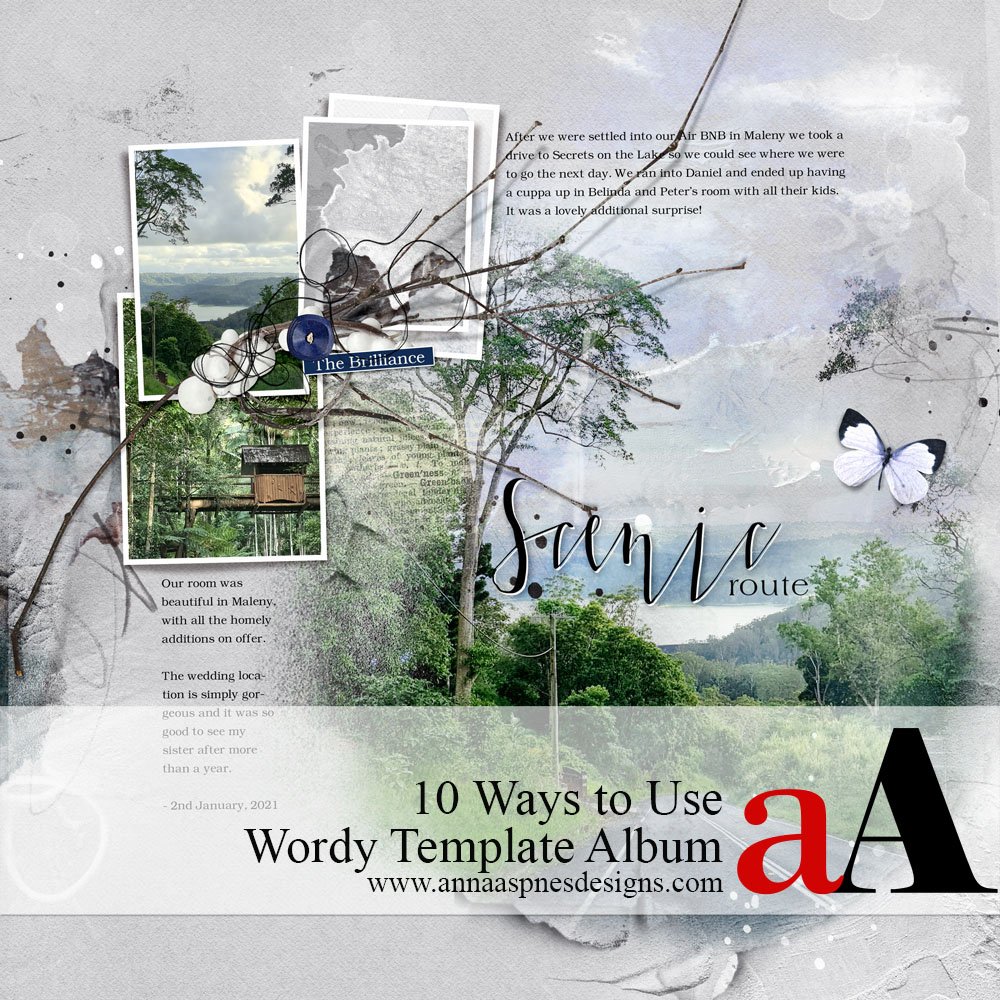
Today, I’m sharing 10 Ways to Use Wordy Template Album in your photo artistry and digital scrapbooking.
10 Ways to Use Wordy Template Album
Introduction
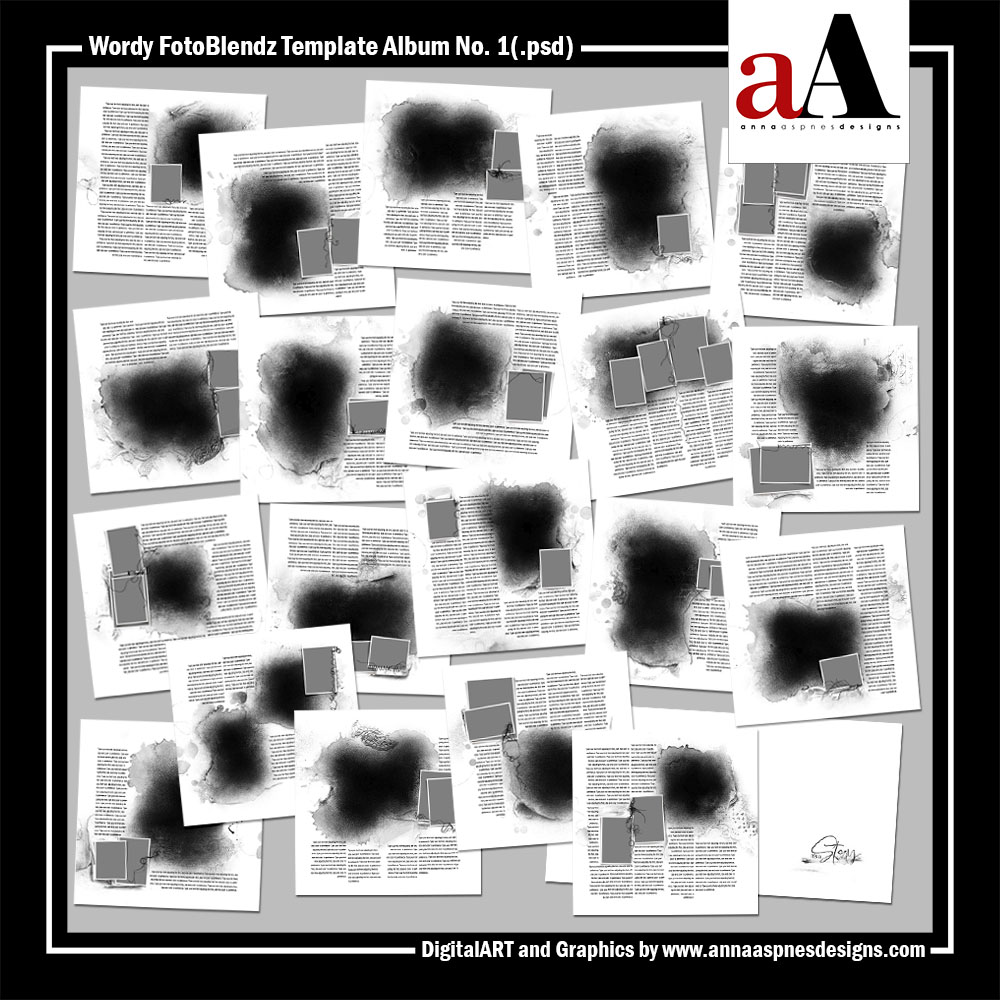
A collection of 20 – 12 X 12 artsy and blended layered templates.
- Plentiful text boxes providing LOTS of opportunity for telling your stories.
- A BONUS 12 X 12 ‘Intro Layout’ and ‘Cover Set’ for photo book printing.
- All layer styles, masks, frames, brushwork, stitching, and text boxes as shown.
- Use with the Clipping Mask Function and for recoloring in Photoshop, Elements and Paint Shop Pro.
- Perfect for Heritage, Tribute, All About Me (AAM) and all those ‘wordy’ photo projects.
View the Extended Terms of Use for personal and commercial usage information.
<<< Get the Wordy Template Album No. 1 Here <<<
Get inspired by all the ways to use this collection of templates below:
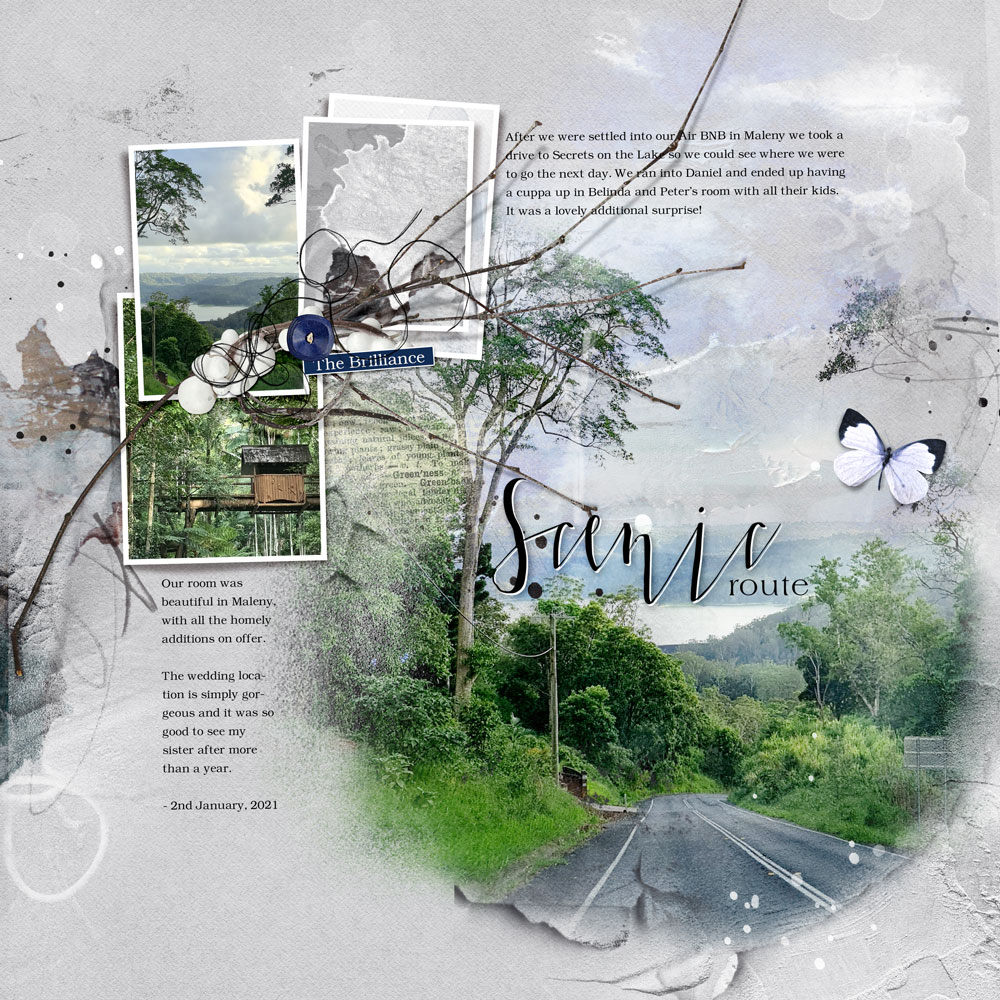
1. Tell A Longer Story
These templates are perfect for stories and journaling with lots of details.
- Type your text directly into the text boxes.
- Go to Edit> Check Spelling (Photoshop) to avoid any spelling mistakes in your finished photo book project.
- You can also type or Copy and Paste from a word processing program or alternative source.
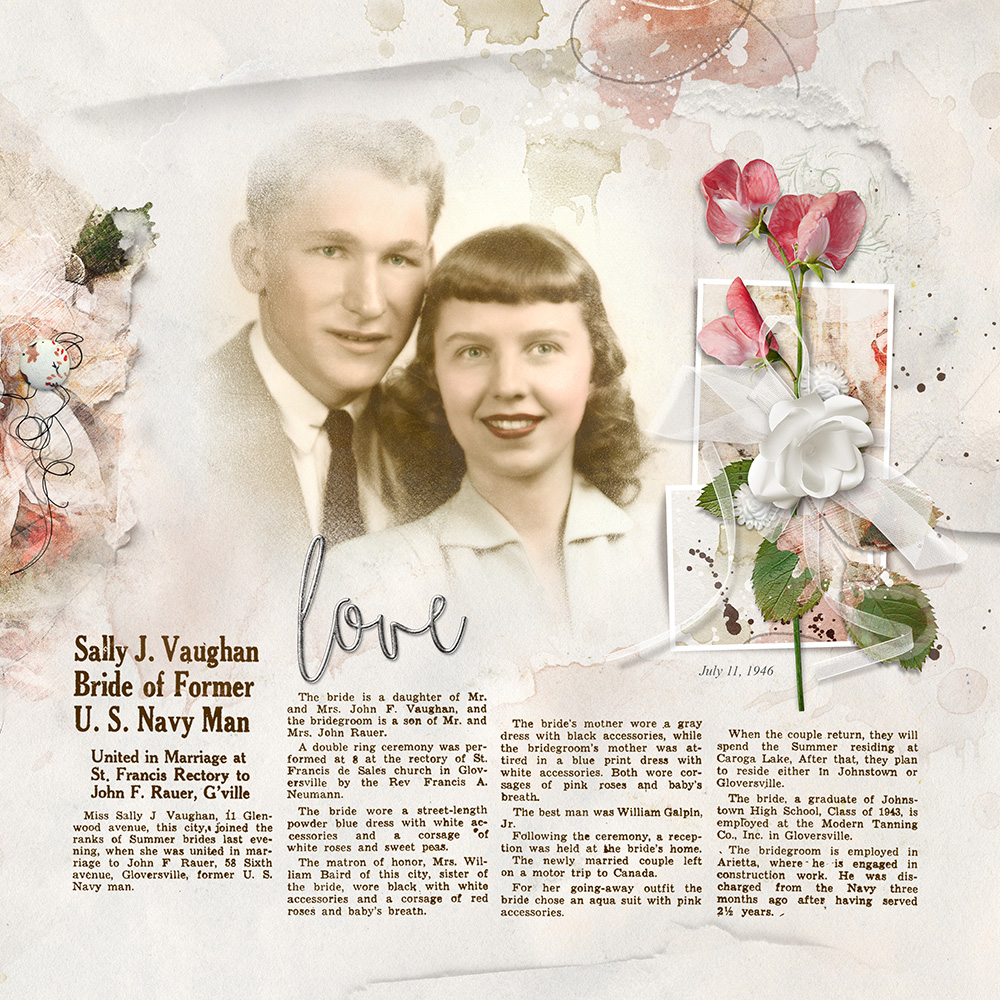
2. Modify Text Boxes
Remove text boxes to make space for more artistry.
- Delete or Turn Off the Visibility of the text box layers.
- Resize and Reposition as preferred.
- Michelle also increased the Size of the FotoBlendz clipping mask layer and added aA DigitalART to embellish the resulting White Space.
3. Rotate a FotoBlendz
Change the orientation of a clipping mask through rotation.
- Transform a Portrait shaped mask to a Landscape orientation and vice versa to better support your photo.
- Use the Transform Controls or go to Edit> Transform> Rotate.
- Notice also how Miki filled the Frames with Artsy Papers and embellished with dimensional elements in the absence of photos.
Tip. See this Useful Techniques video for further guidance on rotating elements in Adobe Photoshop and Elements.
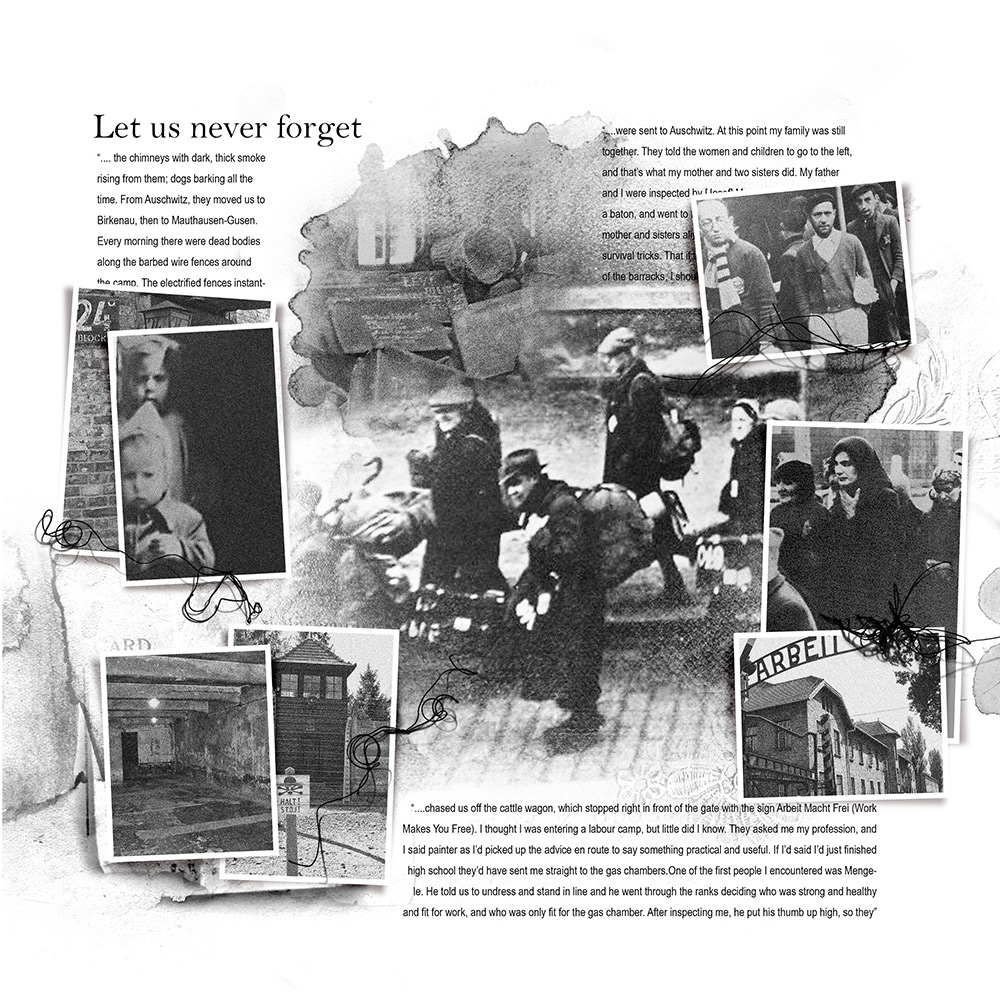
4. Add Text in Quotes
Fill the text boxes with quotes from news articles, books or other sources.
- Using someone else’s Words can help to tell a story.
- It also enables you to provide Context to images that you were not witness too.
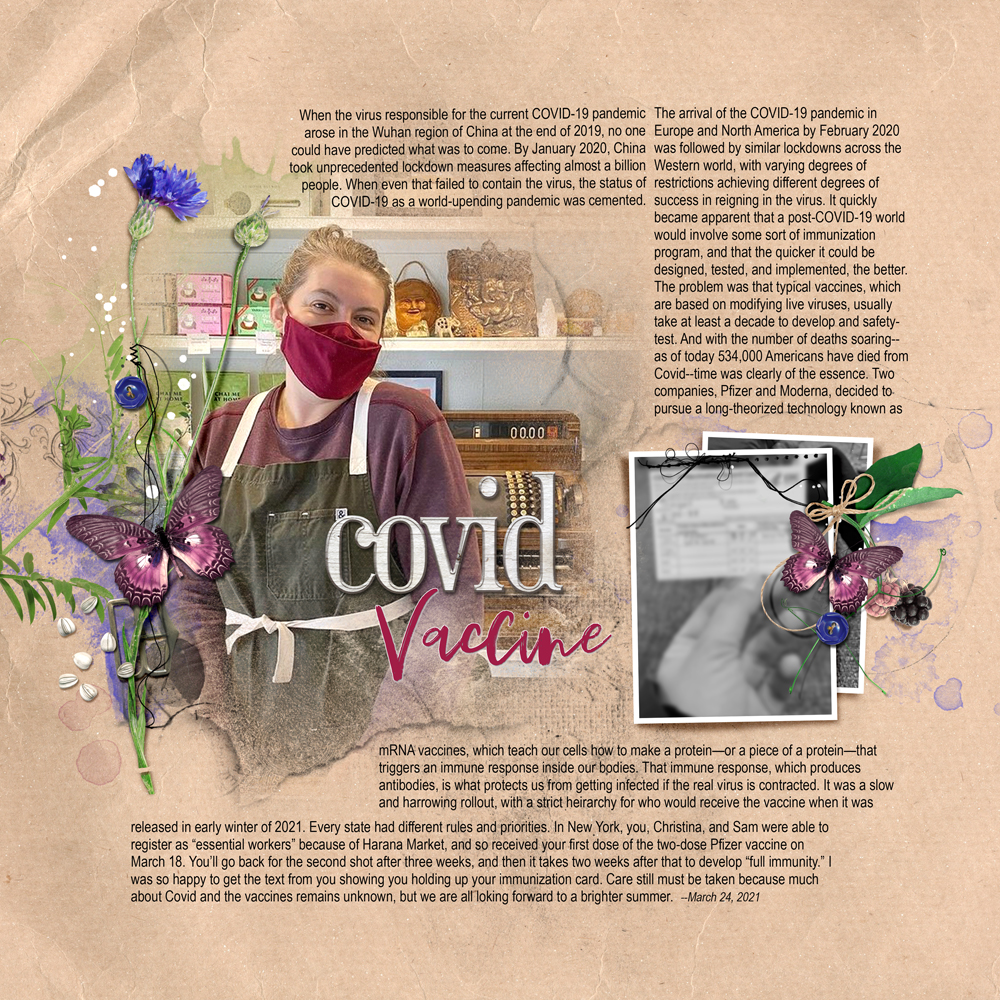
- Notice how Ulla-May converted her images to Black and White to evoke a somber mood to her digital scrapbooking layout design.
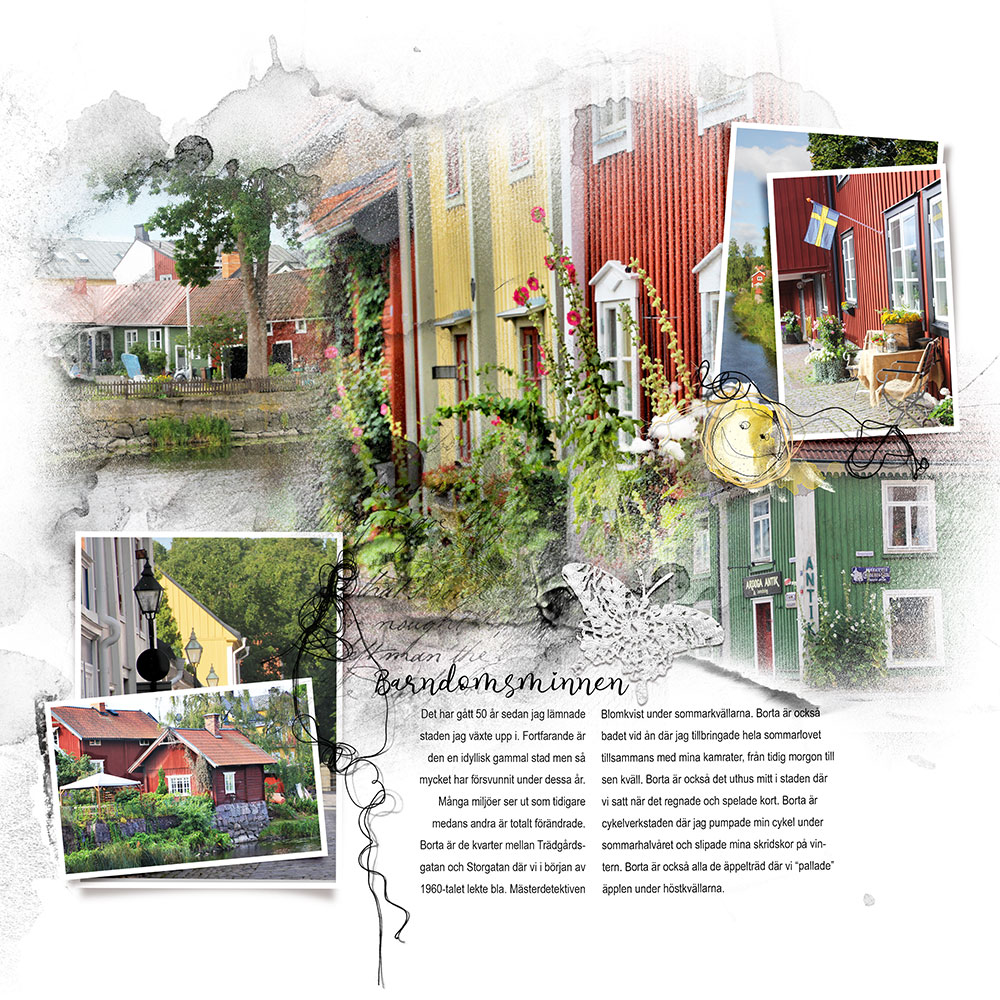
5. Keep It Simple
Focus on the story supported by your journaling.
- Photos + Words.
- Use type that is Legible in terms of Size and Font.
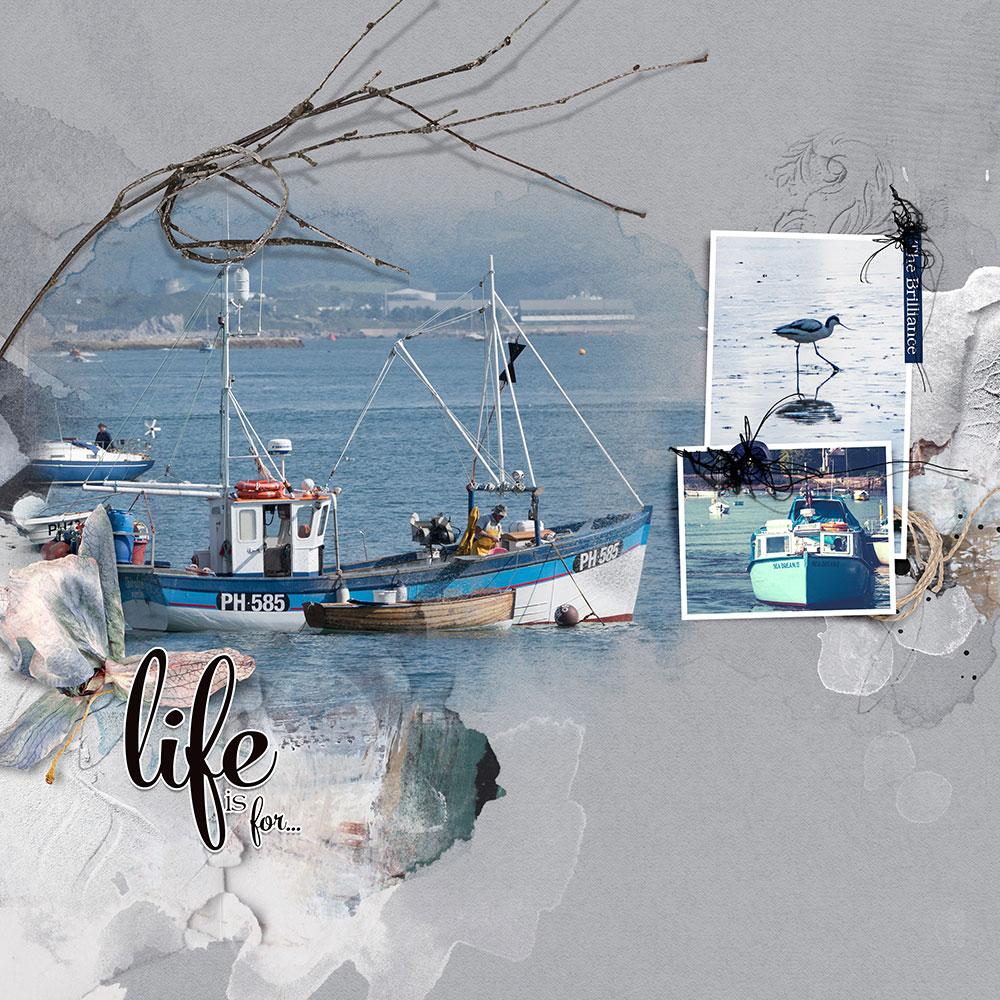
- Notice how Joan has used the Default white background for her foundation and embellished with some pictorial brushes.
6. Combine Templates
Use layers from 2 templates to create your own custom design.
- Create a New Layout and add the layers from both templates.
- You can also Modify one of the templates using layers from the other design.
- Notice how the simple embellishment supports the Color and Theme of her photos.
7. Replace with WordART
Remove the textboxes and create artful impact using a title.
- Create your own title using the Type Tool and your favorite fonts.
- You can also Group one or more WordART elements to create a group of related words.
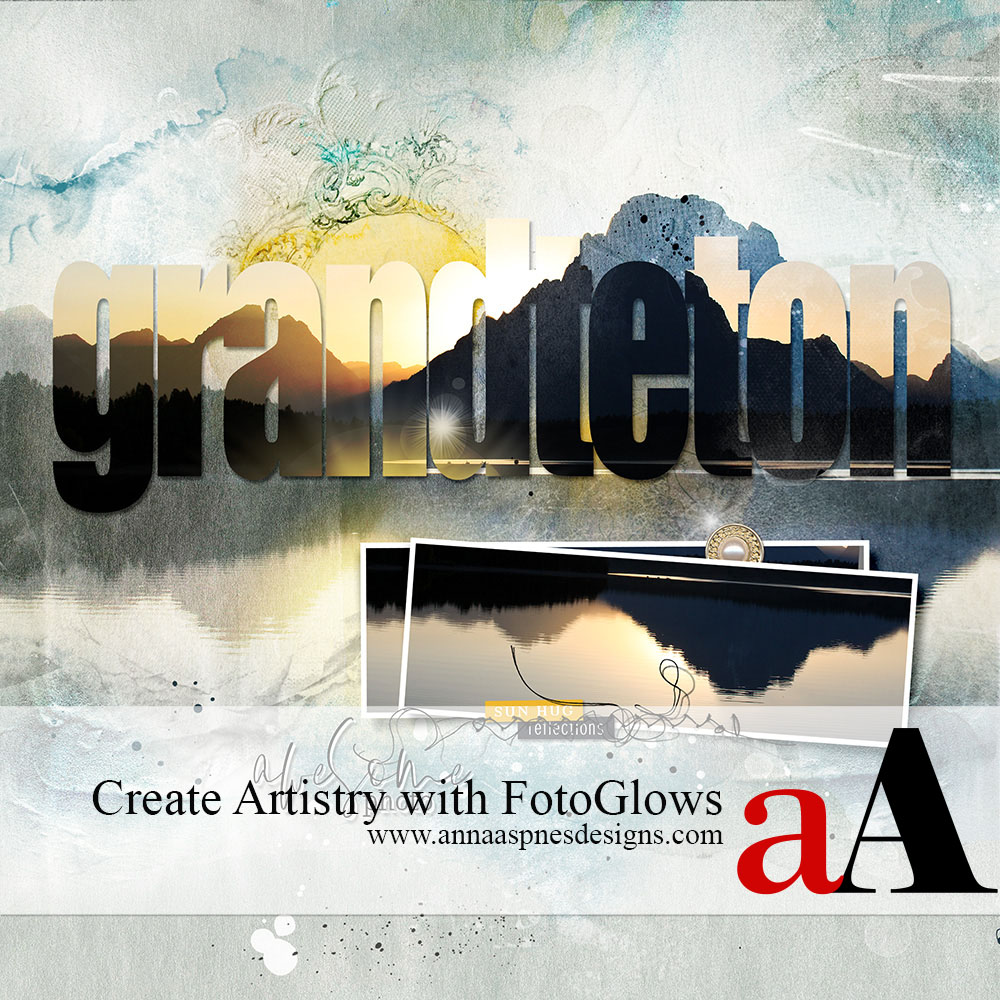
- Notice how Viv has made her Title stand out by creating a Sticker Style Effect.
8. Interesting Foundations
Add instant visual interest to heavily ‘worded’ digital scrapbooking layout with Solid Paper.
- Focus on Color to create Contrast or Coordinate with your photos.
- Choose a subtle Texture to add Visual Interest to your photo artistry.
- Notice how Laura’s Layout Foundation supports her selection of embellishments.
8. Add Transfers
Replace the FotoBlendz Mask with Transfers.
- You can use one or more Transfers from ArtPlay Palettes.
- Try also using or incorporating the coordinating ArtsyTransfers in your photo artistry.
- Embellish with Splatter and ArtsyStains BrushSets.
9. Reformat Templates
Modify the templates to fit your photo book or digital scrapbooking size.
- Diane prefers to create books in 8 X 10 Format.
- See this 5 Ways to Modify Templates for Rectangle Format for guidance.
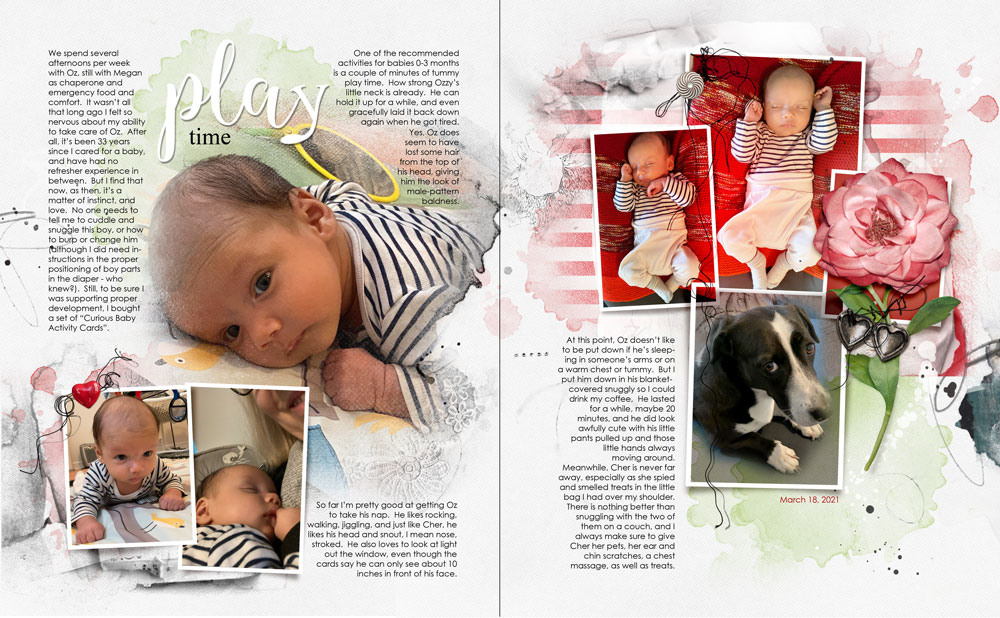
- Notice how she has added her Journaling around her photos
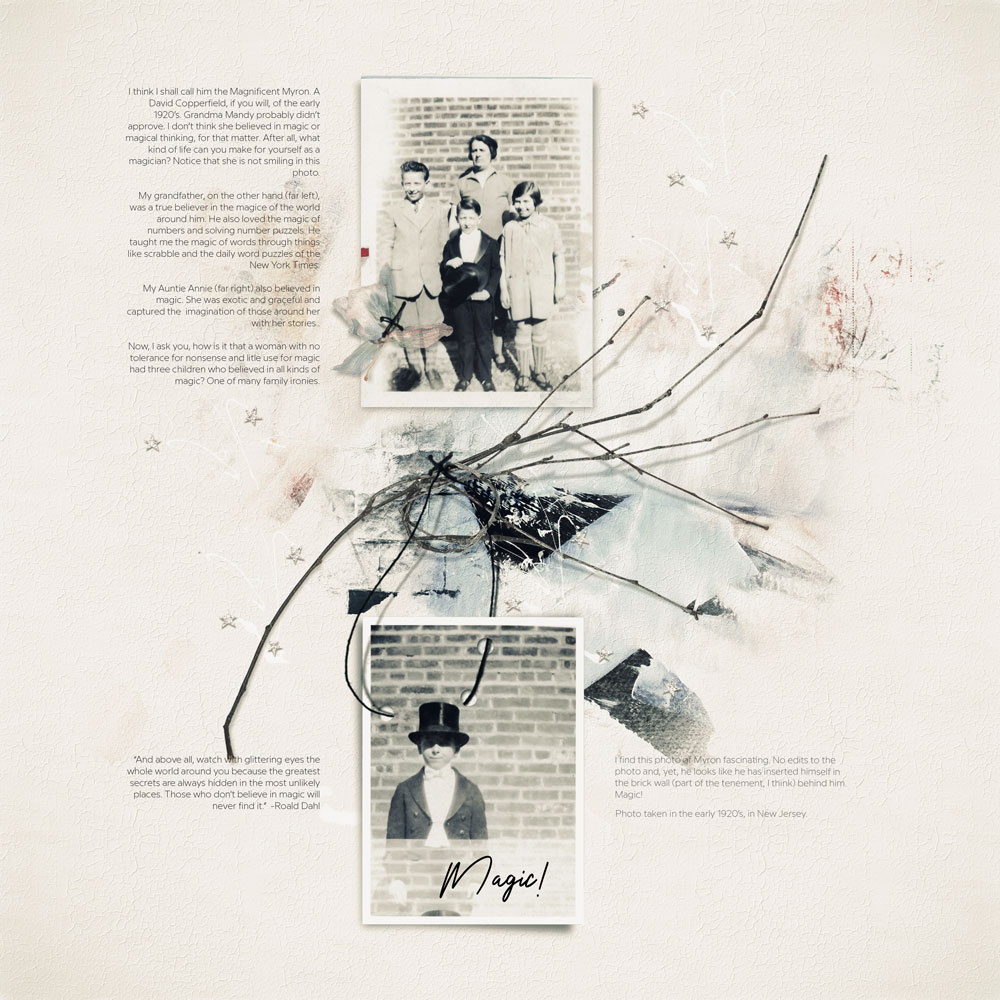
Magic | Adryane
10. Artsy Foundation
Use a template as a foundation for your next artsy layout design.
- Remove, Rotate and Reposition as preferred.
- Modify elements with your own Customizations, such as the transparent label over the frame.
- Create a Focal Point with Elements.
Summary
There are so many ways you can use the NEW Wordy Template Album
- Use the templates as delivered to SHARE your stories in detail.
- MODIFY and adapt to support your photos and preferences.
- Choose a template to SPARK your next layout design.
- Have fun, play and create photo artistry that you LOVE.
See also:
- Using Template Album Collections
- Artsy Photo Album Project
- A Beginners Guide to Digital Scrapbooking
Share how you have been inspired by this 10 Ways to Use Wordy Template Album post by sharing in the ANNAGALLERY or comments below.








Recent Comments